🌳 How To Decorate A Tree For A Wedding
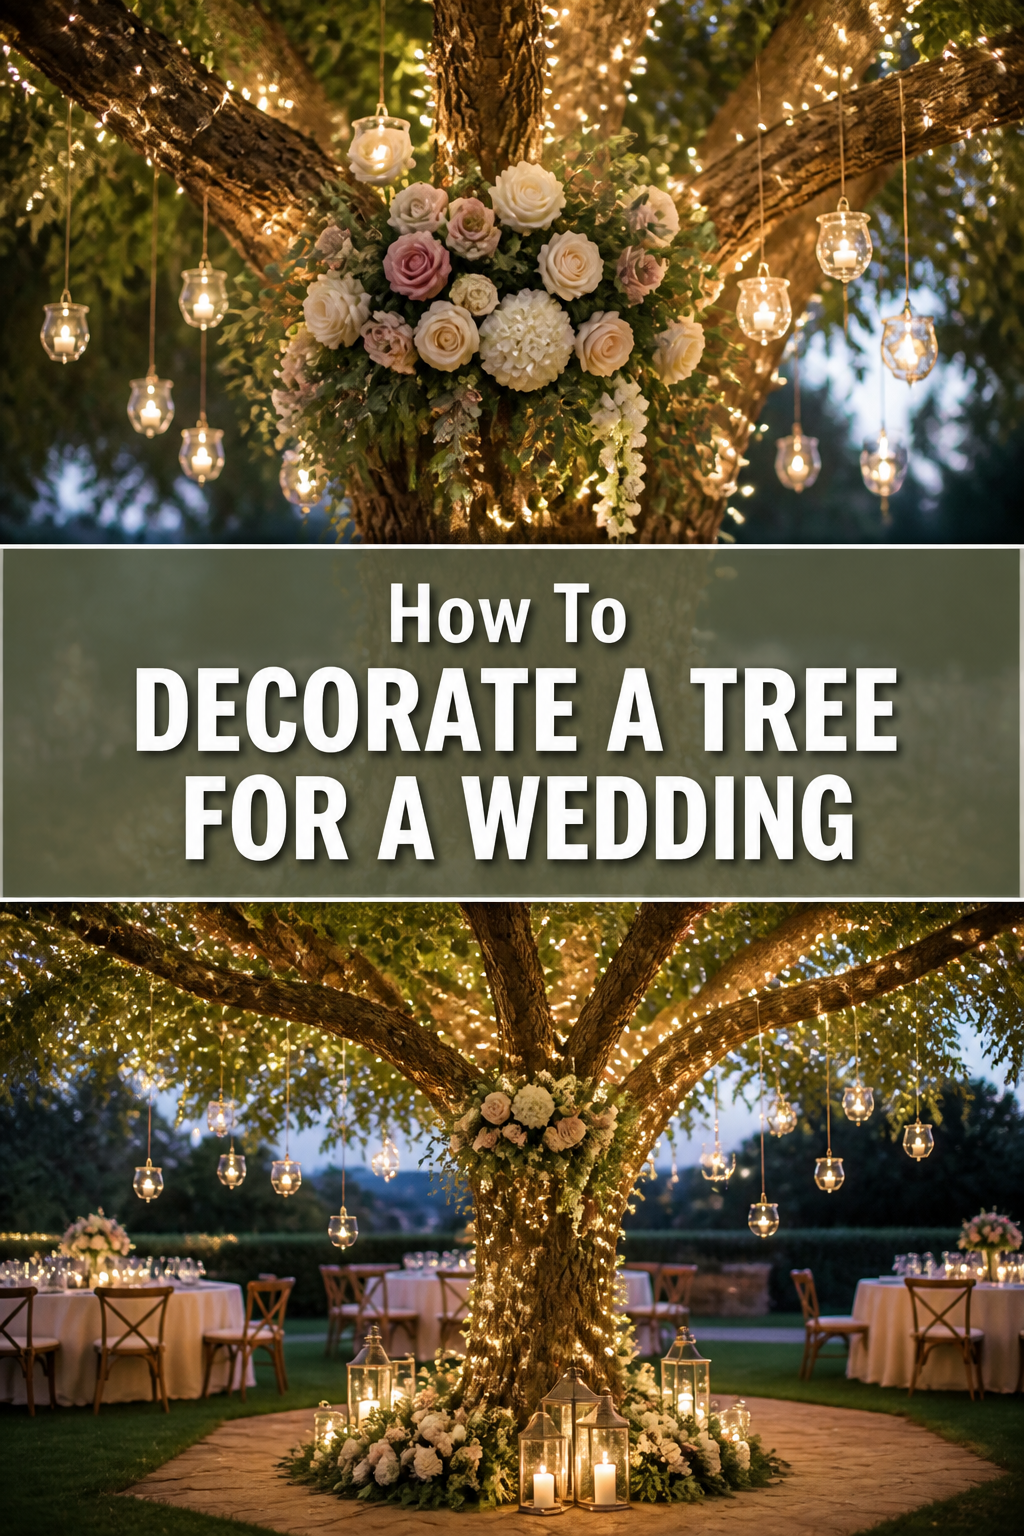
A beautifully decorated tree can transform your wedding venue into a fairytale setting, creating a magical focal point for your special day.
It adds natural elegance and a unique photo opportunity that guests will adore.
Having helped numerous couples transform their wedding spaces, I know how to make this vision a stunning reality without stress.
Quick Overview
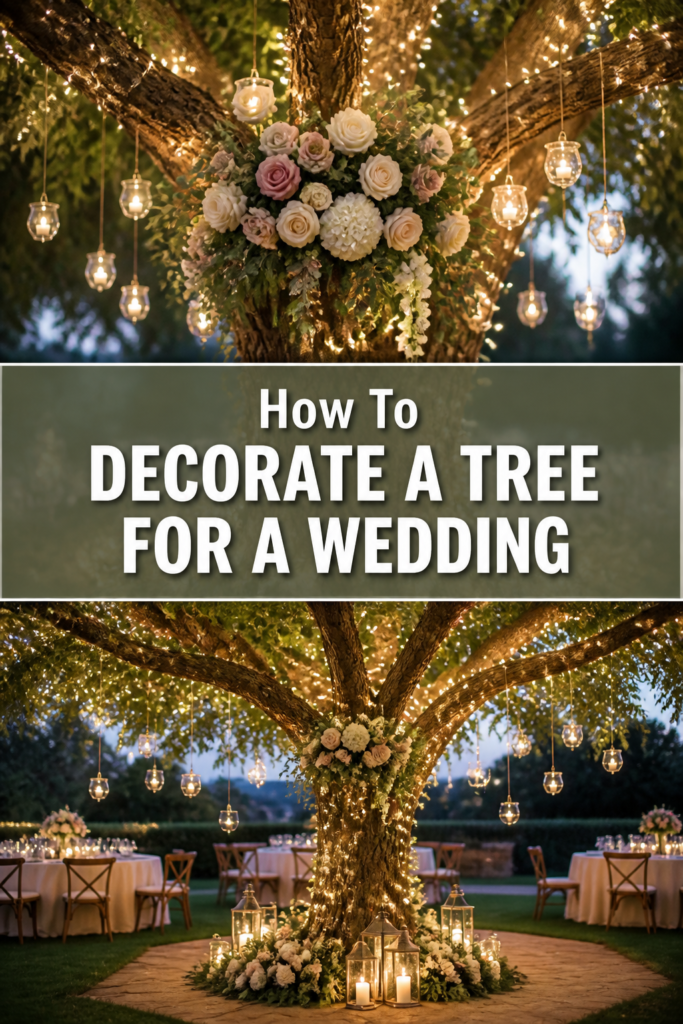
Decorating a tree for a wedding creates an unforgettable visual statement, blending natural beauty with your chosen theme.
You’ll learn to layer elements, ensure stability, and personalize the tree to reflect your love story.
- Time needed: 4-8 hours (depending on tree size and complexity of design)
- Difficulty: Intermediate
- What you’ll need: Lights, fabric, floral elements, ornaments, wire, zip ties, ladder, extension cords
Step-by-Step Instructions
Step 1: Choose Your Perfect Tree
Selecting the right tree is the foundation of your entire decoration project.
Consider its location, size, and natural shape to ensure it complements your wedding aesthetic.
- Scout potential trees at your venue, noting their accessibility and branch structure.
- Assess the tree’s health and stability; a strong, healthy tree is crucial for safety.
- Consider the tree type – an oak offers strong branches for hanging, while a weeping willow provides a romantic, flowing canvas.
- Ensure the tree is large enough to make an impact but not so massive it overwhelms the space.
Pro Tip: Always get permission from the venue or landowner before planning any decorations on their trees. Discuss any restrictions on hanging items or using certain materials.
Step 2: Define Your Wedding Theme and Palette
The decorated tree should seamlessly integrate with your overall wedding design.
Your theme and color palette will guide every material choice, creating a cohesive and polished look.
- Review your wedding mood board, noting dominant colors, textures, and styles.
- Select materials that echo your theme, whether it’s rustic, bohemian, classic, or whimsical.
- Choose 2-3 primary colors and 1-2 accent colors for your tree decorations.
- Think about the overall feeling you want to evoke – soft and romantic, bright and festive, or elegant and sophisticated.
Step 3: Gather Your Decoration Materials
Having all your supplies on hand before you begin saves time and stress on installation day.
Prepare a comprehensive list based on your design plan and purchase everything well in advance.
- Acquire ample string lights; warm white LEDs are a popular choice for their glow and energy efficiency.
- Collect fabrics like sheer organza, tulle, or satin ribbons in varying widths and lengths.
- Source fresh or artificial floral elements, such as garlands, individual blooms, or greenery bunches.
- Select ornaments or unique accents that align with your theme, like glass baubles, lanterns, or personalized tags.
- Purchase essential tools: floral wire, zip ties, fishing line, sturdy scissors, a ladder, and extension cords.
- Remember to factor in weather-resistant materials if your wedding is outdoors.
Step 4: Install the Lighting First
Lighting is the foundation of your tree’s allure, especially as dusk falls.
Proper installation ensures a magical glow and sets the stage for other decorations.
- Start from the base of the tree and work your way up, wrapping lights evenly around the trunk and main branches.
- Drape additional strands along smaller branches, allowing some to hang freely for a waterfall effect.
- Secure light strands with zip ties or floral wire, ensuring they are snug but not tight enough to damage the tree.
- Test all lights frequently during installation to catch any faulty bulbs or connections early.
- Conceal extension cords and power sources as much as possible, using natural foliage or decorative covers.
Pro Tip: For a truly ethereal look, use battery-operated fairy lights on smaller, delicate branches where power access is difficult. Their tiny, bright pinpoints add incredible sparkle.
Step 5: Drape Fabrics and Ribbons
Fabrics add softness, movement, and a touch of luxury to your decorated tree.
They create a flowing, romantic silhouette that catches the breeze beautifully.
- Begin by draping longer lengths of fabric from higher branches, allowing them to cascade gracefully towards the ground.
- Weave ribbons through the branches, tying bows or letting them trail freely.
- Secure fabric drapes with floral wire or discreet zip ties, ensuring they look natural and gathered.
- Vary the lengths and textures of your fabrics to add visual interest and depth.
- Consider using fabrics that match the bridal party attire or table linens for a cohesive look.
Step 6: Add Floral and Greenery Elements
Incorporating natural elements brings life and organic beauty to your wedding tree.
Fresh or high-quality artificial flowers and greenery enhance the festive atmosphere.
- Attach floral garlands to the main branches, weaving them through the draped fabrics and lights.
- Place individual flower clusters or greenery sprigs strategically to fill gaps and add pops of color.
- Use floral wire or hot glue (for artificial elements) to secure everything firmly.
- Consider using flowers that are in season or match the blooms in your bouquets and centerpieces.
- Hang small floral wreaths or single blooms from smaller branches for delicate accents.
Step 7: Place Ornaments and Personal Accents
This is where your tree truly becomes unique and reflects your personality as a couple.
Thoughtful ornaments add charm and tell your story.
- Hang glass baubles, miniature lanterns, or crystal strands from various branches.
- Incorporate personalized elements like engraved wooden tags, photos of the couple, or small framed quotes.
- Distribute ornaments evenly, ensuring a balanced look across the entire tree.
- Use fishing line or thin ribbon for hanging, making sure the knots are secure.
- Add elements that shimmer or reflect light for extra sparkle, especially near the lighting.
Step 8: Refine and Secure All Elements
Step back and evaluate your masterpiece from all angles.
Making final adjustments ensures everything is perfect and stable for your big day.
- Walk around the tree, checking for any sparse areas or overloaded sections that need adjustment.
- Ensure all decorations are securely fastened to withstand wind or accidental bumps.
- Adjust the positioning of lights, fabrics, and flowers until you achieve the desired flow and balance.
- Remove any visible wires, zip ties, or extension cords that detract from the aesthetic.
- Double-check that no decorations are obstructing pathways or posing a tripping hazard.
Common Mistakes to Avoid
Over-Decorating the Tree
It’s easy to get carried away with too many beautiful elements. An overloaded tree can look cluttered and lose its elegant appeal, detracting from the natural beauty of the tree itself.
Instead, choose a few key elements and layer them thoughtfully. Allow space for the tree’s natural form to show through, creating a sophisticated and balanced display.
Neglecting Safety Precautions
Ignoring safety can lead to accidents, especially with electrical components and hanging decorations. Overlooking stability risks items falling and potentially harming guests or damaging property.
Always use outdoor-rated lights and extension cords for outdoor trees. Secure all decorations tightly with appropriate fasteners, and ensure ladders are used safely during installation.
Mismatching the Wedding Theme
A tree decorated without considering the overall wedding theme can look out of place and disjointed. It can clash with other decor elements, breaking the cohesive flow of your event.
Before purchasing any decor, firmly establish your wedding’s style and color palette. Select materials, colors, and types of ornaments that directly reflect and enhance your chosen theme.
Poor Placement of Heavy Elements
Hanging heavy items on weak or thin branches can cause breakage, damaging the tree and your decorations. It also poses a safety risk if items fall unexpectedly.
Always attach heavier decorations, such as large lanterns or dense floral garlands, to the tree’s main trunk or thickest, strongest branches. Distribute weight evenly to maintain balance and stability.
Troubleshooting
Lights Not Working After Installation
Discovering your beautiful lights are dark after all your hard work can be frustrating. This often points to a simple connection issue or a faulty component.
First, check all electrical connections, ensuring plugs are fully inserted and extension cords are properly linked. Next, inspect each light strand for a blown fuse or loose bulbs, replacing them as needed. Sometimes, a single faulty bulb can break the entire circuit.
Decorations Falling Off or Becoming Loose
It’s disheartening to see your carefully placed decorations tumble. This usually happens due to inadequate fastening or materials not suited for outdoor conditions.
Reinforce all attachments with stronger floral wire, zip ties, or weather-resistant adhesive for artificial elements. Ensure knots are tight and loops are secure, especially for fabric drapes. Consider the impact of wind and choose heavier-gauge fasteners where necessary.
The Tree Looks Sparse or Overly Cluttered
Achieving the perfect balance can be tricky, resulting in an uneven or overwhelming appearance. This imbalance can detract from the intended magical effect.
Step back frequently during decoration to assess the overall look from a distance. For sparse areas, add more filler elements like greenery or smaller lights. For cluttered spots, remove a few items to create breathing room, focusing on impactful pieces rather than quantity.
Key Takeaways
- Start with a plan: Meticulous planning, from tree selection to theme integration, ensures a cohesive and stunning result.
- Layer your elements: Begin with lights, then fabrics, followed by florals, and finally ornaments for a rich, multi-dimensional look.
- Prioritize safety: Always use appropriate tools, secure all decorations firmly, and ensure electrical components are safe and weather-resistant.
- Personalize thoughtfully: Incorporate unique touches that tell your story, making the tree truly yours without overwhelming its natural beauty.
- Test and refine: Constantly check lighting and adjust decorations during the process to achieve perfect balance and stability.
Frequently Asked Questions
Can I decorate a tree for an indoor wedding?
Absolutely! Decorating an indoor tree provides a unique focal point and can be easier to manage without weather concerns. Choose a potted tree that fits your venue’s aesthetic and ensure it’s stable. Battery-operated lights are ideal for indoor use, avoiding unsightly cords.
What are the best types of trees for wedding decoration?
Trees with sturdy branches like oaks, maples, or sycamores are excellent for hanging heavier decorations. Weeping willows offer a naturally romantic drape for fabrics and lights. For indoor settings, ficus or olive trees can provide an elegant, manageable structure.
How far in advance should I decorate the tree?
For fresh floral elements, decorate as close to the wedding day as possible, ideally the day before. Non-perishable items like lights, fabrics, and ornaments can be installed 2-3 days prior. Always factor in weather conditions if decorating outdoors.
What if my budget is limited for tree decorations?
Focus on impactful, cost-effective elements. Simple string lights create significant ambiance at a low cost. Use natural elements like greenery from local sources. Repurpose fabrics or ribbons from other wedding decor. A few well-placed, meaningful ornaments can be more striking than an abundance of generic ones.
Our Top Recommended Finds
- Warm White LED String Lights: Energy-efficient and provide a soft, romantic glow perfect for any wedding theme.
- Sheer Organza Fabric Rolls: Versatile and inexpensive, these add elegant drapes and movement without heavy bulk.
- Heavy-Duty Floral Wire & Zip Ties: Essential for securely attaching all decorations, ensuring longevity and safety.
Crafting Your Enchanting Wedding Tree
Transforming a tree into a wedding masterpiece is a rewarding endeavor that adds unparalleled charm to your celebration.
It’s a chance to infuse your personality into the natural world, creating a backdrop for memories that will last a lifetime.
Don’t wait to start envisioning your perfect tree. Begin gathering inspiration and planning your materials today, and watch your vision come to life.