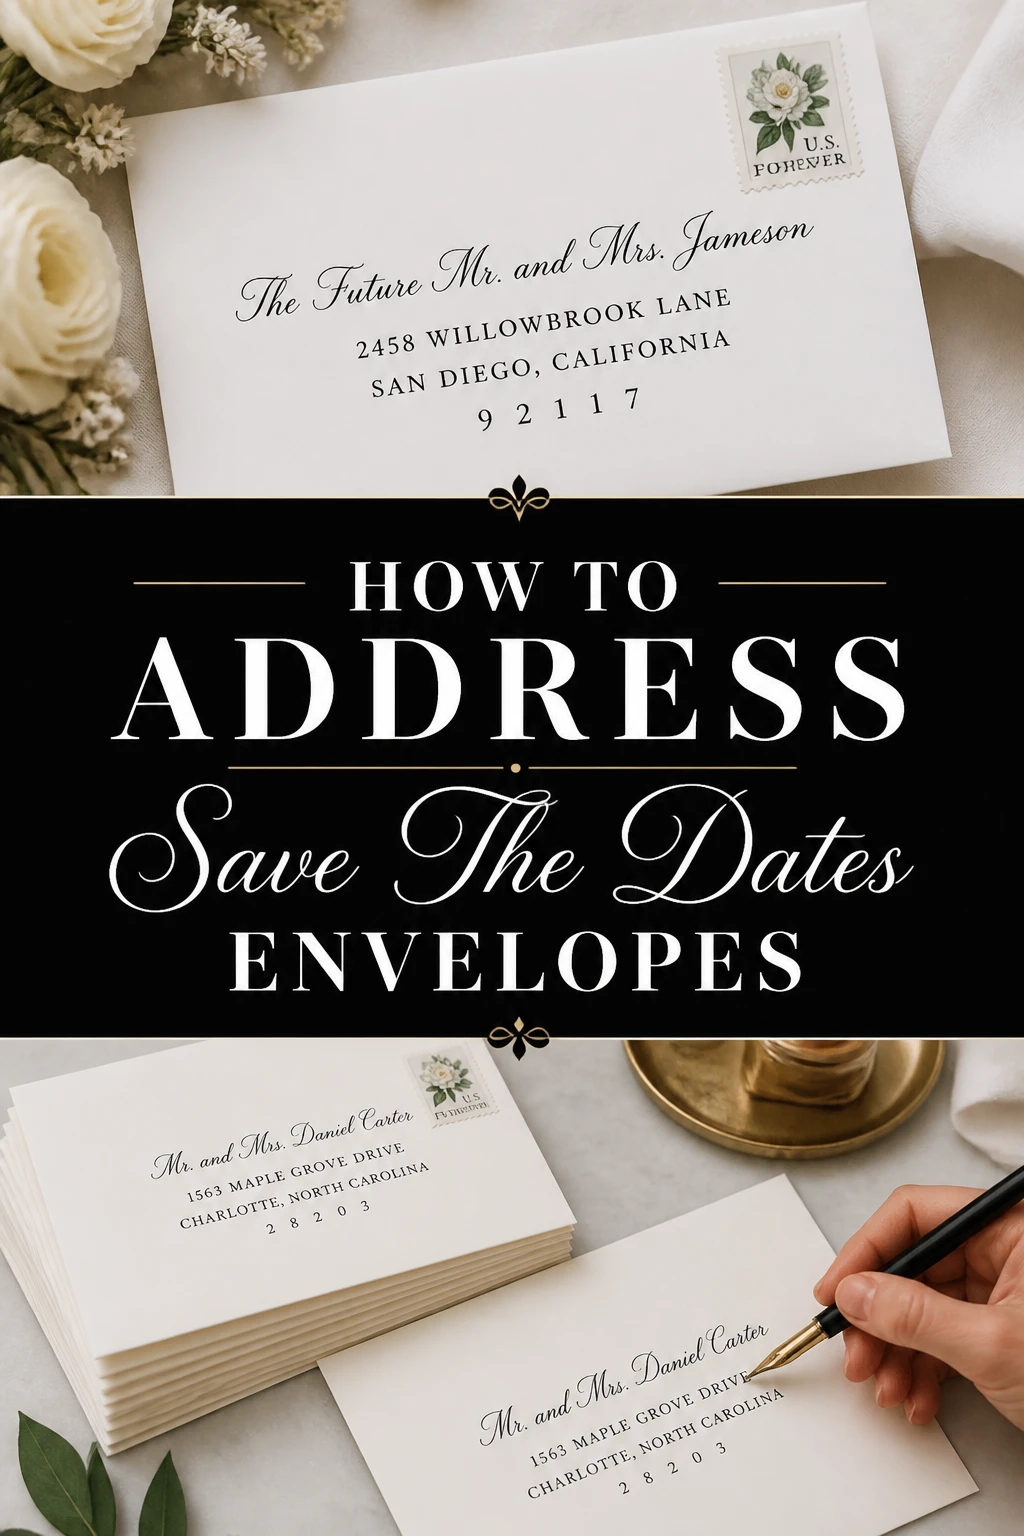
💌 How To Address Save The Dates Envelopes

Wedding Planning
No fluff, no drama. Just easy weekly advice, planning shortcuts, and gentle reminders to help you actually enjoy your engagement.
Navigating wedding etiquette can feel like learning a new language. I remember the slight panic of addressing my own Save the Dates, wanting everything to be perfect.
This guide distills years of stationery wisdom, offering practical steps to ensure your envelopes are addressed with grace and precision. You can trust this advice to make your process smooth and stress-free.
Quick Overview
This guide will walk you through the proper etiquette and practical steps for addressing your Save the Date envelopes. You’ll learn how to handle various guest scenarios, ensuring every invitation reaches its intended recipient with style.
- Time needed: 1-3 hours (depending on guest list size)
- Difficulty: Beginner
- What you’ll need: Guest list with full names and addresses, high-quality pens, return address stamp/stickers, your Save the Dates, postage stamps.
Step-by-Step Instructions
Addressing Save the Date envelopes sets the tone for your wedding. A clear, correctly addressed envelope ensures your guests feel respected and informed. Follow these steps for a flawless execution.
Step 1: Gather Your Guest List Data
Compile all necessary guest information in one organized place. This includes full names, titles, and complete mailing addresses. A spreadsheet works wonderfully for this.
Verify spellings of all names and street names. Even small errors can cause mail delays or appear disrespectful to your guests. Double-checking now saves significant headaches later.
Confirm current addresses for everyone. People move often, so a quick check with close friends and family can prevent bounced mail. An outdated address is a common pitfall.
Step 2: Understand Formal vs. Informal Tone
Decide on the overall tone for your wedding stationery. Save the Dates generally allow for a slightly less formal approach than the actual wedding invitations. This flexibility is key.
Consider your relationship with each guest. For close friends and family, a slightly less formal address might be perfectly acceptable. For others, maintaining a more traditional approach is wise.
Align your addressing style with your wedding’s general vibe. A casual beach wedding might use slightly less formal titles, while a black-tie affair calls for strict etiquette. Consistency is elegant.
Step 3: Master the Outer Envelope Components
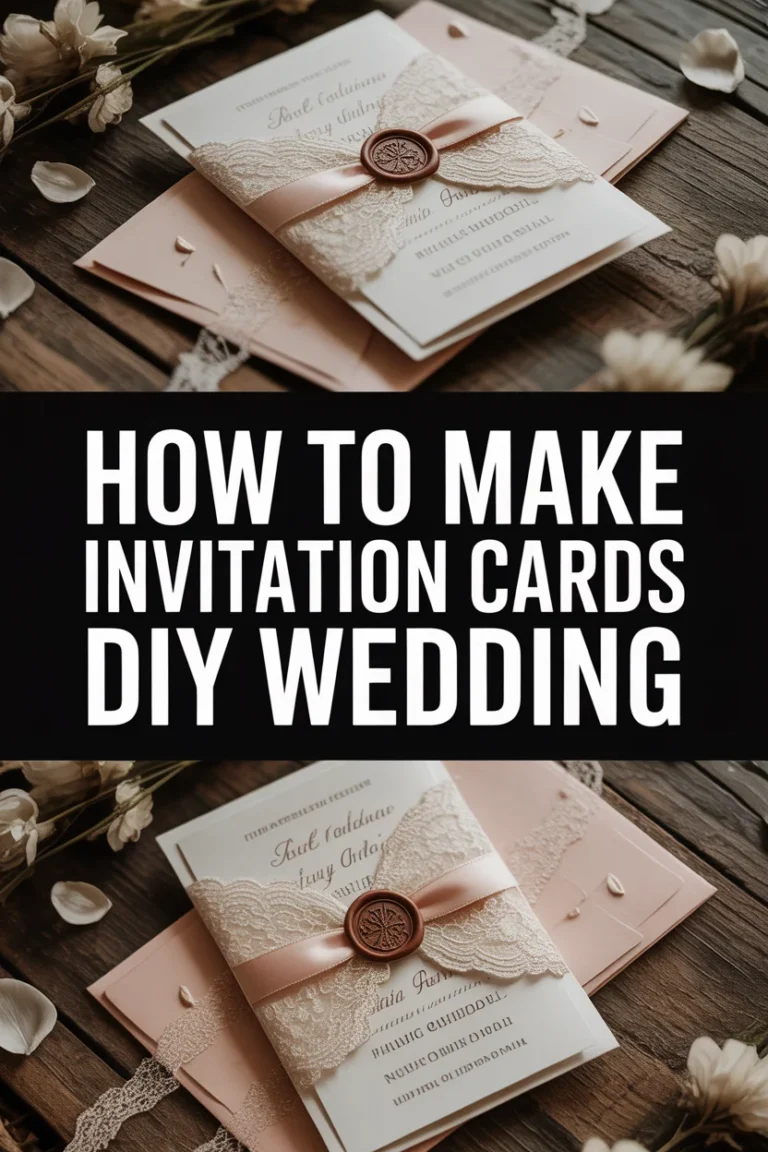
Focus on the outer envelope first, as this is what the post office handles. It must contain the guest’s full mailing address and your return address. Clarity is paramount.
Include the full first and last name of the primary invitee(s). Avoid nicknames or abbreviations here. This ensures proper delivery and conveys respect.
Add any necessary titles, such as “Mr.” or “Ms.” These small additions make a significant difference in formality. Choose titles that suit your desired tone.
Pro Tip: For a modern, slightly less formal approach, you can omit titles for close friends, especially if your wedding is casual. However, when in doubt, include them.
Step 4: Address Single Guests
Use “Mr.” for an unmarried man or “Ms.” for an unmarried woman. For example, “Mr. John Smith” or “Ms. Jane Doe.” This is standard and polite.
Include their full mailing address below their name. Write out street names and city names in full. Avoid abbreviations like “St.” for Street or “Apt.” for Apartment.
Ensure the zip code is clearly written. The post office relies heavily on this information for efficient delivery. A clear zip code prevents delays.
Step 5: Address Married Couples
Combine their titles and last name for traditional addressing. For instance, “Mr. and Mrs. John Smith.” This is the most common and accepted format.
Alternatively, for a slightly more modern approach, you can list both full names. “Mr. John Smith and Mrs. Jane Smith” or “Mr. John Smith and Ms. Jane Doe” if she retained her maiden name. This shows individual recognition.
Remember to include their full mailing address beneath their names. Always write out the full street name, city, and state. Clarity is always the goal.
Step 6: Address Unmarried Couples Living Together
List each person’s full name on separate lines. For example: “Mr. David Miller” followed by “Ms. Sarah Johnson.” This acknowledges their individual identities.
Place their shared address below the second name. This ensures both individuals are recognized as invited guests to the same household. It’s a respectful approach.
Consider the order based on alphabetical last name or who you know better. Either is acceptable, but consistency can be helpful if you have many such couples.
Step 7: Address Families with Children
Include the parents’ names on the first line. For example, “Mr. and Mrs. Michael Brown.” This is the primary address for the household.
Add “and Family” on the second line if you are inviting children under 18. “Mr. and Mrs. Michael Brown and Family” clearly indicates the children are included.
Alternatively, if children are adults or you prefer specific names, list them individually. “Mr. and Mrs. Michael Brown,” then “Ms. Emily Brown,” then “Mr. Jacob Brown.” This is more formal.
Pro Tip: Only include children’s names on Save the Dates if they are also invited to the wedding. If your wedding is adults-only, avoid “and Family.”
Step 8: Handle Inner and Outer Envelopes (If Applicable)
Recognize that Save the Dates typically do not use inner envelopes. This tradition is generally reserved for the more formal wedding invitation itself. Simplicity is fine here.
If you opt for inner envelopes for Save the Dates (uncommon but possible), use a less formal address. For example, “Mr. and Mrs. Smith” or “John and Jane.” This creates a personal touch.
Remember the outer envelope always retains the formal, full address for mailing purposes. The inner envelope is purely for guest identification and formality within the stationery suite.
Step 9: Include Your Return Address
Place your full return address on the back flap of the envelope. This is crucial for any undeliverable mail to be returned to you. It prevents lost Save the Dates.
Use a custom stamp, printed labels, or handwrite it neatly. Consistency in appearance adds a professional touch. Choose a method that suits your style.
Ensure the return address is legible and complete. Include your full name(s), street address, city, state, and zip code. This detail is often overlooked but vital.
Step 10: Apply Postage and Mail
Weigh a fully assembled Save the Date at the post office if unsure about postage. Non-standard shapes or extra inserts can increase the cost. Proper postage prevents returns.
Affix the correct postage stamp(s) to the upper right corner of the envelope. Consider using custom or themed stamps to add a personal touch. This is a small detail that can delight.
Mail your Save the Dates well in advance, typically 6-8 months before the wedding, or 8-12 months for destination weddings. This gives guests ample time to plan.
Common Mistakes to Avoid
Steering clear of common errors will save you time and potential embarrassment. Pay close attention to these pitfalls.
Incorrect Titles or Spellings
Using the wrong title (e.g., “Mr.” for a doctor) or misspelling a guest’s name can feel dismissive. Always double-check titles and names against your guest list. A quick review can prevent awkwardness. Confirming with a trusted family member can also catch subtle errors.
Forgetting the Return Address
Omitting your return address means any undeliverable Save the Dates will be lost forever. This can lead to missed RSVPs and confusion. Always include a clear and complete return address on the back flap. It’s a small detail with big implications.
Addressing “And Guest” on Save the Dates
Save the Dates should clearly indicate who is invited by name, not with a generic “and Guest.” If you are allowing a guest, try to get their name beforehand. If not possible, address the primary invitee only for the Save the Date and use “and Guest” on the formal invitation. This ensures clarity early on.
Too Casual for Your Event
While Save the Dates can be less formal, avoid being overly casual if your wedding is elegant. Using nicknames or overly familiar language on the outer envelope can clash with your wedding’s overall tone. Maintain a respectful level of formality that aligns with your celebration.
Troubleshooting
Even with the best planning, issues can arise. Here’s how to handle common problems.
Running Out of Space on the Envelope
If a guest’s address is very long, consider using a slightly smaller, legible font if printing. If handwriting, ensure your script is compact and neat. You can also slightly condense non-essential words like “Apartment” to “Apt.” without sacrificing clarity for the postal service. Prioritize legibility above all else.
Guest List Changes After Addressing
If a guest’s address changes or a couple breaks up after you’ve addressed envelopes, simply address a new envelope. It’s better to waste an envelope than send mail to the wrong place or an awkward situation. Keep a few blank envelopes handy for such unforeseen circumstances.
Unclear or Incomplete Addresses
If you have an incomplete address, reach out to the guest directly or a mutual friend for clarification. Never guess a street number or zip code. Incorrect information will almost certainly result in your Save the Date being returned or lost. Accuracy is paramount for delivery.
Key Takeaways
- Organize your guest list thoroughly, verifying all names and addresses before you begin addressing.
- Choose a consistent level of formality for your Save the Dates that aligns with your wedding’s tone.
- Address single guests and couples clearly, using appropriate titles and full names on the outer envelope.
- Be precise with family invitations, indicating children with “and Family” or by individual names if appropriate.
- Always include a complete and legible return address on the back flap of every envelope.
- Apply correct postage and mail early to ensure guests receive their Save the Dates with ample notice.
Frequently Asked Questions
Addressing Save the Dates can bring up specific questions. Here are some common ones.
Do Save the Dates require inner envelopes?
Generally, no. Inner envelopes are traditionally reserved for the more formal wedding invitation suite. Save the Dates are typically simpler, single-envelope mailings. You can skip the inner envelope without violating etiquette.
When should I send out Save the Dates?
For local weddings, aim to send Save the Dates 6-8 months before your wedding date. For destination weddings or holidays, send them 8-12 months in advance. This gives guests sufficient time to plan travel and accommodations.
Should I address Save the Dates differently for digital vs. physical?
Yes, if you’re sending digital Save the Dates, the “addressing” is typically just ensuring you have the correct email address for each guest. Physical Save the Dates require the full mailing address and formal etiquette detailed here. The method dictates the approach.
What if I don’t know a guest’s plus-one’s name yet?
For Save the Dates, it’s best to address only the known guest. For example, “Mr. John Smith.” You can then address the formal invitation to “Mr. John Smith and Guest” once you are closer to the wedding date and have a better idea of who they might bring. This provides flexibility.
Our Top Recommended Finds
Making the addressing process easier starts with the right tools. These items can elevate your stationery game.
- High-Quality Addressing Pens: A set of fine-tip, archival-quality pens ensures your handwriting is neat and smudge-free. They make a tangible difference in presentation.
- Custom Return Address Stamp: A personalized stamp saves countless hours of handwriting your return address and adds a polished, consistent look. It’s a worthwhile investment.
- Premium Envelopes: While often included with your Save the Dates, consider ordering extra high-quality, slightly thicker envelopes. They feel more substantial and protect your inserts better.
Crafting Your Announcement with Confidence
Addressing Save the Dates is more than just writing names on paper; it’s your first direct communication about your special day. By following these steps, you’ll ensure every envelope is a perfect messenger.
Take these guidelines and apply them to your guest list. Start today, one envelope at a time, and enjoy the satisfaction of seeing your wedding journey unfold beautifully.
Wedding Planning
No fluff, no drama. Just easy weekly advice, planning shortcuts, and gentle reminders to help you actually enjoy your engagement.