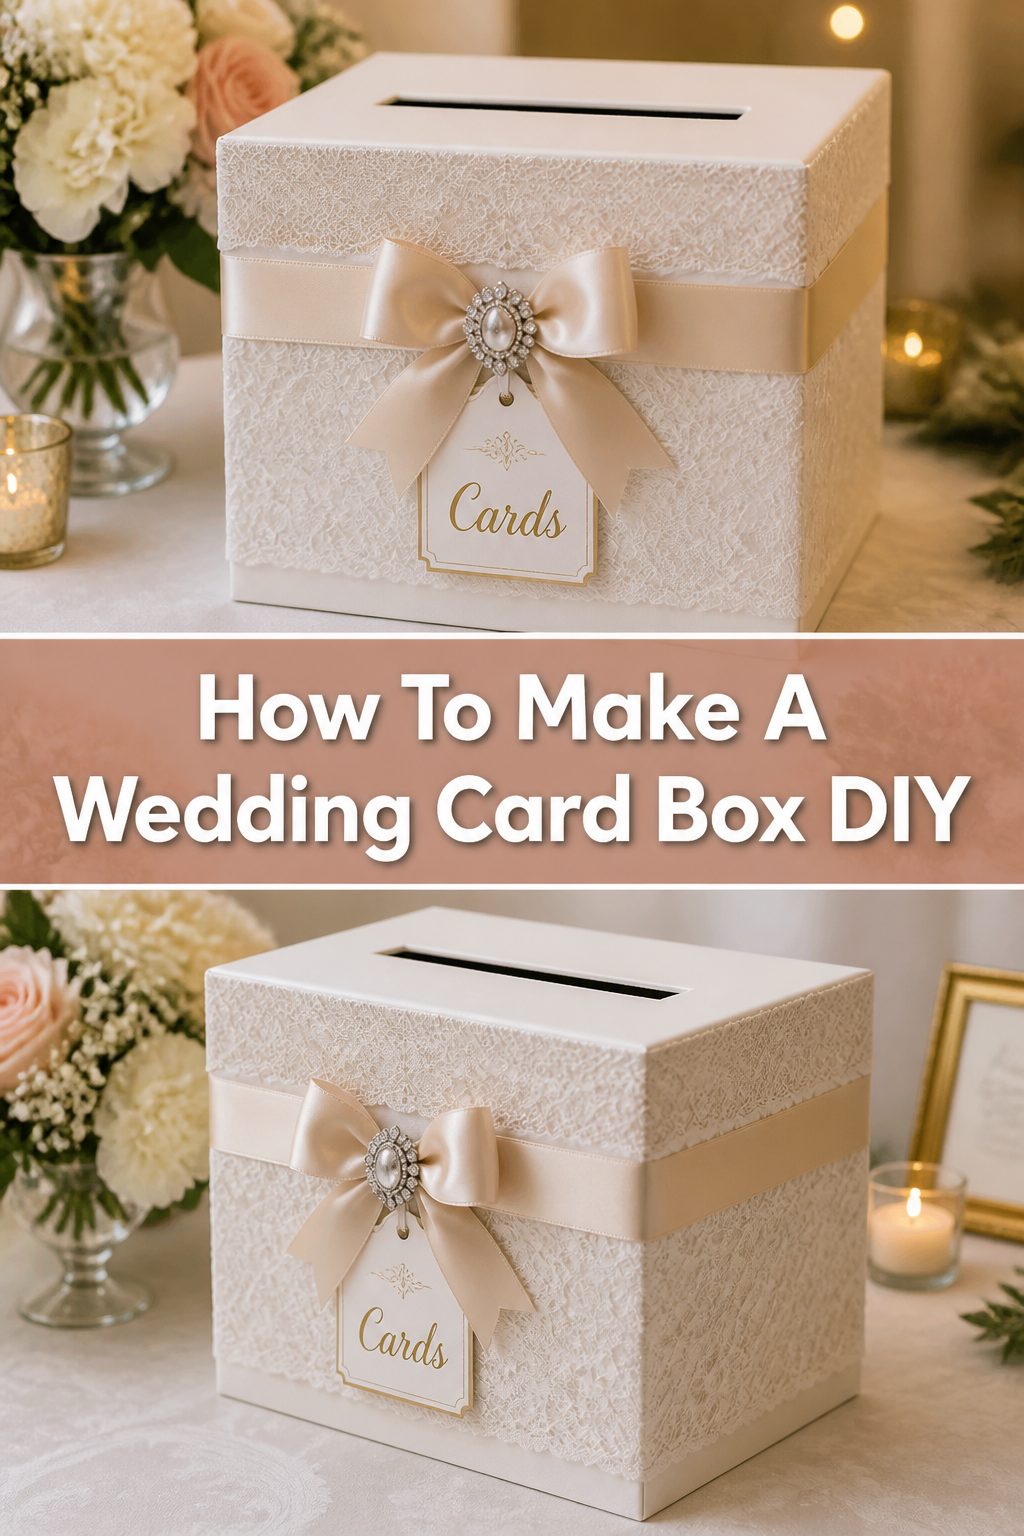
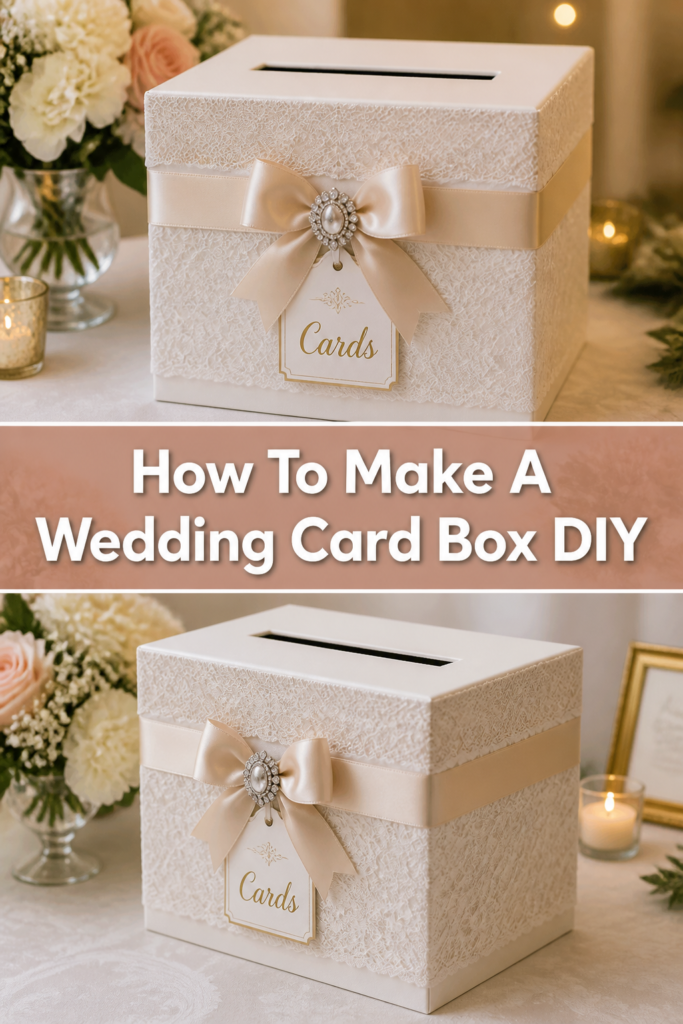
📦 How To Make A Wedding Card Box DIY
Your wedding day is a tapestry woven with personal touches. Creating a DIY wedding card box adds a truly unique element to your reception. It’s a wonderful way to infuse your personality into the celebration.
I’ve seen firsthand how a handmade card box can become a cherished keepsake, long after the last dance. This guide will walk you through every step, ensuring your creation is both beautiful and functional. You’ll feel a sense of pride as guests admire your thoughtful craftsmanship.
Quick Overview
Making your own wedding card box is a rewarding project that allows for immense personalization. You will craft a sturdy, elegant receptacle for your guests’ well wishes and gifts. This guide covers everything from material selection to decorative flourishes.
- Time needed: 4-6 hours (spread over a few days for drying)
- Difficulty: Intermediate
- What you’ll need: Sturdy cardboard boxes, craft knife, ruler, cutting mat, strong adhesive, decorative papers, embellishments
Step-by-Step Instructions
Step 1: Gather Your Materials and Tools
Before you begin, collect all necessary items to ensure a smooth crafting process. Having everything at hand prevents interruptions and keeps your workflow efficient. A well-stocked workspace is your first step to success.
You will need at least two sturdy cardboard boxes of different sizes, one slightly smaller than the other. Think about the overall height and width you desire for your finished card box. A strong craft knife with sharp blades is essential for clean cuts.
Always use a self-healing cutting mat to protect your work surface. A metal ruler will guide your cuts and measurements accurately. Gather strong adhesive, such as hot glue, super glue, or a heavy-duty craft glue, and masking tape for temporary holds.
For decoration, consider cardstock, scrapbook paper, fabric, ribbon, lace, artificial flowers, or paint. Think about your wedding colors and theme when choosing your decorative elements. Don’t forget a pencil for marking and an eraser for mistakes.
Step 2: Plan Your Design and Dimensions
Visualizing your final card box before cutting is crucial. Sketch out a few design ideas, considering the shape and size. Decide if you want a simple single-tier box or a more elaborate multi-tiered structure.
Determine the dimensions for each box you plan to use. The bottom box should be the largest, providing a stable base. The top box will be smaller, often where the card slot is placed.
Measure the approximate size of a standard greeting card to ensure your slot is wide enough. A typical card is around 5×7 inches, so aim for a slot at least 8-9 inches long and about 1 inch wide. Write down all your measurements clearly.
Pro Tip: Consider the number of guests you expect. A larger guest list might require a bigger card box to accommodate all the envelopes comfortably. Don’t underestimate the volume of cards!
Step 3: Prepare Your Boxes for Assembly
Carefully dismantle your cardboard boxes by cutting along the glued seams. This allows you to lay them flat, making it easier to measure and cut new shapes. Remove any old tape or labels for a clean surface.
Using your metal ruler and pencil, mark out the new dimensions for your box components. You’ll be cutting new sides, a top, and a bottom for each tier. Ensure all lines are straight and precise.
With your craft knife and cutting mat, carefully cut along your marked lines. Always cut away from your body and use multiple shallow passes rather than one deep cut. This ensures cleaner edges and greater safety.
Step 4: Create the Card Slot
Decide which box will house the card slot, typically the top tier. Mark the exact location and dimensions for your slot on the top panel of this box. The slot should be centered for aesthetic balance.
Measure the length and width carefully, remembering to accommodate larger envelopes. Use your metal ruler to ensure straight lines for your slot. A well-placed slot looks much more professional.
Carefully cut out the slot using your craft knife. Take your time to make clean edges, as this opening will be visible. You might need to use a smaller, sharper blade for precise corners.
Pro Tip: If you’re nervous about a clean cut, draw the slot on a separate piece of scrap cardboard first. Practice cutting it out to get a feel for the pressure and technique needed before working on your actual box piece.
Step 5: Assemble the Box Structures
Begin by folding your cut cardboard pieces along their score lines to form the box shapes. Use masking tape to temporarily hold the edges together. This allows you to check for fit before applying permanent glue.
Once you are satisfied with the fit, apply your strong adhesive along the seams. Press firmly and hold each joint in place until the glue begins to set. Work on one seam at a time to maintain control.
Repeat this process for all sides of each box tier. Allow ample drying time for each box to fully cure before moving on. This prevents your structure from falling apart during subsequent steps.
Step 6: Stack and Secure the Tiers
If you’re creating a multi-tiered box, it’s time to stack them. Apply a generous amount of strong adhesive to the top surface of the larger, bottom box. Carefully center the smaller box on top.
Press down firmly and hold the boxes together until the glue takes hold. You might want to place a heavy object on top of the stacked boxes while the glue dries. This ensures a strong, permanent bond.
Consider adding internal cardboard supports if your boxes feel at all wobbly. You can cut strips of cardboard and glue them vertically inside the boxes, connecting the top and bottom panels. This adds significant structural integrity.
Step 7: Reinforce and Refine the Structure
Once the main box structure is assembled and dry, inspect all seams for any gaps or weaknesses. Apply more glue where necessary to reinforce any fragile areas. A sturdy box is paramount for holding cards securely.
For added strength, you can cut strips of cardboard and glue them along the inside corners of the boxes. This creates an internal bracing system. It’s a hidden step that makes a big difference in durability.
Smooth out any rough edges with fine-grit sandpaper if needed. This prepares the surface for decorating, ensuring a sleek finish. A well-prepped surface is essential for professional-looking results.
Step 8: Decorate Your Card Box
Now comes the fun part – personalizing your card box! Begin by covering the entire exterior of your box with your chosen decorative material. This could be elegant cardstock, patterned scrapbook paper, or fabric.
Apply a thin, even layer of craft glue or spray adhesive to the box surface or the back of your paper/fabric. Smooth out any air bubbles as you apply the material, working slowly and carefully. Trim any excess neatly with your craft knife.
Once the base covering is dry, start adding your embellishments. Attach ribbons, lace, faux flowers, glitter, or personalized monograms. Use hot glue for quick adhesion of larger decorative elements.
Consider adding a personalized touch like the couple’s names and wedding date. You can use vinyl lettering, stencils, or hand-calligraphy for this. Ensure all decorative elements are securely attached.
Step 9: Add Finishing Touches and Details
Inspect your decorated box from all angles to ensure everything is neat and secure. Touch up any areas where glue might be visible or where edges aren’t perfectly aligned. Small details make a big impact.
You might want to line the inside of the card box with a complementary fabric or paper. This adds a luxurious feel and hides any internal cardboard seams. It’s a nice touch for a complete look.
Consider adding small felt pads to the bottom of your box. This protects the surface it sits on at the reception and prevents scratching. It’s a thoughtful and practical addition.
Common Mistakes to Avoid
Underestimating Material Strength
Many DIYers choose standard moving boxes or thin craft cardboard. These materials often lack the necessary rigidity to support the weight of numerous cards. A flimsy box can sag or collapse, which is certainly not ideal for your wedding day. Always opt for heavy-duty corrugated cardboard or thick chipboard to ensure your card box remains sturdy and upright throughout the reception.
Rushing the Glue/Drying Process
Impatience is a common pitfall in crafting. Applying decorations or stacking tiers before the glue is fully cured can lead to weak bonds and a messy finish. Hot glue sets quickly, but many strong craft glues require several hours, or even overnight, to achieve maximum strength. Always check the manufacturer’s instructions for drying times and allow adequate time for each adhesive application to dry completely.
Ignoring Card Slot Size
It’s easy to cut a slot that looks good but isn’t practical. A slot that is too narrow or too short will struggle to accommodate larger greeting cards or thicker envelopes. Guests may struggle to insert their cards, potentially damaging both the card and your box. Measure common card sizes and then add a buffer to ensure the slot is generously sized, allowing cards to slide in effortlessly.
Over-Decorating
While personalization is encouraged, sometimes less is more. Piling on too many embellishments can make your card box look cluttered and detract from its elegance. It can also make the box top-heavy or difficult to handle. Choose a few key decorative elements that align with your wedding theme and colors, allowing them to stand out without overwhelming the overall design.
Troubleshooting
Box Feels Flimsy or Unstable
If your assembled box feels less than sturdy, don’t panic. This often happens if the cardboard wasn’t thick enough or if glue wasn’t applied generously. You can reinforce it by cutting additional strips of cardboard and gluing them along the inside corners and seams. These internal braces add significant structural integrity.
Another solution is to line the entire inside of the box with an additional layer of sturdy cardstock or thin wood veneer. This adds rigidity to all panels. Allow plenty of time for any new adhesive to dry completely.
Decorations Aren’t Sticking Properly
Sometimes, certain materials like slick papers or fabrics resist common craft glues. Ensure your surfaces are clean and free of dust or oils before application. For stubborn materials, try a different type of adhesive.
Hot glue works well for heavier embellishments, while spray adhesive offers an even, strong bond for paper or fabric coverings. For very smooth surfaces, a specialized super glue or epoxy might be necessary. Apply firm pressure for a few seconds to help the bond set.
Card Slot Edges Are Rough or Jagged
A ragged card slot can detract from an otherwise beautiful box. This usually occurs from using a dull craft knife or trying to cut too quickly. You can clean up rough edges by carefully trimming them with a fresh, sharp blade.
For a really professional finish, consider gluing a thin strip of ribbon, lace, or decorative trim around the edge of the slot. This hides any imperfections and adds a lovely decorative border. You can also use a small piece of sandpaper to gently smooth the cardboard edges before decorating.
Key Takeaways
- Plan Ahead: Sketch your design and measure carefully before making any cuts.
- Quality Materials: Use sturdy, heavy-duty cardboard for a durable and stable structure.
- Patience with Glue: Allow ample drying time for all adhesives to ensure strong bonds.
- Practical Slot: Design a card slot that is generously sized to accommodate various envelope dimensions.
- Personalize Thoughtfully: Choose decorations that complement your wedding theme without overwhelming the design.
- Reinforce Internally: Add internal cardboard braces to enhance the box’s overall strength and longevity.
Frequently Asked Questions
Can I use a pre-made box for this project?
Absolutely, using a pre-made sturdy box can save significant time and effort. Just ensure it’s made of strong material and is the right size for your needs. You’ll still need to cut the card slot and complete all the decorative steps. This is a great option for those with less crafting experience.
What’s the best type of adhesive to use?
For structural integrity, a heavy-duty craft glue, wood glue, or even hot glue (used carefully) works best for cardboard. For decorative papers and fabrics, a spray adhesive or high-quality craft glue is ideal. Ensure your chosen adhesive is suitable for the materials you are combining.
How far in advance should I make my card box?
It’s wise to start your card box several weeks or even a month before the wedding. This allows plenty of time for glue to dry, for you to troubleshoot any issues, and to gather all your decorative elements without last-minute stress. Plus, it gives you time to enjoy the creative process.
What if I’m not very crafty?
Don’t worry! Start with a simpler design, perhaps a single-tier box. Focus on clean cuts and strong adhesion. You can always use simpler decorative elements like pre-made ribbons, stick-on letters, or just a beautiful patterned paper. The effort and personal touch matter more than perfection.
Our Top Recommended Finds
- Heavy-Duty Craft Knife Set: A good quality knife with various blade sizes and plenty of sharp replacements makes precise cutting much easier and safer.
- Industrial Strength Craft Adhesive: Look for glues specifically designed for cardboard, fabric, and paper. Brands like E6000 or Gorilla Glue offer reliable bonds for structural elements.
- Self-Healing Cutting Mat: Essential for protecting your work surfaces and providing a stable base for cutting. A large size is always beneficial for bigger projects.
Craft Your Wedding Day Masterpiece
Creating your own wedding card box is more than just a DIY project; it’s an act of love. You’re building a unique piece that reflects your journey and style. This handmade touch will be noticed and appreciated by your guests, becoming a talking point at your celebration.
Imagine the joy of seeing your creation beautifully displayed, holding all the heartfelt wishes from loved ones. Why wait to add this personal flourish to your big day? Gather your supplies and start crafting your one-of-a-kind wedding card box today. Your future self will thank you for this cherished memory.