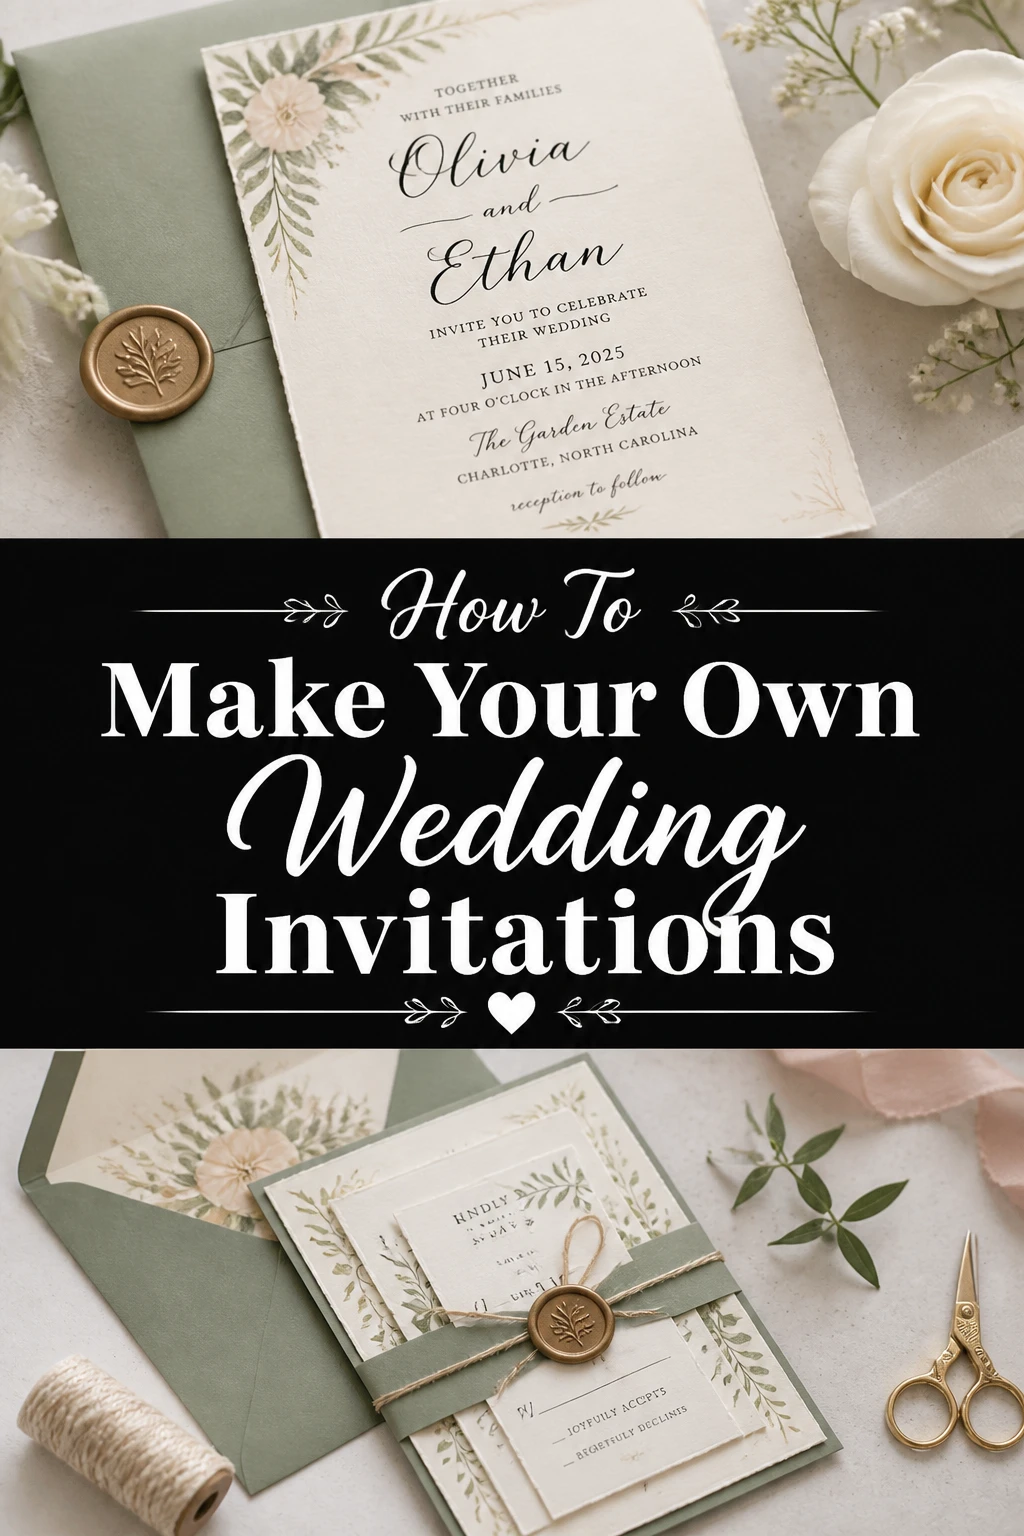
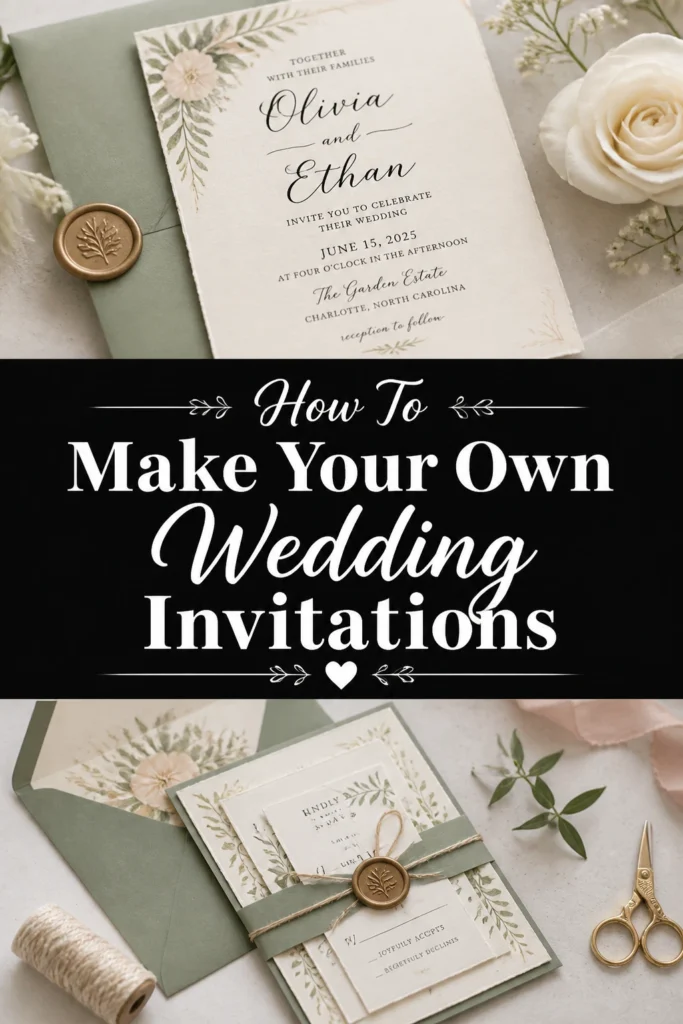
👰♀️ How To Make Your Own Wedding Invitations

Wedding Planning
No fluff, no drama. Just easy weekly advice, planning shortcuts, and gentle reminders to help you actually enjoy your engagement.
Planning a wedding is a beautiful journey, filled with personal touches and heartfelt decisions.
Creating your own invitations can be one of the most rewarding parts of this process, adding a unique stamp to your special day.
Having helped friends and family with their DIY wedding stationery, I’ve seen firsthand the joy and satisfaction it brings, and I’m excited to share a practical approach with you.
Quick Overview
This guide will walk you through designing and assembling your very own wedding invitations, saving you money and infusing your personality into every detail.
You’ll learn how to choose materials, create a design, print, and put everything together beautifully.
- Time needed: 20-40 hours (spread over several weeks, depending on complexity)
- Difficulty: Intermediate
- What you’ll need: Computer, design software, printer, quality paper, cutting tools, adhesives, embellishments.
Step-by-Step Instructions
Step 1: Set Your Vision and Budget
Before diving into designs, decide on the overall feel of your wedding. This will guide your invitation style.
Consider your wedding colors, theme, and formality. Will it be rustic, elegant, modern, or whimsical?
Equally important is establishing a realistic budget for materials, printing, and any tools you might need.
DIY can save money, but costs can add up if not managed carefully.
Pro Tip: Collect inspiration from Pinterest, wedding blogs, and stationery shops. Create a mood board to keep your design consistent.
Step 2: Gather Your Wording and Information
Draft all the essential information your guests need. This includes your names, the date, time, and location of the ceremony and reception.
Think about any additional inserts like RSVP cards, directions, accommodation details, or a wedding website address.
Decide on the tone of your wording – formal, casual, or somewhere in between. Proofread everything carefully, then have a trusted friend or family member proofread it again.
Step 3: Choose Your Invitation Components and Paper
Standard invitations often include the main invite, an RSVP card with an envelope, and an enclosure card for extra details.
You might also want belly bands, envelope liners, or wax seals.
Selecting the right paper is crucial for a professional look. Consider cardstock weight (measured in GSM or pounds), texture, and color.
Matte, linen, vellum, and metallic finishes offer different aesthetics.
Pro Tip: Order paper samples from a few different suppliers. This lets you feel the quality and see the true colors before committing to a bulk purchase.
Step 4: Design Your Invitations
This is where your vision comes to life. You can use various design tools, from free online editors to professional software.
Start with a template or create your design from scratch, incorporating your chosen fonts, colors, and graphics.
Ensure all text is legible and properly aligned. Leave enough margin around the edges for a clean cut.
Create separate files for each component: the main invite, RSVP card, and any enclosure cards.
Step 5: Print Your Invitations
Once your designs are finalized, it’s time to print. You have a few options here: home printing or professional printing.
For home printing, use a high-quality inkjet or laser printer with the correct paper settings.
Do a test print on plain paper first to check layout and spelling, then print a single copy on your chosen cardstock to check color and quality.
For professional printing, save your files as high-resolution PDFs with bleed marks. This ensures crisp, vibrant results and accurate cutting.
Pro Tip: If printing at home, buy extra paper. Mistakes happen, and having a buffer prevents last-minute stress.
Step 6: Cut and Assemble Your Invitations
Precision cutting makes a big difference in the final product. Use a paper trimmer or craft knife with a cutting mat and ruler for straight edges.
Score any fold lines on cards or envelopes before folding to get crisp, clean creases.
Begin assembling each invitation set. Place the main invitation at the bottom, then layer the enclosure cards neatly on top.
Secure everything with a belly band or a small dot of adhesive, if desired.
Step 7: Address and Mail Your Invitations
Address your outer envelopes clearly and consistently. You can hand-write them, use custom address labels, or print directly onto the envelopes.
Consider using a calligraphy font for a touch of elegance.
Before mailing, take one completed invitation set to the post office. Have them weigh it to determine the correct postage, especially if you have multiple inserts or unique shapes.
This prevents returns due to insufficient postage.
Common Mistakes to Avoid
Ignoring the Proofreading Stage
It’s easy to overlook typos or incorrect dates when you’ve been staring at the same design for hours. Skipping thorough proofreading can lead to costly reprints and embarrassment.
Always have multiple people review your final design files before printing, checking for accuracy in names, dates, times, addresses, and spelling.
Underestimating Time and Effort
Creating DIY invitations is a labor of love, but it takes significant time for design, printing, cutting, and assembly. Many couples underestimate the hours involved.
Start your invitation project well in advance of your desired mailing date, ideally 4-6 months before the wedding, to avoid last-minute rush and stress.
Forgetting About Postage Costs
Unique shapes, extra thick cardstock, or multiple inserts can increase the weight and dimensions of your invitation suite. This often means higher postage rates than a standard letter.
Always weigh a fully assembled invitation at the post office before buying stamps to ensure you apply the correct postage and prevent invitations from being returned.
Compromising on Paper Quality
While DIY aims to save money, cutting corners on paper quality can make your invitations look less professional. Thin or flimsy paper can feel cheap and detract from your design.
Invest in good quality cardstock with a weight of at least 100lb (270-300 GSM) for your main invitation. This will give your stationery a luxurious and substantial feel.
Troubleshooting
Print Colors Don’t Match Screen Colors
This is a common issue due to differences in monitor calibration and printer settings. Your screen uses RGB color, while printers use CMYK.
To fix this, ensure your design software is set to CMYK color mode before printing. Do small test prints and adjust your printer’s color settings until you achieve the closest match. Consider a professional print shop if color accuracy is paramount.
Paper Jams in Your Home Printer
Thick cardstock can sometimes cause jams in home printers not designed for heavy paper. Incorrect paper loading or dusty rollers can also be culprits.
Check your printer’s specifications for its maximum paper weight. Load only a few sheets at a time, ensure they are aligned, and clean your printer’s rollers regularly. If problems persist, consider taking your files to a print shop.
Assembling Takes Too Long
Hand-assembling many invitations can be tedious and time-consuming, especially if you have intricate details like ribbon or multiple layers.
Break the task into smaller batches. Set up an assembly line, completing one step for all invitations before moving to the next. Enlist help from your wedding party or close friends for a fun “assembly party.”
Key Takeaways
- Define your wedding style and budget early to guide all design decisions.
- Proofread all wording meticulously with fresh eyes before any printing.
- Invest in quality paper and design tools for a polished, professional finish.
- Print test copies on your chosen paper to check colors and layout.
- Accurately determine postage costs by weighing a complete invitation suite.
- Start your DIY project well in advance to allow for unexpected delays and revisions.
Frequently Asked Questions
What’s the best software for designing invitations?
For beginners, user-friendly online tools like Canva or Adobe Express are excellent. For more advanced designers, Adobe Illustrator or InDesign offer greater control and professional features. Many couples find a balance with a combination of these.
How many invitations should I print?
Always print 10-15 extra invitations beyond your final guest count. These are invaluable for addressing errors, last-minute additions to your guest list, keepsakes, and your photographer to capture on the wedding day.
When should I mail out my wedding invitations?
Generally, invitations should be mailed 6-8 weeks before your wedding date. For destination weddings or if many guests are traveling, aim for 3-4 months prior to allow ample time for travel arrangements.
Can I mix and match DIY with professional printing?
Absolutely! Many couples choose to design their invitations themselves and then have them professionally printed for a high-quality finish. You can also print some components (like main invites) professionally and DIY smaller items (like RSVP cards).
Your Personalized Wedding Journey Starts Now
Making your own wedding invitations is more than just a task; it’s an opportunity to infuse your love story into every fiber of your special day.
It’s a chance to save money, unleash your creativity, and craft a truly memorable first impression for your guests.
Ready to explore more ways to personalize your wedding? Consider DIY favors or creating your own wedding website to complement your invitations.
Don’t wait! Gather your inspiration, choose your favorite tools, and begin designing your unique wedding stationery today.
Wedding Planning
No fluff, no drama. Just easy weekly advice, planning shortcuts, and gentle reminders to help you actually enjoy your engagement.