✨ How To Decorate An Easel For A Wedding
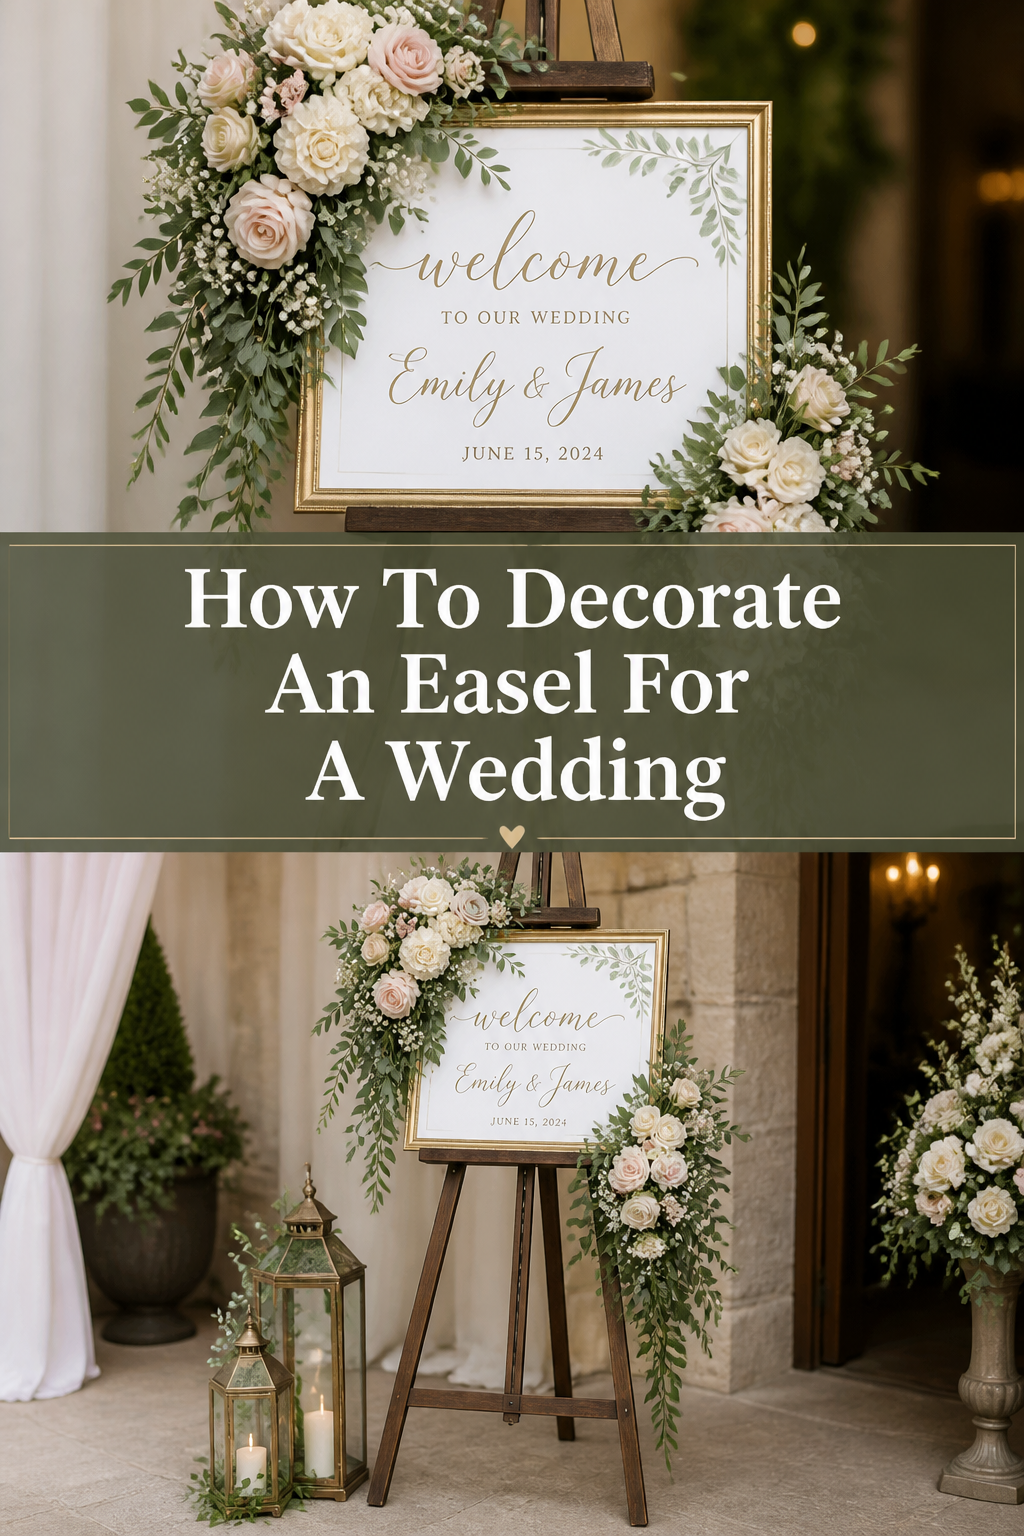
An easel at a wedding is more than just a stand; it’s a focal point, guiding guests or sharing a beautiful message.
Transforming a simple easel into a stunning display requires a thoughtful touch and a few creative ideas.
Having styled countless event spaces, I’ve discovered the secrets to making an easel truly shine on your special day.
Quick Overview
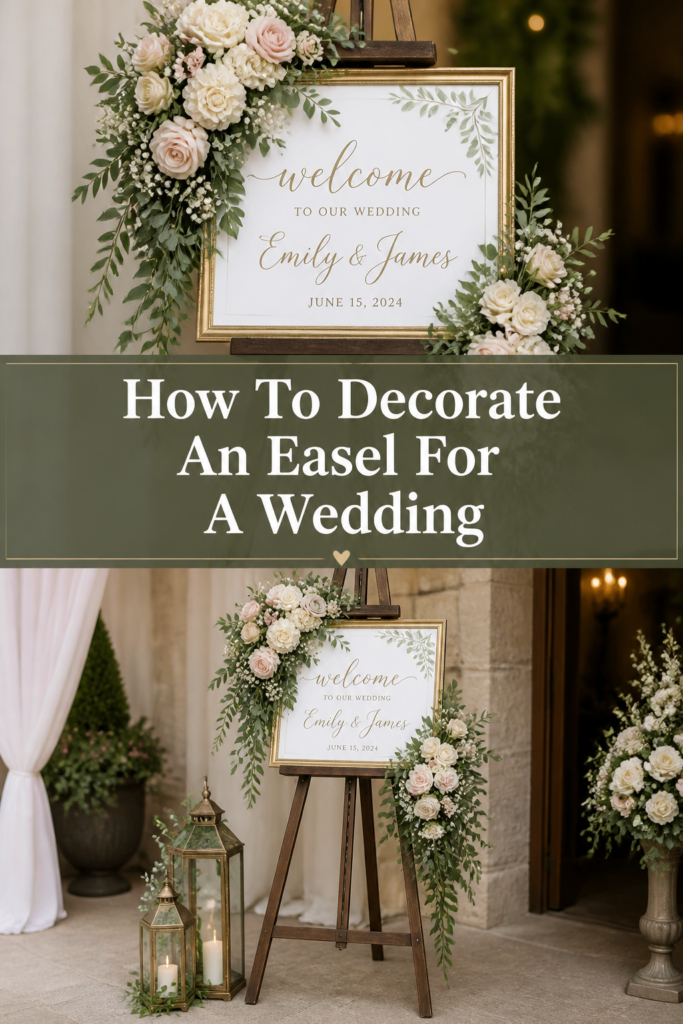
This guide will help you create a breathtaking easel display that complements your wedding theme perfectly.
You’ll learn how to select the right elements and assemble them with confidence, making a memorable statement.
- Time needed: 1-3 hours (depending on complexity and drying times)
- Difficulty: Beginner to Intermediate
- What you’ll need: Easel, sign, florals, greenery, ribbon, lights, adhesive, scissors, wire.
Step-by-Step Instructions
Step 1: Choose Your Easel and Sign
Select an easel that matches your wedding aesthetic. Options range from rustic wooden easels to elegant metallic ones.
Consider the size and material of your wedding sign. A large sign needs a sturdy easel, while a delicate sign might suit a more ornate stand.
Ensure the easel is stable and tall enough to display your sign prominently without being dwarfed by its surroundings.
Pro Tip: Borrow or rent an easel if you don’t want to purchase one. Many wedding venues or rental companies offer them.
Step 2: Gather Your Decorative Elements
Collect all your chosen decor items before you begin. This includes florals, greenery, ribbons, fabric, and potential lighting elements.
Think about your wedding colors and theme when selecting materials. Consistency creates a cohesive and polished look.
Opt for durable flowers and greenery if you’re assembling the easel decor in advance, or choose fresh blooms for same-day setup.
Step 3: Plan Your Design Layout
Visualize where each decorative element will go. Take a photo of the bare easel and sketch your ideas digitally or on paper.
Decide if you want a symmetrical design, an asymmetrical flourish, or a cascade of decor down one side.
Consider the sign itself; some signs have intricate details that should not be obscured by heavy decorations.
Pro Tip: Place the easel and sign in their intended location (or a similar spot) during planning to assess lighting and background.
Step 4: Attach Your Base Greenery
Begin by attaching your foundational greenery, such as eucalyptus, ruscus, or ferns. This creates a natural base for other elements.
Use floral wire or zip ties to secure the greenery to the easel’s frame. Hide the attachments as much as possible.
Allow some greenery to drape naturally, adding movement and softness to the overall design.
Step 5: Incorporate Your Flowers
Insert your chosen flowers into the greenery base. Start with your largest blooms to establish key points of interest.
Distribute flowers evenly or create clusters for visual impact, depending on your planned design.
Secure each flower stem with floral wire, pushing it gently into the greenery until it feels firm.
Pro Tip: For fresh flowers, use floral water tubes for individual stems to keep them hydrated longer, especially in warm weather.
Step 6: Add Ribbons and Fabric
Drape ribbons or fabric through your floral arrangements. Choose materials that complement your wedding attire or table linens.
Tie bows or let long lengths of ribbon cascade elegantly from the top of the easel. This adds a touch of romance.
Experiment with different textures, like sheer organza, satin, or rustic burlap, to enhance the visual appeal.
Step 7: Integrate Lighting Elements
Weave delicate fairy lights or LED string lights through the greenery and flowers. Battery-operated options are ideal for easels.
Ensure the battery pack is discreetly hidden behind the easel or within the denser parts of the greenery.
Test the lights before the event to confirm they are working and provide the desired glow, especially for evening receptions.
Step 8: Final Adjustments and Placement
Step back and review your entire easel display from a distance. Look for any gaps, imbalances, or areas needing refinement.
Trim any unruly stems or adjust elements that look out of place. Ensure all attachments are secure and hidden.
Position the easel carefully at the wedding venue, making sure it stands firmly and is visible to guests without obstructing pathways.
Common Mistakes to Avoid
Over-Decorating the Sign
Sometimes, the desire to add more can detract from the main purpose. An easel’s primary function is to display a sign, whether it’s a welcome message, seating chart, or menu.
Too many flowers, ribbons, or lights can overwhelm the sign, making it hard to read. Focus on framing the sign beautifully, not hiding it. The decor should enhance, not overshadow, the text.
Ignoring Easel Stability
A beautifully decorated easel is useless if it topples over. This is especially true for outdoor weddings where wind can be a factor.
Always ensure your easel is sturdy enough for the sign and its decor. Consider adding weights to the easel’s base or securing it to a nearby structure if possible, particularly in breezy conditions.
Disregarding the Venue’s Aesthetics
Your easel decoration should harmonize with the wedding venue’s existing style. A rustic barn venue might clash with a sleek, modern easel design.
Before you start decorating, take note of the venue’s architecture, colors, and overall ambiance. Choose decor that complements these elements for a seamless and elegant look.
Forgetting About Visibility
The easel needs to be seen and its sign easily readable. Placing it in a dimly lit corner or behind a large plant defeats its purpose.
Think about where guests will approach the easel and ensure it’s well-lit and unobstructed. Consider adding subtle lighting if the area is naturally dark.
Troubleshooting
Easel Keeps Tipping Over
If your easel feels unstable, especially with a heavier sign or in windy conditions, you need to add more weight to the base.
Place discreet sandbags or bricks at the bottom of the easel’s legs, hidden by fabric or extra greenery. You can also anchor it to a nearby immovable object with clear fishing line.
Flowers Are Wilting
Wilting flowers often indicate a lack of water or excessive heat. This is a common issue for outdoor setups or if prepared too far in advance.
For fresh flowers, use floral water tubes on individual stems. Mist the entire arrangement with water periodically if possible. Consider using silk or “real touch” artificial flowers for guaranteed freshness.
Decorations Look Sparse
Sometimes, once everything is assembled, the easel might appear less full than envisioned, revealing gaps or bare spots.
Go back and add more filler greenery like baby’s breath or smaller flower sprigs to fill in any empty spaces. You can also fluff out existing elements or add extra loops of ribbon to create a fuller effect.
Key Takeaways
- Match your easel and sign to your wedding theme for a cohesive look.
- Gather all materials first to streamline the decorating process.
- Plan your design layout to ensure balance and visual appeal.
- Build a strong foundation with greenery before adding flowers and accents.
- Prioritize stability to prevent your beautiful display from toppling.
- Ensure visibility and good lighting so your sign is easily seen and read.
Frequently Asked Questions
Can I use artificial flowers for easel decoration?
Absolutely, artificial flowers are an excellent choice. They offer durability, won’t wilt, and can be prepared well in advance, reducing stress on the wedding day. Modern artificial flowers often look incredibly realistic.
How far in advance can I decorate the easel?
If using artificial flowers and greenery, you can decorate the easel weeks or even months in advance. For fresh flowers, it’s best to assemble the decor on the day of the wedding or the evening before to ensure maximum freshness.
What if my easel is a different color than my wedding theme?
You can easily adapt. Drape fabric over the easel’s frame in your wedding colors, or wrap sections with ribbon. Strategic placement of greenery and flowers can also help camouflage an easel that doesn’t perfectly match.
Should the easel decor match my other floral arrangements?
It’s generally recommended for a cohesive aesthetic. Using similar flowers, greenery, and color palettes across all your wedding decor, including the easel, creates a harmonious and polished overall look for your event.
Our Top Recommended Finds
- Adjustable Wooden Easel: Versatile for various sign sizes and offers a classic, warm aesthetic.
- High-Quality Silk Floral Garlands: Perfect for creating lush, pre-made bases that can be reused or easily adapted.
- Battery-Operated Fairy Lights: Provide a magical glow without the need for an outlet, ideal for any easel placement.
Crafting Your Wedding’s Perfect Welcome
Decorating an easel for your wedding is a wonderful opportunity to infuse your personality into your special day.
With these steps, you can create a charming and functional display that welcomes guests or guides them through your celebration.
Don’t hesitate to begin planning your easel decor today, adding a beautiful, personal touch to your wedding journey.