🎂 How To Make A Fake Wedding Cake

Wedding Planning
No fluff, no drama. Just easy weekly advice, planning shortcuts, and gentle reminders to help you actually enjoy your engagement.
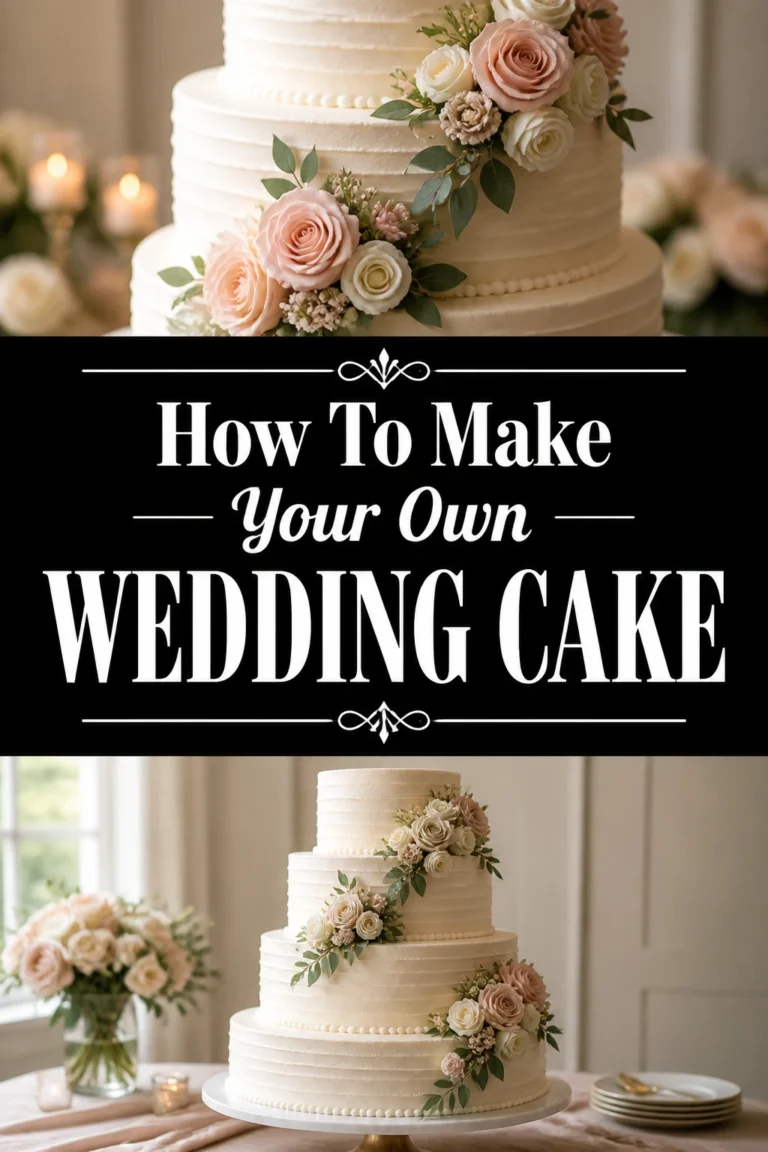
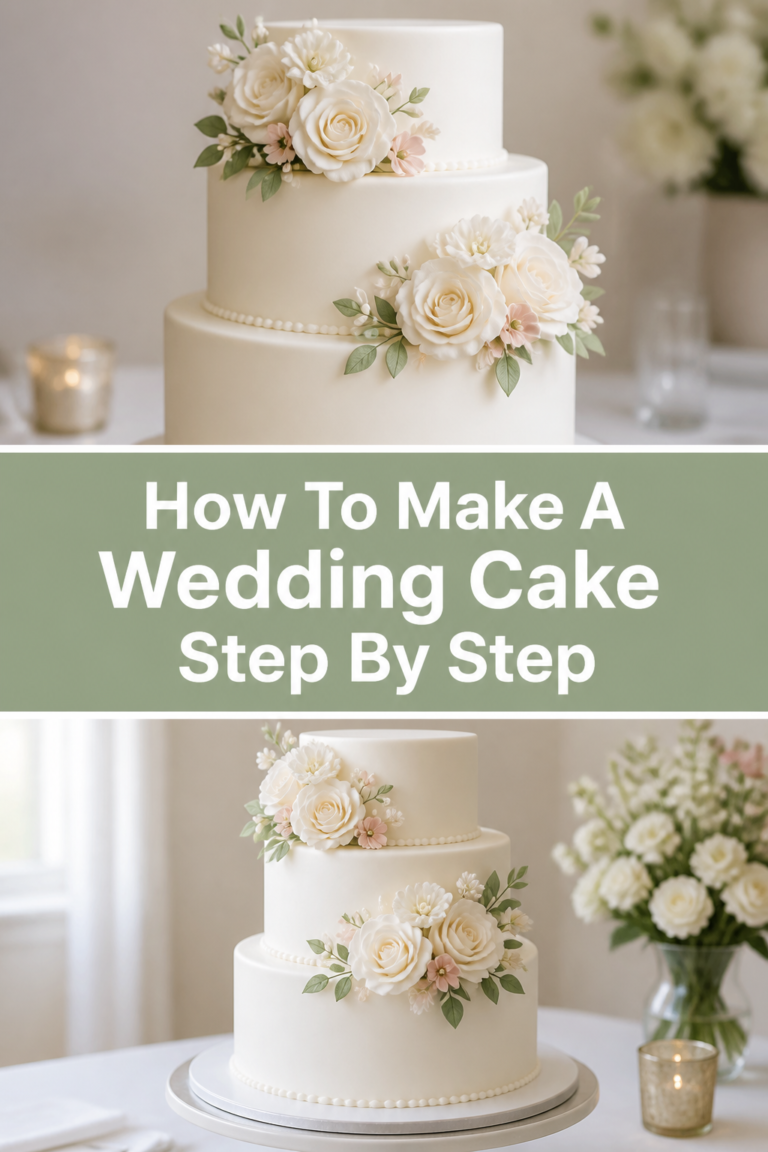
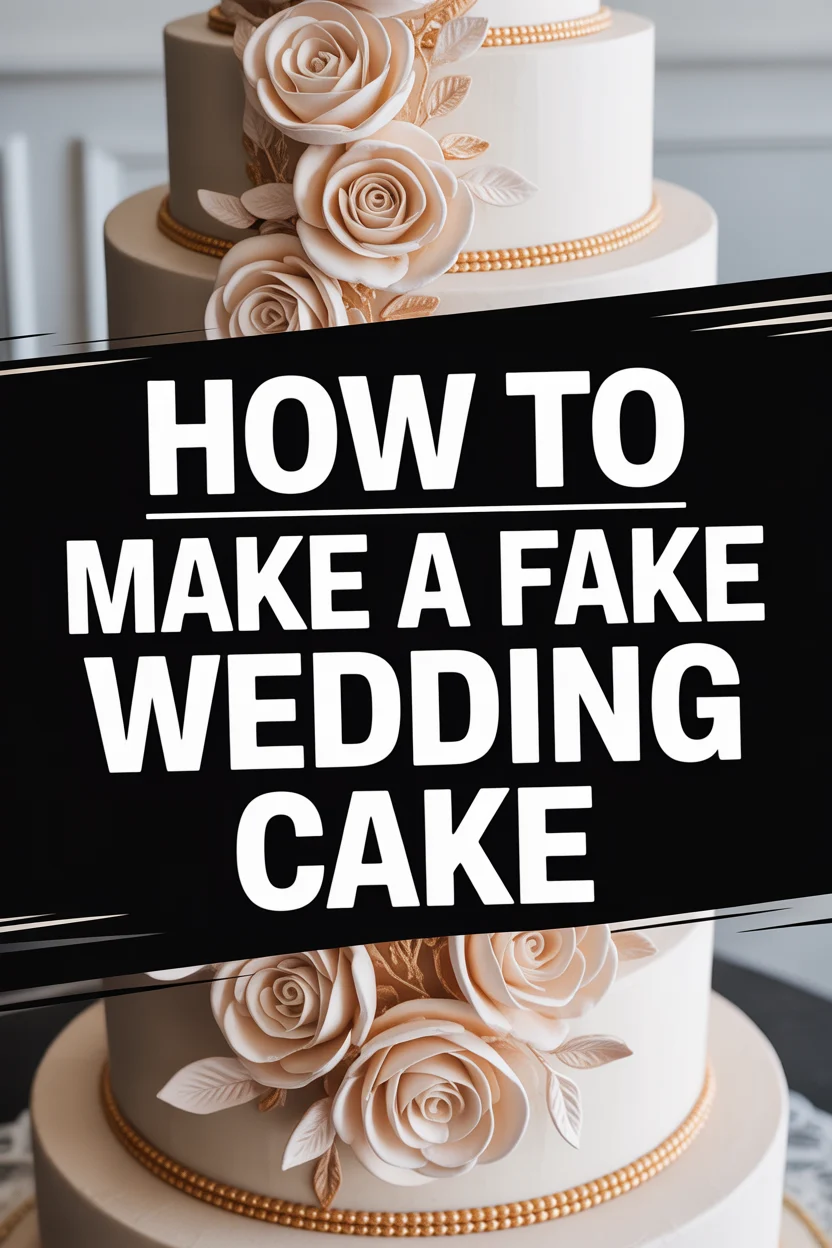
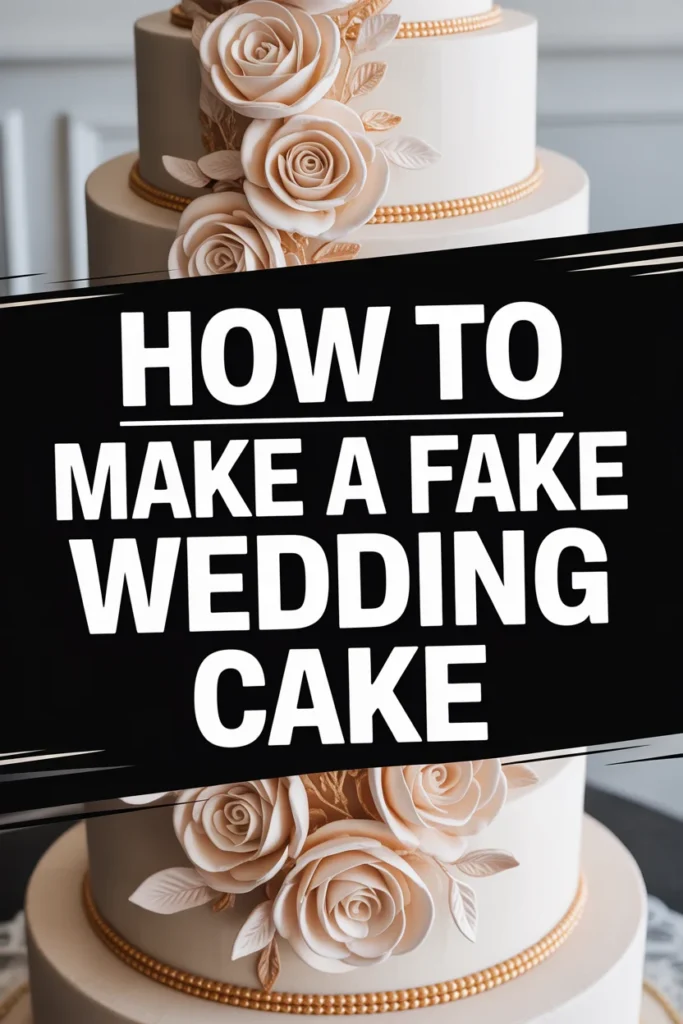
Creating a stunning fake wedding cake offers a beautiful centerpiece without the stress of perishable goods. It’s a fantastic solution for display, photography, or even as a practice piece for aspiring decorators. I’ve personally seen how a well-crafted faux cake can elevate an event, often fooling guests with its realistic appearance. This guide will walk you through every step, ensuring your creation looks absolutely breathtaking.
Quick Overview
This guide will empower you to construct a professional-looking fake wedding cake, perfect for any special occasion or display. You’ll learn how to sculpt, smooth, and decorate your tiers, transforming simple materials into a masterpiece.
- Time needed: 10-15 hours (spread over 2-3 days for drying)
- Difficulty: Intermediate
- What you’ll need: Styrofoam dummies, joint compound/spackle, caulk, paint, various decorating tools.
Step-by-Step Instructions
Step 1: Gather Your Materials and Plan Your Design
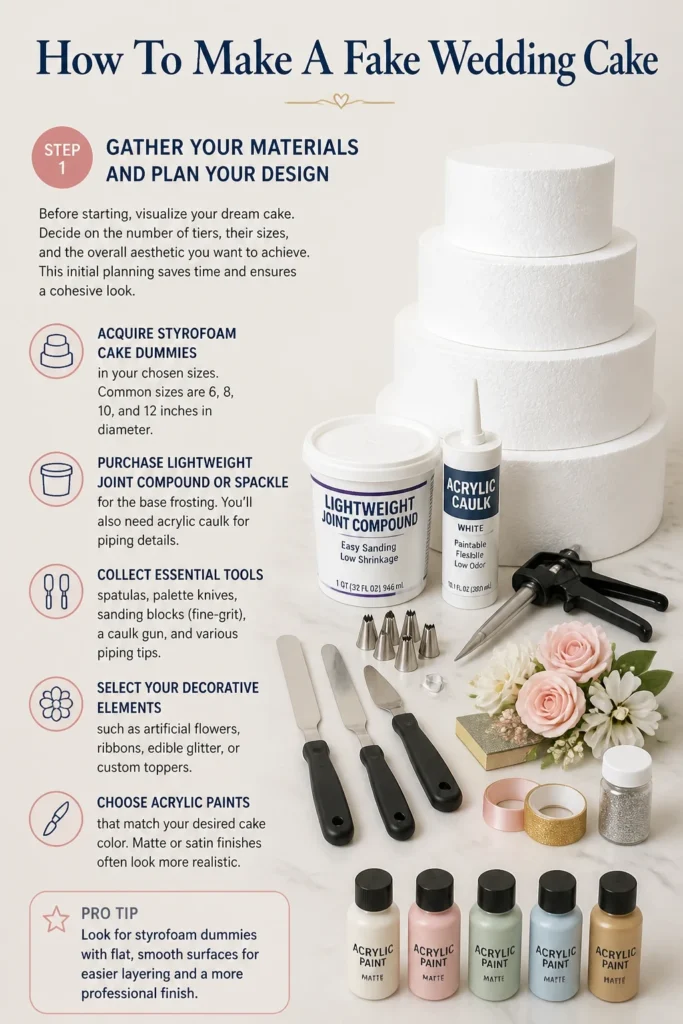
Before starting, visualize your dream cake. Decide on the number of tiers, their sizes, and the overall aesthetic you want to achieve. This initial planning saves time and ensures a cohesive look.
- Acquire styrofoam cake dummies in your chosen sizes. Common sizes are 6, 8, 10, and 12 inches in diameter.
- Purchase lightweight joint compound or spackle for the base “frosting.” You’ll also need acrylic caulk for piping details.
- Collect essential tools: spatulas, palette knives, sanding blocks (fine-grit), a caulk gun, and various piping tips.
- Select your decorative elements such as artificial flowers, ribbons, edible glitter, or custom toppers.
- Choose acrylic paints that match your desired cake color. Matte or satin finishes often look more realistic.
Pro Tip: Look for styrofoam dummies with flat, even surfaces. Any imperfections will show through your “frosting,” requiring extra effort to smooth later.
Step 2: Prepare the Styrofoam Tiers
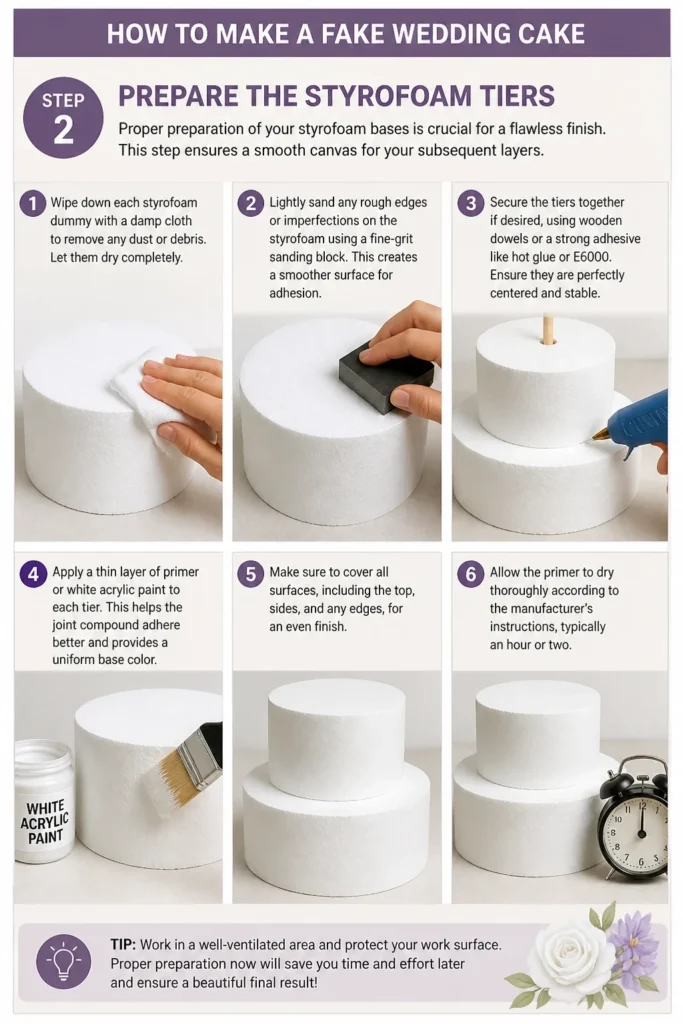
Proper preparation of your styrofoam bases is crucial for a flawless finish. This step ensures a smooth canvas for your subsequent layers.
- Wipe down each styrofoam dummy with a damp cloth to remove any dust or debris. Let them dry completely.
- Lightly sand any rough edges or imperfections on the styrofoam using a fine-grit sanding block. This creates a smoother surface for adhesion.
- Secure the tiers together if desired, using wooden dowels or a strong adhesive like hot glue or E6000. Ensure they are perfectly centered and stable.
- Apply a thin layer of primer or white acrylic paint to each tier. This helps the joint compound adhere better and provides a uniform base color.
- Allow the primer to dry thoroughly according to the manufacturer’s instructions, typically an hour or two.
Step 3: Apply the First Layer of “Frosting”
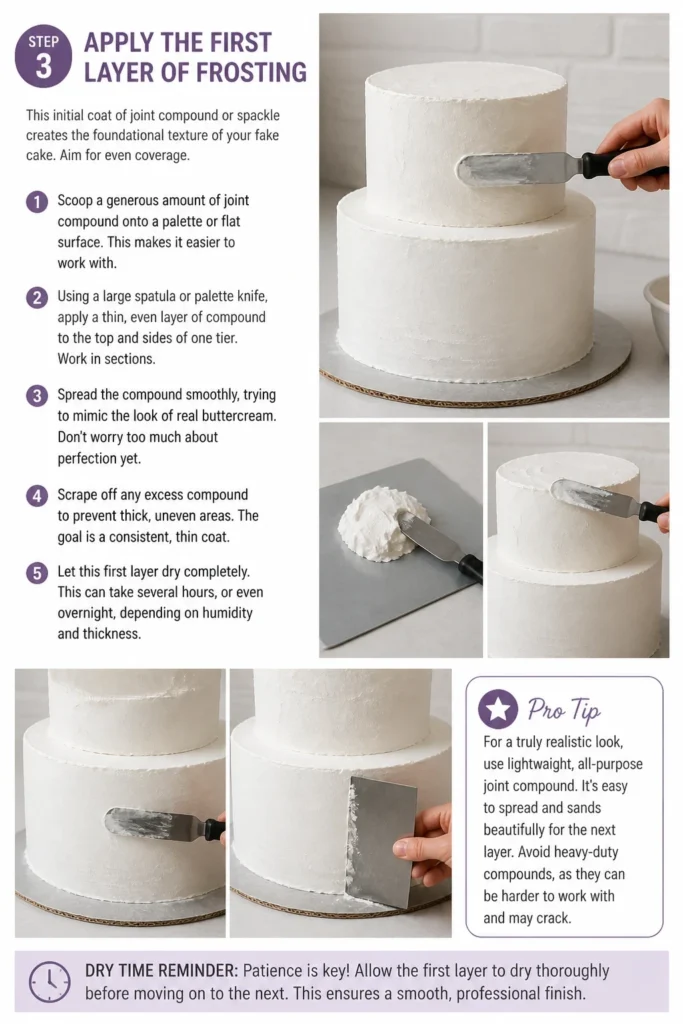
This initial coat of joint compound or spackle creates the foundational texture of your fake cake. Aim for even coverage.
- Scoop a generous amount of joint compound onto a palette or flat surface. This makes it easier to work with.
- Using a large spatula or palette knife, apply a thin, even layer of compound to the top and sides of one tier. Work in sections.
- Spread the compound smoothly, trying to mimic the look of real buttercream. Don’t worry too much about perfection yet.
- Scrape off any excess compound to prevent thick, uneven areas. The goal is a consistent, thin coat.
- Let this first layer dry completely. This can take several hours, or even overnight, depending on humidity and thickness.
Pro Tip: For a truly realistic look, use lightweight, all-purpose joint compound. It’s easy to spread and sand, and dries to a durable, paintable finish.
Step 4: Refine and Smooth the Surface
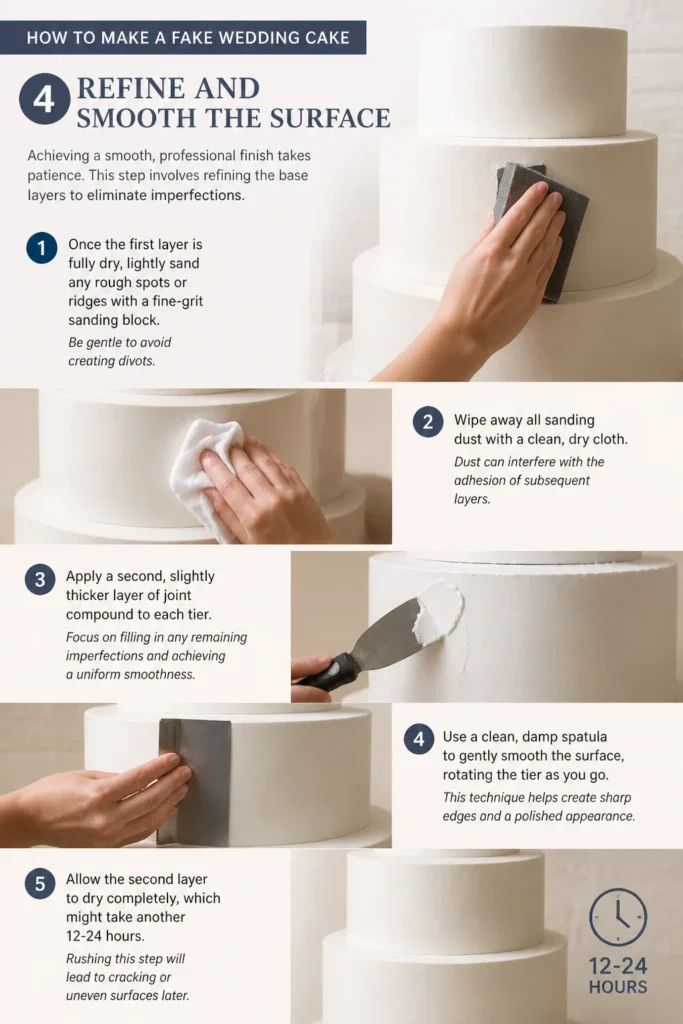
Achieving a smooth, professional finish takes patience. This step involves refining the base layers to eliminate imperfections.
- Once the first layer is fully dry, lightly sand any rough spots or ridges with a fine-grit sanding block. Be gentle to avoid creating divots.
- Wipe away all sanding dust with a clean, dry cloth. Dust can interfere with the adhesion of subsequent layers.
- Apply a second, slightly thicker layer of joint compound to each tier. Focus on filling in any remaining imperfections and achieving a uniform smoothness.
- Use a clean, damp spatula to gently smooth the surface, rotating the tier as you go. This technique helps create sharp edges and a polished appearance.
- Allow the second layer to dry completely, which might take another 12-24 hours. Rushing this step will lead to cracking.
Step 5: Add Decorative Texture and Details
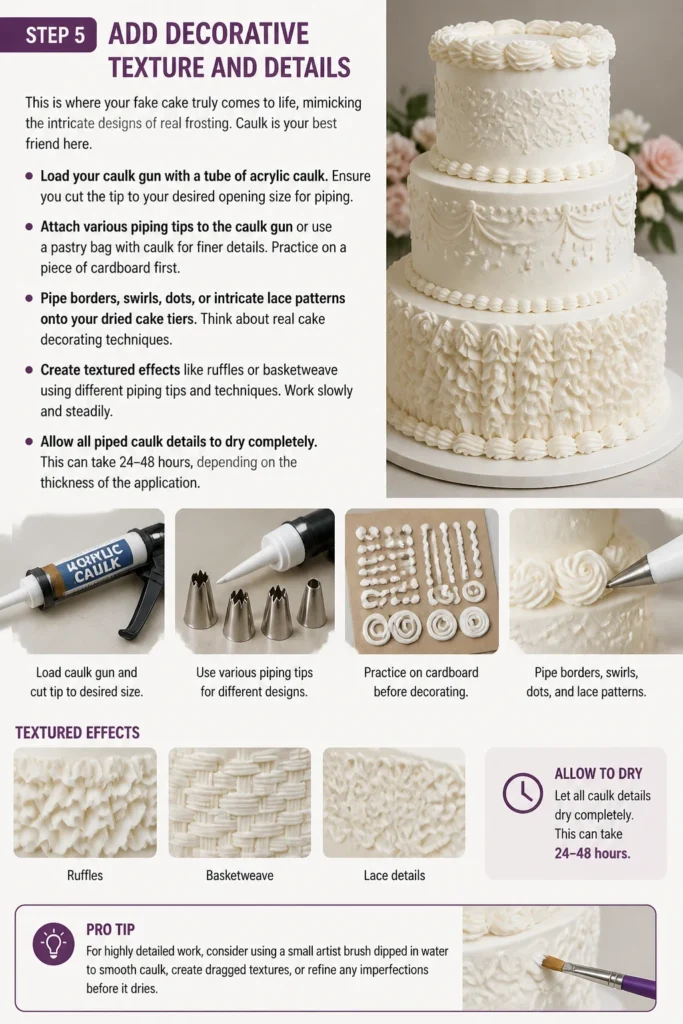
This is where your fake cake truly comes to life, mimicking the intricate designs of real frosting. Caulk is your best friend here.
- Load your caulk gun with a tube of acrylic caulk. Ensure you cut the tip to your desired opening size for piping.
- Attach various piping tips to the caulk gun or use a pastry bag with caulk for finer details. Practice on a piece of cardboard first.
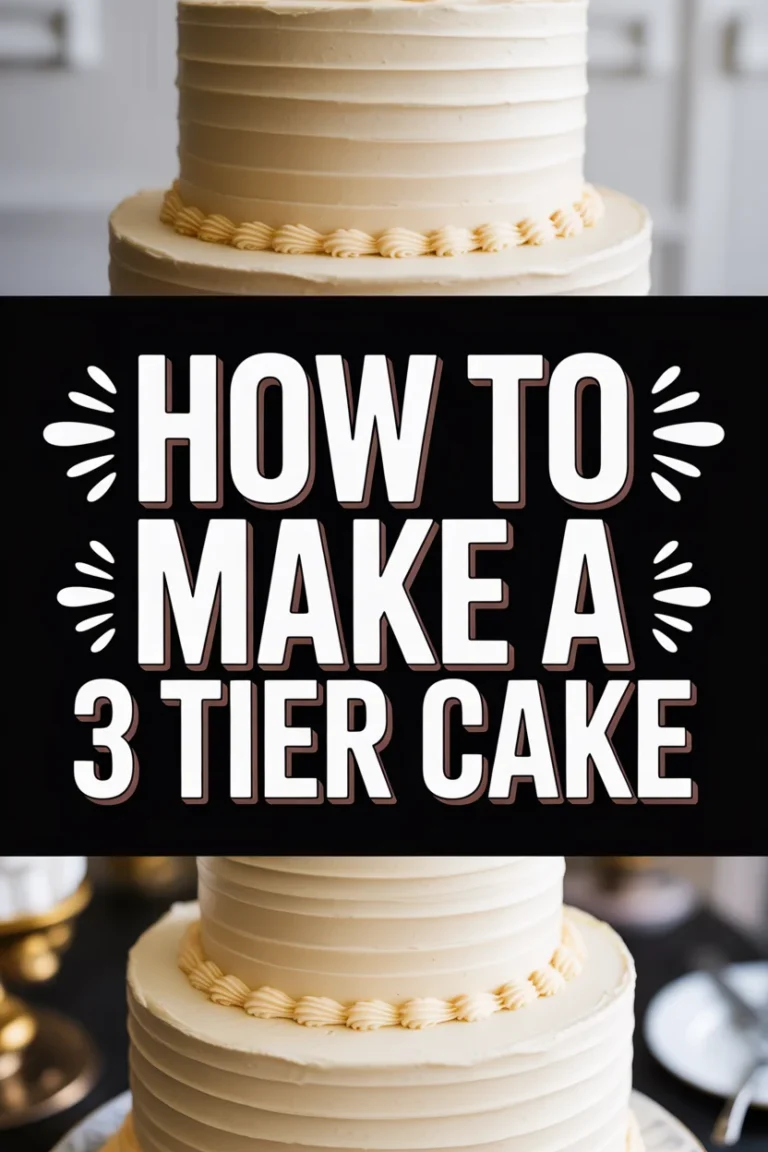
- Pipe borders, swirls, dots, or intricate lace patterns onto your dried cake tiers. Think about real cake decorating techniques.
- Create textured effects like ruffles or basketweave using different piping tips and techniques. Work slowly and steadily.
- Allow all piped caulk details to dry completely. This can take 24-48 hours, depending on the thickness of the application.
Pro Tip: For highly detailed work, consider using a small squeeze bottle with a fine tip filled with caulk. This offers more control than a caulk gun.
Step 6: Paint and Seal Your Masterpiece
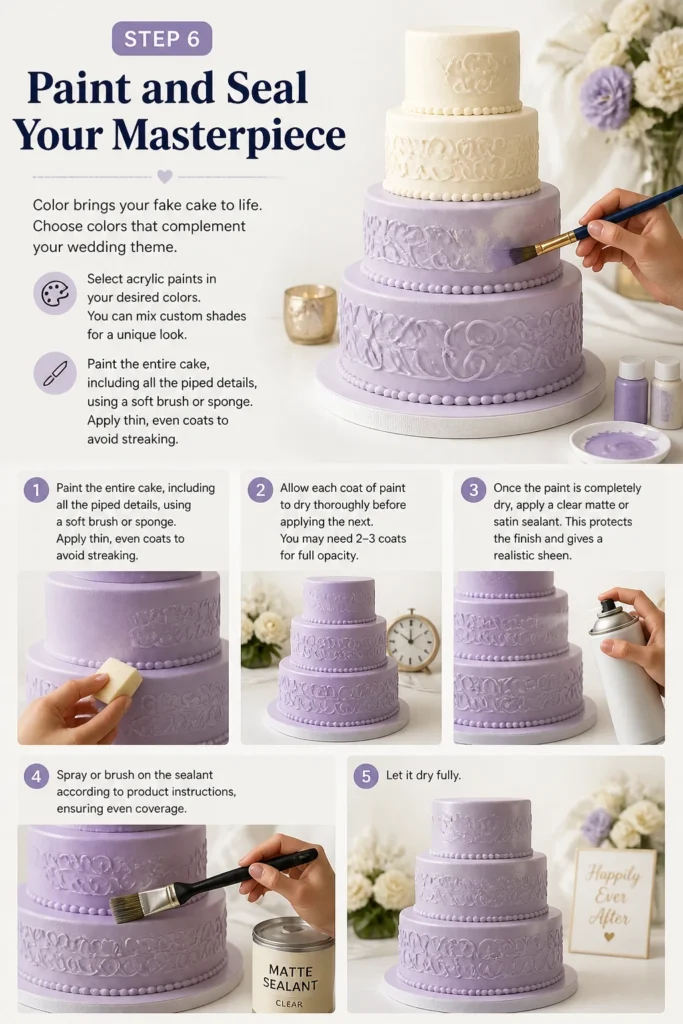
Color brings your fake cake to life. Choose colors that complement your wedding theme.
- Select acrylic paints in your desired colors. You can mix custom shades for a unique look.
- Paint the entire cake, including all the piped details, using a soft brush or sponge. Apply thin, even coats to avoid streaking.
- Allow each coat of paint to dry thoroughly before applying the next. You may need 2-3 coats for full opacity.
- Once the paint is completely dry, apply a clear matte or satin sealant. This protects the finish and gives a realistic sheen.
- Spray or brush on the sealant according to product instructions, ensuring even coverage. Let it dry fully.
Step 7: Embellish and Assemble for Display
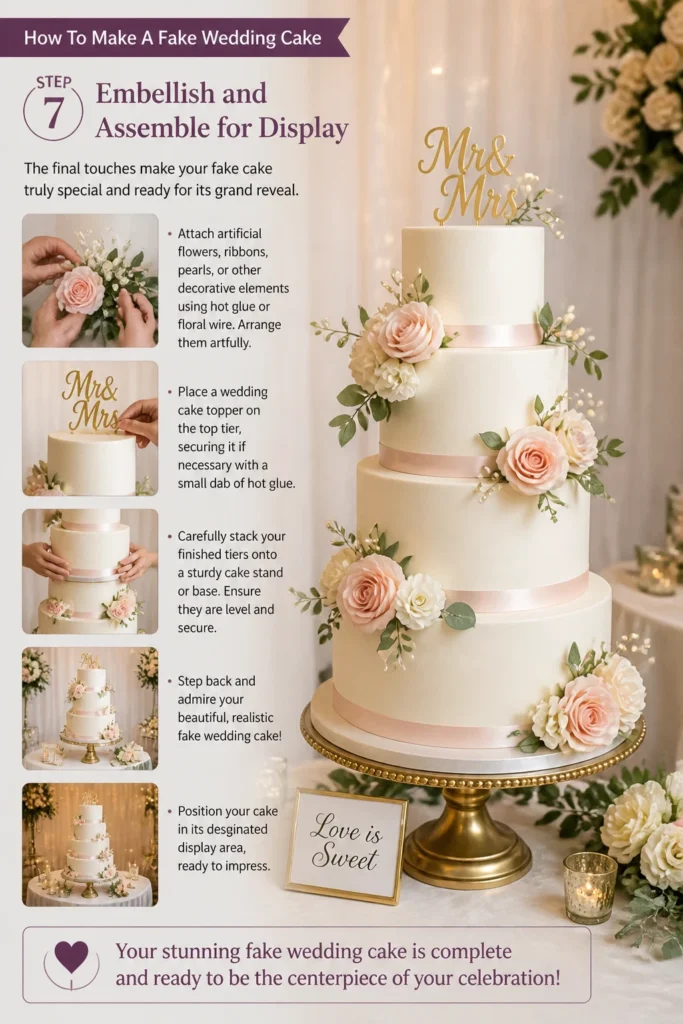
The final touches make your fake cake truly special and ready for its grand reveal.
- Attach artificial flowers, ribbons, pearls, or other decorative elements using hot glue or floral wire. Arrange them artfully.
- Place a wedding cake topper on the top tier, securing it if necessary with a small dab of hot glue.
- Carefully stack your finished tiers onto a sturdy cake stand or base. Ensure they are level and secure.
- Step back and admire your beautiful, realistic fake wedding cake!
- Position your cake in its designated display area, ready to impress.
Common Mistakes to Avoid
Rushing the Drying Process
Attempting to paint or add new layers before the previous ones are fully dry is a common pitfall. This often leads to cracks, uneven textures, or peeling paint. Patience is key; allow ample drying time for each layer of joint compound and caulk, especially in humid environments.
Ignoring Surface Preparation
Skipping the initial sanding and priming of the styrofoam dummies can compromise the final look. Imperfections on the styrofoam will show through, and the joint compound might not adhere properly, leading to a less professional finish. Always ensure a clean, smooth, and primed base.
Over-Applying Texture
While caulk is excellent for creating realistic frosting details, using too much or creating overly thick patterns can make the cake look heavy and artificial. Aim for delicate, controlled piping that mimics the lightness of real buttercream or royal icing. Practice on a spare surface first.
Troubleshooting
Spackle Cracks Appearing After Drying
If you notice fine cracks in your dried spackle, it often indicates the layer was too thick, or it dried too quickly. To fix this, lightly sand the cracked area, then apply a very thin, fresh layer of spackle over it. Allow it to dry slowly and completely.
Uneven Tiers When Assembling
If your tiers appear wobbly or uneven when stacked, your styrofoam bases might not be perfectly level, or the spackle application created an uneven surface. Use a level during assembly. You can insert small shims (like cardboard pieces) discreetly between tiers to correct minor tilts.
Key Takeaways
- Patience is paramount, especially during the drying phases.
- Proper surface preparation ensures a smooth, professional outcome.
- Lightweight joint compound and acrylic caulk are your primary tools for realistic texture.
- Practice piping techniques on a separate surface before applying to the cake.
- Thin, even layers of paint and sealant provide the most realistic finish.
- Embellishments are the final touch that personalizes your display.
Frequently Asked Questions
Can I use real cake for one tier and fake for the rest?
Absolutely, this is a popular option! Many couples choose to have a small, real cutting cake as the bottom tier, with the upper tiers being fake for display. Just ensure the real cake is properly supported and isolated from the fake tiers for hygiene.
How long will a fake wedding cake last?
With proper care, a fake wedding cake can last for many years. Keep it away from direct sunlight, extreme temperatures, and high humidity to prevent damage, discoloration, or cracking. Store it in a sturdy box when not on display.
What’s the best way to transport a fake wedding cake?
For transport, disassemble the tiers if possible and pack them individually in sturdy boxes, cushioned with tissue paper or bubble wrap. If transporting fully assembled, secure the cake stand to a flat, non-slip surface in your vehicle to prevent movement.
Our Top Recommended Finds
- Lightweight Joint Compound: Essential for a smooth, realistic “frosting” base that is easy to work with.
- Assorted Palette Knife Set: Offers various sizes and shapes for applying and smoothing compound, as well as creating textures.
- Acrylic Caulk Gun Kit with Tips: Provides precise control for piping intricate designs and borders, mimicking royal icing.
Craft Your Dream Cake Today
Embracing the art of fake cake making opens up a world of creative possibilities. You’re not just making a decoration; you’re crafting a lasting memory, a stunning centerpiece that perfectly reflects your vision. This detailed guide gives you all the tools and knowledge to succeed.
Don’t hesitate to experiment with different textures, colors, and embellishments. Your imagination is the only limit. Start planning your design and gather your materials. You’ll be amazed at what you can create with a little patience and passion.
Wedding Planning
No fluff, no drama. Just easy weekly advice, planning shortcuts, and gentle reminders to help you actually enjoy your engagement.