❄️ How To Keep Food Cold At A Wedding
Planning a wedding brings so much joy and excitement, but the logistics can feel overwhelming. One critical detail often overlooked is ensuring your delicious food stays perfectly cold and safe. I’ve seen firsthand how quickly a beautiful spread can turn risky if not managed correctly.
This guide shares practical, actionable steps to prevent any food safety mishaps on your special day. You can enjoy your celebration knowing every dish is kept fresh and delightful.
Quick Overview
Keeping wedding food cold is essential for both taste and safety. This guide will help you implement smart strategies from preparation to serving. You’ll learn how to choose the right equipment, pack effectively, and manage temperatures throughout the event.
- Time needed: Varies (2-4 hours for planning, 1-2 hours on event day for setup)
- Difficulty: Intermediate
- What you’ll need: Quality coolers, ice, food thermometers, insulated serving dishes, a clear plan
Step-by-Step Instructions
Step 1: Plan Your Cold Chain Strategy Early
Begin by thoroughly outlining your wedding menu and guest count. This initial assessment helps determine the volume of cold food you’ll need to manage. Consider every item requiring refrigeration, from appetizers to desserts.
Think about the flow of your event, from food arrival to presentation. A detailed timeline ensures no step in the cold chain is missed. Communicate this plan clearly with your caterer or designated food handlers.
Pro Tip: Create a separate “cold food checklist” that includes specific items, quantities, and their required temperatures. This keeps everyone on the same page.
Step 2: Partner with Your Venue and Caterer
Engage in an in-depth conversation with your chosen venue about their refrigeration capabilities. Ask about available walk-in coolers, refrigerators, and freezer space. Understand their protocols for food storage before and during the event.
Discuss your cold food needs with your caterer well in advance. They are experts in food safety and can offer invaluable advice. Confirm their plans for transporting and holding cold food at your venue.
Clarify who is responsible for providing ice, cold holding equipment, and temperature monitoring. This avoids last-minute confusion and ensures all bases are covered.
Step 3: Select Cold-Friendly Menu Items
Opt for dishes that naturally hold their temperature well or are less susceptible to rapid spoilage. Salads with robust greens, chilled seafood, fruit platters, and cheese boards are excellent choices. Avoid highly perishable items like mayonnaise-based salads if cold storage is a concern.
Consider items that can be prepared in smaller batches. This allows for frequent replenishment, keeping the main supply safely chilled. Smaller portions also reduce the time food sits out at room temperature.
Step 4: Invest in High-Quality Cold Storage Equipment
Acquire or rent commercial-grade coolers or insulated food carriers. These are designed for superior temperature retention over long periods. Standard picnic coolers may not be adequate for a large wedding.
Stock up on plenty of ice, gel packs, or even dry ice for specific situations. Ensure you have enough to fill coolers completely and to create ice baths for serving. Always choose food-grade ice.
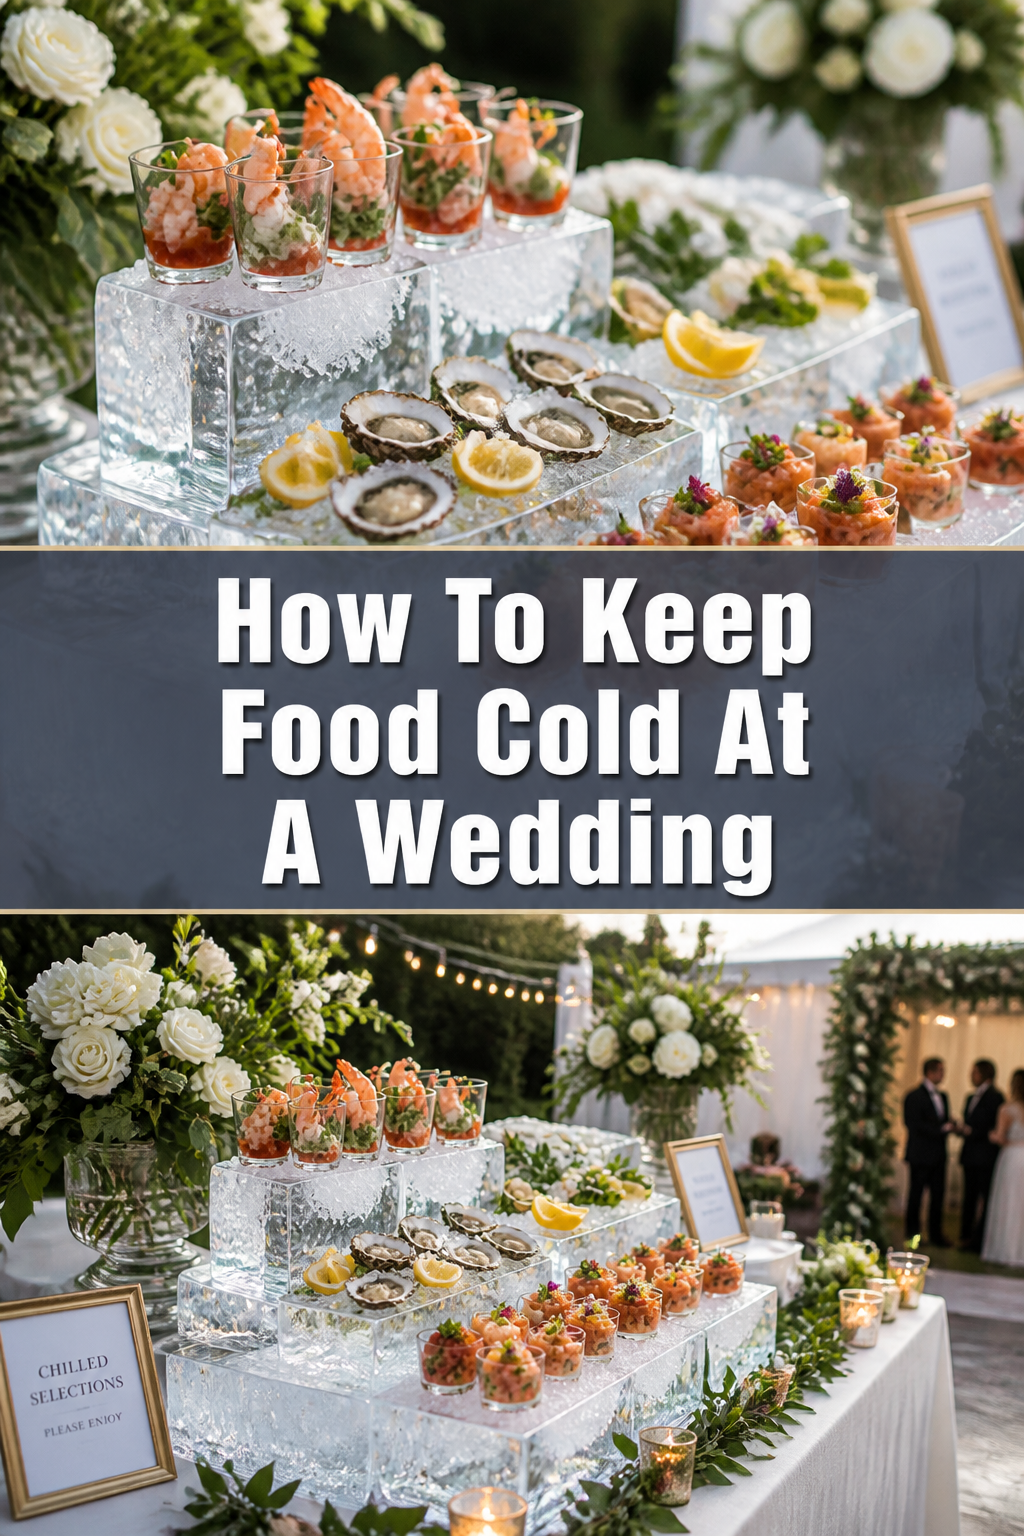
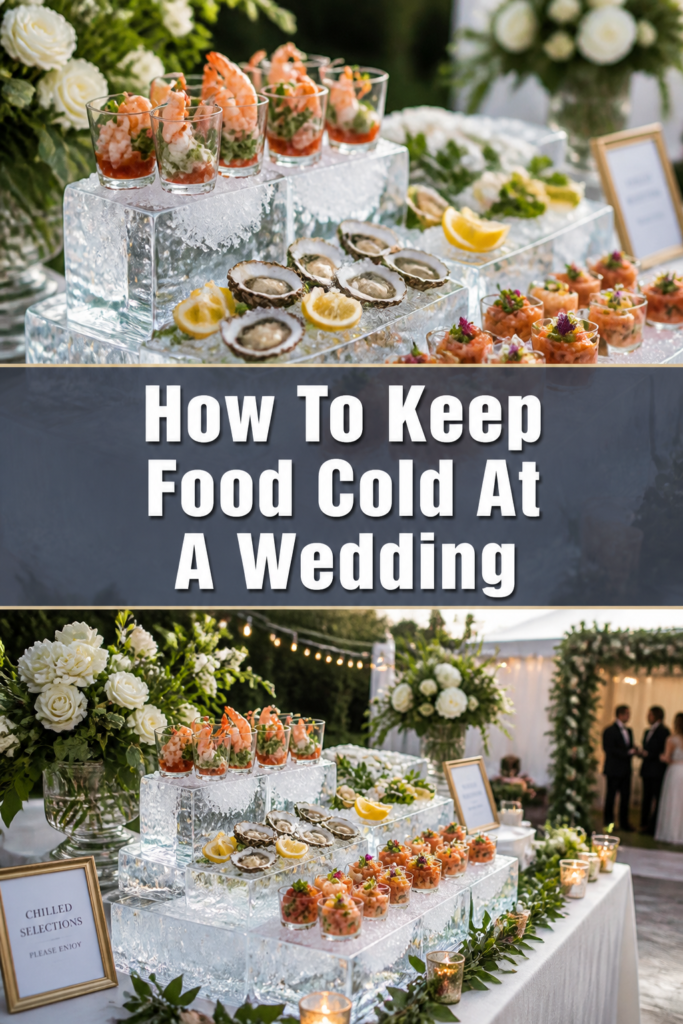
Consider insulated serving dishes or chafing dishes designed for cold items. These often feature an ice chamber underneath to keep food chilled on the buffet line. They blend seamlessly with your wedding decor.
Step 5: Pre-Chill Everything Meticulously
Chill all food items to their correct safe temperature before packing them. This is perhaps the most crucial step in maintaining cold temperatures. Do not rely on coolers to chill warm food.
Pre-cool your coolers and insulated carriers as well. Fill them with ice or ice packs several hours before loading. This lowers the internal temperature of the container, making it more effective.
Ensure all serving platters and bowls are also pre-chilled. Placing cold food onto warm dishes can quickly raise its temperature. A quick stint in a refrigerator or freezer makes a big difference.
Step 6: Pack Smart for Maximum Cold Retention
Layer your coolers effectively. Place a layer of ice or ice packs at the bottom. Then add your coldest, most temperature-sensitive items. Follow with another layer of ice.
Fill any empty spaces in your coolers with additional ice, crumpled newspaper, or towels. Air pockets allow warm air to circulate, reducing cooling efficiency. A full cooler stays colder longer.
Use separate, clearly labeled containers for different food items. This prevents cross-contamination and makes organization easier. Airtight containers are best for preventing leaks and maintaining freshness.
Pro Tip: For extremely sensitive items, consider using dry ice. Always handle dry ice with gloves and ensure proper ventilation, as it can cause frostbite and displace oxygen. Do not let dry ice come into direct contact with food.
Step 7: Transport Food Safely and Efficiently
Arrange for temperature-controlled transportation if possible, especially for larger quantities of food. If using personal vehicles, ensure they are air-conditioned and ready for immediate unloading. Minimize travel time.
Load coolers and carriers last, just before departure, and unload them first upon arrival. This reduces the time food spends in transit. Keep them out of direct sunlight during transport.
Double-check that all containers are securely sealed and stable to prevent spills or damage. A bumpy ride can dislodge ice packs or open lids, compromising temperatures.
Step 8: Set Up Cold Serving Stations Strategically
Position your cold food buffet lines in shaded areas or indoors, away from direct sunlight or heat sources. A warm environment will rapidly melt ice and warm food. Consider using tents or canopies outdoors.
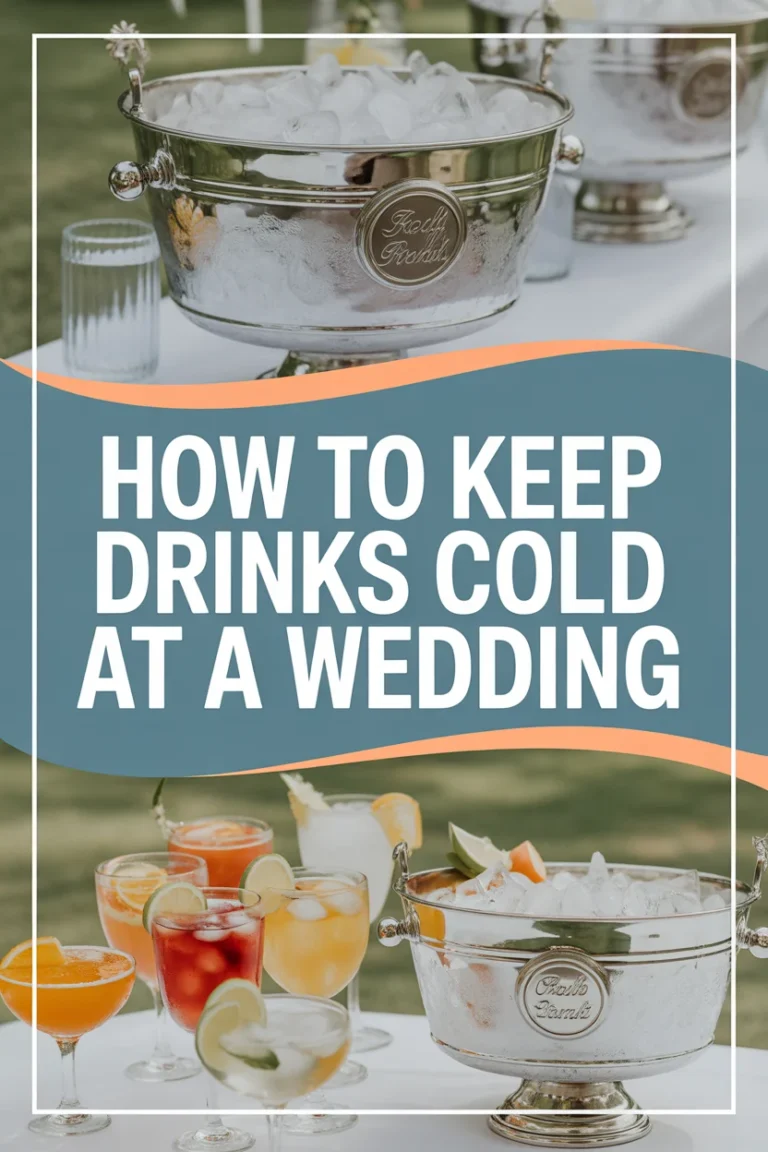
Utilize ice baths for serving cold dishes. Place serving bowls directly into larger containers filled with ice. Ensure the ice level is high enough to surround the food container effectively.
Serve food in smaller batches and replenish frequently. This keeps the bulk of the food safely chilled until needed. Assign someone to monitor and refresh these stations.
Step 9: Monitor Food Temperatures Diligently
Equip your designated food handler with a reliable food thermometer. This is non-negotiable for food safety. Regularly check the internal temperature of cold dishes.
Maintain cold food at or below 40°F (4°C). Take readings at various points in the serving line, especially for items that have been out for a while. Document these temperatures if possible.
Understand the “two-hour rule.” Perishable food should not be left at room temperature (between 40°F and 140°F) for more than two hours. If the ambient temperature is above 90°F (32°C), this window shrinks to one hour.
Step 10: Replenish and Discard Responsibly
Designate a person responsible for monitoring the buffet and replacing cold food. They should bring out fresh, chilled batches as needed. Do not simply add new food on top of old food.
Promptly remove any cold food that has been sitting out for longer than the safe time limit. It’s better to discard food than risk illness. Clearly communicate this policy to staff.
Plan for proper disposal of any leftover perishable food. If guests want to take food home, ensure they have proper containers and can refrigerate it immediately. Advise them on safe consumption guidelines.
Common Mistakes to Avoid
Underestimating Ice and Cooler Needs
Many people don’t realize how much ice is truly required to keep food cold for hours. Running out of ice is a common pitfall that can quickly compromise food safety. Always budget for more ice than you think you’ll need.
Similarly, using small, inadequate coolers for a large event is a recipe for disaster. Invest in large, high-performance coolers or insulated food carriers. These are designed to maintain internal temperatures for extended periods.
Leaving Food Out Too Long
The “danger zone” for food temperatures is between 40°F and 140°F (4°C and 60°C). Bacteria multiply rapidly in this range. A common mistake is allowing cold food to sit out on a buffet for extended periods, exceeding the two-hour rule.
Ensure a system is in place for frequent replenishment of small batches. Promptly remove and discard any food that has been exposed to ambient temperatures for too long. Prioritize safety over saving a few portions.
Not Pre-Chilling Ingredients and Equipment
Placing room-temperature food into a cooler, even with ice, will significantly reduce the cooler’s effectiveness. The ice will melt much faster trying to bring the food down to temperature. This leads to premature warming.
Failing to pre-chill coolers and serving dishes also compromises the cold chain. Warm containers will absorb cold from the food and ice, warming everything up faster. Always start with everything as cold as possible.
Improper Packing and Storage
Simply tossing ice on top of food in a cooler isn’t enough. Air gaps allow warm air to circulate, and inadequate ice will melt quickly. This leads to uneven cooling and rapid temperature loss.
Ensure coolers are packed tightly with food and ice, minimizing air space. Use separate, sealed containers to prevent cross-contamination from melting ice water. Avoid opening coolers unnecessarily, as this lets cold air escape.
Troubleshooting
Food Getting Warm Too Fast
If your cold food items are warming up quicker than expected, first check your ice levels. You likely don’t have enough ice or it’s melting rapidly. Add more ice immediately, ensuring it surrounds the food containers.
Next, assess the environment. Is the serving station in direct sunlight or near a heat source? Move it to a cooler, shadier spot. Consider adding an extra layer of insulation around your ice baths if they are exposed.
Ice Melting Quickly
Rapid ice melt often points to inadequate pre-chilling or poor insulation. Ensure your coolers were pre-chilled before loading. If not, the ice is working overtime to cool the cooler itself.
Check the quality of your coolers. Are they high-performance, or standard picnic coolers? Invest in better insulated options if this is a recurring issue. Also, minimize opening the coolers, as this allows cold air to escape and warm air to enter.
Limited Space for Cold Storage
If your venue has limited refrigeration, communicate this early with your caterer. They might have portable cold storage units or a refrigerated truck they can bring. This is often the best solution for large events.
Alternatively, utilize a “staging area” with multiple large, pre-chilled coolers. Keep these coolers closed and protected from heat until needed. Rotate food from these reserves to the serving line in small batches.
Key Takeaways
- Plan meticulously: A detailed cold chain strategy is crucial for success.
- Communicate with vendors: Ensure your caterer and venue are aligned on cold food management.
- Prioritize pre-chilling: Always chill food, coolers, and serving dishes before the event.
- Use quality equipment: Invest in commercial-grade coolers, ice, and insulated serving solutions.
- Monitor temperatures: Regularly check food temperatures with a reliable thermometer.
- Adhere to the two-hour rule: Never leave perishable food out for too long.
Frequently Asked Questions
How long can cold food safely stay out at a wedding?
Perishable cold food should not be left at room temperature (above 40°F or 4°C) for more than two hours. If the ambient temperature is 90°F (32°C) or higher, this safe window reduces to one hour. Always prioritize safety.
What types of food are best for a cold wedding buffet?
Opt for items like robust green salads with vinaigrette dressings, chilled grilled vegetables, fruit platters, cheese and charcuterie boards, and certain cold seafood dishes. Avoid delicate mayonnaise-based salads or anything that spoils quickly.
Can I use dry ice to keep food cold?
Yes, dry ice is highly effective for keeping things extremely cold. However, it must be handled with extreme care (wear gloves!) and never placed in direct contact with food. Use it in a separate compartment or at the bottom of a cooler with a barrier.
What about keeping drinks cold?
Drinks can be kept cold using large tubs filled with ice. Keep separate tubs for different types of beverages. Pre-chilling drinks before adding them to ice will help the ice last longer. Consider using insulated beverage dispensers for bulk drinks.
Our Top Recommended Finds
- High-Performance Insulated Coolers: Essential for maintaining temperatures over long periods, often featuring thick insulation and durable construction.
- Commercial-Grade Digital Food Thermometer: A must-have for accurately checking internal food temperatures, ensuring safety and compliance.
- Insulated Chafing Dishes with Ice Chambers: Perfect for stylishly serving cold dishes on a buffet line while keeping them chilled with an integrated ice bath.
Celebrate Safely and Deliciously
Ensuring your wedding food stays perfectly cold doesn’t have to be a source of stress. With careful planning and the right tools, you can manage this crucial detail with confidence. Your guests will appreciate the fresh, safe, and delicious experience.
Start implementing these steps today to guarantee a seamless and safe culinary experience for everyone. A little preparation goes a long way in making your big day truly unforgettable, for all the right reasons.