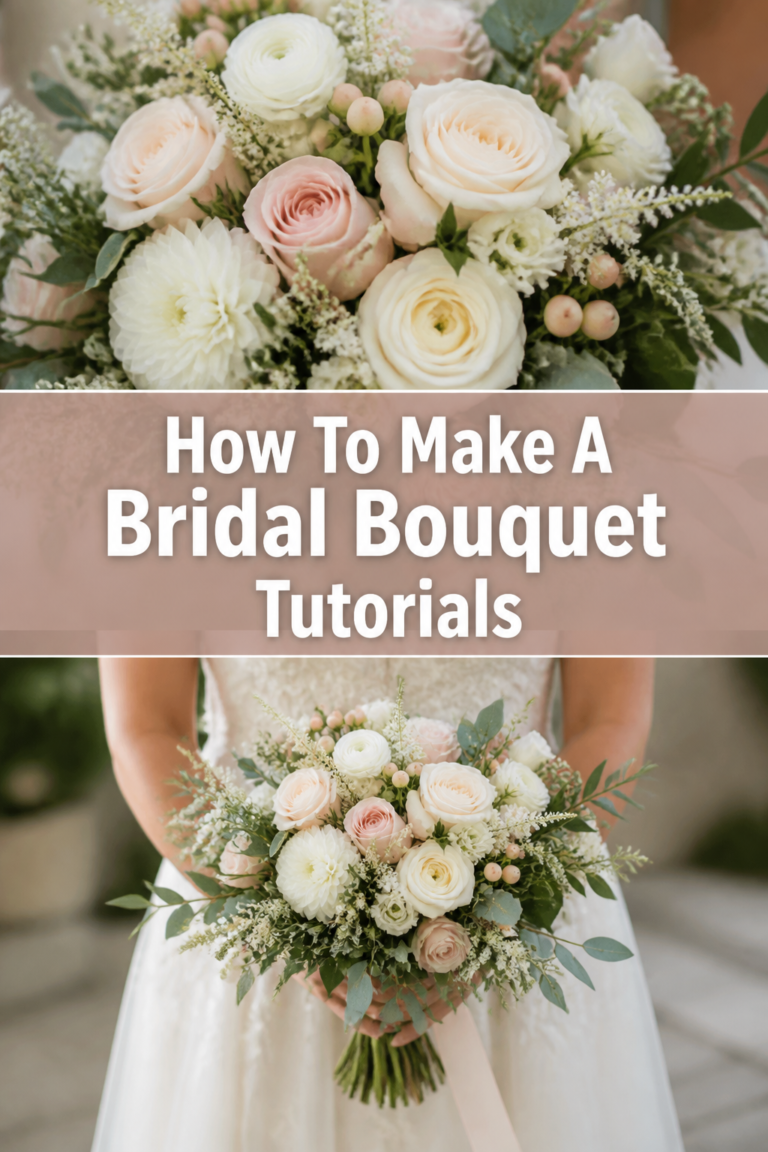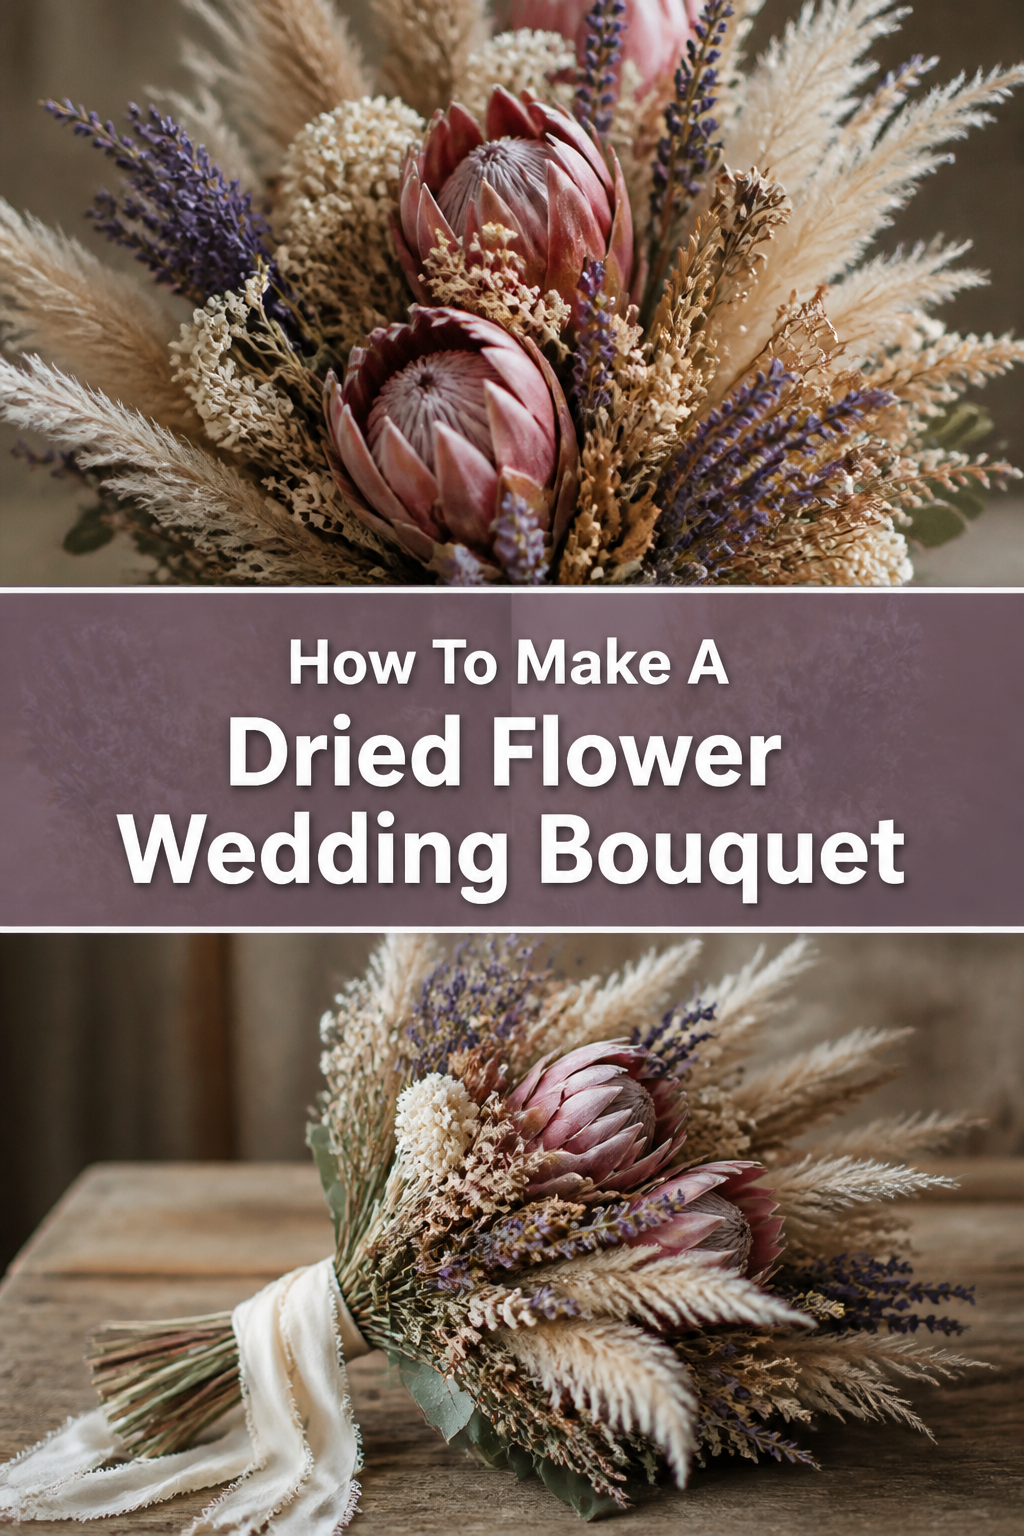
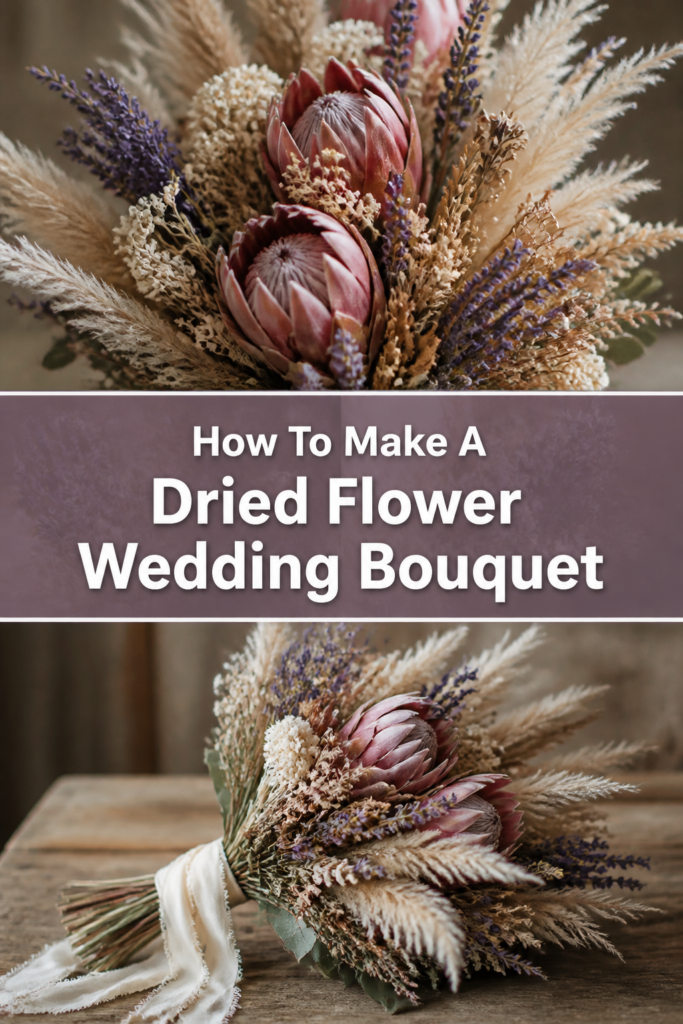
💐 How To Make A Dried Flower Wedding Bouquet
I remember the quiet joy of assembling my first dried flower arrangement for a close friend’s autumn wedding.
There is something deeply grounding about working with blooms that have already stood the test of time and preserved their beauty.
This guide draws from years of floral design experience to help you create a wedding accessory that stays perfect long after the ceremony ends.
Quick Overview
Creating a dried bouquet is a rewarding project that allows you to work at your own pace without worrying about wilting.
You can finish this project weeks in advance, taking one major stressor off your wedding week to-do list.
- Time needed: 2 to 3 hours
- Difficulty: Intermediate
- What you’ll need: Dried focal flowers, filler stems, preserved foliage, floral tape, twine, sharp shears, and decorative ribbon.
Step-by-Step Instructions
Step 1: Select Your Color Palette and Floral Style
Start by deciding on the overall mood of your wedding to ensure the bouquet complements your attire and venue.
Choose a palette of three to five colors, including a mix of neutrals, primary tones, and subtle accent shades.
Consider the textures of your chosen blooms, as dried flowers offer unique tactile elements like fuzzy bunny tails or papery strawflowers.
Pro Tip: Look at your venue’s lighting; dried flowers can look more muted in dim indoor settings, so you might want a pop of brighter color.
Step 2: Source and Sort Your Materials
Purchase high-quality dried or preserved flowers from a reputable wholesaler or a local flower farm that specializes in drying.
Separate your materials into three distinct piles: focal flowers, filler flowers, and greenery or “bits.”
Inspect each stem for brittleness or damage, setting aside any pieces that are too fragile to handle the binding process.
Keep your focal flowers, like dried protea or large roses, as the stars of the show in their own dedicated space on your table.
Step 3: Prepare the Stems for Assembly
Strip any excess leaves or small branches from the bottom half of every stem to create a clean “handle” area.
Trim the stems to a uniform length of about 12 to 14 inches, though you will do a final trim at the very end.
Handle the dried heads with care, as they lack the moisture that makes fresh flowers pliable and resilient.
Pro Tip: If a stem is too short or weak, you can “extend” it by wiring it to a sturdy floral wire and wrapping it in green floral tape.
Step 4: Create the Center of the Bouquet
Pick three of your strongest focal flowers to serve as the structural heart of the arrangement.
Hold these stems in your non-dominant hand, crossing them slightly to begin a spiral pattern that adds volume.
Ensure these central flowers are at slightly different heights to create a natural, organic look rather than a flat surface.
Step 5: Layer in Your Filler Flowers
Add stems of filler flowers, such as lavender, baby’s breath, or statice, around your central focal points.
Rotate the bouquet in your hand as you add each stem to ensure the arrangement looks balanced from every single angle.
Tuck smaller textures like bunny tails or flax pods into the gaps between the larger blooms to build depth.
Check the shape frequently in a mirror to see how it will look when you are actually walking down the aisle.
Step 6: Incorporate Foliage and Framing Elements
Place preserved eucalyptus, ferns, or dried grasses around the outer edge of the bouquet to act as a frame.
Allow some pieces of foliage to sit slightly higher or lower than the rest to give the bouquet a wild, gathered feel.
Use trailing elements like amaranthus if you want a cascading effect, or keep everything tight for a classic round posy.
Pro Tip: Dried pampas grass can shed; spray it lightly with unscented hairspray before adding it to the bouquet to keep the fluff in place.
Step 7: Bind the Stems Securely
Wrap floral tape tightly around the stems at the point where you are holding them, usually about 2 inches below the flower heads.
Pull the tape slightly as you wrap, which activates the adhesive and ensures a snug fit that won’t slip.
Follow up with a layer of twine or wire over the tape for extra security, especially if the bouquet feels heavy or bulky.
Test the grip by gently shaking the bouquet; if anything moves, add more tape to that specific area.
Step 8: Apply the Decorative Ribbon Wrap
Select a ribbon that matches your wedding colors, such as silk, velvet, or a rustic frayed linen.
Start at the top of the handle and wrap downward, overlapping the ribbon slightly to cover all the floral tape and twine.
Secure the end of the ribbon with decorative pearl-headed pins, pushing them upward into the stems to avoid any sharp points sticking out.
Leave long tails of ribbon hanging if you want a romantic, flowing look, or trim them short for a clean and modern finish.
Step 9: Final Trim and Storage
Cut the bottom of the stems with sharp shears so they are completely even and comfortable to hold.
Mist the bouquet very lightly with a specialized dried flower sealer if you want to prevent shattering during transport.
Store the finished bouquet in a cool, dry place away from direct sunlight to prevent the colors from fading before the wedding.
Place it upright in a tall vase or a sturdy box where the flower heads won’t be crushed or leaned against a wall.
Common Mistakes to Avoid
Using Too Many Heavy Elements
Dried bouquets can become surprisingly heavy if you use too many woody stems or dense pods. This can make the bouquet uncomfortable to carry for long periods and may cause the stems to snap under their own weight.
Balance heavy focal pieces with lightweight grasses and airy fillers to keep the weight manageable. Your arms will thank you after the ceremony and the photo session.
Ignoring the “Back” of the Bouquet
Many beginners focus only on the front, but a bouquet is a 360-degree object that will be seen from all sides. If you ignore the back, you might see ugly tape or bare stems in your wedding photos.
Always check the side that will face your body to ensure it is finished cleanly and has enough foliage to look complete. A well-rounded bouquet looks professional and polished from every camera angle.
Applying Too Much Pressure
Dried flowers are much more brittle than fresh ones and can snap easily if you grip them too hard. If you squeeze the stems too tightly while binding, you might crush the delicate stalks of your filler flowers.
Hold the bouquet with a firm but gentle hand, and let the floral tape do the work of holding everything together. It is better to wrap the tape multiple times than to pull it so hard that the stems break.
Troubleshooting
The Bouquet Feels Loose or Wobbly
If the flowers are shifting around after you have taped them, your binding point is likely too low or too loose. Dried stems are often thinner than fresh ones, which can lead to gaps in the handle.
To fix this, add a few more “filler” stems into the handle area to bulk it up before re-taping. Ensure you are wrapping the tape at the “natural waist” of the bouquet, which is the narrowest point where all stems meet.
Flowers Are Shedding Excessively
Some dried flowers, especially grasses and small seeds, tend to drop bits every time they are moved. This can be frustrating and messy, especially if you are wearing a dark suit or a delicate dress.
Use a professional floral sealant spray or a high-quality, unscented hairspray to coat the shedding elements. Do this in a well-ventilated area and allow it to dry completely before handling the bouquet again.
The Colors Look Dull or Flat
Sometimes a dried bouquet can look a bit “brown” or washed out once it is all put together. This often happens if there isn’t enough contrast between the different types of flowers you have chosen.
Try tucked in a few stems of bleached white foliage or a few pops of vibrant, dyed dried flowers to break up the earthy tones. Even a small amount of bright white or deep burgundy can make the other colors stand out.
Key Takeaways
- Preparation is vital: Clean and trim your stems before you start the design process to keep things organized.
- Spiral the stems: Use a spiraling technique to give the bouquet volume and a professional shape.
- Secure tightly: Use floral tape and twine to ensure no flowers fall out during your walk down the aisle.
- Protect from light: Keep your bouquet in a dark, dry spot until the wedding day to preserve the vibrant colors.
- Balance the weight: Mix heavy focal blooms with light, airy grasses to create a bouquet that is easy to carry.
- Finish with style: Use high-quality ribbons and pins to turn your floral arrangement into a piece of art.
Frequently Asked Questions
How long will a dried flower wedding bouquet last?
A well-made dried bouquet can last for several years if kept in the right conditions. You should keep it away from moisture, high humidity, and direct sunlight, which can cause the flowers to mold or fade. Many brides choose to display their bouquets in a shadow box or a vase as a permanent memento of their special day.
Can I use dried flowers for an outdoor summer wedding?
Yes, dried flowers are actually an excellent choice for outdoor weddings because they do not wilt in the heat. However, you should be careful if the weather is extremely windy, as very delicate dried petals can blow away. They are also sensitive to rain, so have a plan to keep them dry if the weather turns damp.
Are dried flowers cheaper than fresh flowers?
Not necessarily, as the process of drying and preserving flowers is labor-intensive and requires high-quality starting material. While you might save money on labor if you make the bouquet yourself, the stems themselves can be comparable in price to fresh blooms. The real value comes from their longevity and the fact that you don’t need to pay for refrigerated shipping.
Can I dry my own flowers for my bouquet?
You certainly can, but it requires planning several months in advance to ensure the flowers are fully dry and the colors have set. Air-drying by hanging flowers upside down in a dark, dry room is the most common method for DIY brides. Just be aware that not all flowers dry well; roses, lavender, and hydrangeas are usually the most successful for beginners.
Our Top Recommended Finds
- Professional Floral Shears: A sharp pair of shears is essential for cutting through tough, dried stems without crushing them.
- Stretchable Floral Tape: Look for tape that becomes sticky when stretched, as this provides the best hold for dry materials.
- Double-Faced Satin or Velvet Ribbon: High-quality ribbon adds a luxury feel to your handmade bouquet and photographs beautifully.
Start Your Everlasting Floral Journey
Now that you have the knowledge to create your own dried wedding bouquet, you can start gathering your favorite blooms.
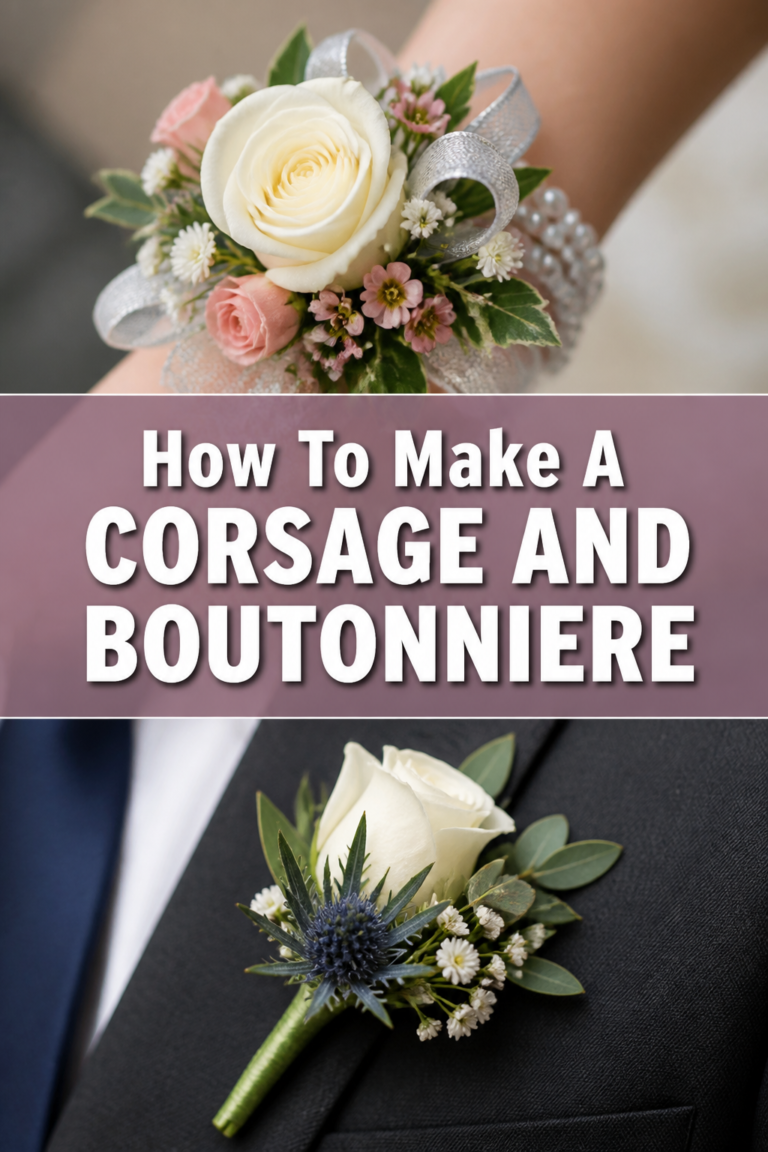
Consider looking into matching boutonnieres or hair combs to create a cohesive look for your entire wedding party.
Take your time with the process and enjoy the creative peace that comes with working with these beautiful, preserved elements of nature.
Gather your supplies this weekend and try a practice run to see how your chosen colors work together in person.