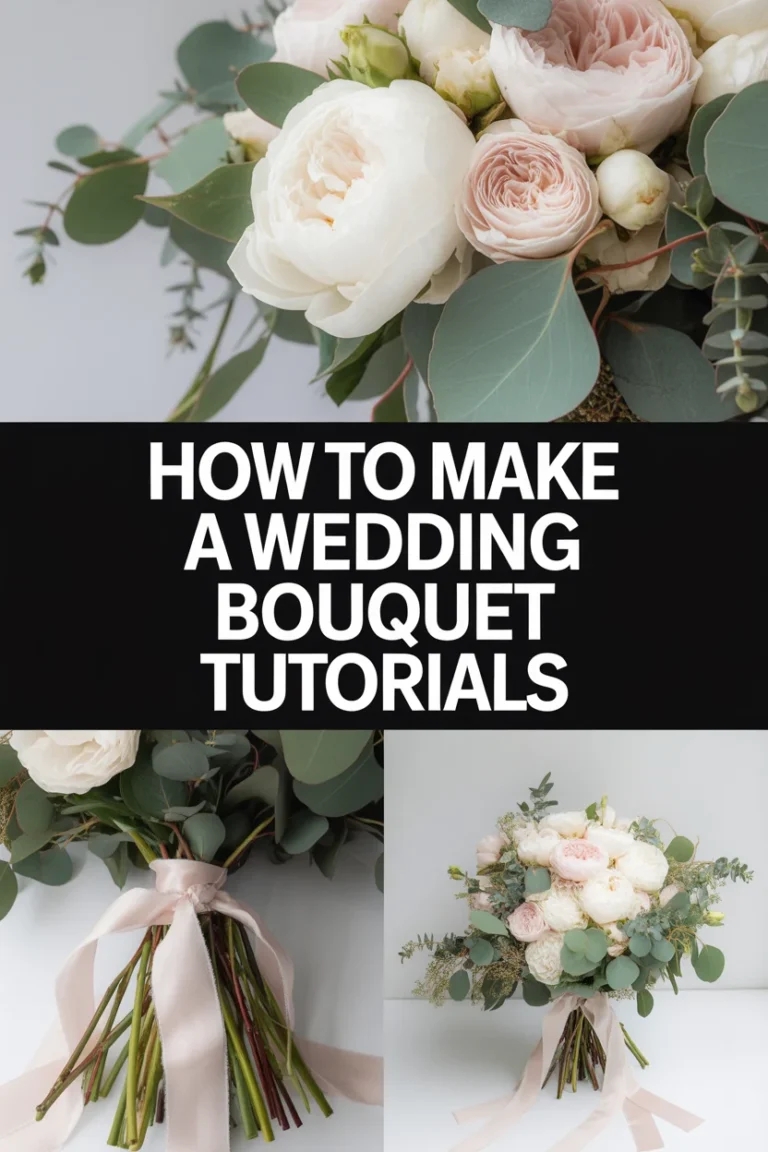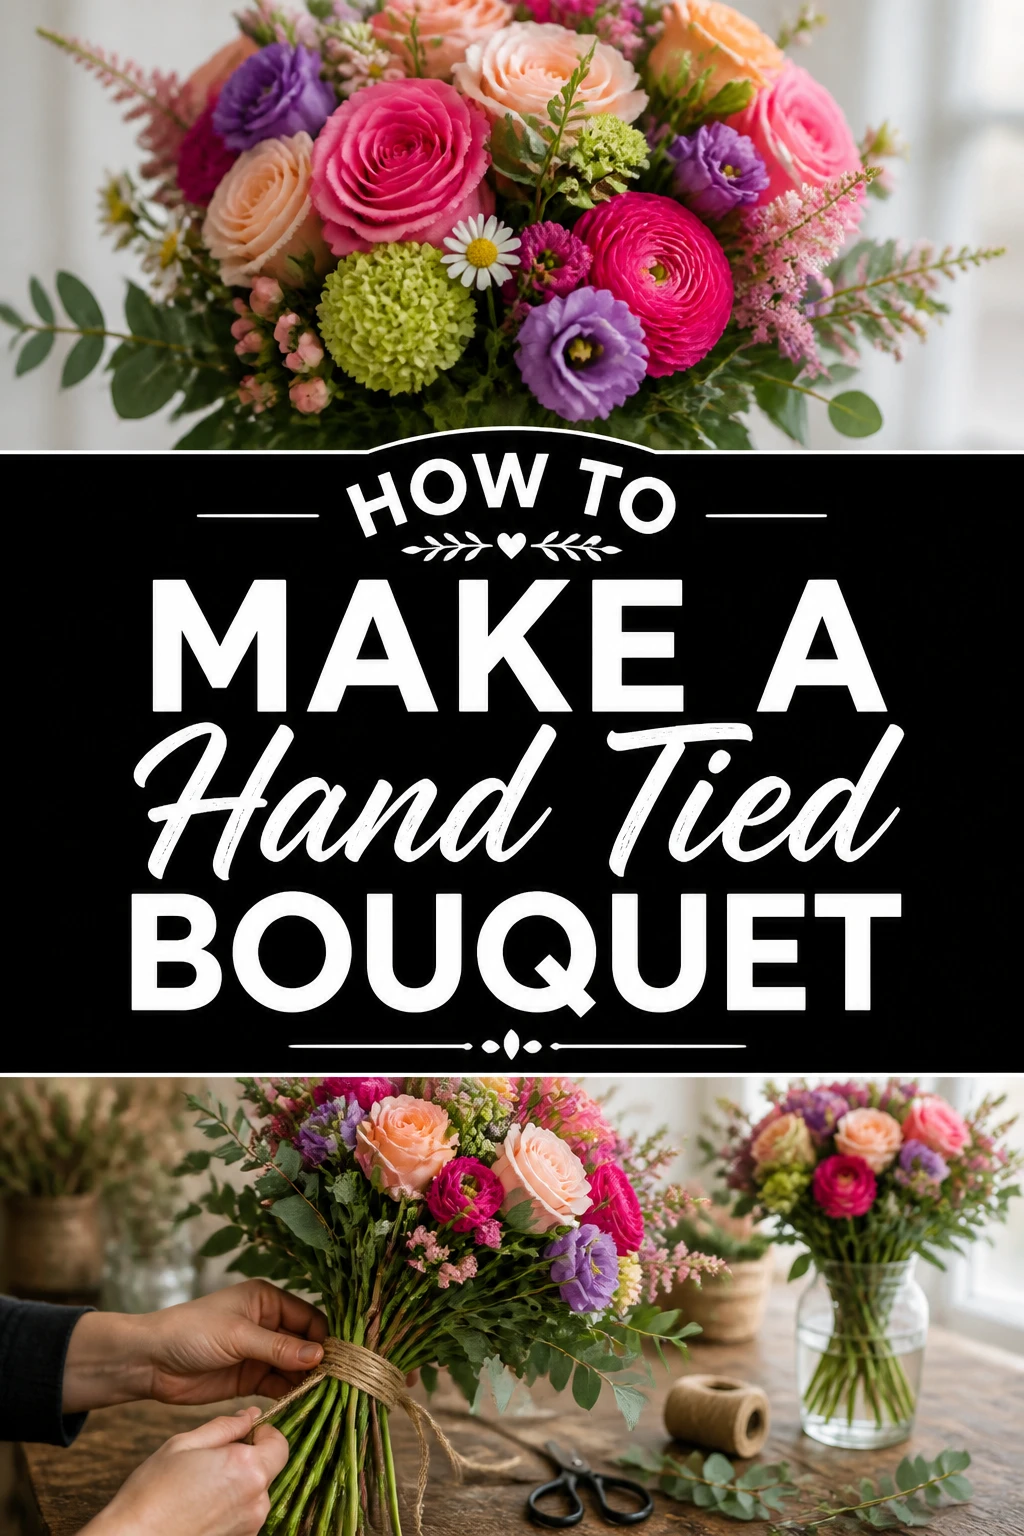
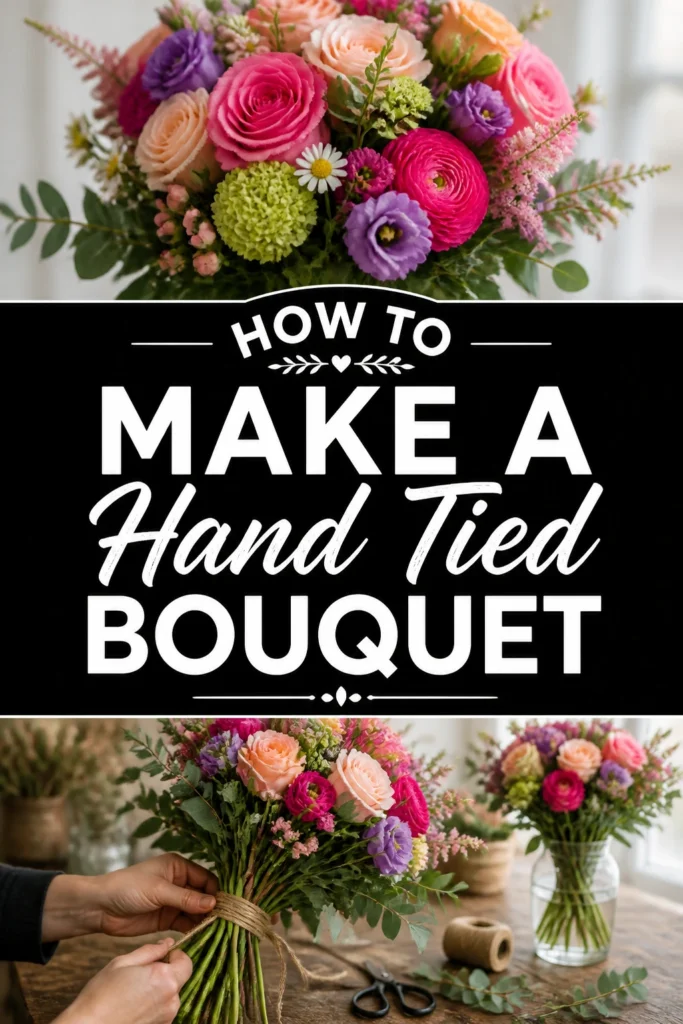
💐 How To Make A Hand Tied Bouquet

Wedding Planning
No fluff, no drama. Just easy weekly advice, planning shortcuts, and gentle reminders to help you actually enjoy your engagement.
There’s a special joy in creating something beautiful with your own hands.
I’ve spent countless hours arranging flowers, discovering the rhythm and magic of a hand-tied bouquet.
This guide shares my practical approach, helping you craft stunning floral arrangements with confidence.
Quick Overview
Crafting a hand-tied bouquet is a rewarding skill that brings natural beauty into your home or as a thoughtful gift.
You’ll learn to select, prepare, and arrange flowers into a beautiful, self-standing design, mastering the spiral technique.
- Time needed: 45-90 minutes (depending on practice and complexity)
- Difficulty: Beginner to Intermediate
- What you’ll need: Fresh flowers, assorted foliage, floral snips, floral tape, ribbon, a vase of water
Step-by-Step Instructions
Step 1: Gather Your Materials and Prepare Your Workspace
Having everything ready before you start is crucial for a smooth and enjoyable experience.
An organized workspace allows you to focus purely on the creative process.
- Clear a spacious, clean area on a table or counter.
- Gather all your chosen flowers, foliage, and tools like floral snips, tape, and ribbon.
- Fill a bucket or large vase with fresh, clean water to hold your conditioned stems.
Ensure your cutting tools are sharp. Dull snips can damage stems, hindering water uptake.
Good tools make a noticeable difference in the quality of your cuts and the longevity of your flowers.
Pro Tip: Place a large trash can nearby for easy disposal of trimmed leaves and stems. This keeps your workspace tidy as you go.
Step 2: Condition Your Flowers and Foliage
Proper conditioning is the secret to a long-lasting bouquet.
This step ensures your flowers are fully hydrated and ready for arranging.
- Remove any leaves that would fall below the waterline in a vase.
- Strip off any damaged or excess foliage from the stems.
- Cut each stem at an angle (about 45 degrees) under running water or in a bucket of water.
- Place the conditioned flowers and foliage immediately into fresh water.
Cutting stems at an angle increases the surface area for water absorption.
Removing lower leaves prevents bacterial growth in the water, which can shorten flower life.
Step 3: Select Your Core Flowers and Foliage
Begin building your bouquet by choosing your foundational elements.
These will form the central axis around which you’ll add other blooms.
- Choose 1-3 focal flowers that will be the stars of your bouquet.
- Select a few sturdy pieces of foliage to create an initial green base.
- Hold these initial stems together in one hand, crossing them diagonally.
Your dominant hand will be your “holding hand” throughout the entire process.
The criss-cross point where stems meet is your “binding point” – aim to keep this consistent.
Step 4: Master the Spiral Technique
The spiral technique is what gives a hand-tied bouquet its characteristic shape and stability.
It allows the bouquet to stand on its own when finished, a true mark of a professional arrangement.
- Add one stem at a time, always placing it on the outside of your current bunch.
- Angle each new stem in the same direction, usually clockwise, around the binding point.
- Rotate the bouquet slightly after adding each new stem to maintain an even distribution.
Imagine the stems spiraling outwards from the center, creating a dome shape at the top.
This consistent angling is key to achieving a stable and balanced structure.
Step 5: Build Out Your Bouquet with Filler and Accent Flowers
Once you have your core, begin to fill in and add texture.
This is where you bring in the supporting actors to complement your focal flowers.
- Incorporate filler flowers and additional foliage, continuing the spiral technique.
- Vary the heights and textures of your flowers to create visual interest.
- Distribute colors and shapes evenly throughout the bouquet to avoid bare spots or clumps.
Step back occasionally and view your bouquet from different angles.
Look for balance and harmony, adjusting stem placements as needed.
Pro Tip: Don’t be afraid to gently pull a stem out and reinsert it if it doesn’t look quite right. Practice makes perfect.
Step 6: Secure the Bouquet
Once you are happy with the shape and fullness of your bouquet, it’s time to secure it.
This step locks in your hard work and prepares the bouquet for its final touches.
- Hold the bouquet firmly at the binding point with your non-dominant hand.
- Wrap floral tape tightly around the binding point several times, overlapping each layer.
- Ensure the tape is secure enough to hold the stems firmly without crushing them.
Floral tape is slightly stretchy and sticky, providing a strong grip that won’t slip.
Make sure the tape covers the entire binding point area, extending a little above and below.
Step 7: Trim Stems and Add Ribbon
The final touches bring your bouquet to a polished, professional finish.
These steps enhance both the aesthetic appeal and the practicality of the arrangement.
- Lay the bouquet down gently on your workspace.
- Measure the stems against a vase to determine the desired length.
- Cut all stems cleanly and evenly with your floral snips.
- Wrap your chosen ribbon around the taped binding point, securing it with a knot or pin.
Cutting the stems to an appropriate length ensures the bouquet sits well in a vase and can easily draw water.
The ribbon not only hides the floral tape but also adds a beautiful decorative element.
Step 8: Present and Enjoy Your Bouquet
Your beautiful hand-tied bouquet is now complete and ready to be admired.
Place it in a vase with fresh water immediately to ensure its longevity.
- Place the finished bouquet into a clean vase filled with fresh water.
- Position it in a cool spot away from direct sunlight or drafts.
- Change the water daily and re-trim stems every few days to prolong its life.
Enjoy the satisfaction of creating something truly personal and beautiful.
Share your creation with others or simply brighten your own space.
Common Mistakes to Avoid
Over-stuffing the Bouquet
Many beginners try to use too many flowers, resulting in a dense, unwieldy bouquet.
An over-stuffed arrangement loses its individual flower beauty and can look cluttered.
Instead, focus on balance and allowing each flower room to breathe and shine.
Inconsistent Stem Angle
Failing to maintain a consistent spiral angle is a common pitfall.
This leads to a bouquet that is unstable, lopsided, or won’t stand up on its own.
Always add stems at the same diagonal angle, rotating the bouquet as you build it.
Neglecting Stem Conditioning
Skipping the conditioning step significantly shortens the lifespan of your bouquet.
Flowers that aren’t properly hydrated will wilt quickly, diminishing your hard work.
Always remove lower leaves and cut stems at an angle before arranging.
Holding Too Loosely or Too Tightly
Holding the bouquet too loosely can cause stems to shift and lose their position.
Holding too tightly can bruise delicate stems, impeding water uptake and causing premature wilting.
Find a firm but gentle grip at the binding point, allowing you to manipulate stems without damage.
Troubleshooting
My Bouquet Is Falling Apart / Stems Are Slipping
This usually indicates that your binding point isn’t secure enough or the spiral technique wasn’t maintained.
Ensure you are consistently angling each stem in the same direction as you add it, creating a strong criss-cross at the binding point.
When taping, wrap the floral tape very tightly and generously around the binding point to lock everything in place.
Flowers Are Wilting Quickly After Arranging
Rapid wilting often points to insufficient conditioning or damaged stems.
Re-cut all stems at a sharp angle under water immediately after finishing the bouquet.
Ensure all leaves below the waterline are removed and that your snips are sharp to avoid crushing stems.
The Bouquet Looks Lopsided or Uneven
An uneven appearance usually means you haven’t rotated the bouquet enough during assembly or haven’t distributed flowers evenly.
Continuously rotate the bouquet as you add each new stem, stepping back to observe its shape from all sides.
Try to place flowers and foliage symmetrically or in balanced clusters to create visual harmony.
Key Takeaways
- Preparation is paramount: Clear your space and condition flowers properly for lasting beauty.
- Master the spiral: Consistent stem angling is the foundation of a stable, elegant hand-tied bouquet.
- Build gradually: Start with a core, then add layers of filler and accent flowers, rotating as you go.
- Secure firmly: Use floral tape to tightly bind the stems at the binding point, ensuring stability.
- Finish with finesse: Trim stems evenly and add a decorative ribbon for a polished look.
- Enjoy and maintain: Place in fresh water immediately and care for your bouquet to maximize its lifespan.
Frequently Asked Questions
What kind of flowers are best for a hand-tied bouquet?
Sturdy-stemmed flowers like roses, carnations, tulips, and hydrangeas work wonderfully.
Consider also incorporating delicate fillers like baby’s breath or solidago, and varied foliage like eucalyptus or ruscus for texture.
A mix of different shapes, sizes, and textures creates the most dynamic and interesting arrangements.
How long will a hand-tied bouquet last?
With proper care, a well-conditioned hand-tied bouquet can last anywhere from 5 to 10 days, sometimes even longer.
Factors like flower type, freshness at purchase, environmental conditions, and consistent water changes all play a role in longevity.
Always keep your bouquet in a cool place, away from direct sunlight, drafts, and ripening fruit.
Can I make a hand-tied bouquet without floral tape?
While floral tape is highly recommended for its strength and discreet appearance, you can use other materials in a pinch.
Twine, string, or even elastic bands can work, but ensure they are wrapped very tightly to prevent stems from shifting.
Ribbon is primarily for decoration, so always secure the stems first with something strong.
How do I choose flowers that go well together?
Consider color harmony, contrasting textures, and varying heights.
Choose a color palette (e.g., monochromatic, complementary, analogous) and then select flowers within that range.
Mix focal flowers with secondary flowers and plenty of lush foliage to create depth and visual appeal.
Our Top Recommended Finds
- High-Quality Floral Snips: Essential for clean, precise cuts that don’t damage stems.
- Green Floral Tape: Provides a strong, discreet hold that blends seamlessly with stems.
- Assorted Satin Ribbons: Offers a beautiful finishing touch and a chance to add personal flair.
Your Next Floral Adventure Awaits
You now possess the foundational knowledge to create stunning hand-tied bouquets.
This skill opens up a world of creative expression, allowing you to craft personalized gifts or adorn your own space.
Don’t hesitate to experiment with different flower combinations and foliage to discover your unique style.
Pick up some fresh blooms today and let your floral journey begin!
Wedding Planning
No fluff, no drama. Just easy weekly advice, planning shortcuts, and gentle reminders to help you actually enjoy your engagement.