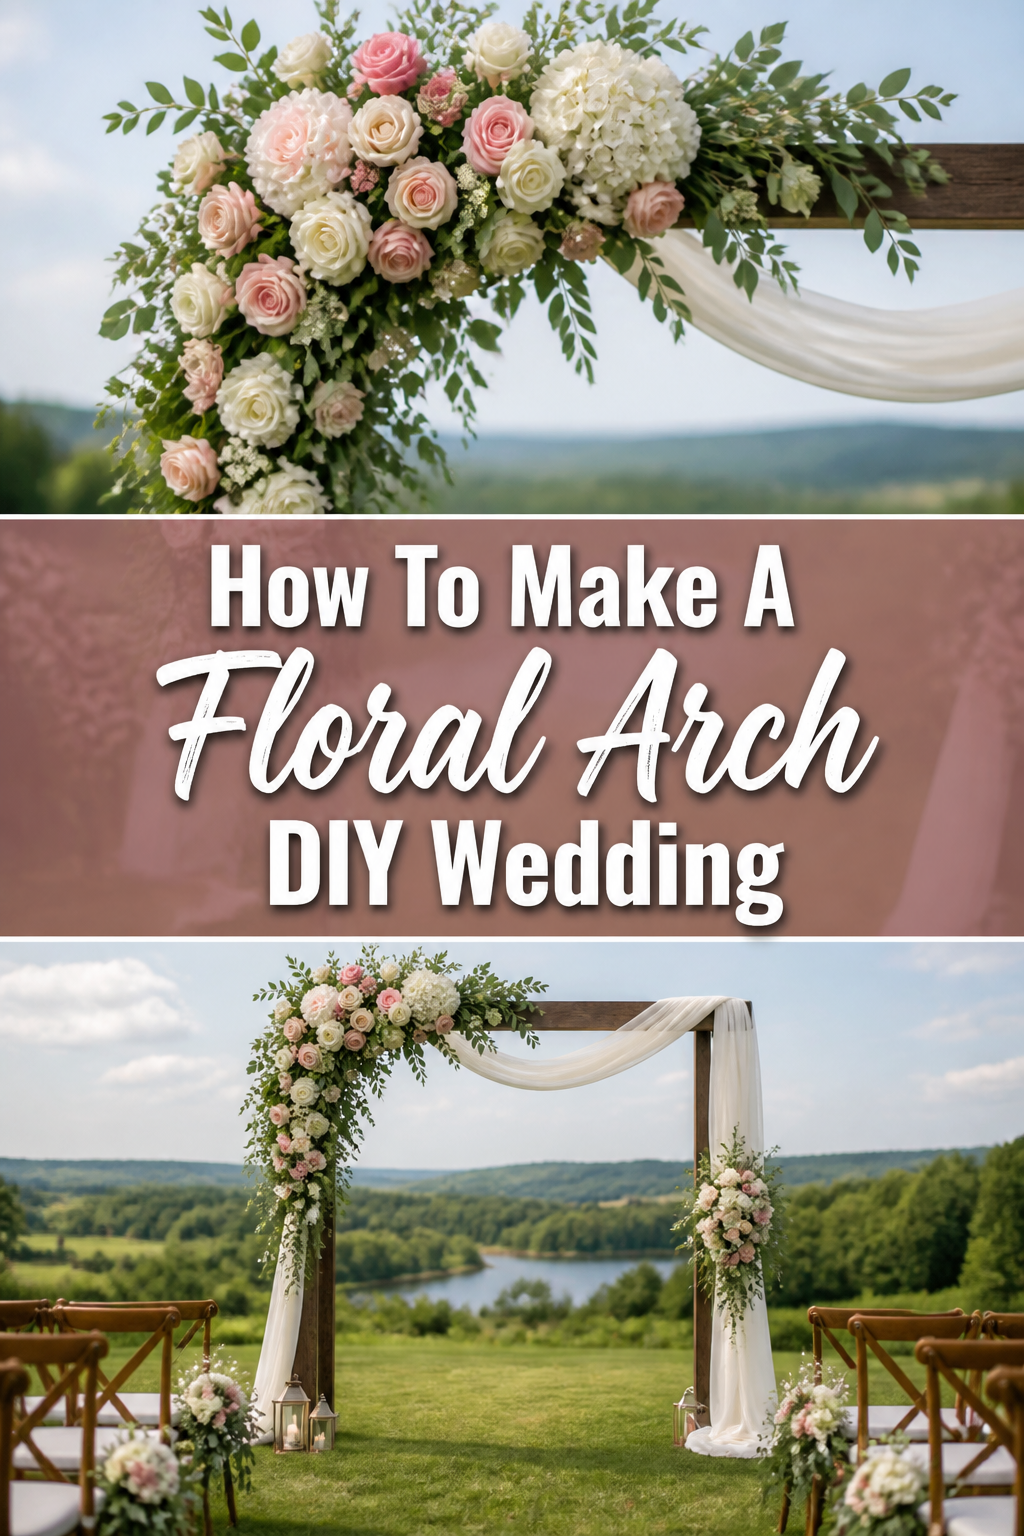
💐 How To Make A Floral Arch DIY Wedding
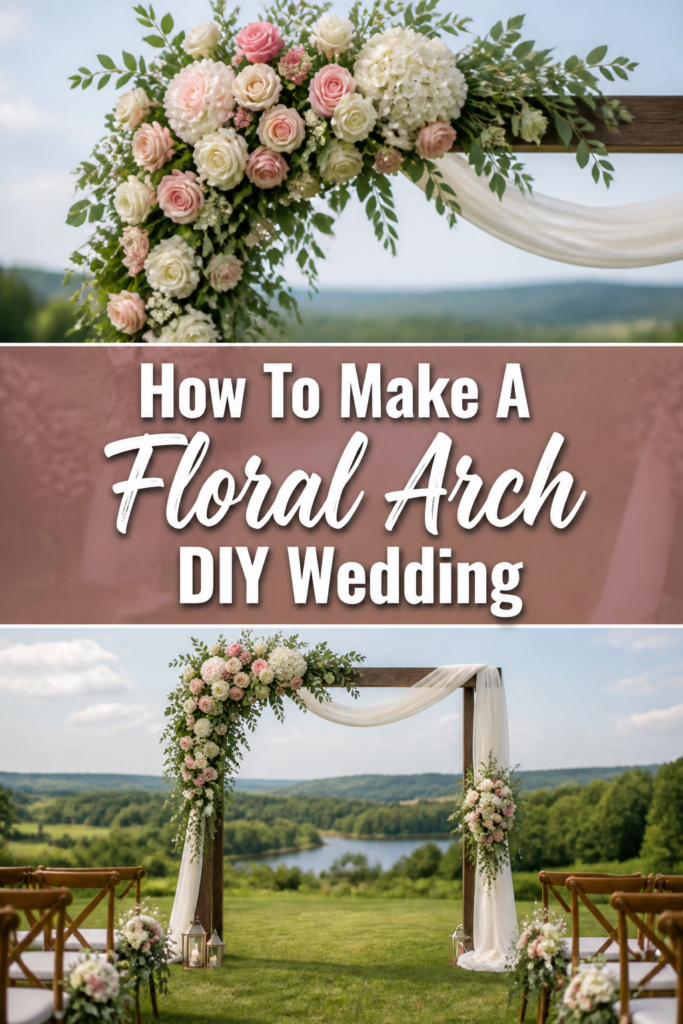
Creating your own floral arch for a wedding is a truly special endeavor. It adds a deeply personal touch to your big day, reflecting your unique style and love story. I’ve helped countless couples bring their dream arches to life, and I’m here to guide you through every step.
This guide will empower you to craft a breathtaking arch, even if you’re new to floral design. You’ll gain the confidence and practical skills needed for a stunning, budget-friendly centerpiece. Let’s make your wedding vision bloom.
Quick Overview
This guide will walk you through planning, preparing, and assembling a beautiful floral arch. You’ll learn how to select materials, secure your design, and ensure it stands strong for your wedding day. Get ready to create a memorable backdrop.
- Time needed: 8-12 hours (spread over several days for sourcing, prep, and assembly)
- Difficulty: Intermediate
- What you’ll need: Arch frame, fresh flowers and foliage, floral foam, chicken wire, zip ties, floral tape, wire cutters, scissors, buckets.
Step-by-Step Instructions
Step 1: Plan Your Design & Supplies
Begin by envisioning your arch’s overall look. Consider the wedding’s theme, color palette, and the specific flowers you adore. Sketch out a rough design, noting where focal flowers and greenery will go.
Research flower availability for your wedding season and local suppliers. This planning stage is crucial for budgeting and ensuring you get the freshest materials. Create a detailed shopping list for all your floral and structural needs.
Pro Tip: Take photos of your ceremony space to help visualize the arch in context. This helps you determine the appropriate size and scale for your design.
Step 2: Gather Your Materials
Purchase or rent a sturdy arch frame that suits your aesthetic. Common options include metal, wood, or PVC pipe structures. Ensure it’s stable and can support the weight of your chosen florals.
Collect all your fresh flowers and foliage, ideally 1-2 days before assembly. Have your floral foam, chicken wire, zip ties, floral tape, and cutting tools ready. Proper preparation saves time and reduces stress on the assembly day.
Step 3: Prepare Your Arch Frame
Set up your arch frame in a well-lit, spacious area where you can work comfortably. This might be your backyard, garage, or a large living room. Ensure the frame is stable and securely anchored if necessary.
Attach sections of chicken wire to the areas of the arch where you want to add florals. Use zip ties or strong floral wire to secure the chicken wire tightly to the frame. This creates a robust base for your floral foam and stems.
Step 4: Create Your Greenery Base
Soak your floral foam bricks in water until they are fully saturated. Secure these wet foam blocks onto the chicken wire using floral tape or additional zip ties. Ensure they are firmly attached and won’t shift.
Begin inserting your hardier, larger foliage into the foam and chicken wire. This establishes the basic shape and volume of your arch. Build out the greenery base, allowing some pieces to drape naturally for an organic feel.
Pro Tip: Start with the longest pieces of greenery first to define the arch’s silhouette. This technique helps you build a balanced and visually appealing foundation.
Step 5: Add Your Focal Flowers
Once your greenery base is established, it’s time to introduce your main flowers. These are usually the largest or most striking blooms in your design. Place them strategically to draw the eye and create visual impact.
Insert focal flowers deep into the floral foam to ensure they receive water and are secure. Distribute them evenly or cluster them for a more dramatic effect, depending on your desired look. Step back frequently to assess balance.
Step 6: Incorporate Filler Flowers & Textures
After placing your focal blooms, begin filling in gaps with smaller flowers and varied textures. These “filler” elements add depth, richness, and a professional finish to your arch. Think about complementary colors and shapes.
Use flowers like spray roses, carnations, or smaller greenery branches to blend the focal points. This step helps create a lush, full appearance, eliminating any sparse areas. Continue stepping back to check for even distribution.
Step 7: Refine and Secure
Once all your flowers and foliage are in place, meticulously inspect your arch from all angles. Look for any bare spots, uneven areas, or loose stems. Make adjustments to ensure a cohesive and beautiful design.
Use floral tape or fine floral wire to secure any drooping or unstable stems. Gently mist the entire arch with water to keep the flowers fresh. This final refinement ensures durability and a polished look for your event.
Step 8: Transport and Install
Carefully plan how you will transport your finished arch to the wedding venue. If it’s very large, you might need a van or truck. Secure it to prevent shifting or damage during transit.
Upon arrival, position the arch at your ceremony site. Make any final minor adjustments to the flowers or foliage as needed. Ensure it is stable and perfectly aligned for your vows.
Common Mistakes to Avoid
Over-Stuffing the Arch
A common pitfall is trying to use too many flowers, which can make the arch look dense and heavy. An overstuffed arch loses its natural elegance and can appear cluttered. Focus on strategic placement and allowing individual blooms to shine.
Instead, aim for a balanced design with intentional negative space. This allows each floral element to be appreciated and creates a more airy, sophisticated aesthetic. Less can often be more impactful.
Neglecting the Base Structure
Some DIYers focus solely on the flowers and forget the importance of a sturdy base. A weak or improperly secured frame can lead to instability, especially in outdoor settings. The entire arch could collapse, creating a stressful situation.
Always prioritize a strong, stable frame and secure attachment points for your floral foam and chicken wire. This foundational work ensures your beautiful floral design remains upright and safe throughout your event.
Ignoring Weather Conditions
Failing to consider the weather can quickly ruin your floral arch. Direct sun can wilt delicate flowers, while strong winds can dislodge elements. Planning for these factors is essential for the arch’s longevity.
Choose heat-tolerant flowers for outdoor summer weddings and secure the arch against wind. Have a misting bottle handy for touch-ups. A little foresight goes a long way in preserving your creation.
Last-Minute Rush
Trying to assemble the entire arch on the morning of your wedding is a recipe for disaster. This leads to hurried work, potential mistakes, and immense stress. Floral design takes time and careful attention.
Start your prep days in advance, focusing on one step at a time. This allows for a more enjoyable process and a higher quality finished product. Delegate tasks where possible to ease the burden.
Troubleshooting
Flowers Wilting Prematurely
If your flowers are wilting before the event, it’s likely due to lack of water or heat exposure. This can happen if stems aren’t fully submerged in floral foam or if the arch is in direct sunlight for too long.
Ensure all stems are deeply inserted into saturated floral foam. Mist the flowers regularly, especially in warm weather. Consider moving the arch to a cooler, shaded area until just before the ceremony.
Arch Instability
A wobbly or unstable arch is a safety concern and can ruin your display. This often results from an insufficiently weighted base or improper frame assembly. It’s crucial for the arch to be rock-solid.
Add sandbags or heavy weights to the base of your arch legs, especially outdoors. Double-check all frame connections and ensure they are tightened. Consider guy wires for extra support in windy conditions.
Gaps in the Floral Design
Discovering noticeable gaps or sparse areas in your arch can detract from its fullness. This often happens if you don’t step back frequently to assess the overall design during assembly. It looks unfinished.
Keep extra filler flowers and greenery on hand for last-minute touch-ups. Step back frequently during assembly to identify and fill any voids. Use smaller sprigs to tuck into bare spots for a seamless look.
Key Takeaways
- Thorough planning and a detailed sketch are essential for a cohesive design.
- A sturdy arch frame and securely attached chicken wire form the critical foundation.
- Build your design in layers, starting with greenery, then focal flowers, and finally fillers.
- Prioritize fresh flowers and proper hydration to ensure longevity.
- Always account for weather conditions and secure your arch against wind or sun.
- Allow ample time for assembly to avoid stress and achieve a polished result.
Frequently Asked Questions
What are the best types of flowers for a DIY arch?
Hardier flowers like roses, carnations, hydrangeas, and various types of eucalyptus or ruscus foliage work wonderfully. These tend to hold up well out of water for several hours. Consider flowers native to your region for better availability and freshness.
Can I make the arch in advance?
You can prepare the frame and attach the chicken wire several days in advance. However, it’s best to add fresh flowers and foliage no more than 12-24 hours before the event. This ensures maximum freshness and vibrancy for your wedding day. Keep the finished arch misted and in a cool, shaded spot.
How can I save money on flowers for my arch?
Consider foraging for local greenery (with permission, of course!) or buying flowers in bulk from a wholesale florist. Using a higher proportion of foliage to flowers also significantly reduces costs. Opt for in-season blooms, which are typically more affordable and readily available.
How do I transport a large arch safely?
Disassemble the arch into manageable sections if possible, especially the frame. If the floral elements are attached, secure them with netting or plastic wrap to prevent shifting. Use a large vehicle like a van or truck and pad it with blankets to prevent damage during transit.
Our Top Recommended Finds
- Heavy-Duty Metal Arch Frame: Provides a stable, reusable base for any floral design. Its strength ensures your creation remains upright.
- Oasis Floral Foam Bricks (Wet Foam): Essential for keeping your fresh flowers hydrated and securely in place. They are easy to cut and shape.
- Waterproof Floral Tape: Crucial for securing floral foam to the frame and binding stems. Its strong adhesion withstands moisture and weight.
Your Masterpiece Awaits
Crafting your own floral arch is more than just a DIY project; it’s an act of love. You’re pouring your heart and creativity into a centerpiece for one of life’s most beautiful moments. The satisfaction of seeing your vision come to life will be immense.
Now that you have the knowledge and steps, it’s time to start planning your dream arch. Begin gathering inspiration, sourcing your materials, and envisioning the magic you’ll create. Get started today and make your wedding day truly unforgettable.