👰♀️ How To Secure A Veil With Hair Down
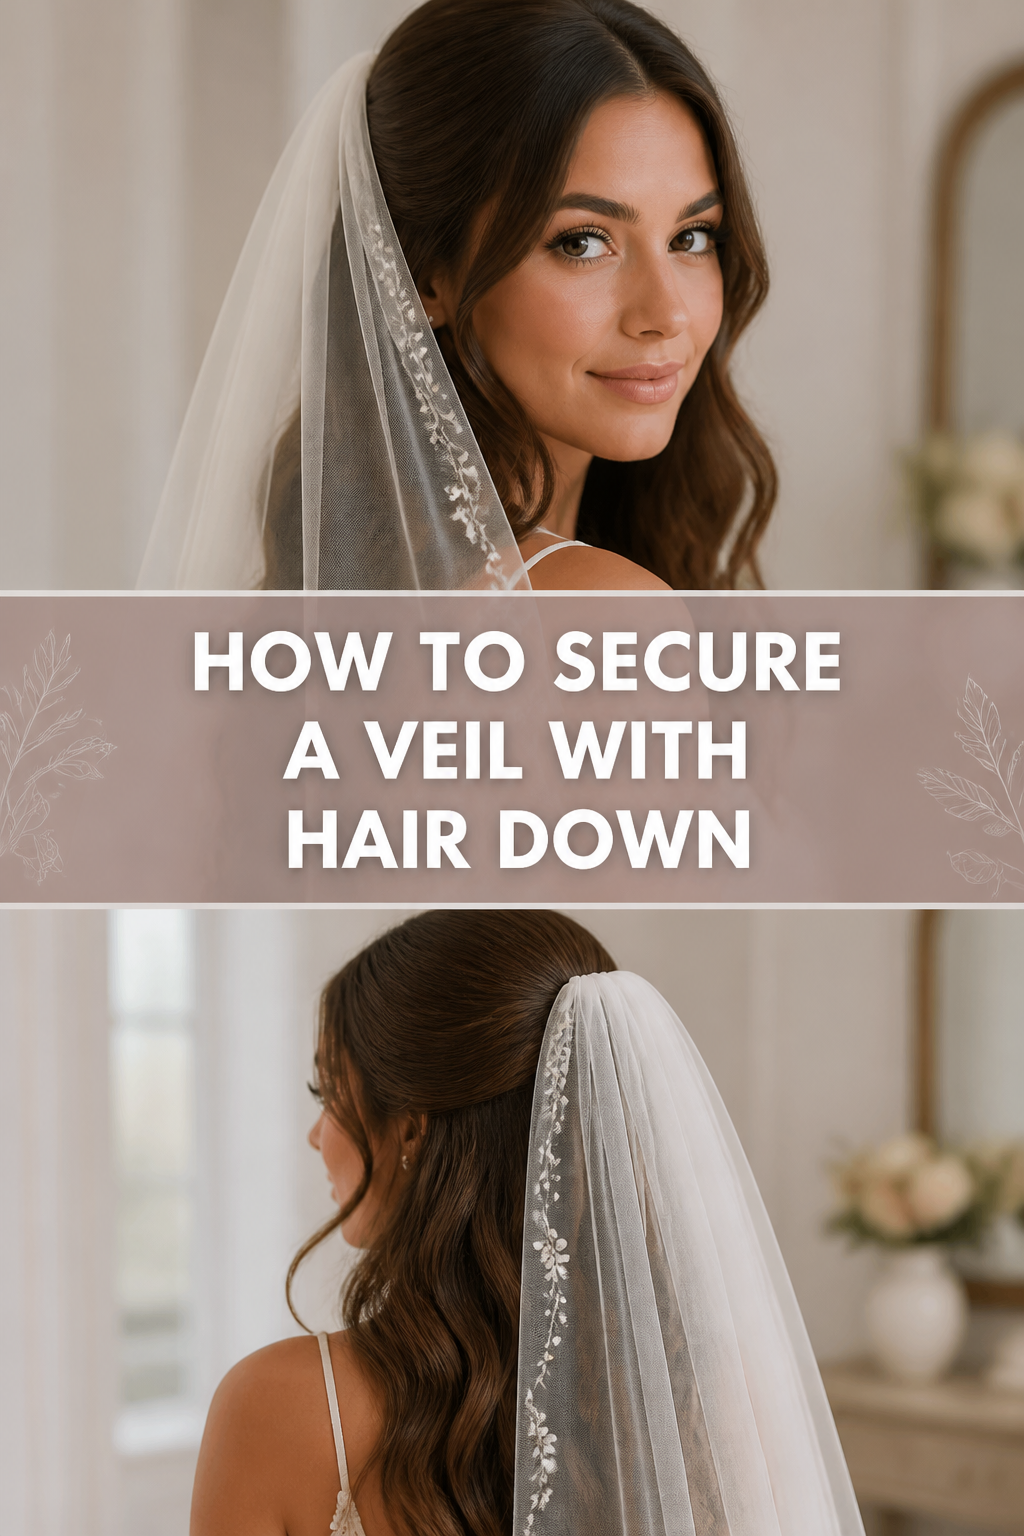
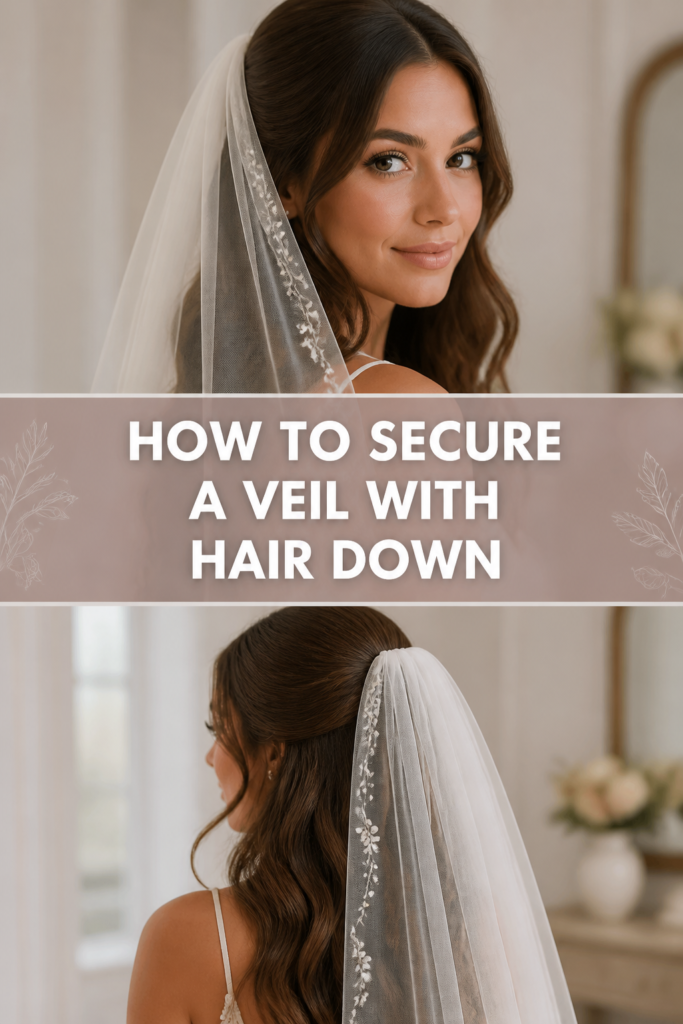
Wearing your hair down on your wedding day offers a beautiful, romantic look.
Many brides dream of flowing locks, but wonder how to keep a veil securely in place without an updo.
As a seasoned stylist, I’ve helped countless brides achieve this elegant balance, and I’m here to share my proven methods.
Quick Overview
This guide will show you how to create a robust foundation for your veil, ensuring it stays perfect from your walk down the aisle to the last dance.
- Time needed: 30-45 minutes (including practice)
- Difficulty: Intermediate
- What you’ll need: Veil, strong-hold hairspray, teasing comb, bobby pins (matching hair color), clear elastic band (optional), hair sectioning clips.
Step-by-Step Instructions
Step 1: Prepare Your Hair
Begin with clean, dry hair. Ensure your hair is styled exactly as you intend to wear it for the event.
Whether it’s soft waves, sleek and straight, or a half-up style, the foundation needs to be complete before the veil goes in.
Step 2: Determine Veil Placement
Decide where on your head the veil comb will sit. This is a crucial decision for both aesthetics and security.
Popular spots include the crown, the back of the head, or lower down towards the nape of the neck.
Pro Tip: Experiment with placement during your hair trial. Take photos from different angles to see what looks best with your dress and face shape.
Step 3: Create a Strong Anchor Point
This is the most critical step for hair down styles. Section a horizontal piece of hair where the veil comb will rest.
This section should be about 1-2 inches thick, running across the head. Use a hair clip to hold the rest of your hair out of the way.
Step 4: Tease and Hairspray the Anchor Section
Take the horizontal section of hair you isolated. Using a teasing comb, gently backcomb the underside of this section closest to your scalp.
Focus on creating volume and texture, making the hair feel dense. Generously spray the teased area with strong-hold hairspray.
Allow the hairspray to dry completely, creating a firm, sticky “shelf” for the veil comb to grip onto.
Pro Tip: For very fine or silky hair, you can create a small, tight braid or twist within this anchor section before teasing. Secure it with a clear elastic for extra grip.
Step 5: Insert the Veil Comb
Once your anchor section is firm, orient the veil comb. The teeth should face downwards, towards your scalp.
Gently push the comb into the teased section of hair. Angle it slightly upwards as you insert it, then push it down until it feels securely nestled.
The comb should feel snug and resistant to movement.
Step 6: Secure with Bobby Pins
Now, it’s time to reinforce. Grab bobby pins that perfectly match your hair color.
Starting from one end of the veil comb, insert a bobby pin through the fabric loop of the comb and into the teased hair beneath.
Continue to add bobby pins along the entire length of the comb, criss-crossing them for maximum hold. For example, insert one pin from the right, then another from the left, forming an ‘X’.
Pro Tip: Use open bobby pins, pushing them into the hair with the ridged side facing down. This provides a better grip.
Step 7: Check for Security and Comfort
Gently tug on the veil. It should feel completely secure and not shift easily. Walk around a bit, and even do a small head shake.
Ensure there are no painful pulling sensations. Comfort is just as important as security for a long event.
Step 8: Smooth and Finish
Once the veil is secure, release any clipped-up hair. Carefully smooth your hair around the veil comb, ensuring no pins or the comb itself are visible.
Use a light mist of hairspray to tame any flyaways and ensure a polished look.
Step 9: Practice Makes Perfect
Rehearse the entire process before the actual event. This allows you to identify any weak points and refine your technique.
Practicing ensures a stress-free application on the big day.
Common Mistakes to Avoid
Not Teasing Enough Hair
Many people underestimate the amount of teasing needed. A flat, un-teased section of hair offers no grip for the veil comb.
Without sufficient texture and volume, the comb will simply slide out, causing the veil to fall or shift. Always build a robust, firm base.
Using Too Few Bobby Pins
A few pins might seem sufficient, but a veil needs comprehensive reinforcement. Relying on only two or three pins creates weak points.
The veil will sway, become loose, or even detach. Use a generous number of pins, spacing them evenly and criss-crossing for a locked-in feel.
Incorrect Bobby Pin Placement
Simply pushing pins into the hair without engaging the veil comb is ineffective. The pins must go through the loops or base of the comb itself.
They should also anchor into the teased section of hair. This creates a secure connection between the veil and your hair.
Mismatching Bobby Pin Color
Using bobby pins that contrast with your hair color makes them highly visible. This detracts from the seamless look you’re aiming for.
Always choose pins that blend in perfectly with your hair shade. This ensures the focus remains on your beautiful veil and hairstyle.
Troubleshooting
My Veil Feels Loose or Slides Out
This is almost always due to an insufficient anchor point. Revisit Step 3 and 4.
Ensure you are teasing a generous section of hair and applying plenty of strong-hold hairspray. Let the spray dry completely before inserting the comb.
Consider adding a small, clear elastic band around a tiny section of hair within your anchor point for the comb to hook into.
The Veil Comb is Visible
If the comb is showing, it might be inserted too shallowly or your hair isn’t adequately smoothed over it.
Gently push the comb deeper into the teased section, ensuring it’s fully nestled within your hair. Carefully adjust the surrounding hair to drape naturally over the comb’s base.
Use a mirror to check from all angles, especially from above.
My Hair Feels Pulled or Uncomfortable
Discomfort often arises from placing the comb directly on sensitive scalp areas or pulling the hair too tightly when inserting pins.
Try repositioning the comb slightly. Ensure pins are inserted through the teased section without grabbing large amounts of scalp hair.
The goal is security without tension. If it hurts, gently remove and re-pin.
Key Takeaways
- Create a Strong Anchor: Tease a section of hair where the veil comb will sit, and reinforce it with strong-hold hairspray.
- Use Ample Bobby Pins: Secure the veil comb along its entire length with multiple, criss-crossed pins that match your hair color.
- Practice is Essential: Rehearse the placement and pinning beforehand to ensure a smooth, stress-free application on your big day.
- Prioritize Comfort: The veil should feel secure but never painful. Adjust as needed for long-lasting wear.
- Smooth and Conceal: Always finish by smoothing your hair over the comb and pins, ensuring a flawless, natural look.
Frequently Asked Questions
Can I wear a heavy, cathedral-length veil with my hair down?
Yes, you absolutely can. The key is to create an even stronger anchor point and use more bobby pins. You might also consider a veil with a wider comb for better distribution of weight.
A half-up style, where the upper section of hair is pulled back, can offer additional stability for very heavy veils while still keeping most of your hair down.
What if my hair is very fine or slippery?
Fine hair requires extra attention to the anchor point. Use texturizing spray or dry shampoo on the section to be teased before backcombing.
A small, clear elastic tied around a tiny section of hair where the comb will sit provides an excellent non-slip base for the comb to hook onto.
How do I remove the veil without messing up my hair?
To remove the veil, gently locate and remove all the bobby pins first. Once the pins are out, slowly slide the veil comb upwards and out of your hair.
Avoid pulling or yanking. This method minimizes disruption to your hairstyle, allowing you to transition seamlessly to your reception look.
Should I use hair extensions for extra volume?
Hair extensions can be a fantastic way to add volume and density, making it easier to create a secure anchor for your veil.
If using extensions, ensure they are properly clipped in and blended before you begin the veil securing process. They can provide a stronger foundation for teasing and pinning.
Our Top Recommended Finds
- Strong Hold Hairspray: A reliable, non-flaky hairspray is crucial for setting your teased anchor. Look for formulas specifically designed for extra hold.
- Teasing Comb with Metal Pin Tail: This tool makes sectioning and backcombing much easier and more precise, essential for creating that firm base.
- Color-Matched Bobby Pins: Invest in a pack of high-quality bobby pins that perfectly blend with your hair color. They are your veil’s best friend.
Embrace Your Radiant Look
Securing your veil with hair down is entirely achievable with the right technique and a little practice.
You can confidently wear the flowing hairstyle you’ve always envisioned for your special day.
Take these steps, trust the process, and prepare to feel absolutely beautiful and worry-free. Now, go make that dream a reality!