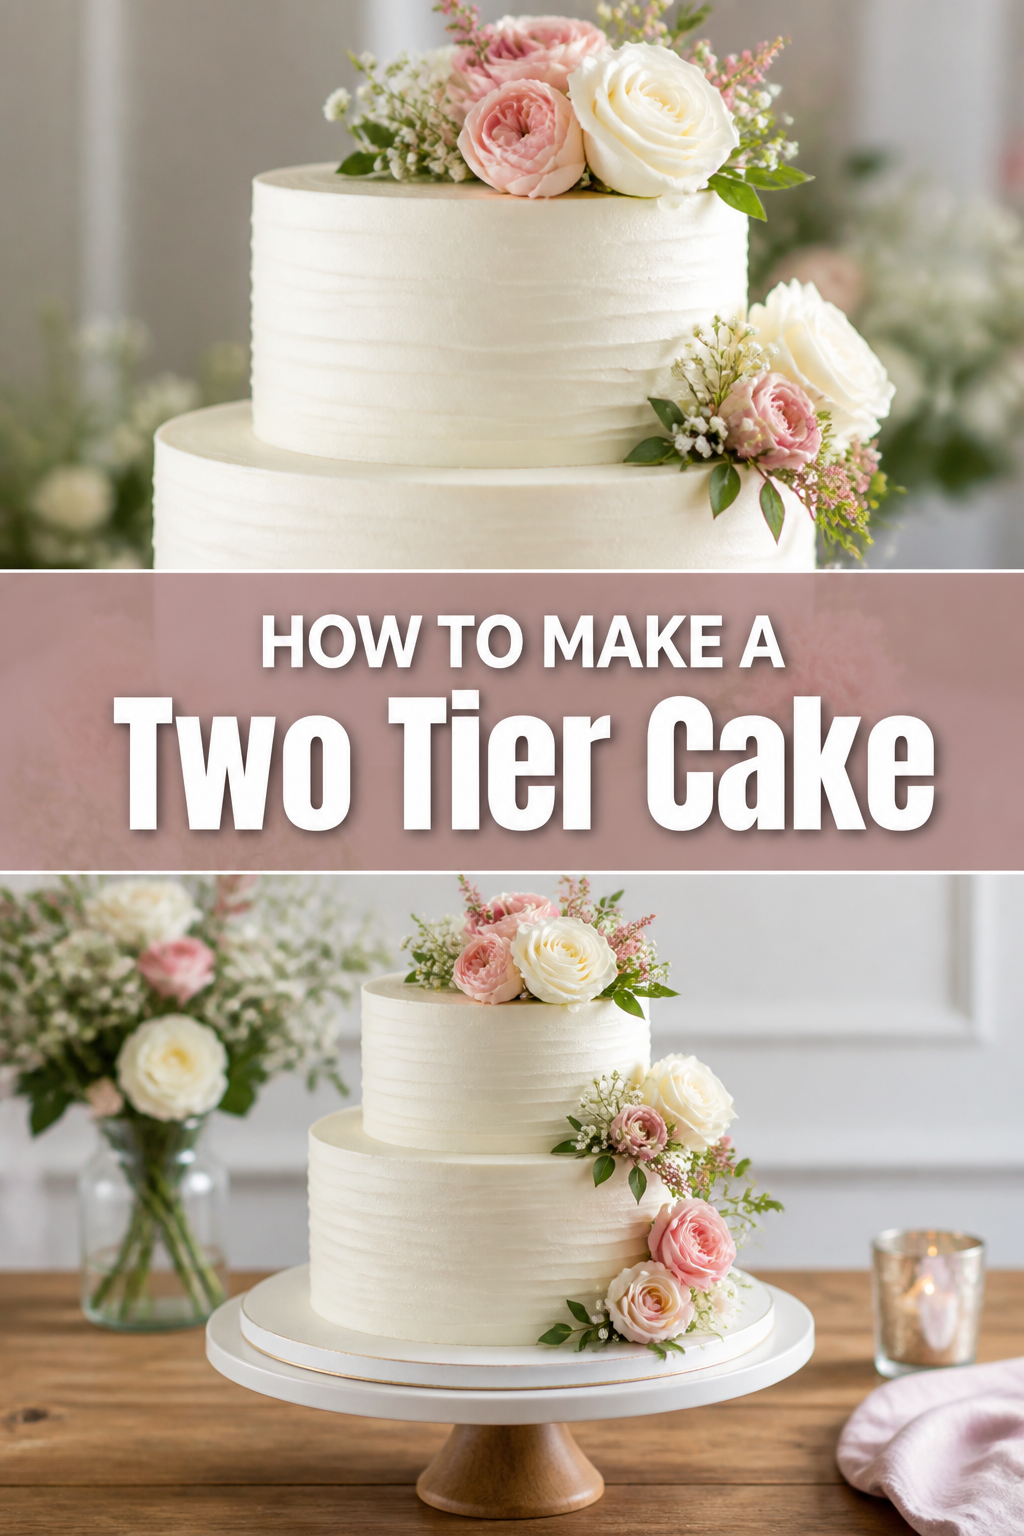
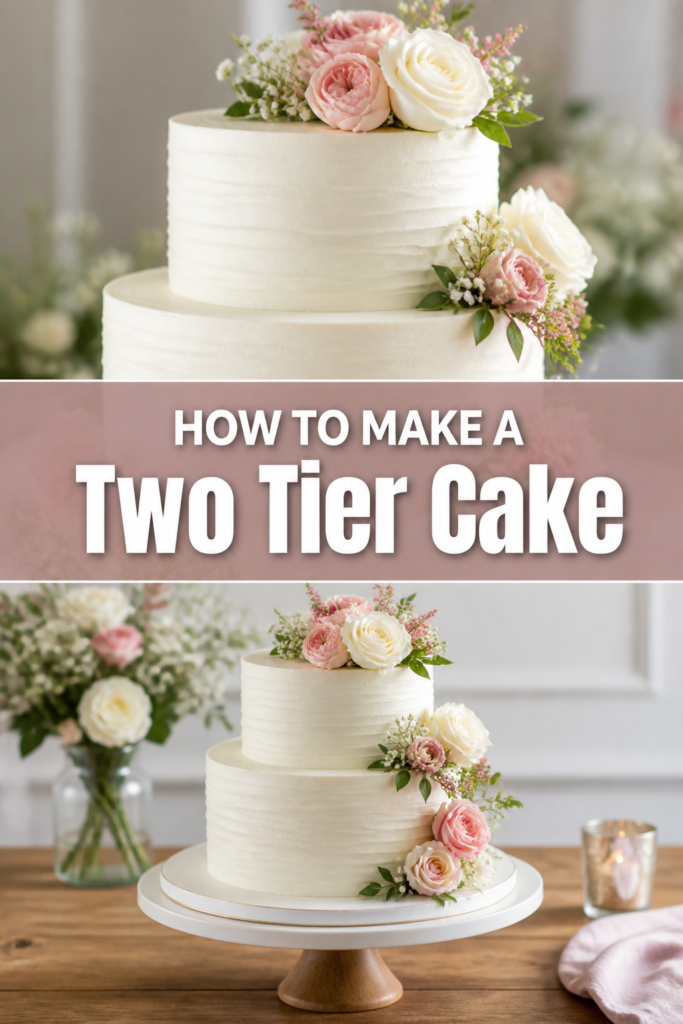
🎂 How To Make A Two Tier Cake
Creating a two-tier cake might seem daunting at first glance.
But with the right guidance, it’s a truly rewarding experience that adds a special touch to any celebration.
Having crafted many multi-tier cakes for family and friends, I’m here to share the practical steps and insights I’ve gathered.
Quick Overview
This guide will walk you through baking, assembling, and decorating a stable and beautiful two-tier cake. You will learn essential techniques for structural integrity and a flawless finish. By the end, you’ll have a stunning centerpiece ready for any occasion.
- Time needed: 6-8 hours (includes baking, cooling, chilling, and decorating time)
- Difficulty: Intermediate
- What you’ll need: Cake pans (two different sizes), cake ingredients, frosting ingredients, offset spatulas, cake leveler, cake boards, dowels or support rods, cake turntable, piping bags and tips (optional).
Step-by-Step Instructions
Step 1: Plan Your Cake Design
Before you begin baking, visualize your final cake. Decide on the flavors for each tier, the frosting type, and your decorative elements. Sketching your design can help solidify your vision.
Consider the number of servings you need. This will help you choose appropriate cake pan sizes for each tier. A common combination is an 8-inch bottom tier and a 6-inch top tier.
Pro Tip: Select cake recipes that are sturdy and dense, such as a pound cake or a firm vanilla sponge. Avoid very light or airy cakes for the bottom tier, as they might not hold the weight.
Step 2: Bake Your Cake Layers
Prepare your chosen cake recipes according to their instructions. It’s best to bake each tier as two separate layers to ensure even baking and easier leveling. For example, bake two 8-inch layers and two 6-inch layers.
Make sure your cake pans are properly prepared.
- Grease and flour each pan thoroughly to prevent sticking.
- Line the bottoms with parchment paper for easy release.
- Divide the batter evenly among the prepared pans.
Bake your cakes until a wooden skewer inserted into the center comes out clean.
Step 3: Prepare Your Frosting
While your cakes are cooling, prepare your chosen frosting. A stable frosting like Swiss meringue buttercream, American buttercream, or ganache works best for tiered cakes. It needs to be firm enough to hold its shape and support the weight.
Ensure your frosting is smooth and free of lumps. You might need to adjust its consistency slightly by adding a little liquid or powdered sugar, depending on the type. Keep it covered to prevent it from drying out.
Step 4: Level and Fill Your Cake Layers
Once your cakes are completely cool, gently remove them from their pans. Use a serrated knife or a cake leveler to carefully level the tops of each cake layer. Aim for perfectly flat surfaces.
This creates a stable foundation for stacking and prevents your cake from tilting. Trim any dark or overly crusty edges if desired for a softer texture.
Now, it’s time to fill your layers.
- Place one leveled cake layer onto a cardboard cake circle of the same size.
- Spread a generous, even layer of frosting or filling.
- Top with the second leveled cake layer, pressing gently to secure.
Repeat this process for both the bottom and top tiers.
Step 5: Crumb Coat Your Cakes
Apply a thin layer of frosting to the entire surface of both assembled cake tiers. This is called a crumb coat. Its purpose is to trap any loose crumbs, creating a smooth, crumb-free base for your final frosting layer.
Use an offset spatula to spread the frosting thinly and evenly. Don’t worry about perfection at this stage; just ensure all surfaces are covered.
Pro Tip: The crumb coat is crucial for a professional finish. It prevents crumbs from showing through your final, decorative layer of frosting.
Step 6: Chill and Final Coat
Once crumb-coated, place both cake tiers in the refrigerator for at least 20-30 minutes. This allows the crumb coat to firm up, making it easier to apply the final layer of frosting. A chilled crumb coat also helps prevent smudges.
After chilling, apply your final, thicker layer of frosting to each cake tier. Use an offset spatula or a bench scraper to create smooth sides and a flat top. Take your time to achieve a polished look.
Return both frosted cakes to the refrigerator to chill for at least an hour. This ensures they are firm and stable for stacking. Cold cakes are much easier to handle and less prone to damage during assembly.
Step 7: Prepare for Stacking (Dowels & Cake Boards)
This is the most critical step for a stable tiered cake. The bottom tier needs a support system to hold the weight of the top tier.
You will need sturdy dowels (plastic or wooden) and a separate cardboard cake circle for the top tier. The cake circle should be the same size as your top tier.
- Place the top tier’s cake board on top of the chilled bottom tier, centered exactly where you want the top tier to sit.
- Use a marker or toothpick to lightly outline the cake board’s position.
- Remove the top tier’s cake board.
Now, insert your dowels into the bottom tier.
Step 8: Stack Your Tiers
Cut your dowels to the exact height of your bottom cake tier (including the frosting). Insert them into the bottom tier, within the marked outline. You’ll need 3-5 dowels, evenly spaced, to create a strong support structure.
The dowels should be flush with the top surface of the bottom cake. They will bear the weight of the upper tier.
Carefully lift the chilled top tier (still on its own cake board) and center it directly over the dowels on the bottom tier. Gently lower it into place. Ensure it is perfectly centered and level.
Step 9: Decorate Your Masterpiece
With the tiers stacked, you can now add your final decorations. This might include piping borders, adding fresh flowers, fondant elements, or other embellishments.
Use a steady hand and take your time. You can use a piping bag with various tips to create intricate designs around the base of each tier.
Pro Tip: When decorating with fresh flowers, wrap the stems in floral tape or plastic wrap before inserting them into the cake. This prevents direct contact with the cake and keeps them fresh.
Step 10: Secure and Transport
For added security, especially if transporting the cake, you can insert a long, thin wooden dowel or specialized cake rod through the center of both tiers. This acts as a central anchor.
Carefully push the dowel all the way through the top tier, through the bottom tier, and into the main cake board. Trim any excess if needed.
Transport your cake on a flat, sturdy surface. Drive slowly and avoid sudden stops to keep your masterpiece intact.
Common Mistakes to Avoid
Not Leveling Cake Layers Properly
Failing to level your cake layers creates an uneven foundation. This leads to tilted tiers and an unstable cake structure that is prone to collapse. Always take the time to trim your cakes flat.
Skipping the Crumb Coat
Omitting the crumb coat means loose crumbs will mix into your final layer of frosting. This results in a messy, unprofessional appearance. The crumb coat is a quick step that makes a huge difference.
Inadequate Support System
Using too few dowels, or dowels that are too short or flimsy, is a recipe for disaster. Without proper support, the top tier will sink into the bottom tier, causing damage and instability. Always use strong, appropriately cut dowels.
Rushing the Chilling Process
Trying to stack or decorate warm or soft cakes will lead to smudging, melting, and a generally messy result. Chilling your cakes thoroughly at each stage is essential for firm, easy-to-handle tiers and a clean finish. Patience here pays off.
Troubleshooting
Cake Sliding/Tilting
If your cake tiers are sliding or tilting, it’s usually due to inadequate leveling or insufficient chilling. Ensure all layers are perfectly flat before assembly. Also, make sure each tier is thoroughly chilled and firm before stacking.
To fix a slight tilt, you might gently push the leaning side up with a clean spatula and add a tiny bit more frosting underneath if there’s a gap. For significant tilting, carefully unstack, re-level, re-chill, and restack.
Frosting Cracks or Bulges
Cracks can occur if your cake is too cold when applying frosting, or if the frosting itself is too stiff. Let a very cold cake warm up slightly before the final frosting. Adjust your frosting consistency to be smooth and pliable.
Bulges often happen when the cake settles or if the filling is too soft. Ensure your filling is firm and that your cake is adequately chilled between steps. A sturdy crumb coat helps to contain the cake shape.
Tiers Not Centered
If your top tier is off-center after stacking, don’t panic. If it’s only slightly off, you might gently nudge it into place while supporting the sides of the cake. This is easier if the cakes are still cold.
For a significantly off-center tier, carefully use thin spatulas to lift the top tier off. Re-center it precisely, making sure it aligns with the dowel supports below. This is why chilling is so important.
Key Takeaways
- Planning your cake design and pan sizes from the start is essential for a successful outcome.
- Proper cooling and meticulous leveling of cake layers create a stable and even foundation.
- The crumb coat is a non-negotiable step for achieving a smooth, professional frosting finish.
- Always use sturdy dowels or support rods to prevent the upper tiers from sinking into the lower ones.
- Chilling your cake thoroughly at each stage, especially after crumb coating and final frosting, is crucial for stability and ease of handling.
- Take your time with each step, especially stacking and decorating, to ensure a beautiful and structurally sound tiered cake.
Frequently Asked Questions
Can I bake the cakes ahead of time?
Yes, absolutely! Baking your cake layers 1-2 days in advance is highly recommended. Once cooled, wrap them tightly in plastic wrap and store at room temperature, or freeze them for longer storage. This helps break down the process.
What’s the best frosting for a two-tier cake?
A sturdy frosting like Swiss meringue buttercream, American buttercream (made with butter and powdered sugar), or ganache is ideal. These frostings hold their shape well and provide excellent structural support. Avoid very soft or whipped cream-based frostings.
How do I transport a two-tier cake safely?
Transport your tiered cake on a flat, non-slip surface in your vehicle, such as the floorboard or a passenger seat footwell. Drive slowly, avoid sudden stops or turns, and keep the car cool. A central dowel through both tiers adds significant stability.
What size cake pans should I use for a two-tier cake?
A common and visually appealing size difference for two tiers is 2 inches. For example, an 8-inch bottom tier with a 6-inch top tier, or a 10-inch bottom tier with an 8-inch top tier. This provides a nice margin for decoration.
Our Top Recommended Finds
- Adjustable Cake Leveler: This tool ensures all your cake layers are perfectly even, which is fundamental for a stable, straight tiered cake.
- Cake Decorating Turntable: A smooth-spinning turntable makes applying frosting and intricate decorations much easier and more consistent around the entire cake.
- Sturdy Cake Dowels/Support Rods: Essential for structural integrity, these plastic or wooden rods prevent your upper tiers from sinking into the lower ones, ensuring your cake stands tall.
Your Two-Tier Cake Journey Awaits
Crafting a two-tier cake is a rewarding endeavor that combines baking skill with artistic flair. Each step, from planning to the final decorative touch, builds towards a stunning edible creation. Don’t be afraid to experiment with flavors and designs as you gain confidence.
Now that you have this detailed guide, you’re equipped to tackle your next baking project with assurance. Gather your ingredients, prepare your tools, and embark on the joyous process of creating a memorable tiered cake. Your friends and family will be amazed by your beautiful masterpiece.