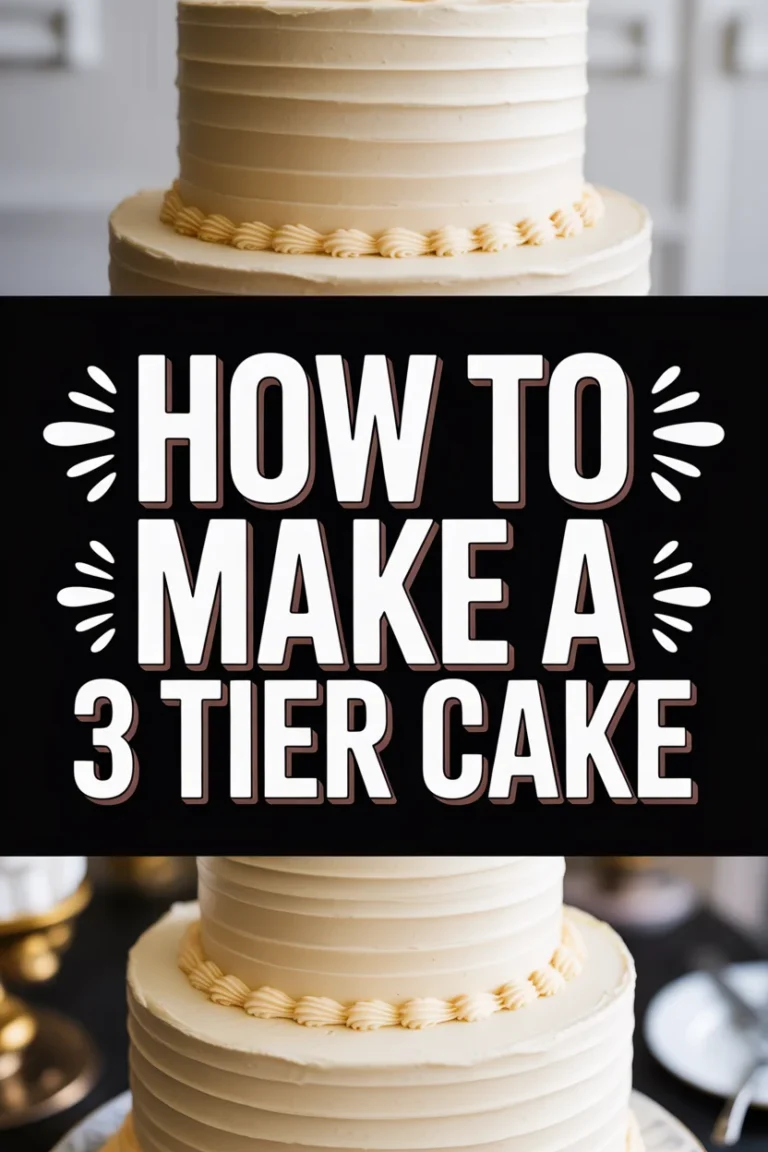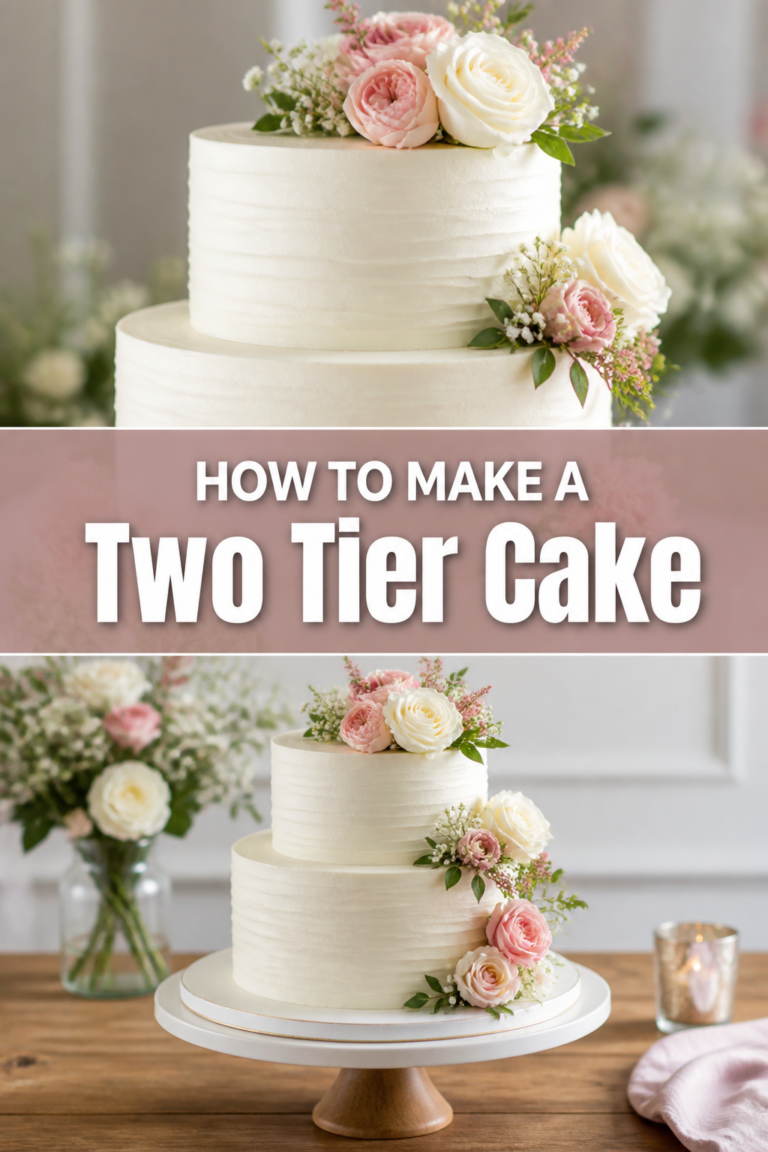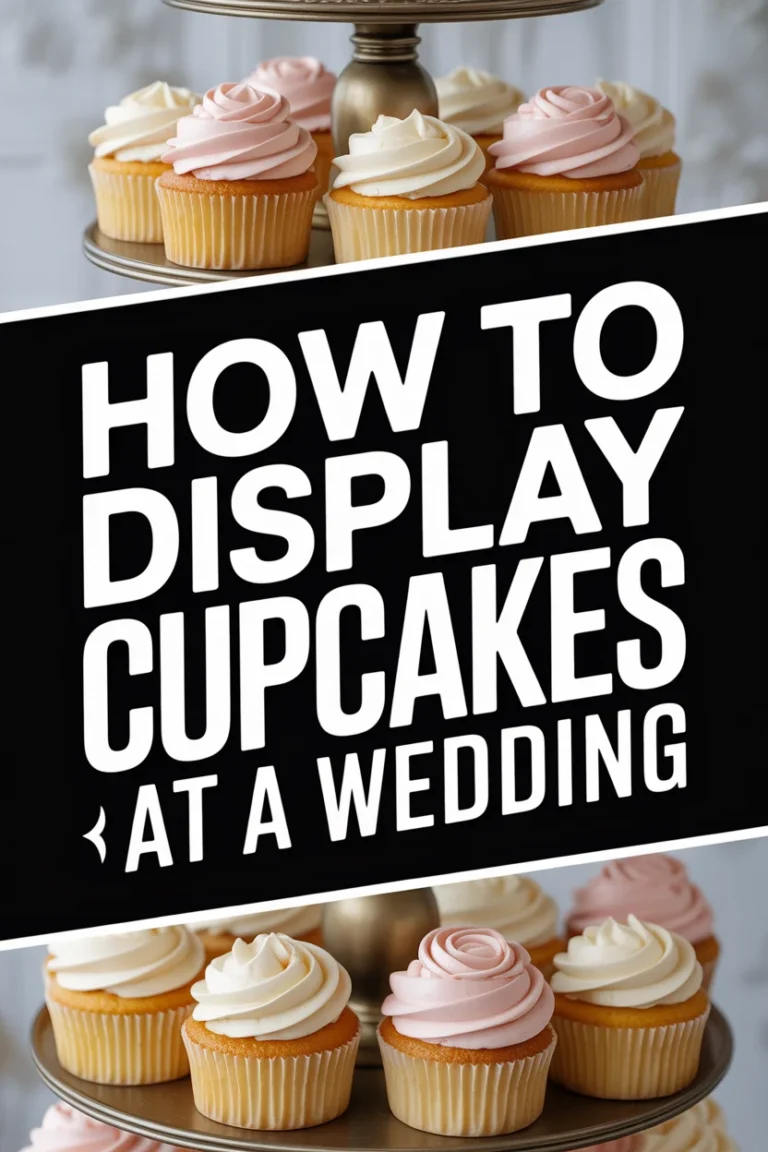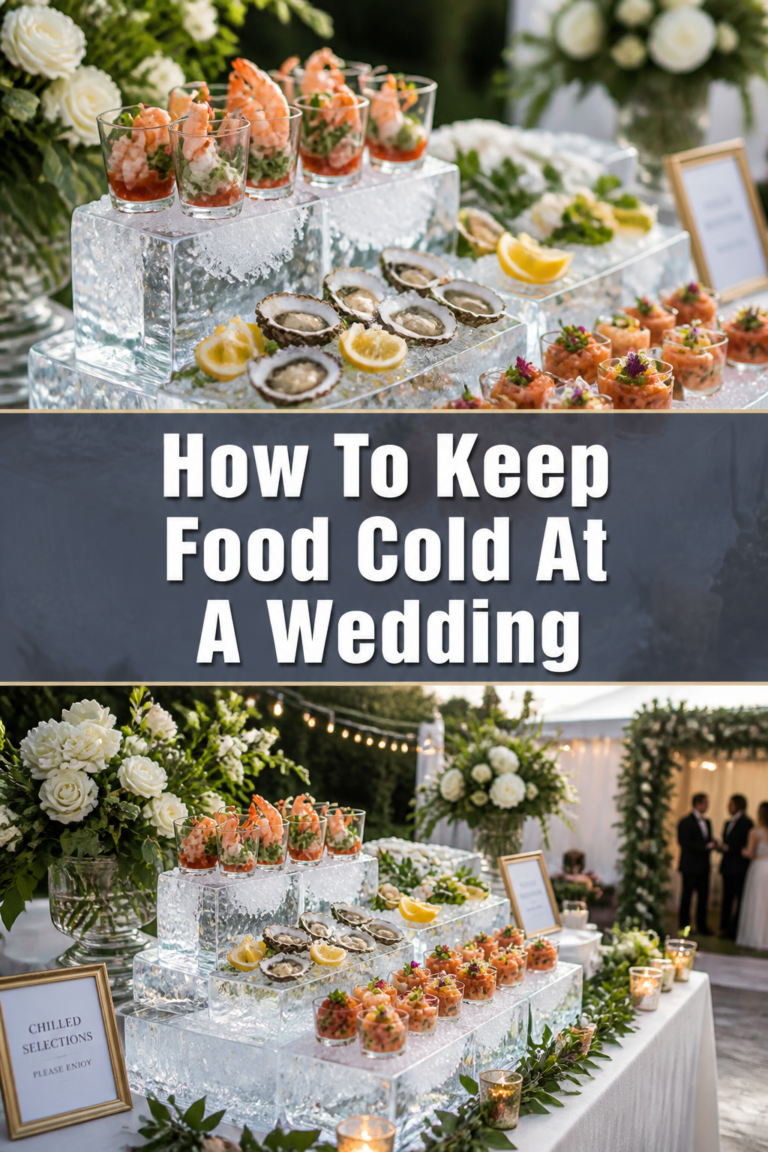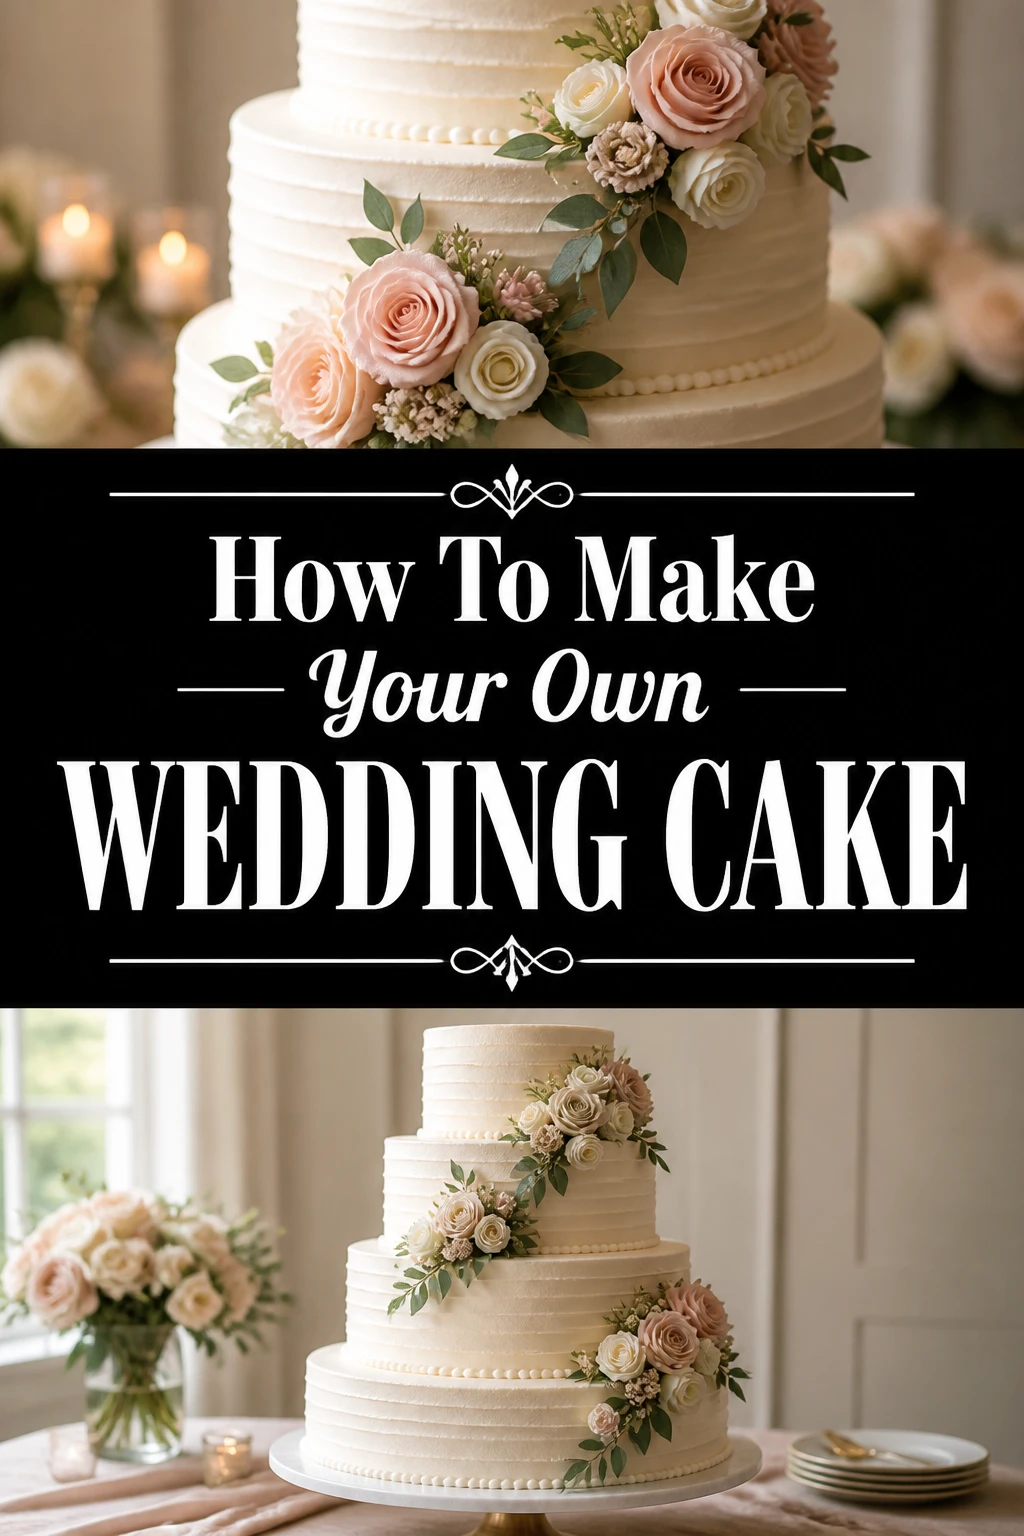
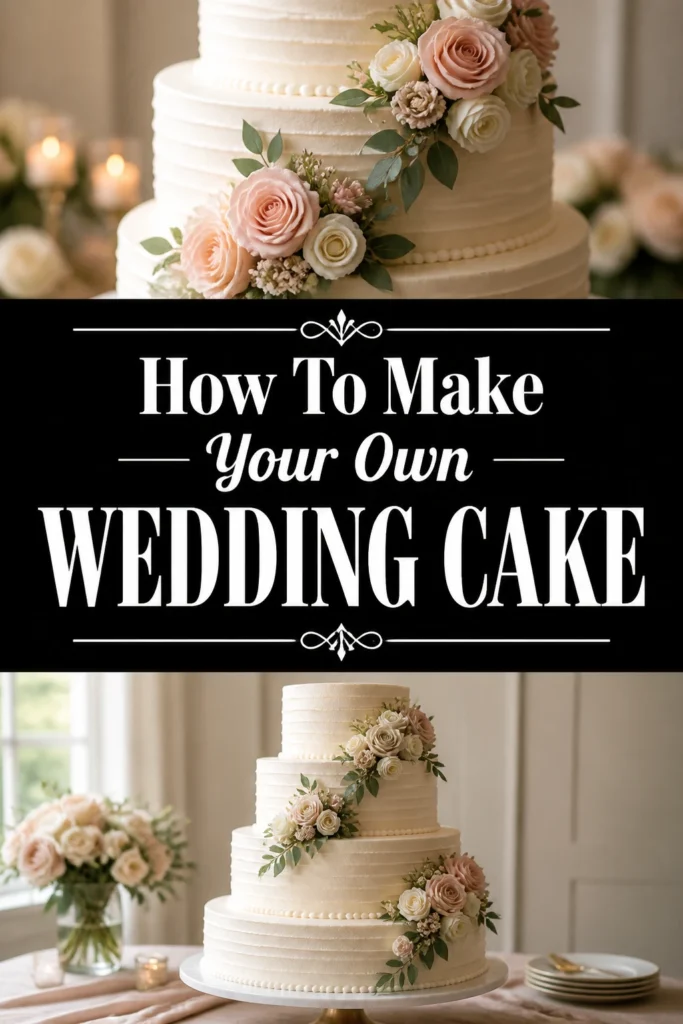
🎂 How To Make Your Own Wedding Cake

Wedding Planning
No fluff, no drama. Just easy weekly advice, planning shortcuts, and gentle reminders to help you actually enjoy your engagement.
Baking your own wedding cake might seem like a daunting task. Yet, it’s also one of the most personal and rewarding gifts you can give your special day. I know firsthand the immense joy (and slight panic!) that comes with creating something so significant. This guide will walk you through every step, empowering you to bake your dream cake with confidence.
Quick Overview
Making your wedding cake is a labor of love that results in a truly unique centerpiece. You’ll learn how to plan, bake, assemble, and decorate a multi-tiered cake, creating a delicious memory.
- Time needed: 3-5 days (spread out over a week for baking, chilling, and decorating)
- Difficulty: Intermediate
- What you’ll need: Quality ingredients, various cake pans, mixing bowls, stand mixer, offset spatulas, cake boards, dowels, turntable, piping bags, basic decorating tools.
Step-by-Step Instructions
Step 1: Plan Your Masterpiece
Careful planning is the foundation of a successful wedding cake. This initial stage sets the tone for everything that follows.
Decide on your cake’s size and number of tiers. Consider your guest count and how much cake per person you want.
Choose your flavors. Most couples select 2-3 different flavors for variety, often one per tier.
Select a sturdy recipe. Look for cake recipes that are dense enough to hold up to stacking, like butter cakes or pound cakes, rather than very light sponge cakes.
Sketch your design. Visualizing the final look helps immensely with decoration choices.
Create a detailed timeline. Work backward from your wedding day to schedule baking, chilling, frosting, and decorating.
Pro Tip: Do a test run with one of your chosen cake flavors a few months before the wedding. This helps you get familiar with the recipe and adjust as needed.
Step 2: Gather Your Tools and Ingredients
Having everything ready before you start baking prevents last-minute stress. A well-stocked kitchen is a happy kitchen.
Purchase all non-perishable ingredients well in advance. Check expiration dates.
Buy fresh ingredients closer to your baking day. Eggs, butter, and dairy should be fresh.
Collect all necessary equipment. This includes various sized cake pans, parchment paper, a kitchen scale, measuring cups and spoons.
Ensure you have a reliable stand mixer. This will save you a lot of arm work.
Prepare your cake boards and dowels. These are crucial for structural integrity.
Step 3: Bake Your Cake Layers
Baking is where the magic begins. Precision and patience are key for perfect layers.
Preheat your oven accurately. Use an oven thermometer to ensure the correct temperature.
Prepare your cake pans. Grease and flour them thoroughly, or line with parchment paper circles for easy release.
Measure ingredients by weight whenever possible. This offers far more accuracy than volume measurements, especially for flour.
Mix your batter according to your chosen recipe. Do not overmix, as this can lead to a tough cake.
Divide batter evenly among pans. Use a kitchen scale for perfectly uniform layers.
Bake cakes until a wooden skewer inserted into the center comes out clean. Avoid opening the oven door too frequently.
Cool cakes in their pans for 10-15 minutes before inverting them onto a wire rack. Allow them to cool completely before wrapping.
Pro Tip: For perfectly flat layers, use baking strips around your cake pans. These help cakes bake more evenly and prevent doming.
Step 4: Prepare Your Frosting and Fillings
The right frosting provides both flavor and stability. Your chosen filling will add another layer of deliciousness.
Choose a stable frosting recipe. Buttercream (Swiss meringue, Italian meringue, or American) is excellent for wedding cakes as it holds up well.
Make your buttercream ahead of time. Most buttercreams can be refrigerated for a week or frozen for a month, then re-whipped.
Prepare any fillings. Fruit curds, jams, or ganaches can be made a day or two in advance.
Ensure all ingredients for your frosting are at the correct temperature. For buttercream, butter and eggs often need to be at room temperature.
Whip your buttercream thoroughly until it’s light, fluffy, and smooth. This can take longer than you think.
Pro Tip: If your buttercream seems too soft, chill it for 10-15 minutes and then re-whip. If it’s too stiff, add a tiny bit of warm milk or cream.
Step 5: Level, Fill, and Crumb Coat
This stage builds the structure of your cake. Flat layers and a good crumb coat are crucial for a professional finish.
Level your cooled cake layers. Use a serrated knife or a cake leveler to remove any domes, creating flat surfaces.
Brush layers with simple syrup if desired. This adds moisture and flavor.
Pipe a dam of frosting around the edge of each layer before adding your filling. This prevents the filling from oozing out.
Spread your chosen filling evenly within the dam.
Stack your layers carefully, ensuring they are centered and level.
Apply a thin layer of buttercream all over the stacked cake. This is the crumb coat, which traps any loose crumbs.
Chill the crumb-coated cakes for at least 30 minutes, or until the frosting is firm. This locks in the crumbs.
Step 6: Frost and Stack Your Tiers
Now your cake starts to take its final form. This requires patience and a steady hand.
Apply the final layer of frosting to each individual tier. Use an offset spatula and a cake scraper for smooth, even sides.
Chill each frosted tier until the frosting is firm again. This makes handling easier.
Insert dowels into the larger, bottom tiers. These support the weight of the tiers above and prevent sagging.
Measure and cut dowels precisely. They should be flush with the top of the cake layer.
Place a cardboard cake board on top of the dowels. This provides a stable base for the next tier.
Carefully lift and center the next tier onto the cake board. Repeat the doweling and stacking process for all tiers.
Pro Tip: Use a long, thin ruler or a spirit level to ensure each tier is perfectly level before stacking the next one. A leaning cake is harder to fix later.
Step 7: Decorate Your Wedding Cake
This is where your vision comes to life. Personal touches make your cake truly unique.
Apply any final frosting details. This could include textured frosting, piped borders, or stenciling.
Add fresh flowers, if using. Ensure they are food-safe and wrapped at the stems to prevent direct contact with the cake.
Attach edible decorations like sugar flowers, pearls, or custom toppers. Use a tiny dot of buttercream to secure them.
Consider edible paints or dusts for metallic accents or shading.
Take a step back often to assess your progress and ensure symmetry.
Pro Tip: For fresh flowers, ask your florist for food-safe varieties. Wrap the stems with floral tape or plastic wrap before inserting them into the cake to prevent sap from touching the cake.
Step 8: Transport and Display
The final hurdle is getting your beautiful creation safely to the venue. Plan this carefully.
Chill the finished cake thoroughly before transportation. A firm cake is a stable cake.
Use a sturdy, flat surface for transport. A non-slip mat in your car boot is ideal.
Drive slowly and avoid sudden stops or turns. Enlist a calm co-pilot to help stabilize the cake.
Assemble any remaining decorations or a cake topper at the venue if they are fragile.
Place the cake in its designated spot at the venue, away from direct sunlight or heat sources.
Common Mistakes to Avoid
Rushing the Process
Attempting to bake and decorate a wedding cake in a single day is a recipe for disaster. Each stage, especially chilling, requires adequate time. Rushing leads to messy frosting, leaning tiers, and unnecessary stress. Break the process into manageable chunks over several days.
Using Unstable Recipes
Not all cake recipes are suitable for multi-tiered structures. Light, airy sponge cakes or very moist, delicate cakes might collapse under the weight of upper tiers. Always opt for denser, sturdier recipes like butter cakes or firm pound cakes that can withstand stacking and transport.
Inadequate Support
Failing to properly dowel and board your cake tiers is a critical error. Without internal support, the upper tiers will sink into the lower ones, causing bulges, cracks, and potential collapse. Always use correctly cut dowels and sturdy cake boards between each stacked tier.
Over-Decorating
While it’s tempting to add every beautiful detail, sometimes less is more. An overly elaborate design can look cluttered and detract from the cake’s elegance. Plan your decorations carefully and stick to your chosen design, ensuring each element enhances the overall aesthetic.
Troubleshooting
Leaning Cake
If your cake starts to lean, it’s often due to uneven layers, improper doweling, or soft frosting. First, ensure your layers are level before stacking. When doweling, cut them precisely to be flush with the top of the cake. If the lean is minor, you might be able to gently push it back into place if the frosting is still pliable. For a significant lean, you may need to deconstruct the upper tiers, re-level, re-dowel, and restack.
Melting Frosting
Melting frosting is usually a temperature issue. High humidity or warm room temperatures can cause buttercream to soften and slump. Ensure your kitchen is cool while working. If the frosting starts to melt, chill the entire cake quickly. For outdoor events, consider a more stable frosting like ganache or fondant, and keep the cake in the coolest possible spot until serving.
Dry Cake Layers
A dry cake can result from overbaking or insufficient moisture. Always use an oven thermometer to ensure accurate temperature and check for doneness with a skewer. Once cakes are cooled, wrap them tightly in plastic wrap to lock in moisture. Brushing cooled layers with a simple syrup (equal parts sugar and water, boiled and cooled) before frosting can also add significant moisture.
Key Takeaways
- Thorough planning and a detailed timeline are essential for success.
- Choose sturdy cake recipes and stable frostings for structural integrity.
- Measure ingredients by weight for consistent, perfect results every time.
- Properly level, crumb coat, and chill each tier for a smooth finish.
- Always use dowels and cake boards to support stacked tiers.
- Practice patience and enjoy the creative process of decorating.
- Chill your finished cake well before carefully transporting it.
Frequently Asked Questions
How far in advance can I make the cake layers?
You can bake cake layers 1-2 months in advance and freeze them, tightly wrapped in plastic wrap and then foil. Thaw them in the refrigerator overnight before leveling and frosting. For fresh baking, 2-3 days before assembly is ideal.
Can I use fondant instead of buttercream?
Absolutely! Fondant provides a very smooth, elegant finish and adds a layer of protection, making the cake more stable for transport and display, especially in warmer climates. You’ll still need a thin layer of buttercream or ganache underneath the fondant.
What if I’m not very artistic with decorations?
Don’t worry! Simple elegance can be stunning. Consider fresh flowers (food-safe, wrapped stems), a custom cake topper, or a simple textured buttercream finish. Practice basic piping techniques on parchment paper first. Sometimes, a beautiful cake stand and a few well-placed elements are all you need.
How do I store the finished wedding cake?
Once decorated, keep the cake in a cool, dry place away from direct sunlight. A cool room or a large refrigerator is best. If refrigerated, allow it to come to room temperature for about an hour before serving for optimal flavor and texture.
Our Top Recommended Finds
- Adjustable Cake Leveler: Essential for perfectly even cake layers, which are crucial for a stable, professional-looking stacked cake.
- Offset Spatula Set: A small one for spreading filling, and a larger one for smoothly applying buttercream to the sides and top of your tiers.
- Heavy-Duty Cake Turntable: Makes frosting and decorating infinitely easier, allowing you to spin the cake while keeping your hands steady.
Your Sweetest Celebration Awaits
Crafting your own wedding cake is more than just baking; it’s infusing your love story into every delicious layer. It’s a journey of creativity, patience, and immense satisfaction. Imagine the look on your guests’ faces, and the pride you’ll feel, knowing you created such a meaningful centerpiece.
Why wait to start this incredible project? Begin by planning your dream flavors and design today. Gather your inspiration, embrace the challenge, and prepare to create a truly unforgettable, edible symbol of your love.
Wedding Planning
No fluff, no drama. Just easy weekly advice, planning shortcuts, and gentle reminders to help you actually enjoy your engagement.