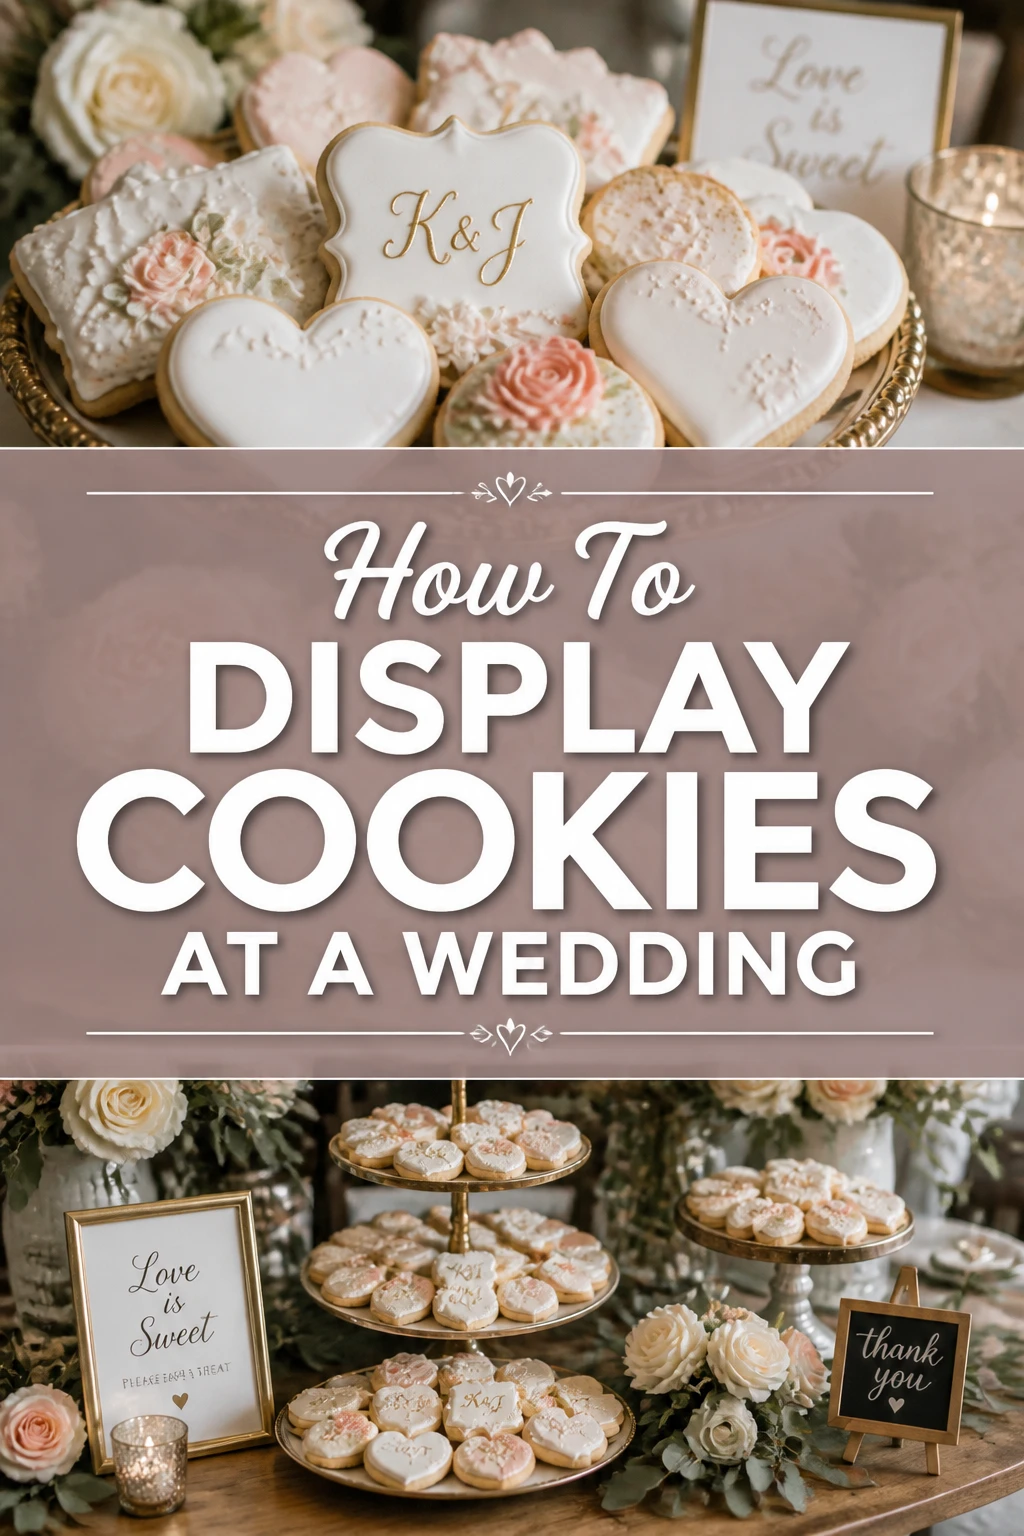
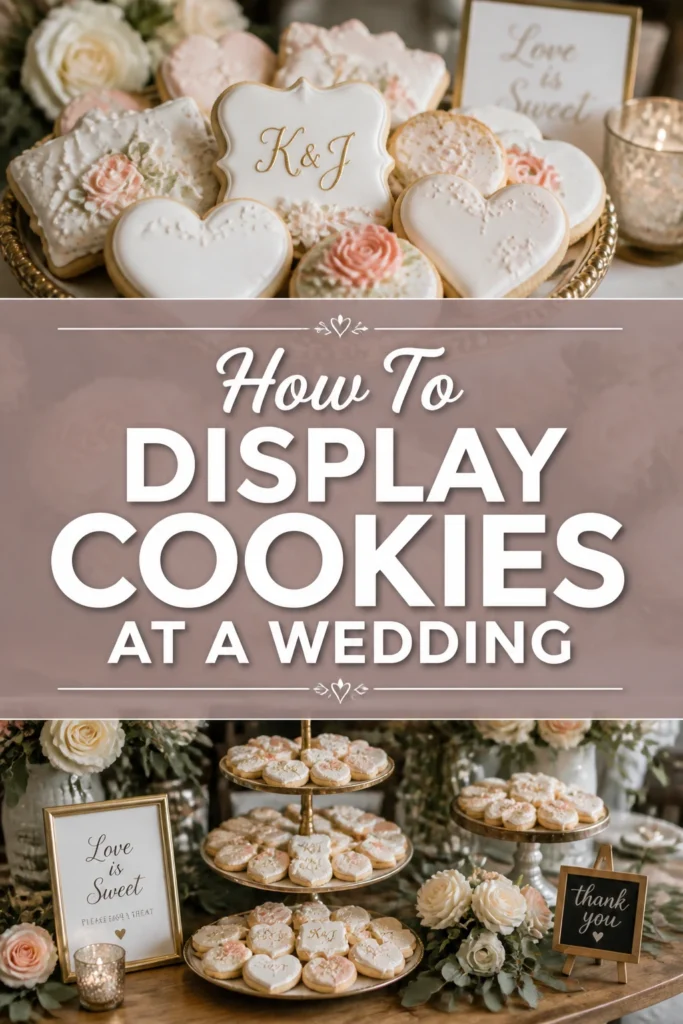
🍪 How To Display Cookies At A Wedding

Wedding Planning
No fluff, no drama. Just easy weekly advice, planning shortcuts, and gentle reminders to help you actually enjoy your engagement.
Planning a wedding means paying attention to every sweet detail. A beautifully arranged cookie display can be a charming and personalized addition to your dessert table. I’ve seen firsthand how a thoughtful setup truly elevates the guest experience.
This guide will help you craft a stunning and practical cookie display that will delight everyone.
Quick Overview
This guide will walk you through designing, setting up, and maintaining a gorgeous cookie display for your special day. You’ll learn how to select the right cookies, choose suitable display elements, and ensure everything runs smoothly.
- Time needed: 2-4 hours (planning and setup)
- Difficulty: Intermediate
- What you’ll need: Assorted cookies, various display stands, platters, risers, labels, serving utensils, decorative elements, and possibly a cooling solution.
Step-by-Step Instructions
Step 1: Define Your Vision and Theme
Begin by envisioning the overall aesthetic of your wedding. Your cookie display should seamlessly integrate with your chosen theme, colors, and general decor. Think about whether your wedding is rustic, elegant, modern, or whimsical.
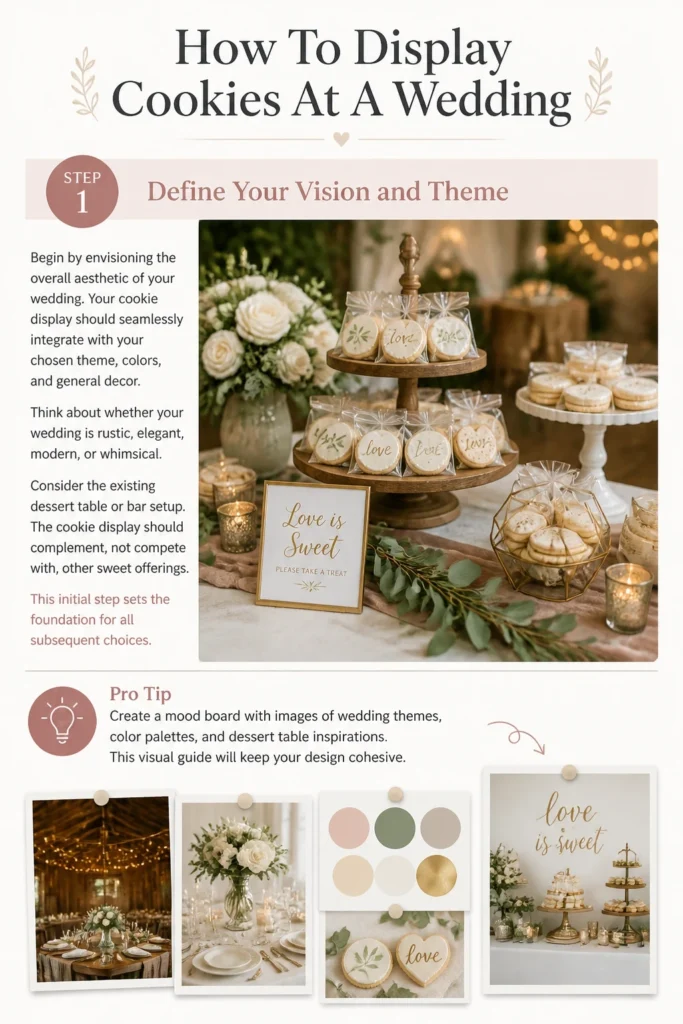
Consider the existing dessert table or bar setup. The cookie display should complement, not compete with, other sweet offerings. This initial step sets the foundation for all subsequent choices.
Pro Tip: Create a mood board with images of wedding themes, color palettes, and dessert table inspirations. This visual guide will keep your design cohesive.
Step 2: Select Your Cookie Assortment and Quantity
Variety is key to pleasing all your guests. Offer a mix of flavors, textures, and sizes, from classic chocolate chip to delicate shortbread or personalized decorated sugar cookies. Consider any dietary restrictions your guests might have, such as gluten-free or nut-free options.
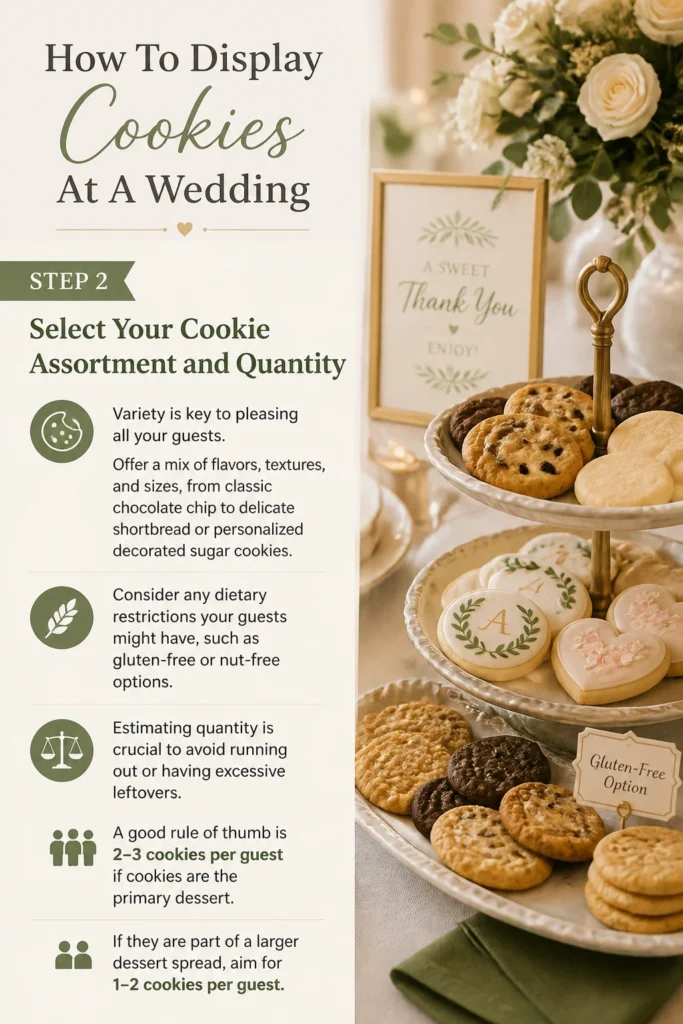
Estimating quantity is crucial to avoid running out or having excessive leftovers. A good rule of thumb is 2-3 cookies per guest if cookies are the primary dessert. If they are part of a larger dessert spread, aim for 1-2 cookies per guest.
Step 3: Choose Your Display Elements
The right display elements create visual interest and structure. Invest in or rent a variety of stands, platters, and risers to add different heights and dimensions. Consider cake stands, tiered trays, decorative boxes, or even rustic wooden crates.
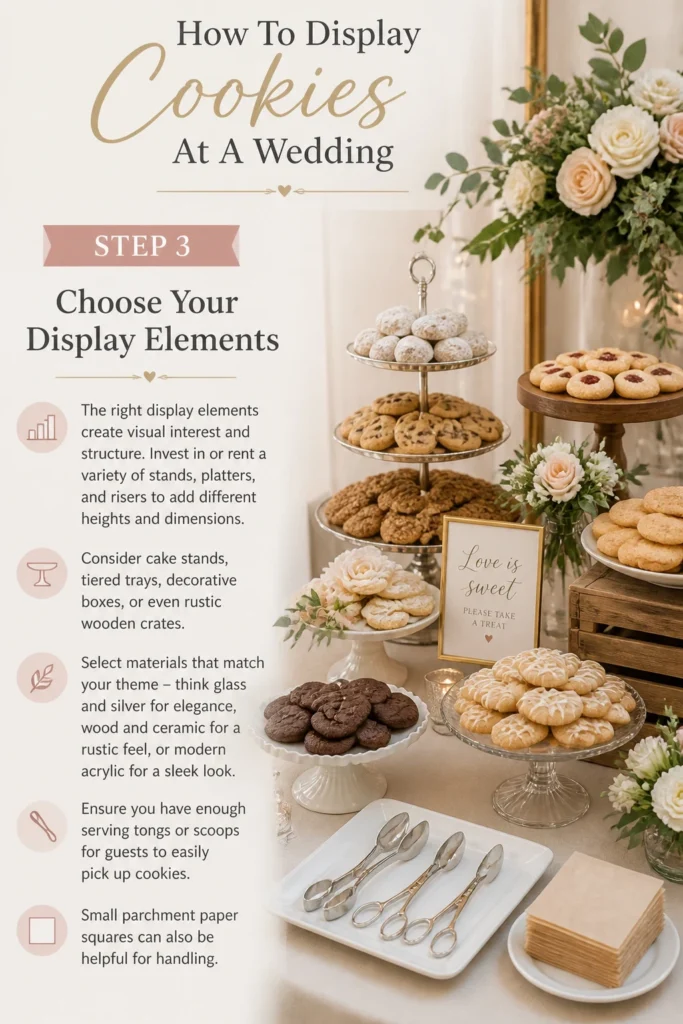
Select materials that match your theme – think glass and silver for elegance, wood and ceramic for a rustic feel, or modern acrylic for a sleek look. Ensure you have enough serving tongs or scoops for guests to easily pick up cookies. Small parchment paper squares can also be helpful for handling.
Step 4: Plan the Layout and Flow
Before the wedding day, sketch out your display layout. Consider the size and shape of your table, and how guests will approach it. Create a focal point, perhaps with a taller stand in the center or a unique cookie design.
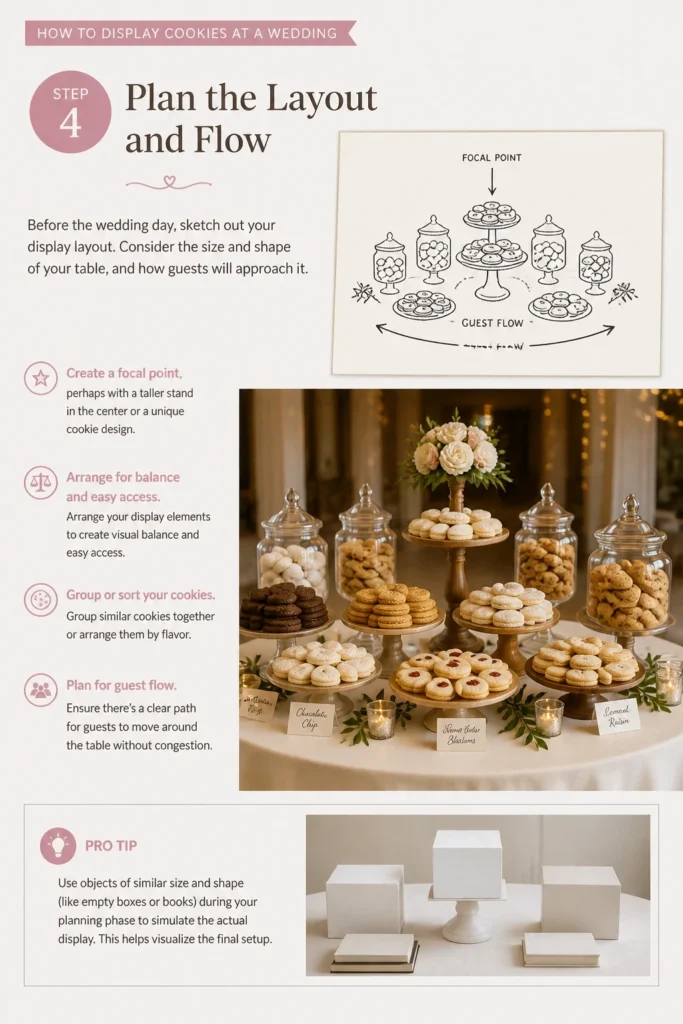
Arrange your display elements to create visual balance and easy access. Group similar cookies together or arrange them by flavor. Ensure there’s a clear path for guests to move around the table without congestion.
Pro Tip: Use objects of similar size and shape (like empty boxes or books) during your planning phase to simulate the actual display. This helps visualize the final setup.
Step 5: Prioritize Practicalities and Freshness
Cookies need to stay fresh and appealing throughout the event. Consider the venue’s temperature and humidity. If it’s warm, avoid highly perishable cookies with cream fillings or chocolate coatings that might melt.
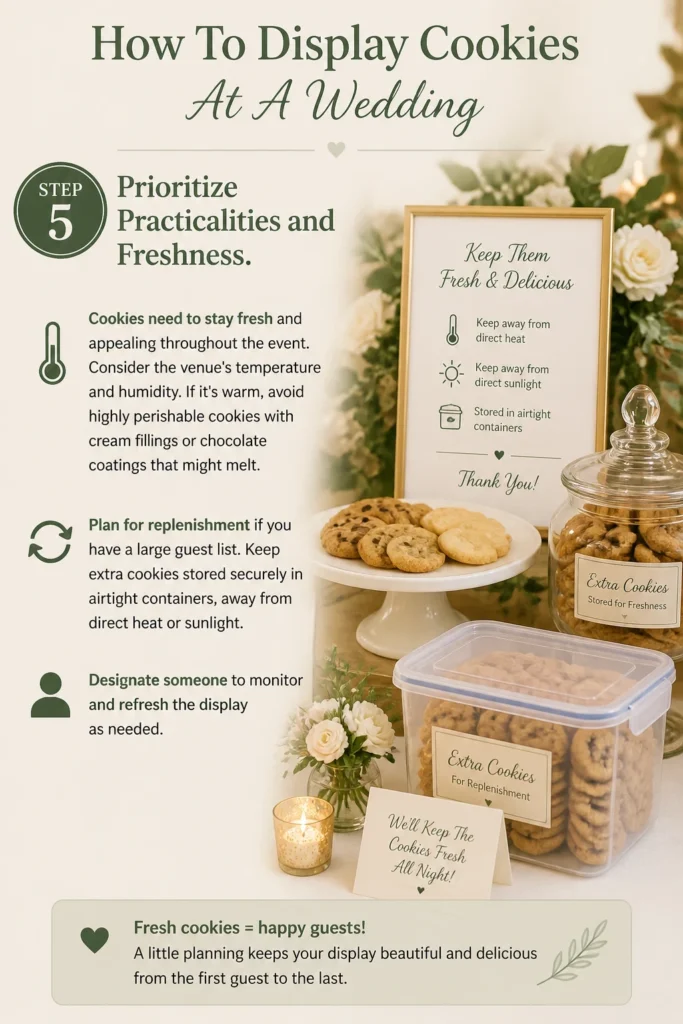
Plan for replenishment if you have a large guest list. Keep extra cookies stored securely in airtight containers, away from direct heat or sunlight. Designate someone to monitor and refresh the display as needed.
Step 6: Design Clear and Attractive Signage
Guests appreciate knowing what they’re eating, especially with various cookie types and dietary considerations. Create elegant labels or a menu board that lists each cookie flavor. Include any allergy information (e.g., “contains nuts,” “gluten-free”).
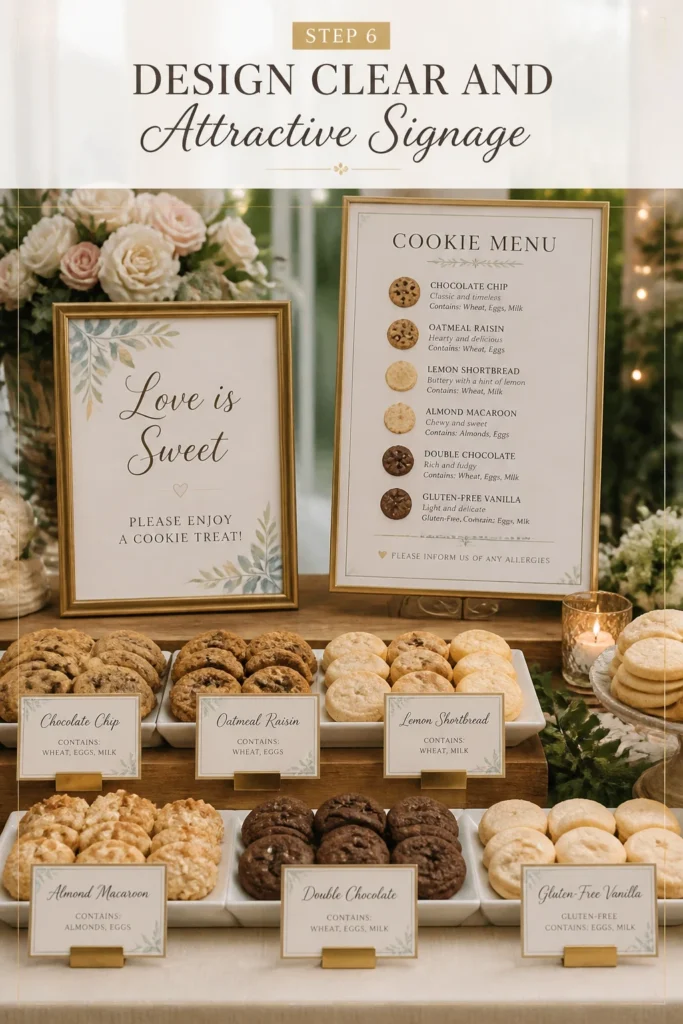
The signage should match your wedding stationery or overall decor. Hand-lettered signs, printed cards in small frames, or even digital displays can work beautifully. Place labels clearly in front of each cookie type.
Step 7: Add Decorative Touches
Elevate your cookie display with thoughtful decorations. Use fresh flowers that complement your floral arrangements, or greenery for a natural touch. Incorporate fairy lights, candles (safely enclosed), or small lanterns to create a warm ambiance.
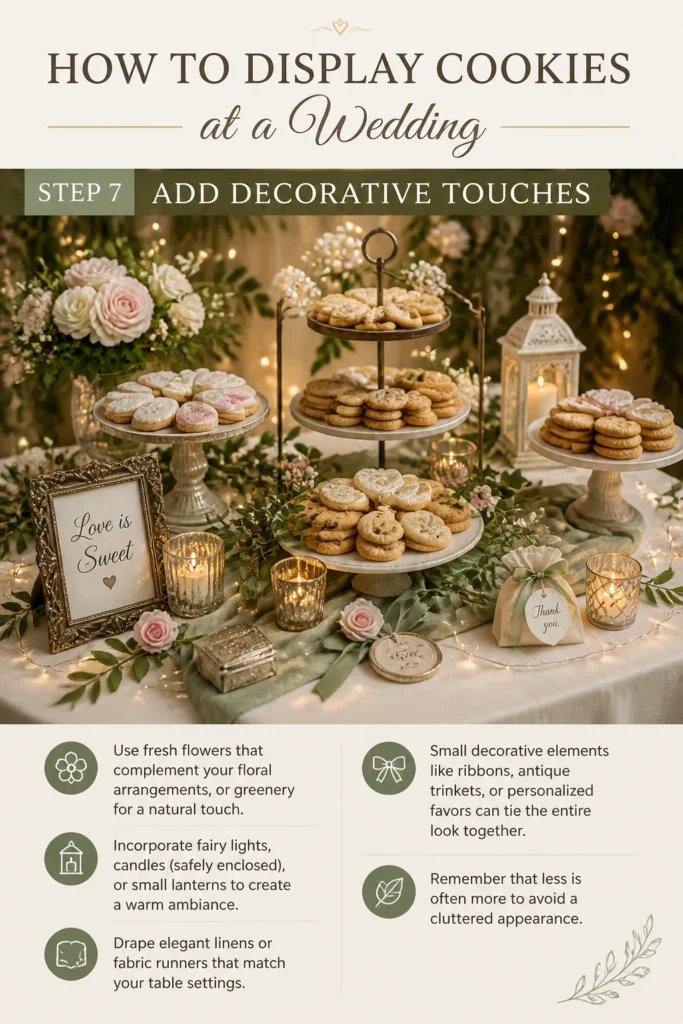
Drape elegant linens or fabric runners that match your table settings. Small decorative elements like ribbons, antique trinkets, or personalized favors can tie the entire look together. Remember that less is often more to avoid a cluttered appearance.
Step 8: Prepare for Setup Day Logistics
Organize all your display elements, cookies, and tools in advance. Create a checklist to ensure nothing is forgotten. Confirm who will be responsible for setting up the display and when.
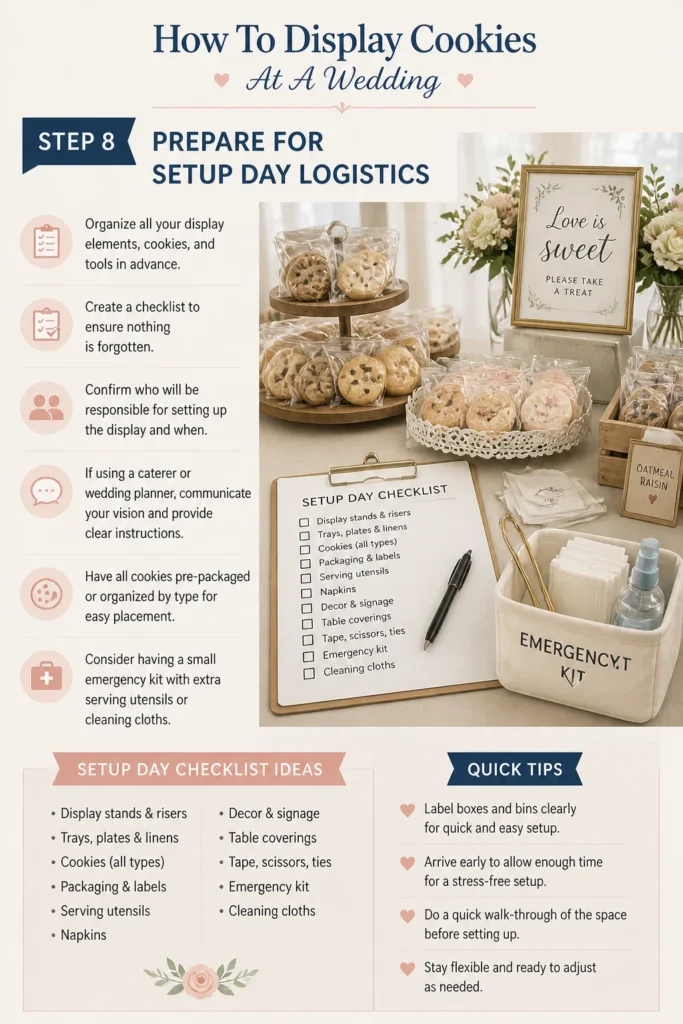
If using a caterer or wedding planner, communicate your vision and provide clear instructions. Have all cookies pre-packaged or organized by type for easy placement. Consider having a small emergency kit with extra serving utensils or cleaning cloths.
Step 9: Execute the Display with Care
On the wedding day, begin by setting up your main display structures like risers and stands. Carefully arrange the linens and decorative elements. Only then should you start placing the cookies.
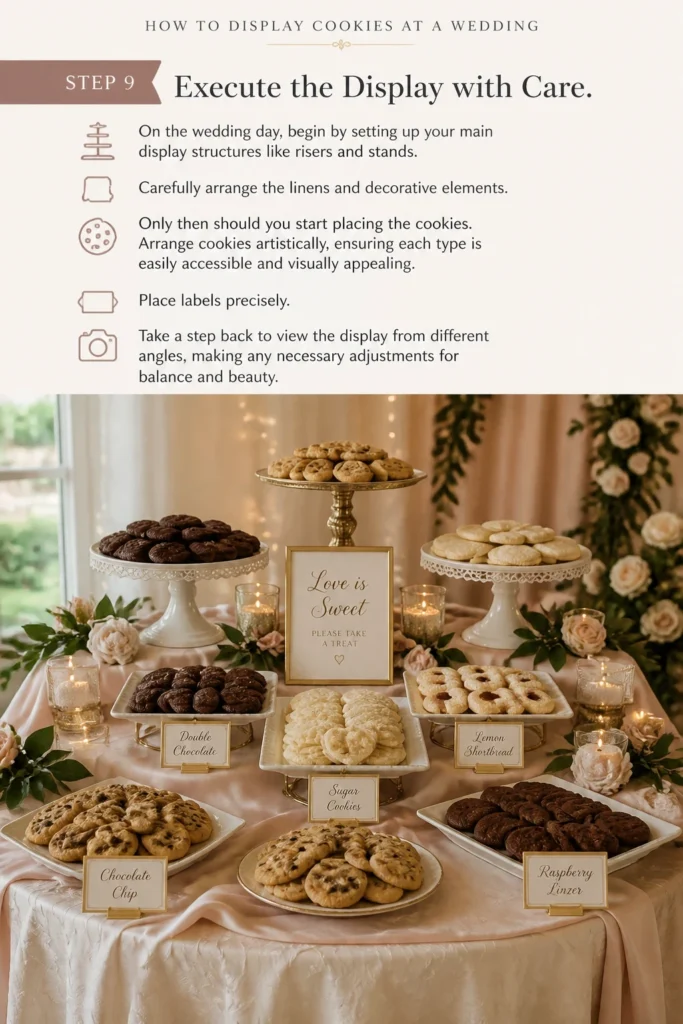
Arrange cookies artistically, ensuring each type is easily accessible and visually appealing. Place labels precisely. Take a step back to view the display from different angles, making any necessary adjustments for balance and beauty.
Common Mistakes to Avoid
Underestimating Quantity
A common pitfall is not having enough cookies for all guests. When the display runs low too quickly, it can leave later guests feeling disappointed. Always err on the side of having a few extra, especially if cookies are a significant part of your dessert offering. It is always better to have a small surplus than a shortage.
Ignoring Temperature Control
Placing cookies in direct sunlight or a warm room can lead to melting chocolate, sticky glazes, or stale textures. This oversight can quickly ruin the appearance and taste of your carefully selected treats. Always choose a cool, shaded spot for your display.
Cluttered Display
Overcrowding your display with too many cookies, decorations, or stands can make it look messy and uninviting. Guests might also find it difficult to identify or pick up the cookies they want. A clean, organized, and spacious layout is always more appealing.
Lack of Clear Labeling
Without proper labels, guests won’t know what flavors are offered or if there are options for dietary restrictions. This can cause confusion and hesitation, making guests less likely to enjoy the selection. Clear, attractive labels enhance the guest experience significantly.
Troubleshooting
Cookies Softening/Melting
If your cookies start to soften or melt due to heat, the first step is to relocate the display to a cooler, shaded area immediately. If possible, use cooling packs or a small fan discreetly placed behind the display to circulate air. For future events, consider cookies that are more resilient to temperature fluctuations, like shortbread or biscotti.
Running Out of Cookies
If you notice the cookie supply dwindling faster than expected, don’t panic. If you have backup cookies stored, quickly replenish the display. If not, consider spreading out the remaining cookies more sparsely to give the illusion of more, or remove some of the empty display platters to make the table appear less bare. Communicate with your caterer or planner for a quick solution.
Display Looks Sparse
A display that looks too empty can be unappealing. This often happens if you underestimate quantities or if the table is too large for the number of cookies. To fix this, use decorative elements like flowers, greenery, or additional small props to fill in gaps. You can also use fewer, but larger, display platters to consolidate the cookies and make the arrangement appear fuller.
Key Takeaways
- Align your cookie display with your wedding’s overall theme and color palette for a cohesive look.
- Offer a diverse selection of cookies, considering various flavors, textures, and dietary needs.
- Utilize different heights and display elements like stands, platters, and risers to create visual interest.
- Always factor in the venue’s temperature and humidity to keep cookies fresh and prevent melting.
- Provide clear, attractive labels for each cookie type, including any relevant allergy information.
- Incorporate decorative touches such as flowers, lighting, and linens to enhance the display’s aesthetic.
- Plan your layout and logistics in advance to ensure a smooth and stress-free setup on the wedding day.
Frequently Asked Questions
How many cookies should I plan per guest?
If cookies are part of a larger dessert bar, aim for 1-2 cookies per guest. If they are the primary dessert offering, or if you know your guests have a sweet tooth, increase that to 2-3 cookies per guest to ensure everyone gets a taste.
Can I use homemade cookies for the wedding display?
Absolutely! Homemade cookies add a wonderful personal touch to your wedding. Just ensure they are baked and stored properly to maintain freshness, and consider enlisting help for the baking and packaging to reduce stress closer to the wedding day.
How far in advance can I set up the cookie display?
It’s best to set up the display as close to the start of dessert service as possible, ideally within 1-2 hours. This ensures maximum freshness and prevents cookies from drying out or melting. Non-perishable display elements can be set up earlier.
What about guests with allergies or dietary restrictions?
Always include clear labels indicating common allergens like nuts, gluten, or dairy. If possible, offer a dedicated platter of gluten-free or nut-free cookies, clearly separated from other items, to prevent cross-contamination and ensure everyone can enjoy a treat.
Our Top Recommended Finds
- Multi-tiered Serving Stands: These create instant height and visual drama, making your cookies stand out.
- Clear Acrylic Risers: Versatile and discreet, they elevate platters without distracting from your chosen aesthetic.
- Mini Tongs or Scoops: Essential for hygienic and easy serving, allowing guests to pick up cookies without direct contact.
Crafting Your Perfect Cookie Showcase
Creating a beautiful cookie display for your wedding is more than just arranging sweets; it’s about crafting an experience. It adds a personal, delightful touch that guests will remember long after the last dance. By following these steps, you’re not just serving cookies; you’re sharing a piece of your joy, beautifully presented.
Start planning your sweet display today, and watch your vision come to life.
Wedding Planning
No fluff, no drama. Just easy weekly advice, planning shortcuts, and gentle reminders to help you actually enjoy your engagement.