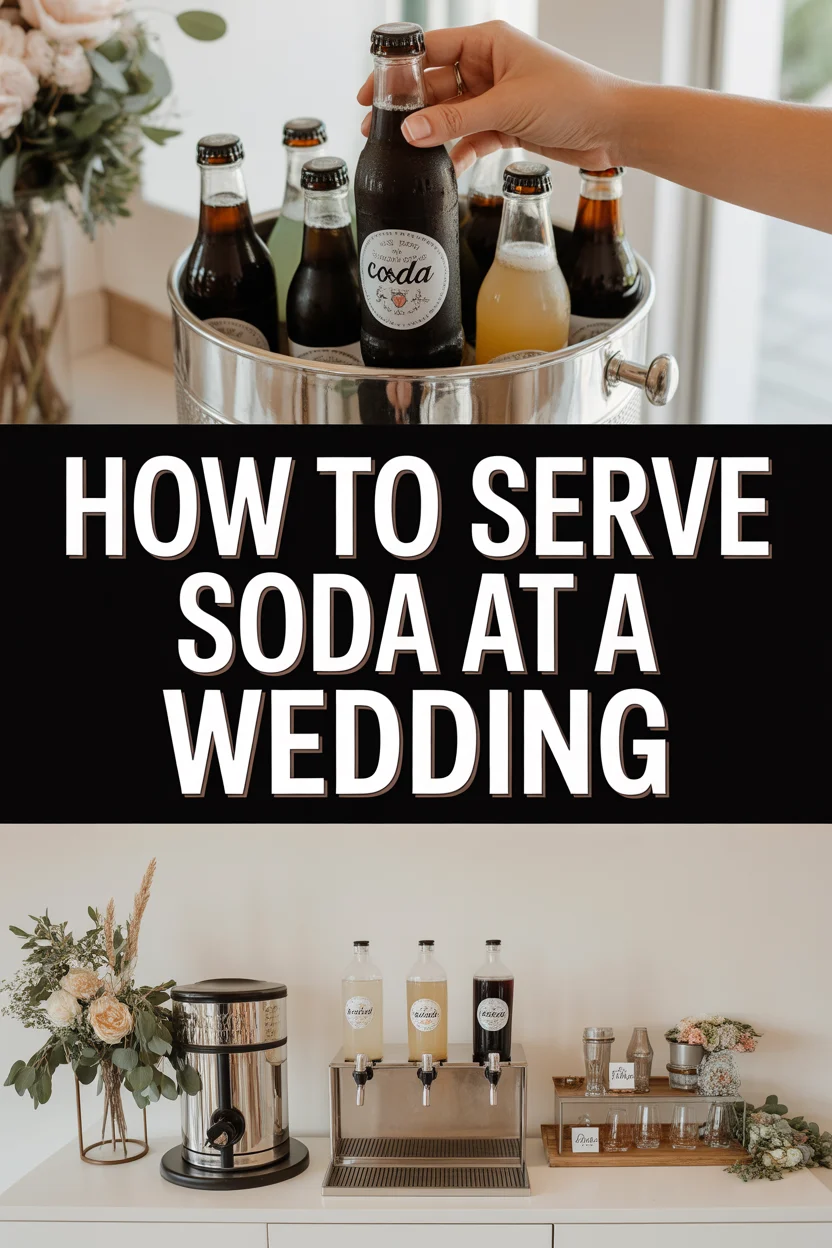
🥤 How To Serve Soda At A Wedding

Wedding Planning
No fluff, no drama. Just easy weekly advice, planning shortcuts, and gentle reminders to help you actually enjoy your engagement.
Planning a wedding means juggling countless details, big and small. Ensuring your guests have refreshing drinks is a crucial part of their comfort and enjoyment. I’ve personally helped set up and manage beverage stations at numerous events, including my own sister’s wedding, where the soda flowed perfectly.
This guide will walk you through everything you need to know to serve soda smoothly and stress-free. You’ll learn the practical steps to keep everyone hydrated and happy, leaving you to enjoy the celebration. Trust me, a well-run soda station makes a real difference.
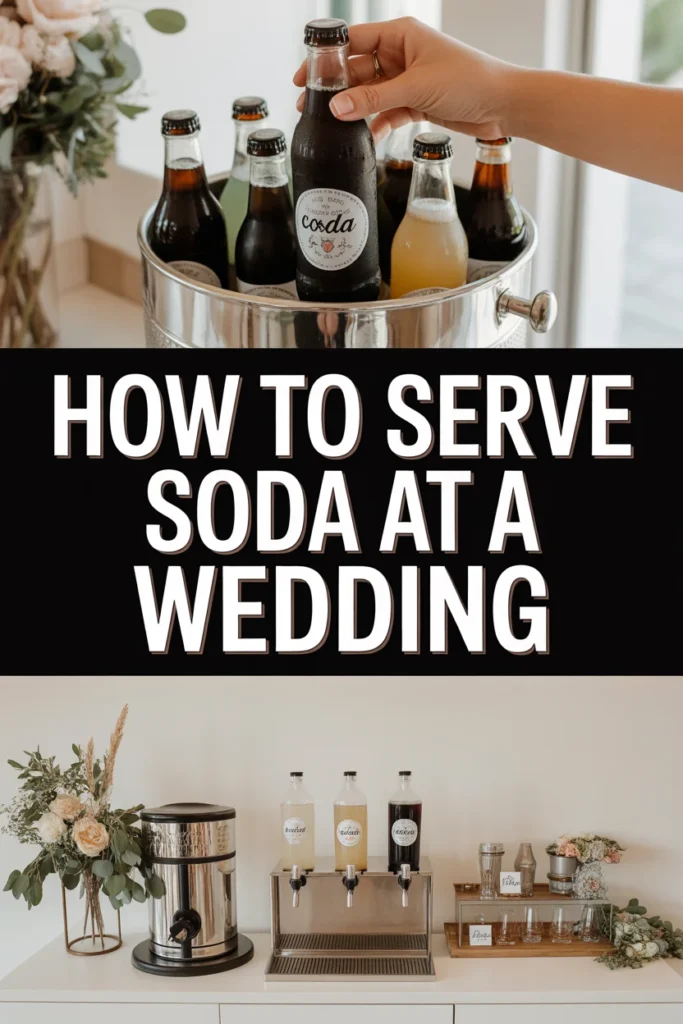
Quick Overview
This guide will equip you to plan, set up, and manage a successful soda serving station at any wedding. You’ll ensure guests have easy access to cold drinks throughout the event.
- Time needed: 1-2 hours for initial setup, ongoing monitoring during the event
- Difficulty: Beginner
- What you’ll need: Various sodas, ice, coolers, serving tubs, cups, bottle openers, waste bins, tables, signage
Step-by-Step Instructions
Step 1: Plan Your Soda Selection and Quantity
Start by estimating your guest count. This number is vital for calculating how much soda you’ll need. A good rule of thumb is 2-3 drinks per guest over a typical 4-5 hour reception.
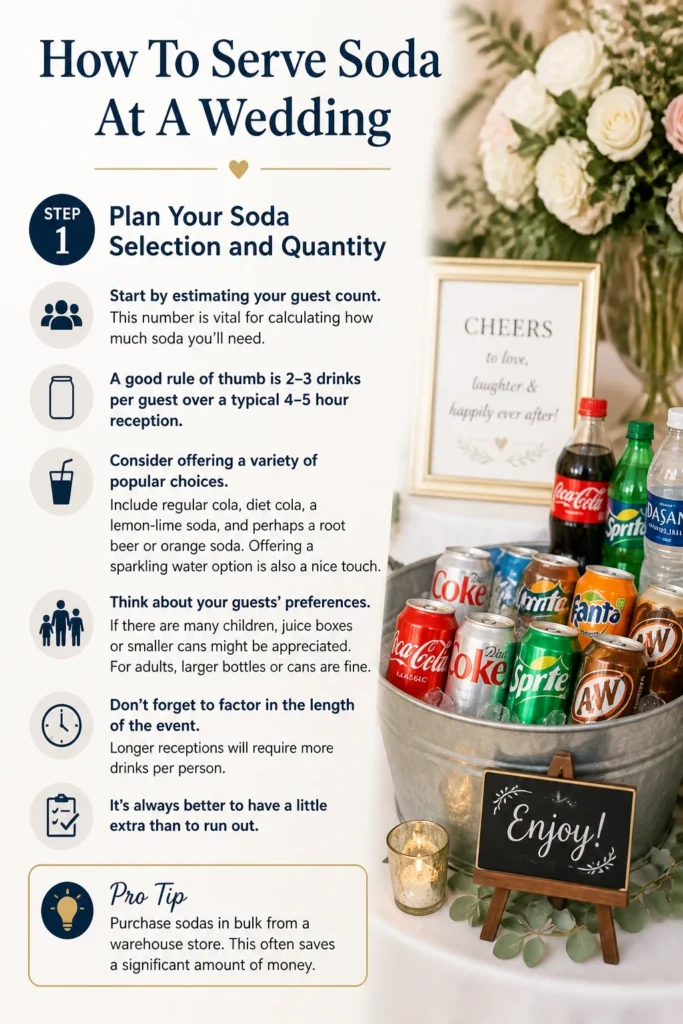
Consider offering a variety of popular choices. Include regular cola, diet cola, a lemon-lime soda, and perhaps a root beer or orange soda. Offering a sparkling water option is also a nice touch.
Think about your guests’ preferences. If there are many children, juice boxes or smaller cans might be appreciated. For adults, larger bottles or cans are fine.
Don’t forget to factor in the length of the event. Longer receptions will require more drinks per person. It’s always better to have a little extra than to run out.
Pro Tip: Purchase sodas in bulk from a warehouse store. This often saves a significant amount of money compared to regular grocery store prices.
Step 2: Gather Your Essential Equipment
Collect all the necessary items well in advance of the wedding day. This prevents last-minute scrambling. You’ll need several large coolers or insulated beverage tubs.
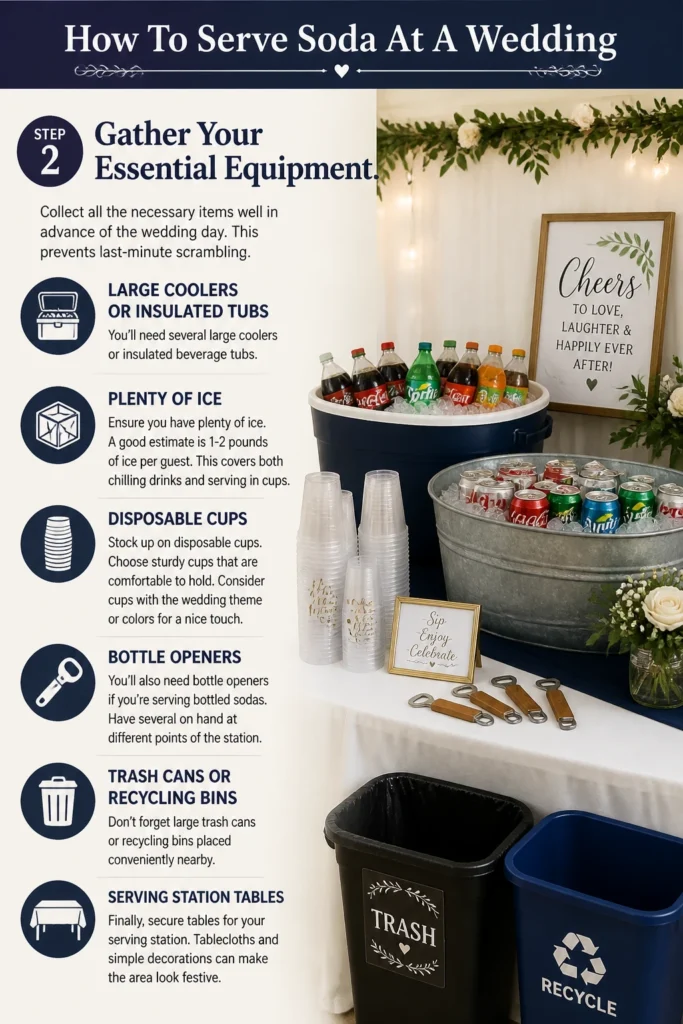
Ensure you have plenty of ice. A good estimate is 1-2 pounds of ice per guest. This covers both chilling drinks and serving in cups.
Stock up on disposable cups. Choose sturdy cups that are comfortable to hold. Consider cups with the wedding theme or colors for a nice touch.
You’ll also need bottle openers if you’re serving bottled sodas. Have several on hand at different points of the station. Don’t forget large trash cans or recycling bins placed conveniently nearby.
Finally, secure tables for your serving station. Tablecloths and simple decorations can make the area look festive.
Step 3: Choose the Perfect Location for Your Station
Select a visible and easily accessible spot for your soda station. Avoid placing it in a high-traffic area that could create bottlenecks. A corner or an area near the main bar works well.
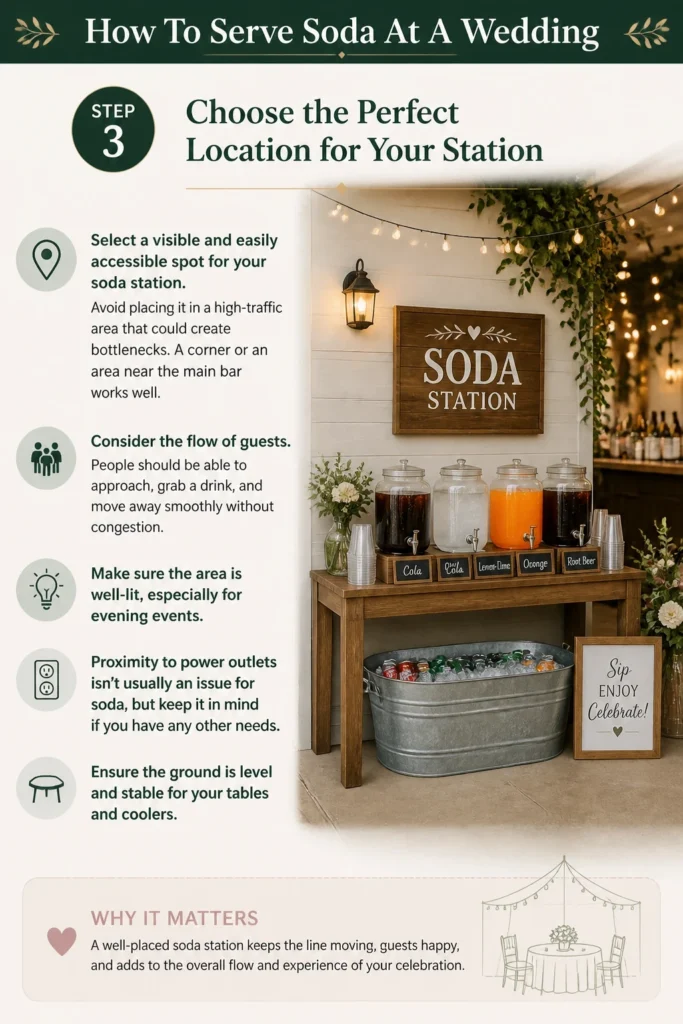
Consider the flow of guests. People should be able to approach, grab a drink, and move away smoothly without congestion. Make sure the area is well-lit, especially for evening events.
Proximity to power outlets isn’t usually an issue for soda, but keep it in mind if you have any other needs. Ensure the ground is level and stable for your tables and coolers.
Step 4: Set Up Your Serving Station Efficiently
Arrange your tables to create a logical flow. A long table works well, allowing guests to move along it. Place coolers at the start of the line or in a central spot.
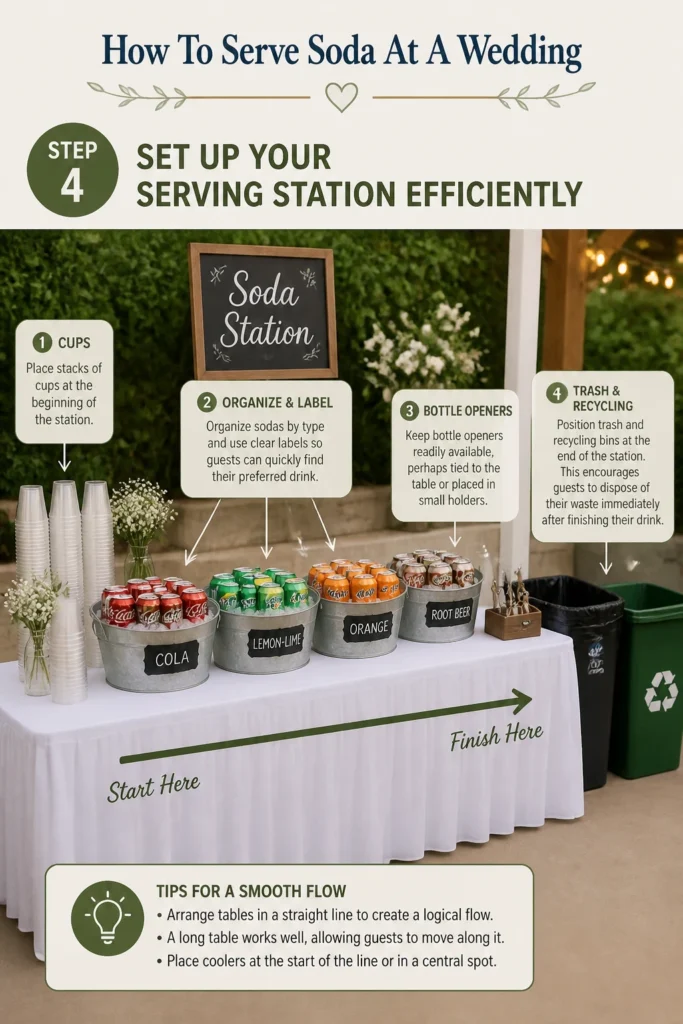
Organize sodas by type within the coolers or tubs. This helps guests quickly find their preferred drink. Clear labels on the coolers or above the drinks are very helpful.
Place stacks of cups at the beginning of the station, right next to the sodas. Keep bottle openers readily available, perhaps tied to the table or placed in small holders.
Position trash and recycling bins at the end of the station. This encourages guests to dispose of their waste immediately after finishing their drink. A small sign indicating “Soda Station” can also be useful.
Step 5: Chill Beverages Properly and Maintain Temperature
Start chilling your sodas several hours before the event begins, ideally the day before. Pre-chilling bottles or cans in a refrigerator will save a lot of ice.
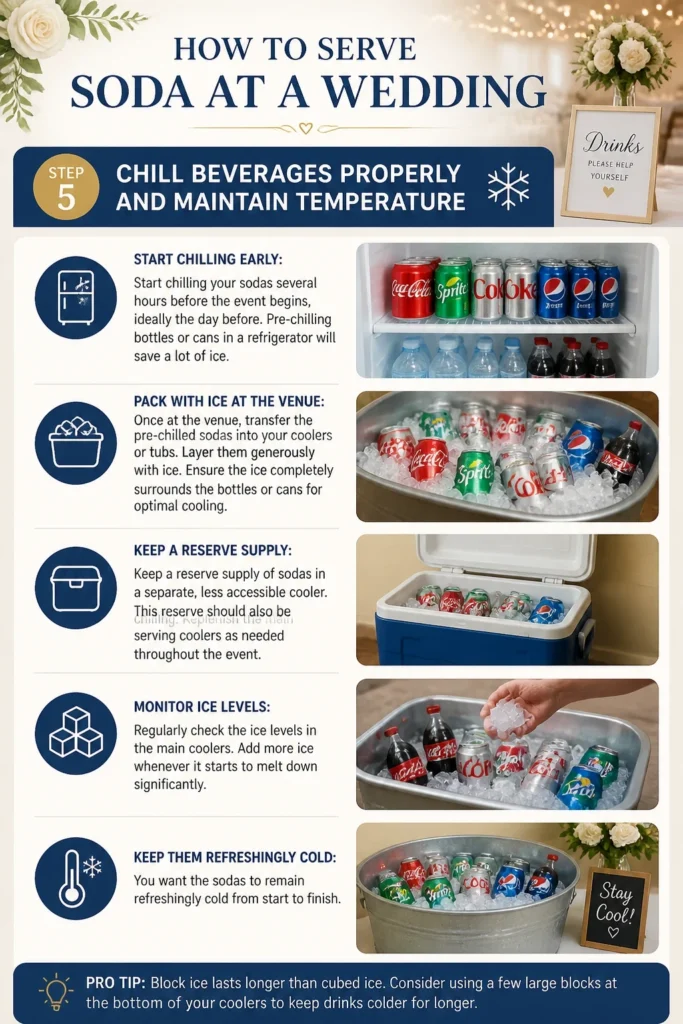
Once at the venue, transfer the pre-chilled sodas into your coolers or tubs. Layer them generously with ice. Ensure the ice completely surrounds the bottles or cans for optimal cooling.
Keep a reserve supply of sodas in a separate, less accessible cooler. This reserve should also be chilling. Replenish the main serving coolers as needed throughout the event.
Regularly check the ice levels in the main coolers. Add more ice whenever it starts to melt down significantly. You want the sodas to remain refreshingly cold from start to finish.
Step 6: Arrange for Easy Access and Refills
Organize the sodas in the coolers so they are easy to grab. Avoid cramming them in too tightly. Keep the lids of the coolers accessible for guests.
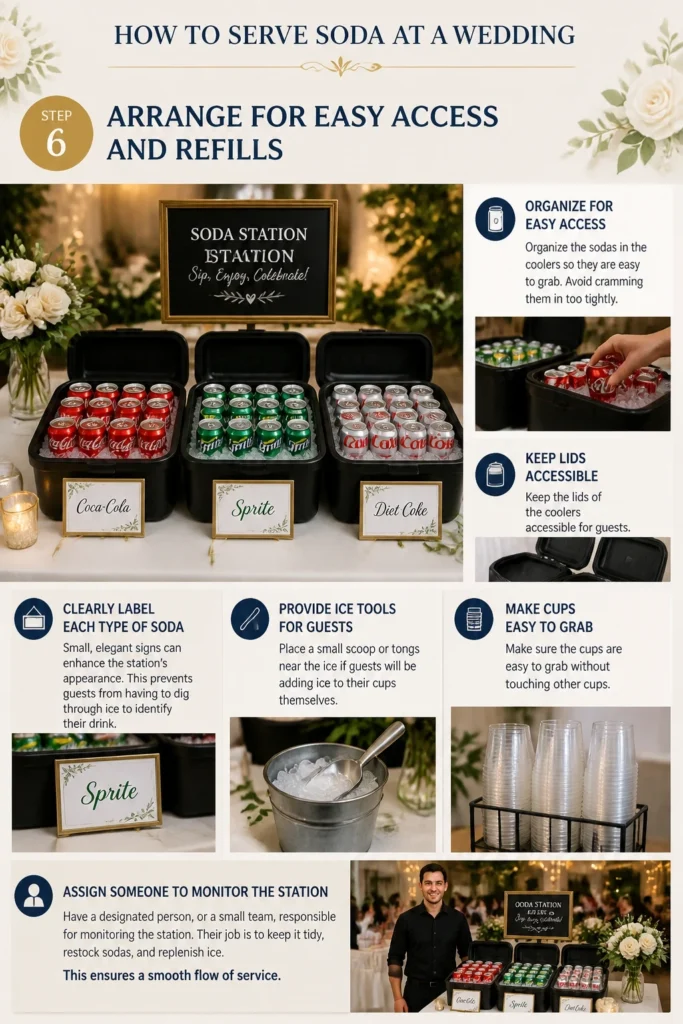
Clearly label each type of soda. Small, elegant signs can enhance the station’s appearance. This prevents guests from having to dig through ice to identify their drink.
Place a small scoop or tongs near the ice if guests will be adding ice to their cups themselves. Make sure the cups are easy to grab without touching other cups.
Have a designated person, or a small team, responsible for monitoring the station. Their job is to keep it tidy, restock sodas, and replenish ice. This ensures a smooth flow of service.
Step 7: Manage Cleanliness and Waste Throughout the Event
Spills are inevitable when serving drinks. Keep a roll of paper towels and a small spray bottle of cleaner nearby. Quickly wipe up any sticky messes to maintain a clean environment.
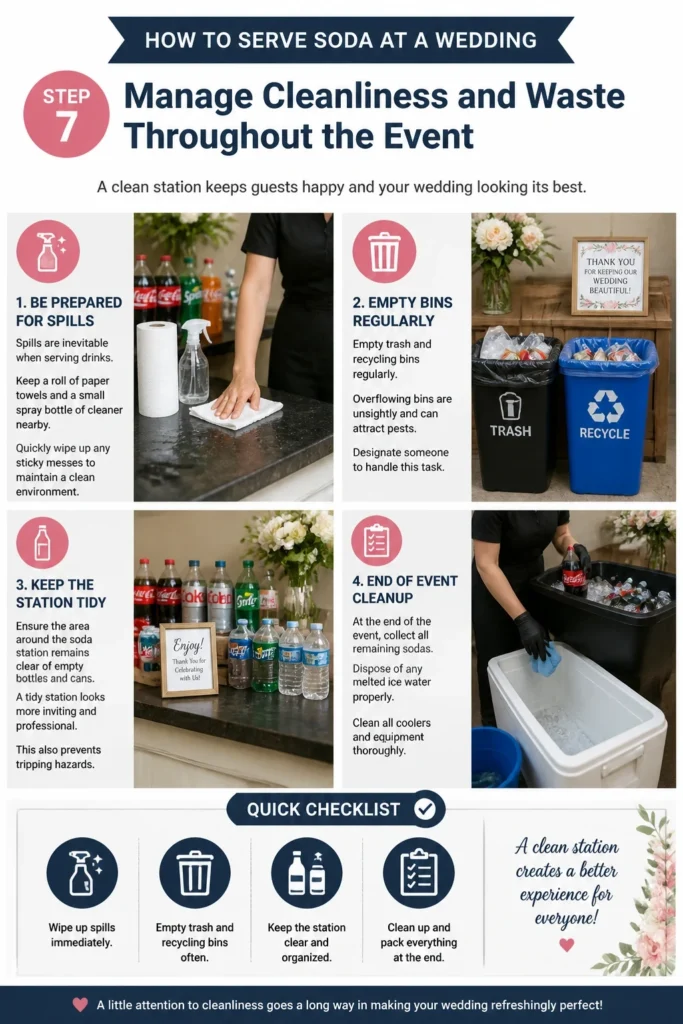
Empty trash and recycling bins regularly. Overflowing bins are unsightly and can attract pests. Designate someone to handle this task.
Ensure the area around the soda station remains clear of empty bottles and cans. A tidy station looks more inviting and professional. This also prevents tripping hazards.
At the end of the event, collect all remaining sodas. Dispose of any melted ice water properly. Clean all coolers and equipment thoroughly.
Common Mistakes to Avoid
Underestimating Soda Quantity
Many people don’t buy enough soda, leading to an empty station halfway through the reception. Always err on the side of having too much. Running out of drinks is a common complaint from guests and can be easily avoided by calculating generously and having a small reserve.
Lack of Sufficient Ice
Soda needs to be cold, and a lack of ice means warm drinks. Guests will be disappointed with lukewarm beverages. Plan for at least 1-2 pounds of ice per guest, and arrange for a mid-event ice delivery or a large backup supply.
Poor Station Layout
A poorly organized soda station can create bottlenecks and frustration. If guests have to search for cups, openers, or their preferred soda, it slows everything down. Design a logical flow, label clearly, and keep items within easy reach to ensure a smooth experience for everyone.
Forgetting Bottle Openers
It sounds simple, but it’s a very common oversight. If you’re serving bottled sodas, you absolutely need multiple bottle openers. Guests shouldn’t have to wander around looking for one. Secure them to the table or place them in prominent holders at the station.
Troubleshooting
Running Out of Soda
If you find the soda supply dwindling faster than expected, first check your reserve cooler. If that’s also low, quickly assess the most popular types and send someone to the nearest grocery or convenience store for an emergency restock. Consider having a few cases of emergency cola and lemon-lime soda on standby, even if it’s just in your car.
Ice Melting Too Quickly
Rapidly melting ice often means the sodas weren’t pre-chilled enough, or the coolers aren’t adequately insulated. Add more ice immediately. If possible, transfer some sodas to a better-insulated cooler or place a large block of ice in the existing cooler, which melts slower than cubes. You can also try adding a layer of dry ice at the bottom of a cooler (with proper ventilation and safety precautions).
Spills and Sticky Surfaces
Accidents happen, especially with sugary drinks. The best solution is prevention through quick clean-up. Have dedicated paper towels, a spray bottle with water and a little dish soap, and a small rag ready at the station. Designate someone to periodically check and wipe down surfaces. Placing mats or towels under the coolers can also help absorb drips.
Key Takeaways
- Plan generously: Overestimate soda and ice quantities to avoid running out.
- Pre-chill everything: Start chilling sodas well before the event to preserve ice.
- Organize for flow: Set up the station logically, with clear labels and easy access.
- Don’t forget the essentials: Always have enough cups, bottle openers, and waste bins.
- Maintain throughout: Regularly restock, replenish ice, and clean up spills.
- Delegate responsibility: Assign someone to oversee the soda station for smooth operation.
Frequently Asked Questions
How much soda should I buy for 100 guests?
For 100 guests over a 4-5 hour reception, aim for 200-300 individual sodas (cans or bottles). This allows for 2-3 drinks per person, accounting for variations in consumption. Always round up to be safe.
Can I use large soda bottles instead of individual cans?
Yes, you can use large 2-liter soda bottles. However, they can go flat quickly once opened. If using large bottles, ensure you have plenty of ice, multiple bottle openers, and perhaps smaller cups for pouring. Individual cans or smaller bottles are often preferred for convenience and freshness.
What if I don’t have enough cooler space?
If cooler space is limited, prioritize chilling the most popular soda varieties first. You can also use large, clean plastic storage bins lined with heavy-duty trash bags as makeshift ice bins. Just remember to empty the melted water periodically.
Should I offer sparkling water or flavored seltzers?
Offering sparkling water or flavored seltzers is an excellent idea. Many guests appreciate a non-sugary, non-alcoholic option beyond plain water. They can be a refreshing alternative and cater to different dietary preferences.
Our Top Recommended Finds
- Large Insulated Coolers: Essential for keeping drinks cold for hours, look for models with good drainage.
- Beverage Tubs with Handles: Great for smaller selections or for placing on tables for easy access, and they are easy to transport.
- Sturdy Disposable Cups: Choose eco-friendly options if possible, ensuring they are robust enough for cold drinks without collapsing.
Raise a Glass to a Perfect Day
Serving soda at a wedding doesn’t have to be a daunting task. With careful planning and a little attention to detail, you can create a refreshing and inviting station that perfectly complements the joyous atmosphere. Your guests will appreciate the thought and effort you put into ensuring their comfort.
Now that you have this step-by-step guide, you’re ready to tackle your wedding beverage plans with confidence. Why not start by making your guest count estimates today? Then, you can begin exploring soda selections and cooler options. Cheers to a beautifully hydrated celebration!
Wedding Planning
No fluff, no drama. Just easy weekly advice, planning shortcuts, and gentle reminders to help you actually enjoy your engagement.