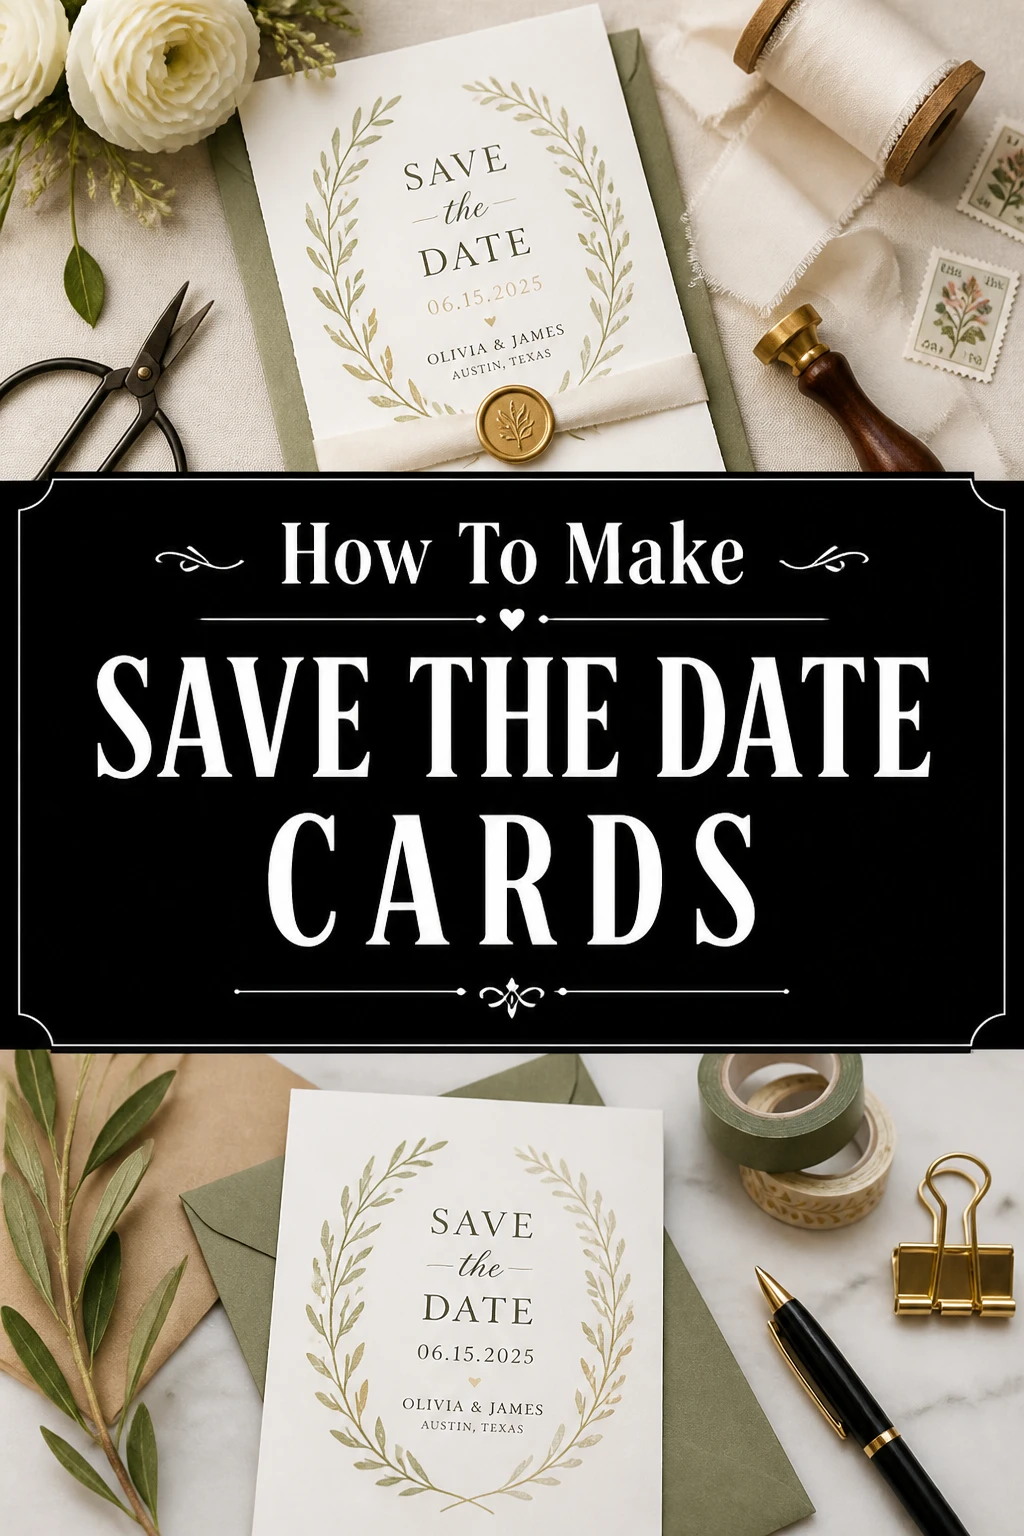
📅 How To Make Save The Date Cards

Wedding Planning
No fluff, no drama. Just easy weekly advice, planning shortcuts, and gentle reminders to help you actually enjoy your engagement.
Getting engaged is a whirlwind of excitement and sudden planning checklists.
When I planned my own wedding, the save the date was the first moment the whole event felt real to our guests.
I have spent years helping couples navigate the design process to ensure their first impression is both beautiful and functional.
Quick Overview
Creating your own save the dates allows you to set the tone for your wedding while keeping your budget under control. You will move from a blank canvas to a finished product ready for the mailbox.
- Time needed: 3 to 5 hours for design and assembly
- Difficulty: Beginner
- What you’ll need: Design software (or a template), high-quality cardstock, a paper trimmer, envelopes, and a high-resolution photo.
Step 1: Establish Your Wedding Aesthetic
Look for inspiration before you touch any design tools. Your save the date is the very first glimpse guests get of your wedding style.
Create a digital mood board using platforms like Pinterest or Instagram. Pin images of colors, textures, and fonts that resonate with the vibe you want for your big day.
Decide if you want a formal, traditional look or something more casual and whimsical. This decision influences every other choice you make, from the paper weight to the wording.
Pro Tip: Don’t feel pressured to match your save the dates perfectly to your eventual invitations; they just need to feel like they belong to the same family of styles.
Step 2: Finalize Your Essential Details
Verify your date and location with your venue before printing anything. It sounds obvious, but a simple typo or a date mix-up can be a costly mistake to fix.
Keep the information concise and easy to read. You only need the names of the couple, the date, and the city and state where the wedding will happen.
Include your wedding website URL if you have one ready. This gives guests a place to find hotel information and travel tips long before the formal invitations arrive.
Step 3: Select Your Design Platform
Choose a tool that matches your comfort level with technology. If you are a pro, Adobe Illustrator or Photoshop offers the most control over every pixel.
Utilize user-friendly online editors like Canva or specialized wedding stationery sites if you prefer pre-made templates. These platforms allow you to drag and drop your photos into professional layouts.
Consider a hand-stamped or calligraphed approach if you want a tactile, DIY feel. This works well for smaller guest lists where you can put a personal touch on every single card.
Pro Tip: If using a template, customize the colors to match your specific wedding palette so it doesn’t look like a “cookie-cutter” design.
Step 4: Choose and Edit Your Imagery
Select a high-resolution photo that has plenty of “negative space.” This is the empty area around you and your partner where text can sit without looking cluttered.
Check the brightness and contrast of your photo. Printing often makes images look slightly darker than they appear on a backlit computer screen.
Opt for an engagement photo or a candid shot that captures your personality as a couple. If you prefer not to use a photo, floral illustrations or minimalist typography are elegant alternatives.
Step 5: Master the Typography
Pair a decorative font with a clean, readable one. Use a script or bold serif for your names, but use a simple sans-serif for the date and location.
Maintain a high level of legibility. If your guests have to squint to see the date, the card isn’t doing its job effectively.
Avoid using more than two or three different fonts. Too many styles can make the design look disorganized and chaotic.
Step 6: Pick the Right Paper and Finish
Research different paper weights, usually measured in GSM (grams per square meter) or “lb” (pounds). For a premium feel, look for cardstock that is at least 110lb or 300GSM.
Think about the texture of the paper. A matte finish is classic and easy to read, while a glossy finish makes photos pop with vibrant color.
Explore specialty finishes like linen, recycled kraft paper, or even vellum overlays. These small details can make a DIY card feel like it came from a high-end boutique.
Pro Tip: Order a sample pack from online printers to feel the different paper types before committing to a large order.
Step 7: Set Up Your Print File
Add a “bleed” to your design if the color or image goes all the way to the edge. This is usually an extra 0.125 inches of space on all sides to prevent white borders after trimming.
Convert your file to CMYK color mode if you are printing professionally. This ensures the colors you see on your screen match the ink that hits the paper.
Save your final design as a high-quality PDF. This format preserves your fonts and images at the highest resolution possible for a crisp, clear print.
Step 8: Print and Trim Your Cards
Print a single test copy before running the entire batch. Check for color accuracy, typos, and overall layout issues that you might have missed on the screen.
Use a professional paper cutter or a rotary trimmer if you are printing at home. Scissors will rarely give you the perfectly straight, clean edges needed for stationery.
Delegate the task to a local print shop if you don’t have a high-end printer. They can often handle the cutting and heavy cardstock much better than a standard home office setup.
Step 9: Address and Assemble
Gather your guest list and double-check the spelling of every name. It is helpful to have this list in a spreadsheet for easy reference.
Hand-write the addresses for a personal touch, or use a printer to apply them directly to the envelopes. If your handwriting is messy, consider ordering custom address stamps.
Stuff the envelopes and seal them with a damp sponge or a decorative sticker. Using your tongue to seal a hundred envelopes is a mistake you only make once.
Pro Tip: Buy “forever” stamps in bulk so you don’t have to worry about price increases before your formal invitations go out.
Common Mistakes to Avoid
Sending the Cards Too Late
The entire purpose of a save the date is to give people time to clear their schedules. If you send them only three months before the wedding, they lose their effectiveness. Aim for six to eight months in advance, or even a full year for a destination wedding.
Including Registry Information
It is generally considered poor etiquette to include gift registry links on your save the date. This card is about sharing information, not asking for gifts. Save the registry details for your wedding website, which can be linked on the card.
Forgetting the “Formal Invitation to Follow” Note
Some guests might be confused and think the save the date is the actual invitation. Always include a small line of text at the bottom that says “Formal Invitation to Follow.” This clarifies that they don’t need to RSVP just yet.
Neglecting the Back of the Card
Many couples leave the back of the card completely blank. This is prime real estate for a second photo, a sweet quote, or your wedding website URL. Utilizing both sides can make the card feel more substantial and professional.
Troubleshooting
The Text Is Hard to Read Over the Photo
If your names are getting lost in the background of your picture, try adding a semi-transparent “overlay” box behind the text. This creates a subtle barrier between the image and the words. You can also try changing the text color to a high-contrast shade like white or gold.
The Colors Look Different Than the Screen
Screen colors are made of light (RGB), while printed colors are made of ink (CMYK). If your prints look dull, increase the saturation of your image by about 10% before printing. Doing a small test run is the best way to catch these shifts early.
The Envelopes Are Too Small
Standard save the date sizes are 4×6 or 5×7 inches. Always buy your envelopes first or verify the size before you start printing your cards. Trying to trim down a hundred finished cards because they won’t fit in the envelopes is a nightmare scenario.
Key Takeaways
- Start early to give your guests at least six months of notice.
- Keep it simple by focusing on the date, names, and location.
- Use high-quality materials like 110lb cardstock for a professional feel.
- Check for typos multiple times and have a second pair of eyes look at it.
- Include your website so guests can find travel and hotel details easily.
- Always test print a single copy before committing to the full batch.
Frequently Asked Questions
Do I have to send a save the date to everyone on my list?
Yes, you should send one to every person you definitely plan to invite to the wedding. Once a save the date is sent, you are socially committed to sending that person a formal invitation later. Do not send them to people you are still “on the fence” about inviting.
Is it okay to send digital save the dates?
Digital versions are becoming much more common and are a great way to save money and paper. They work perfectly for casual weddings or tech-savvy guest lists. However, for a very formal wedding, a physical card is still the standard expectation.
What if I don’t have my venue booked yet?
You should wait until your venue is officially secured before sending save the dates. If you are certain of the city but not the specific spot, you can simply list “Chicago, Illinois” as the location. The specific venue name is usually reserved for the formal invitation anyway.
When should I send save the dates for a destination wedding?
For a wedding that requires significant travel or international flights, send your cards nine to twelve months in advance. This gives guests enough time to book flights, request time off work, and save money for the trip.
Our Top Recommended Finds
- Heavyweight White Cardstock: Look for a 110lb smooth matte finish for a versatile and high-end look that works with most home printers.
- Rotary Paper Trimmer: This tool ensures your edges are perfectly straight and professional, which is impossible to achieve with standard scissors.
- Custom Return Address Stamp: This saves you hours of handwriting and adds a cohesive, branded look to your envelopes.
Moving Toward Your Big Day
Now that you have mastered the art of the save the date, you can breathe a sigh of relief. This is a major milestone in your wedding planning journey that officially puts your date on everyone’s calendar.
With this task finished, you can begin focusing on more complex elements like your wedding website content and your formal invitation suite. Take a moment to celebrate this creative win and the fact that your wedding is truly becoming a reality.
Start browsing for your favorite paper samples today and get those beautiful cards into the mail.
Wedding Planning
No fluff, no drama. Just easy weekly advice, planning shortcuts, and gentle reminders to help you actually enjoy your engagement.