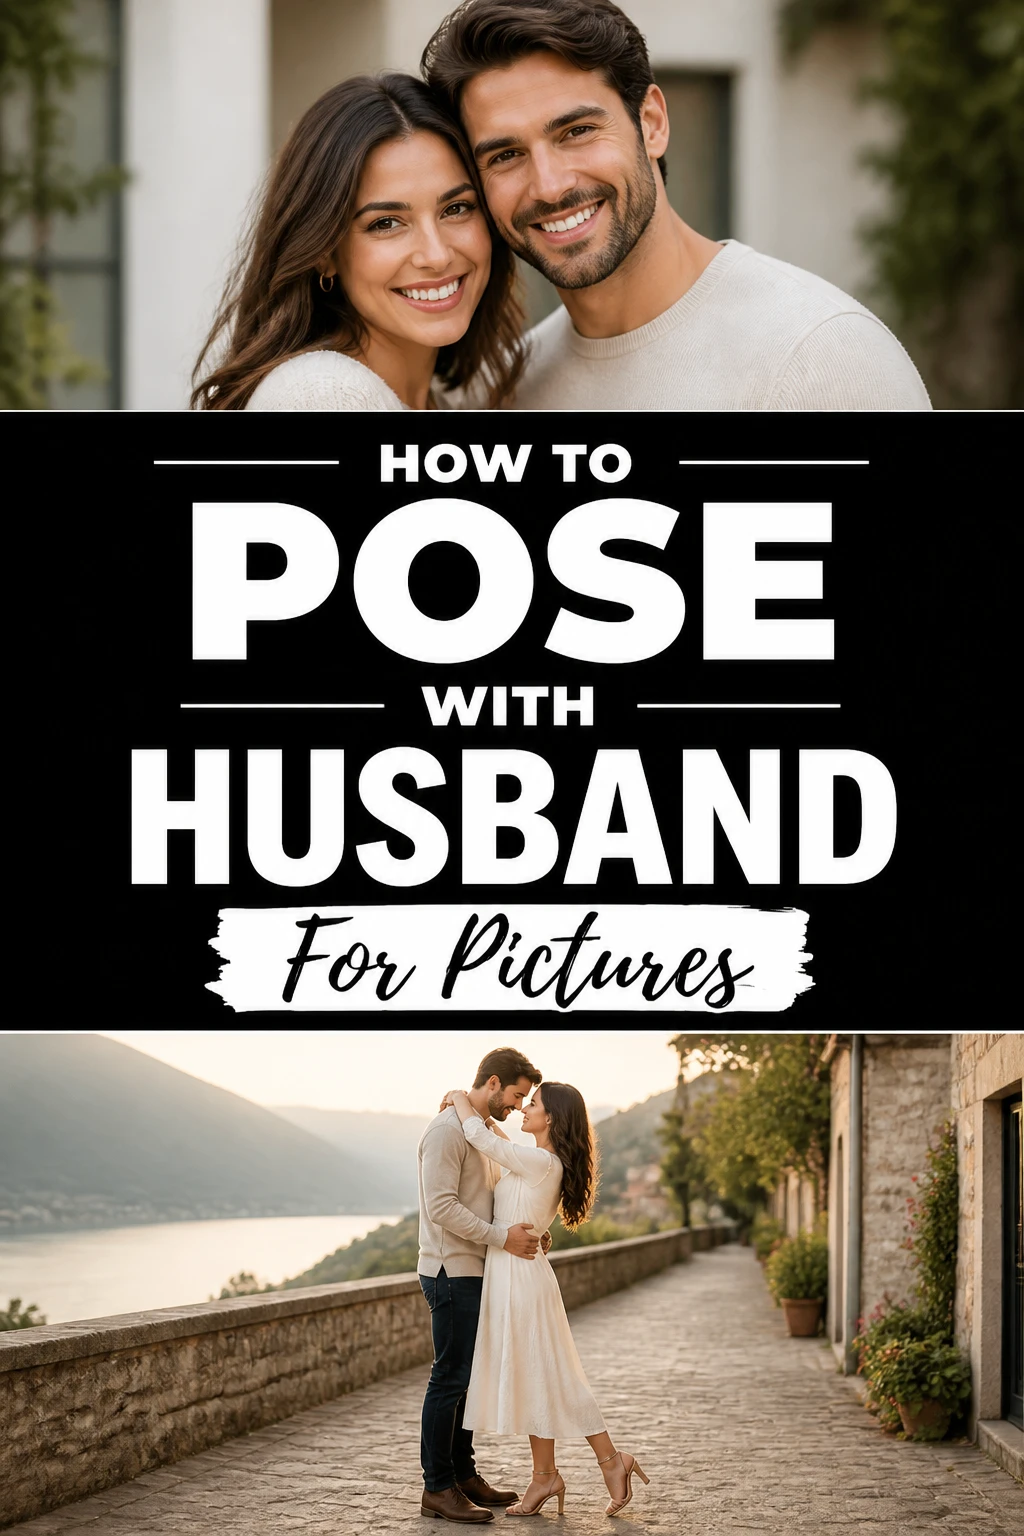
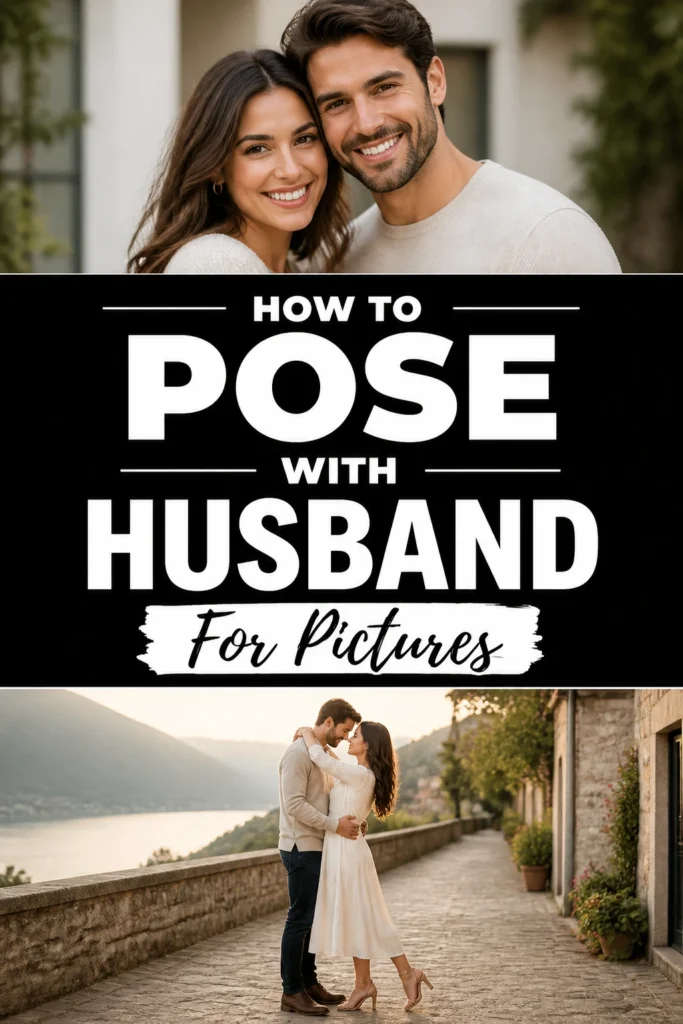
📸 How To Pose With Husband For Pictures

Wedding Planning
No fluff, no drama. Just easy weekly advice, planning shortcuts, and gentle reminders to help you actually enjoy your engagement.
Getting your husband to feel comfortable in front of a camera can feel like a full-time job.
I remember my first professional photo session where we both stood like statues, unsure of where to put our hands or how to look at each other without laughing nervously.
After years of practicing and working with photographers, I have learned that the best photos come from simple, repeatable movements rather than stiff, frozen positions.
Quick Overview
This guide will help you move from awkward “prom poses” to natural, magazine-quality images that capture your actual relationship.
- Time needed: 30 to 60 minutes for a full session
- Difficulty: Beginner
- What you’ll need: A camera or smartphone, a tripod (optional), and a willing partner
Step 1: Create a Base with the V-Shape
The most fundamental pose for couples is the “V-Shape,” which involves standing close together while angling your bodies toward each other.
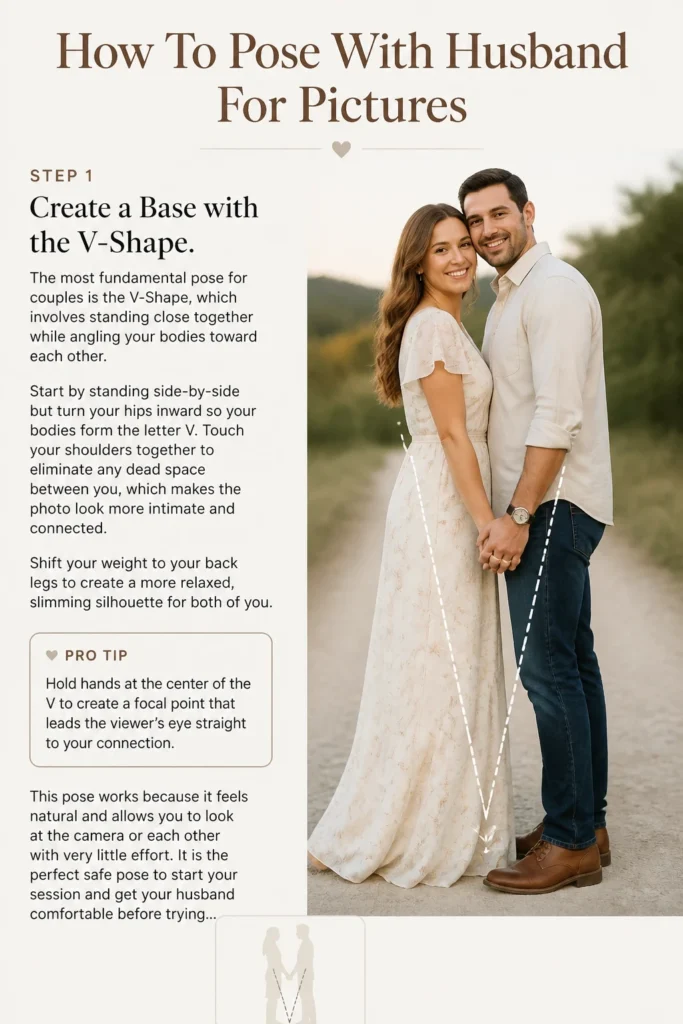
Start by standing side-by-side but turn your hips inward so your bodies form the letter V.
Touch your shoulders together to eliminate any “dead space” between you, which makes the photo look more intimate and connected.
Shift your weight to your back legs to create a more relaxed, slimming silhouette for both of you.
Pro Tip: Hold hands at the center of the “V” to create a focal point that leads the viewer’s eye straight to your connection.
This pose works because it feels natural and allows you to look at the camera or each other with very little effort.
It is the perfect “safe” pose to start your session and get your husband comfortable before trying more complex movements.
Step 2: Master the Slow Walk
Static poses often lead to forced smiles, so adding movement is the quickest way to get a genuine expression.
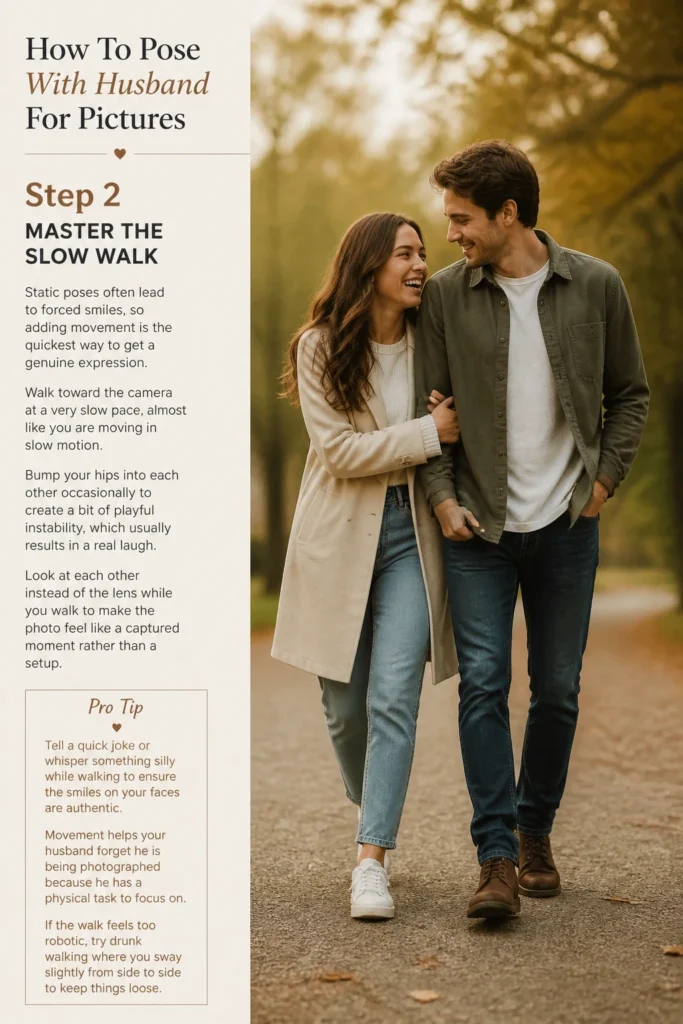
Walk toward the camera at a very slow pace, almost like you are moving in slow motion.
Bump your hips into each other occasionally to create a bit of playful instability, which usually results in a real laugh.
Look at each other instead of the lens while you walk to make the photo feel like a captured moment rather than a setup.
Pro Tip: Tell a quick joke or whisper something silly while walking to ensure the smiles on your faces are authentic.
Movement helps your husband forget he is being photographed because he has a physical task to focus on.
If the walk feels too robotic, try “drunk walking” where you sway slightly from side to side to keep things loose.
Step 3: Use the T-Bone Stance
The T-Bone stance is a classic photography technique that adds depth to the image and makes the couple look more three-dimensional.
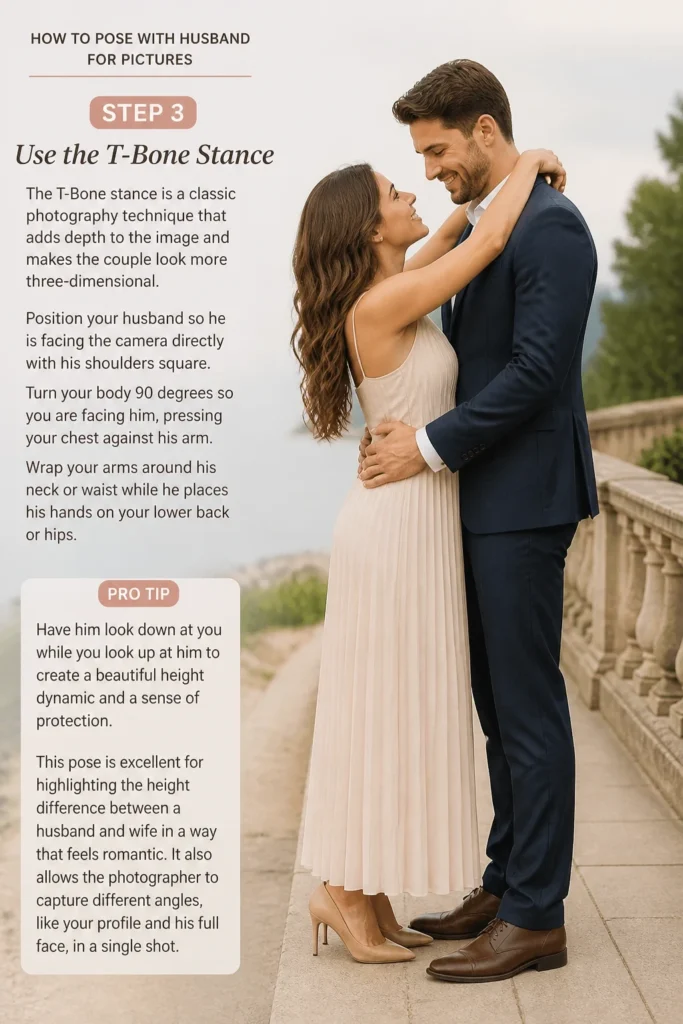
Position your husband so he is facing the camera directly with his shoulders square.
Turn your body 90 degrees so you are facing him, pressing your chest against his arm.
Wrap your arms around his neck or waist while he places his hands on your lower back or hips.
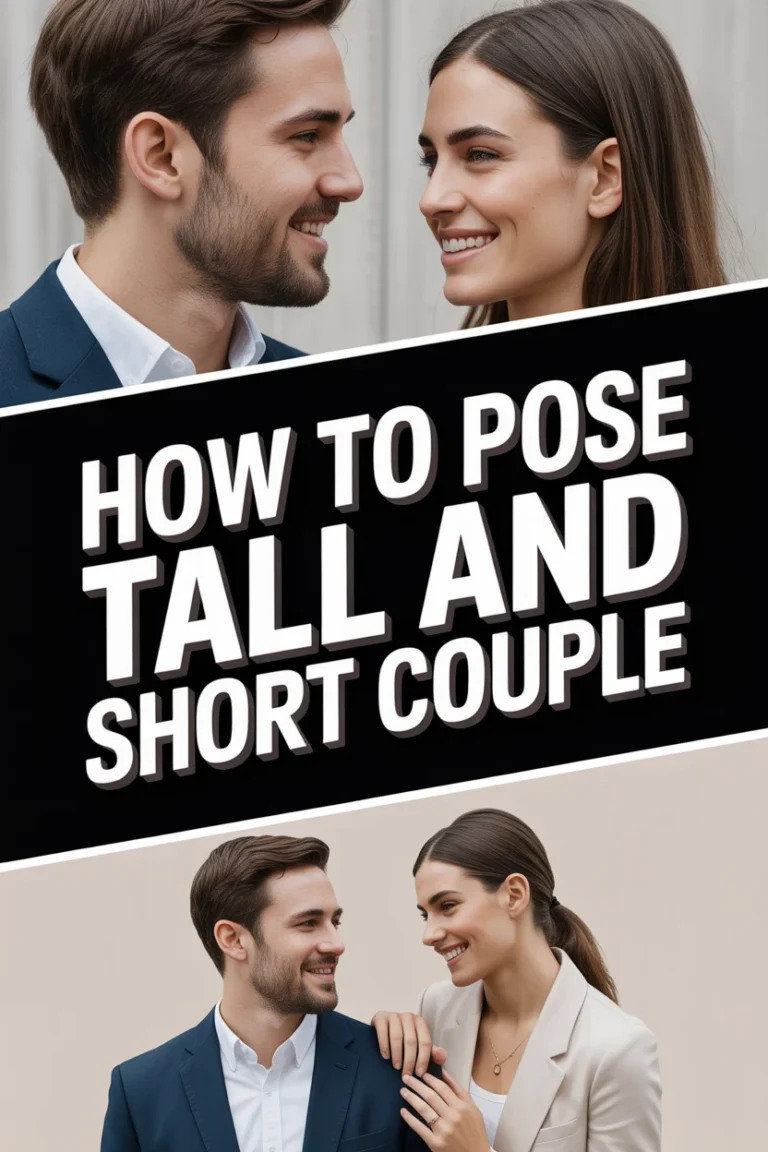
Pro Tip: Have him look down at you while you look up at him to create a beautiful height dynamic and a sense of protection.
This pose is excellent for highlighting the height difference between a husband and wife in a way that feels romantic.
It also allows the photographer to capture different angles, like your profile and his full face, in a single shot.
Step 4: Refine Your Hand Placement
Nothing ruins a photo faster than “claw hands” or stiff fingers that look like they don’t know where to go.
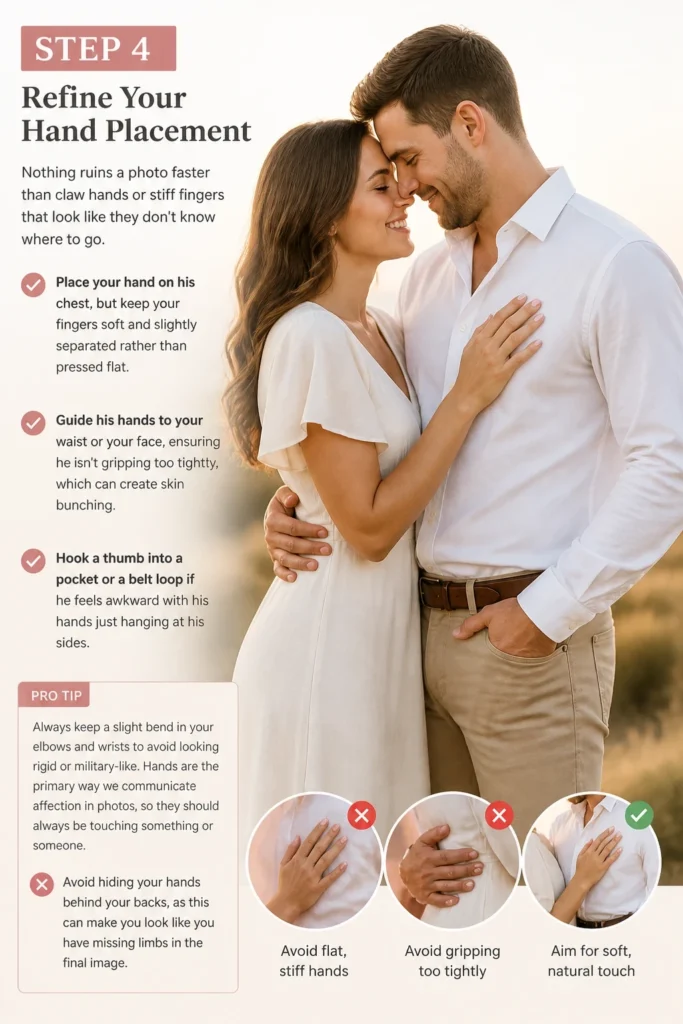
Place your hand on his chest, but keep your fingers soft and slightly separated rather than pressed flat.
Guide his hands to your waist or your face, ensuring he isn’t gripping too tightly, which can create skin bunching.
Hook a thumb into a pocket or a belt loop if he feels awkward with his hands just hanging at his sides.
Pro Tip: Always keep a slight bend in your elbows and wrists to avoid looking rigid or military-like.
Hands are the primary way we communicate affection in photos, so they should always be touching something or someone.
Avoid hiding your hands behind your backs, as this can make you look like you have missing limbs in the final image.
Step 5: Execute the Almost-Kiss
Full kisses often look messy on camera because they can flatten the nose or distort the face.
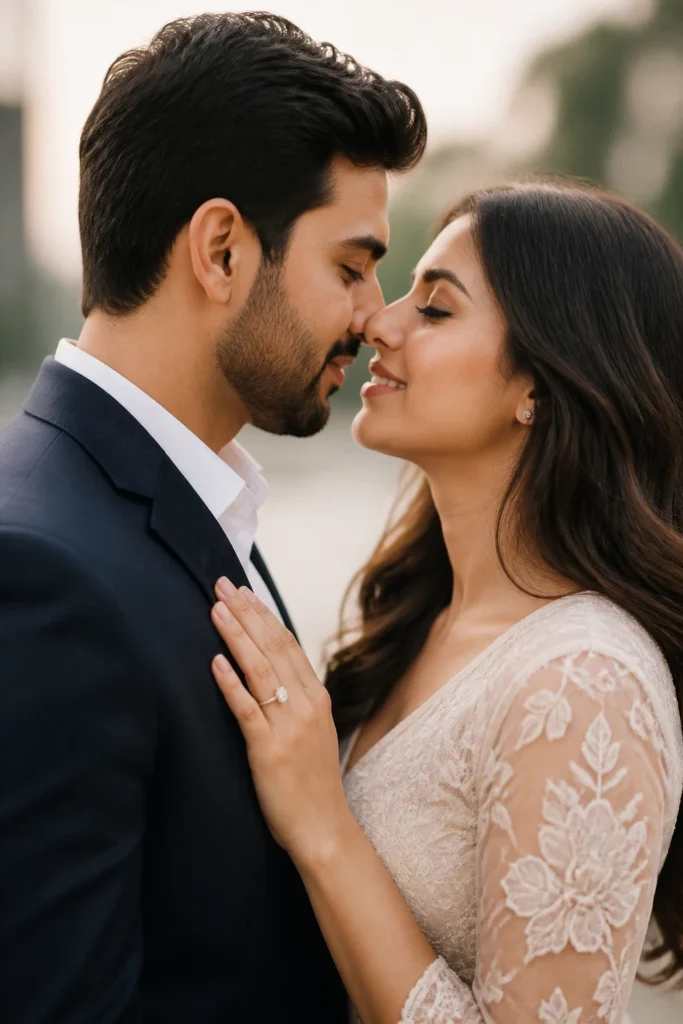
Bring your faces very close together until your noses are almost touching, then stop and hold that position.
Close your eyes halfway to create a look of anticipation and romantic tension.
Smile slightly while in this position to keep the mood light and sweet rather than overly dramatic.
Pro Tip: Breath through your mouth slightly to relax your jawline and prevent a “clenched” look.
The “almost-kiss” is often more powerful than an actual kiss because it captures the emotion of the moment.
It also gives the photographer more time to get the focus perfect without you having to hold a physical kiss for a long time.
Step 6: Try the Seated Lean
Sitting down changes the geometry of the photo and can help your husband feel more grounded and relaxed.
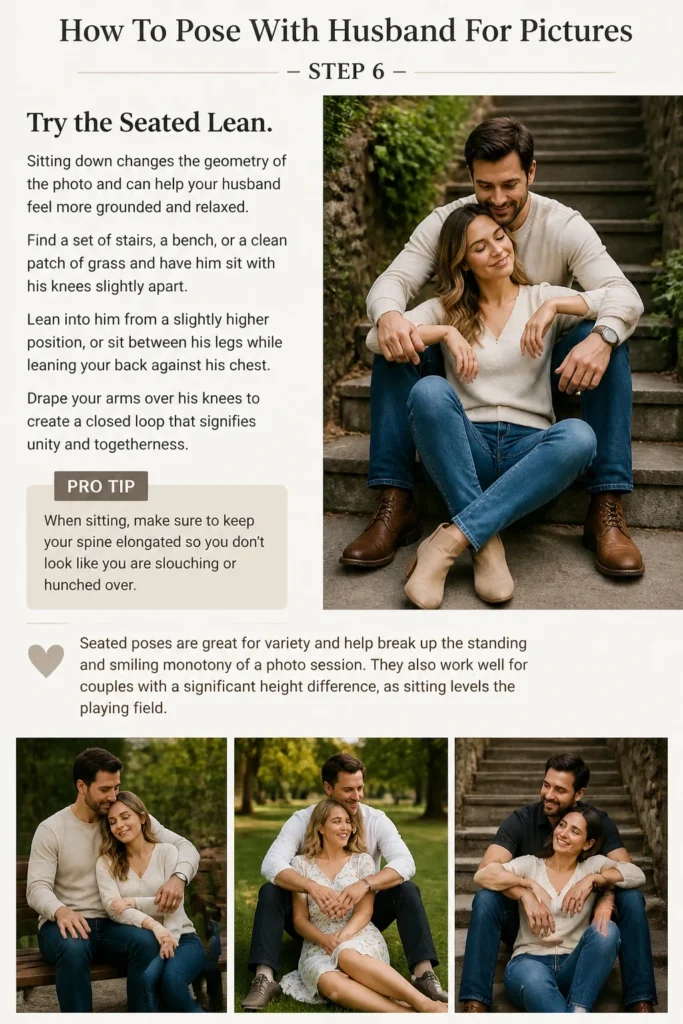
Find a set of stairs, a bench, or a clean patch of grass and have him sit with his knees slightly apart.
Lean into him from a slightly higher position, or sit between his legs while leaning your back against his chest.
Drape your arms over his knees to create a “closed loop” that signifies unity and togetherness.
Pro Tip: When sitting, make sure to keep your spine elongated so you don’t look like you are slouching or hunched over.
Seated poses are great for variety and help break up the “standing and smiling” monotony of a photo session.
They also work well for couples with a significant height difference, as sitting levels the playing field.
Step 7: The Over-the-Shoulder Look
This pose is fantastic for showing off the back of a dress or a scenic background while maintaining a connection.
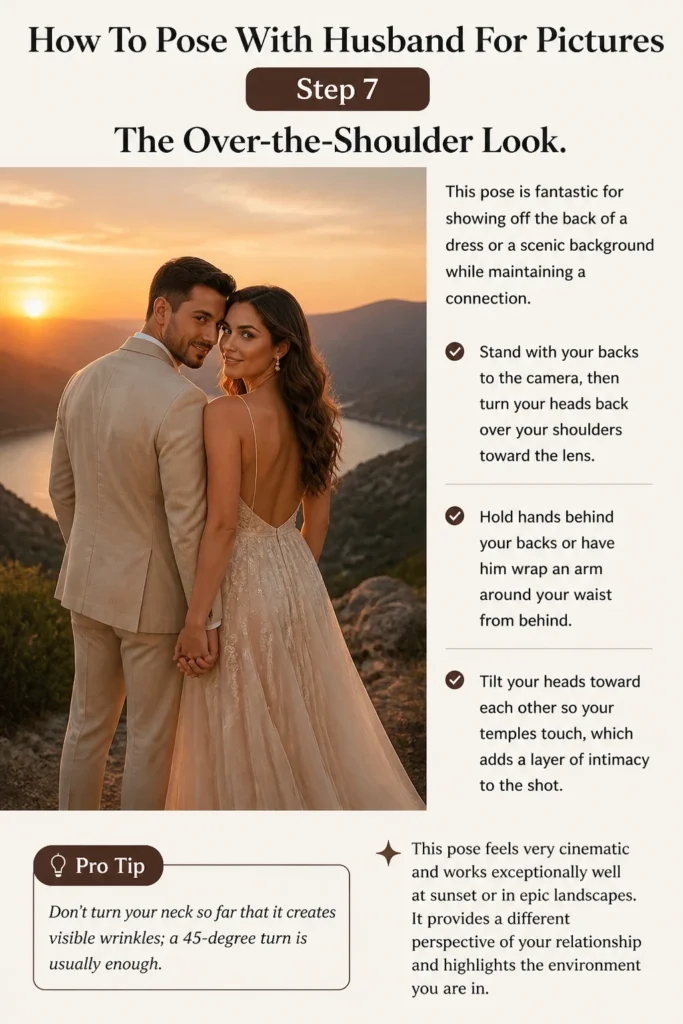
Stand with your backs to the camera, then turn your heads back over your shoulders toward the lens.
Hold hands behind your backs or have him wrap an arm around your waist from behind.
Tilt your heads toward each other so your temples touch, which adds a layer of intimacy to the shot.
Pro Tip: Don’t turn your neck so far that it creates visible wrinkles; a 45-degree turn is usually enough.
This pose feels very cinematic and works exceptionally well at sunset or in “epic” landscapes.
It provides a different perspective of your relationship and highlights the environment you are in.
Step 8: The Forehead Touch
The forehead touch is a quiet, intimate pose that works well for close-up portraits.
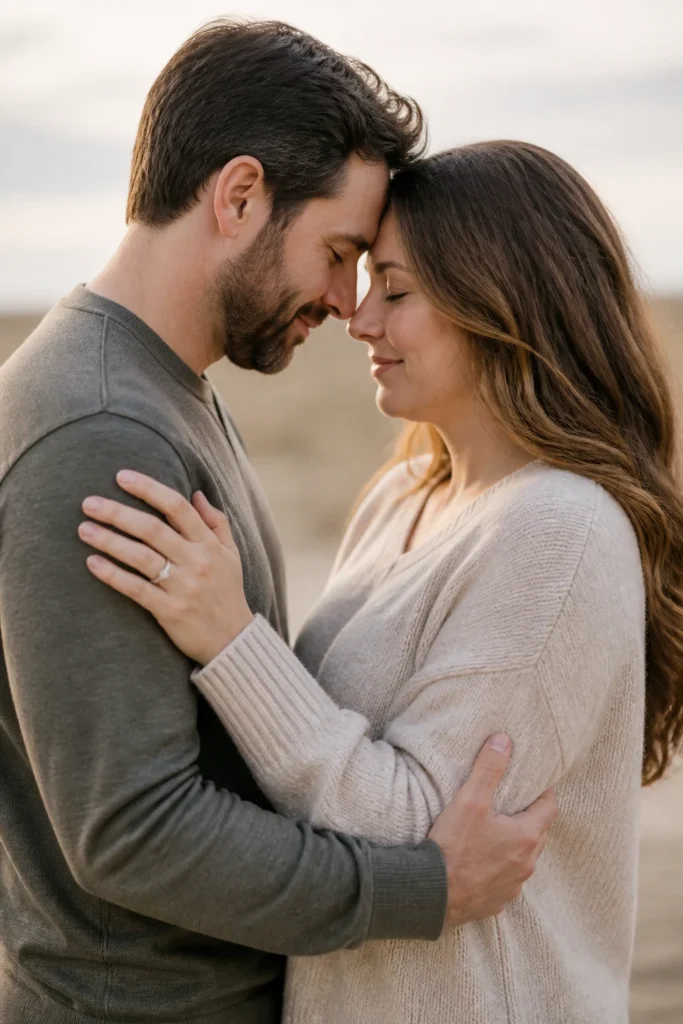
Close your eyes and gently touch your foreheads together while keeping your chins slightly down.
Place your hands on each other’s arms or shoulders to ground the pose.
Focus on your breathing and try to ignore the camera entirely for a few seconds.
Pro Tip: Make sure you aren’t actually “bonking” heads; the touch should be as light as a feather.
This pose often leads to a “quiet” photo that feels very personal and meaningful.
It is a great way to end a session when you both might be feeling a bit tired of smiling.
Common Mistakes to Avoid
The Hover Hand
One of the most frequent issues is when a husband is afraid to actually touch his wife, resulting in a hand that hovers an inch away from her waist. This creates an awkward gap and looks hesitant in photos. Commit to the touch and press your palm firmly but gently against your partner.
Matching Outfits Too Closely
While you want to look cohesive, wearing identical colors or patterns can make you blend into one another. It is better to choose a color palette and wear complementary shades. This creates visual separation so you don’t look like a single two-headed person in the final image.
The “Deer in Headlights” Stare
Many men tend to stare directly into the lens with wide eyes and a frozen smile. Encourage him to look at your ear, your shoulder, or off into the distance to soften his expression. Looking slightly away from the camera often makes the subject look more relaxed and thoughtful.
Poor Posture
Slouching is a photo killer because it makes you look less confident and can create unwanted folds in clothing. Imagine a string pulling the top of your head toward the sky to keep your back straight. Roll your shoulders back and down to open up your chest and improve your silhouette.
Troubleshooting
Significant Height Difference
If one person is much taller than the other, standing on flat ground can look unbalanced. Have the shorter person stand a step higher on a staircase or use a small “apple box” if indoors. Alternatively, seated poses are the great equalizer for height gaps.
Stiff Facial Expressions
If your husband’s smile looks forced, stop posing for a moment. Have him wiggle his jaw, blow air through his lips like a horse, or look away and then look back on the count of three. The “reset” helps clear the tension from the facial muscles.
Awkward Arm Placement
If an arm feels like it’s in the way, give it a job to do. Have him put a hand in a pocket, adjust his watch, or fix his collar. Giving the limbs a specific task makes the movement look intentional rather than accidental.
Key Takeaways
- Angling is everything: Always turn slightly toward each other to create a “V” shape rather than standing flat to the camera.
- Keep moving: Walking, swaying, or shifting weight prevents the “statue” look and encourages natural expressions.
- Soft hands: Ensure hands are always touching something but remain relaxed and gentle to avoid looking tense.
- Vary your eye contact: You don’t always have to look at the lens; looking at each other or away can create more emotion.
- Mind the gaps: Physical touch is essential to show connection, so eliminate any empty space between your bodies.
Frequently Asked Questions
What should my husband wear for our photo session?
He should wear something he feels confident in, but avoid large logos or very busy patterns. Neutral tones like navy, olive, or grey usually photograph well and don’t distract from your faces. Ensure his clothes are well-fitted, as baggy clothing can make someone look larger on camera.
How do I get my husband to cooperate for pictures?
Keep the session short and make it a positive experience rather than a chore. Explain that you only need 20 minutes of his best effort and perhaps plan a fun dinner or activity for afterward. Use prompts like “whisper something dirty in my ear” to get him to laugh and relax.
What is the best time of day for outdoor pictures?
The “Golden Hour,” which is the hour before sunset, provides the most flattering, soft light for couples. Avoid midday sun, as it creates harsh shadows under the eyes and nose. If you must shoot during the day, find a spot with “open shade” like under a large tree or the shadow of a building.
How do we look natural and not “posed”?
The secret to looking natural is to focus on the interaction rather than the camera. Talk to each other, tell stories, and keep your hands moving. If you are focused on your husband, the camera will capture the genuine chemistry between you.
Our Top Recommended Finds
- Bluetooth Remote Shutter: This allows you to take photos from a distance without running back and forth to a timer.
- Portable Phone Tripod: A sturdy, flexible tripod helps you get the perfect angle in any environment without needing a third person.
- Handheld Steamer: Wrinkles in clothing are very obvious in photos, so a quick steam before you leave the house makes a huge difference.
Level Up Your Couple Photography
Now that you have the basic poses down, the best thing you can do is practice them in a low-pressure environment.
Try these poses in your living room or backyard before your next big event or professional photo shoot.
You might also want to look into color coordination guides to ensure your outfits perfectly match your chosen location.
Take a few photos today using the “V-Shape” and see how much more connected you look immediately.
Wedding Planning
No fluff, no drama. Just easy weekly advice, planning shortcuts, and gentle reminders to help you actually enjoy your engagement.