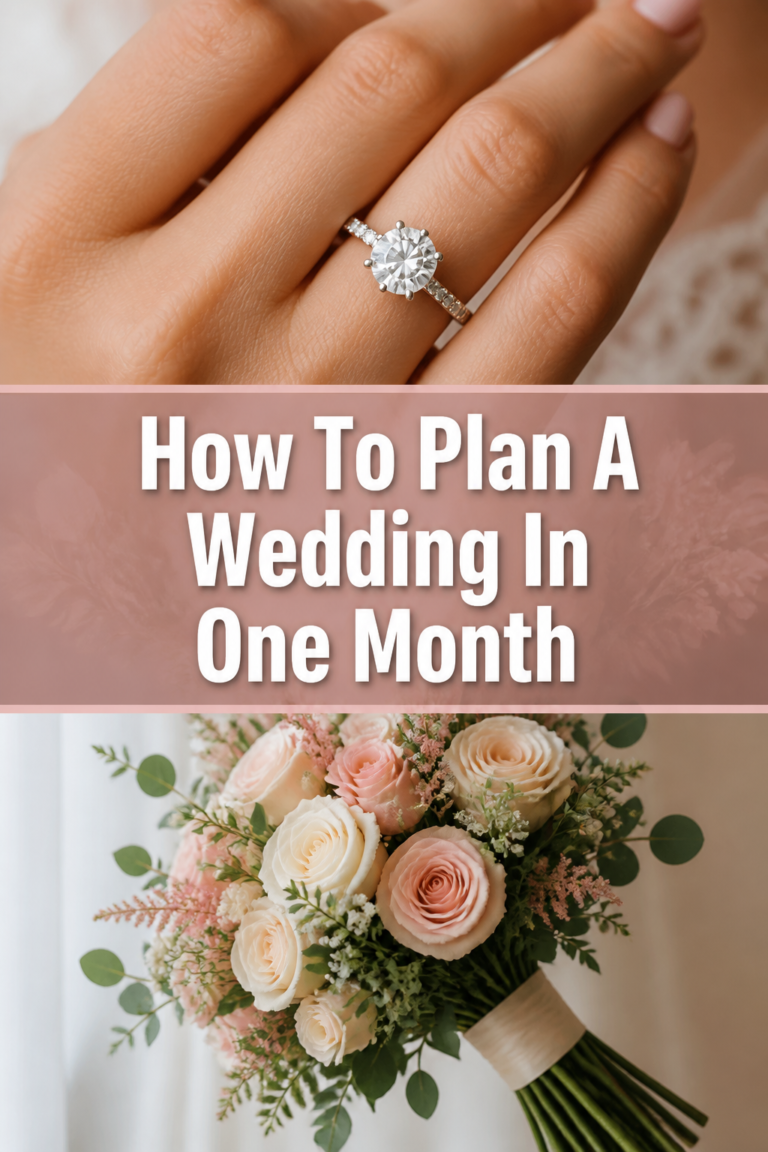
💍 How To Plan A Wedding In A Year
Planning a wedding is a massive project that can feel overwhelming without a clear roadmap.
I have helped dozens of couples navigate this twelve-month timeline to ensure their big day is both beautiful and stress-free.
This guide breaks down every essential milestone so you can enjoy the process instead of just surviving it.

Quick Overview
Planning a wedding in 12 months allows you to secure your top-choice vendors while keeping a manageable pace. You will move from broad concepts like budget and style to specific details like seating charts and song lists.
- Time needed: 12 months
- Difficulty: Intermediate
- What you’ll need: A dedicated planning binder or digital folder, a budget spreadsheet, and a collaborative mindset.
Step-by-Step Instructions
Step 1: Set Your Budget and Vision
Before you look at a single dress or venue, you must know what you can afford. Sit down with your partner and any contributing family members to establish a total spending limit.
Establish your non-negotiables early in the process. Decide if you care more about a gourmet meal, a high-end photographer, or a massive guest list.
- Calculate your total available funds from savings and monthly contributions.
- Research average costs in your specific geographic area to avoid sticker shock.
- Create a high-level vision board using images that represent the mood and color palette you want.
- Allocate specific percentages of your budget to categories like catering, attire, and decor.
Pro Tip: Always set aside 5-10% of your total budget for unexpected costs like service fees, tips, and last-minute rentals.
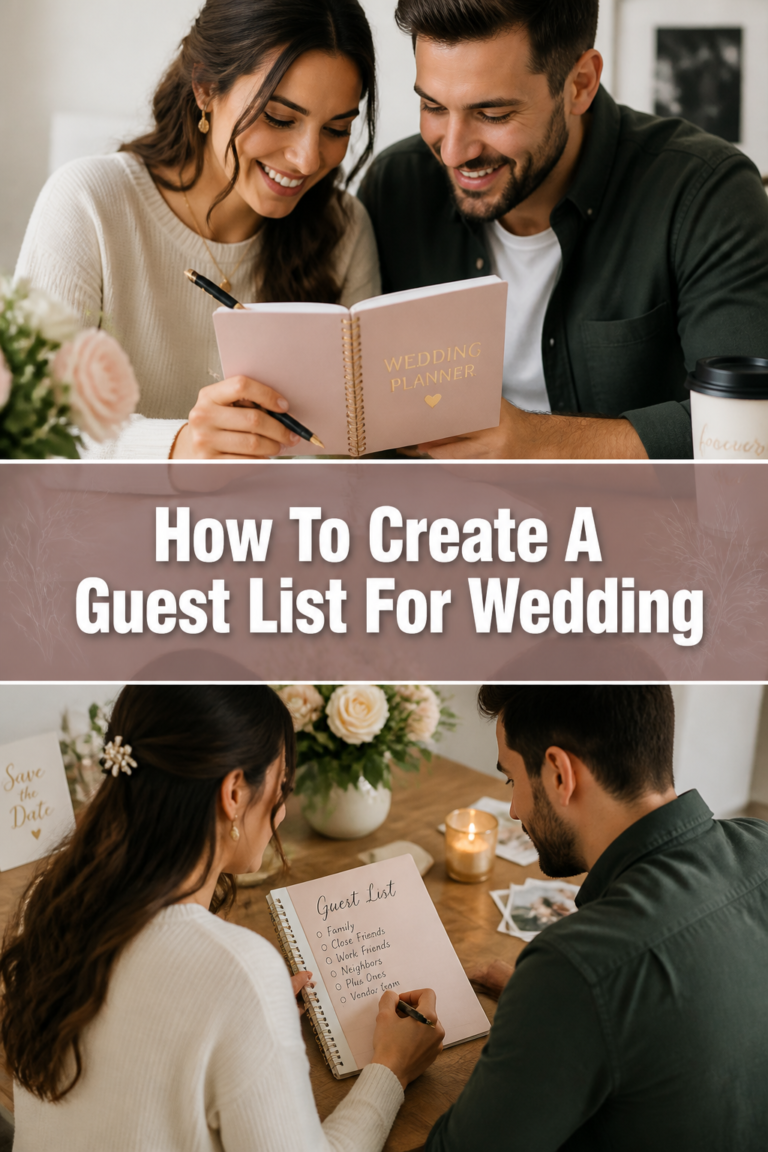
Step 2: Draft Your Initial Guest List
Your guest count dictates almost every other decision you make. You cannot choose a venue if you do not know if you are hosting 50 people or 200.
Start by listing everyone you think you might want to invite. Use a spreadsheet to track names, addresses, and their relationship to you.
- Categorize guests into “must-invite” and “would-like-to-invite” lists.
- Check with both sets of parents to see who they expect to be on the list.
- Confirm that your draft list aligns with your budget and potential venue capacities.
Step 3: Secure Your Venue and Date
Popular venues often book up more than a year in advance. Finding the right space is the most significant hurdle in the planning process.
Tour at least three different locations to compare what they offer. Ask about “all-inclusive” packages versus “blank canvas” spaces where you must bring in everything yourself.
- Visit venues during the time of day you plan to get married to see the lighting.
- Review the contract carefully for hidden fees like cake cutting or corkage charges.
- Deposit the required amount to lock in your date officially.
- Ask about backup plans for outdoor ceremonies in case of bad weather.
Pro Tip: Choosing a Friday or Sunday date can often save you thousands of dollars in venue rental fees.
Step 4: Hire High-Priority Vendors
Individual professionals like photographers, videographers, and specific bands can only work one wedding per day. You want to book these people as soon as your date is set.
Review portfolios extensively to ensure their style matches your vision. A photographer who specializes in dark and moody shots might not be the best fit for a bright, airy garden wedding.
- Interview at least two professionals in each category to compare personalities.
- Sign contracts that clearly outline the hours of service and delivery timelines.
- Pay deposits to ensure these vendors are committed to your specific date.
- Check references or online reviews to confirm their reliability and professionalism.
Step 5: Shop for Wedding Attire
It can take six to nine months for a wedding dress to be ordered and delivered. Starting this process early ensures you have plenty of time for multiple fittings.
Think about the season and the venue when choosing your look. A heavy velvet suit might be uncomfortable for a beach wedding in July.
- Schedule appointments at bridal or suit boutiques during the week for a more relaxed experience.
- Factor the cost of alterations and accessories into your total attire budget.
- Order your garments no later than eight months before the wedding.
- Choose your wedding party attire so your friends have time to order their outfits too.
Step 6: Send Save-the-Dates and Plan Logistics
Once the date and venue are set, let your guests know. This is especially important if you are planning a destination wedding or getting married on a holiday weekend.
Start thinking about where out-of-town guests will stay. Contact local hotels to set up room blocks at a discounted rate.
- Create a wedding website with travel information, registry links, and schedule details.
- Mail your save-the-date cards six to eight months before the big day.
- Research transportation options for guests if the ceremony and reception are in different locations.
- Book any rental items like tents, chairs, or specialty linens that the venue does not provide.
Pro Tip: Use your wedding website to collect digital addresses to save time when mailing formal invitations later.
Step 7: Finalize Design and Details
Now that the big pieces are in place, focus on the aesthetics. Work with a florist to choose seasonal blooms that fit your color scheme.
Schedule a tasting with your caterer to finalize the menu. This is the time to consider dietary restrictions and signature cocktails.
- Select your floral arrangements, including bouquets, boutonnieres, and centerpieces.
- Order your wedding cake or alternative desserts after a tasting session.
- Choose your music for the ceremony, cocktail hour, and reception.
- Design your stationery suite, including invitations, programs, and menus.
Step 8: Send Invitations and Manage RSVPs
Formal invitations should go out about eight to twelve weeks before the wedding. This gives guests enough time to clear their schedules and respond.
Keep a tight grip on your RSVP tracking. You will need final numbers for your caterer and for creating your seating chart.
- Include a clear RSVP deadline that is at least three to four weeks before the wedding date.
- Track meal choices and any allergies mentioned by your guests.
- Follow up personally with anyone who has not responded by the deadline.
- Finalize the rehearsal dinner details and send separate invitations for that event.
Step 9: Create the Seating Chart and Timeline
With your final guest count in hand, you can map out where everyone will sit. Try to group people with similar interests or common friends to ensure a lively atmosphere.
Work with your vendors to create a minute-by-minute timeline for the wedding day. Share this document with your wedding party and all professionals involved.
- Draw a floor plan that allows for easy movement between tables and the dance floor.
- Assign specific times for hair and makeup, photos, the ceremony, and dinner.
- Print place cards and a seating chart display for the entrance of the reception.
- Confirm the “must-play” and “do-not-play” song lists with your DJ or band.
Step 10: The Final Month Countdown
The last few weeks should be about tying up loose ends. Confirm final counts with all your vendors and ensure everyone has the correct address and arrival time.
Apply for your marriage license within the timeframe required by your local government. Some licenses are only valid for a short window, so timing is critical.
- Pick up your wedding attire and do one final try-on to ensure the fit is perfect.
- Assemble a wedding day emergency kit with items like safety pins, aspirin, and stain remover.
- Prepare final payments and tips in labeled envelopes for your vendors.
- Pack for your honeymoon or your wedding night stay.
Pro Tip: Break in your wedding shoes by wearing them around the house for 15 minutes a day during the final week.
Common Mistakes to Avoid
Overspending Early in the Process
Many couples use half their budget on the venue and catering before realizing they still need to pay for photography, attire, and flowers. This leads to extreme stress in the final months of planning. Always look at the big picture before signing your first major contract.
Ignoring the Guest Count Realities
It is tempting to invite everyone you know, assuming some people will not show up. However, if everyone says yes and your venue has a strict fire code limit, you will face a nightmare. Only invite the number of people your venue and budget can comfortably accommodate.
Forgetting the Hidden Costs
Couples often forget to budget for things like stamps for invitations, marriage license fees, and vendor tips. These small expenses can add up to thousands of dollars. Keep a “miscellaneous” line item in your spreadsheet to cover these inevitable costs.
Troubleshooting
A Key Vendor Cancels Last Minute
If a photographer or caterer cancels, do not panic. Check your contract for their “failure to perform” clause, which should outline how they will help find a replacement or refund your money. Reach out to your other vendors immediately, as they often have a network of trusted professionals who can step in.
The Budget Is Blowing Up
If you find yourself over budget halfway through the year, look for areas where you can scale back. You might choose less expensive flowers, opt for a buffet instead of a plated meal, or cut the guest list for the rehearsal dinner. Prioritize the elements that impact the guest experience the most.
Family Conflict Over the Guest List
Tensions often rise when parents want to invite friends you have never met. Set clear boundaries early by giving each set of parents a specific number of “invites” they can use. This allows them to feel involved without letting the guest list spiral out of control.
Key Takeaways
- Establish a firm budget before making any commitments to avoid financial stress.
- Book your venue and high-priority vendors first to ensure you get your preferred choices.
- Use a guest list spreadsheet to stay organized and manage your budget effectively.
- Keep your wedding website updated to reduce the number of questions guests ask you directly.
- Draft a detailed wedding day timeline and share it with everyone involved in the execution.
- Remember to take breaks from planning to focus on your relationship with your partner.
Frequently Asked Questions
Do I really need a wedding planner?
A full-service planner is helpful if you have a large budget and very little free time. However, many couples successfully plan their own weddings using digital tools and “month-of” coordinators. A coordinator is often a great middle ground for managing the logistics on the actual day.
How do I handle “plus-ones” for single guests?
You are not obligated to give every single guest a plus-one. A common rule is to offer a plus-one to guests who are married, engaged, or in a long-term committed relationship. Be consistent with your rule to avoid hurting anyone’s feelings.
When should we start our wedding registry?
You should aim to have your registry set up by the time you send out your save-the-dates. Guests often want to send engagement gifts or bridal shower gifts early in the process. Aim for a variety of price points so there is something for everyone’s budget.
How much should we tip our wedding vendors?
Tipping is customary for service-based roles like catering staff, bartenders, and hair stylists. For business owners like photographers or florists, tips are appreciated but not always expected. Research standard tipping percentages for your region to be sure.
Our Top Recommended Finds
- A Physical Wedding Planner Binder: This helps you keep paper contracts, fabric swatches, and business cards in one organized place that you can bring to meetings.
- A High-Quality Steamer: You will want this for your wedding dress, bridesmaid dresses, and suits to ensure everyone looks crisp without risking iron burns.
- Digital Planning Software: Tools that offer seating chart builders and RSVP tracking can save you dozens of hours of manual work.
Taking Your First Steps Toward The Big Day
Now that you have a comprehensive roadmap, the best thing you can do is start. Pick one small task today, like setting up a shared email account for wedding correspondence.
Planning a wedding in a year is entirely possible if you stay organized and tackle one phase at a time. Focus on the joy of the occasion rather than the pursuit of perfection.
Once you have your budget and vision in place, you can move on to finding the perfect venue. Good luck and enjoy this special time in your life.