✨ How To Decorate A Wagon For A Wedding
A wedding day is filled with magic and personal touches. Incorporating a beautifully decorated wagon can add a whimsical, memorable element, perfect for flower girls, ring bearers, or even carrying gifts.
I remember helping my cousin prepare her garden wedding, and the little wagon we decorated for her nieces stole the show. This guide draws on practical experience to help you create a stunning focal point. You’ll learn how to transform a simple wagon into a charming, picture-perfect accessory for your special day.
Quick Overview
This guide will walk you through transforming a standard wagon into a breathtaking wedding accessory. You’ll cover everything from foundational decor to intricate details, ensuring a beautiful and functional piece.
- Time needed: 4-6 hours (spread over a few days for drying/prep)
- Difficulty: Intermediate
- What you’ll need: Wagon, fabric, flowers, lights, ribbon, hot glue, wire, floral tape, cushions.
Step-by-Step Instructions
Step 1: Choose Your Wagon and Theme
The first decision is selecting the right wagon for your wedding vision. Consider its size, material, and overall condition. A classic red wagon is a popular choice, but wooden or vintage styles also offer unique charm.
Think about your wedding’s overarching theme and color palette. This will guide all subsequent decor decisions, ensuring a cohesive look. A rustic wedding might use burlap and wildflowers, while a more elegant affair could feature satin and roses.
Pro Tip: Borrowing a wagon from a friend or family member can save costs. Just ensure it’s sturdy and cleanable before you begin decorating.
Step 2: Clean and Prepare the Wagon
Before any decoration begins, give the wagon a thorough cleaning. Wipe down all surfaces, removing dirt, dust, or rust. A clean base ensures your decorations adhere properly and look their best.
If your wagon is metal, check for any sharp edges or rust spots that could snag fabric or pose a safety risk. Sand these down gently or cover them with protective tape. For wooden wagons, a light sanding can smooth rough patches.
Consider a fresh coat of paint if the wagon’s existing color clashes with your theme or looks faded. Use a spray paint suitable for the wagon’s material, applying thin, even coats in a well-ventilated area. Allow ample drying time between coats and before proceeding.
Step 3: Lay the Foundation with Fabric or Liner
The interior of the wagon often benefits from a soft, foundational layer. Measure the wagon bed accurately to determine how much fabric you’ll need. Options include burlap for rustic themes, satin for elegance, or cotton for a softer touch.
Cut the fabric to fit the bottom and sides, allowing enough extra material to drape gracefully or tuck securely. You can use spray adhesive or hot glue to secure the fabric to the wagon’s interior walls, creating a seamless look. Alternatively, a custom-sewn liner can be made for a polished finish.
For an even softer base, add a thin layer of batting or foam underneath your chosen fabric. This creates a comfortable surface, especially if children will be riding in the wagon. Ensure all edges are neatly tucked or secured to prevent tripping.
Step 4: Add Structural Elements and Drape
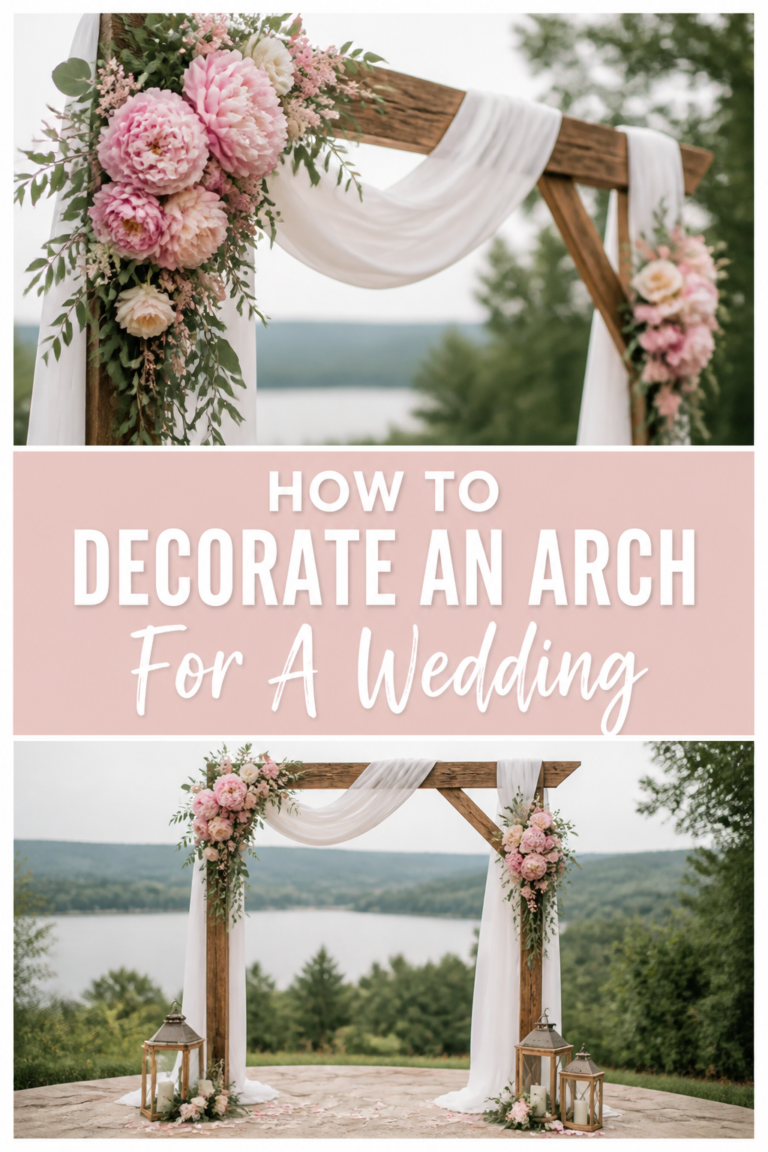
Consider adding an arch or canopy if you want a more elaborate look. Use flexible PVC pipe or sturdy floral wire to create an arch over the wagon. Secure the ends firmly to the wagon’s frame using zip ties or strong tape.
Once the arch is in place, drape sheer fabric, tulle, or lace over it to create a canopy effect. Allow the fabric to cascade down the sides of the wagon, softening its lines. Secure the fabric with floral wire or small clips at various points.
For stability, ensure any structural additions are lightweight and well-balanced. You don’t want the wagon to become top-heavy or unstable, especially if it will be moving. Test its stability before adding heavier decorations.
Step 5: Incorporate Floral and Greenery
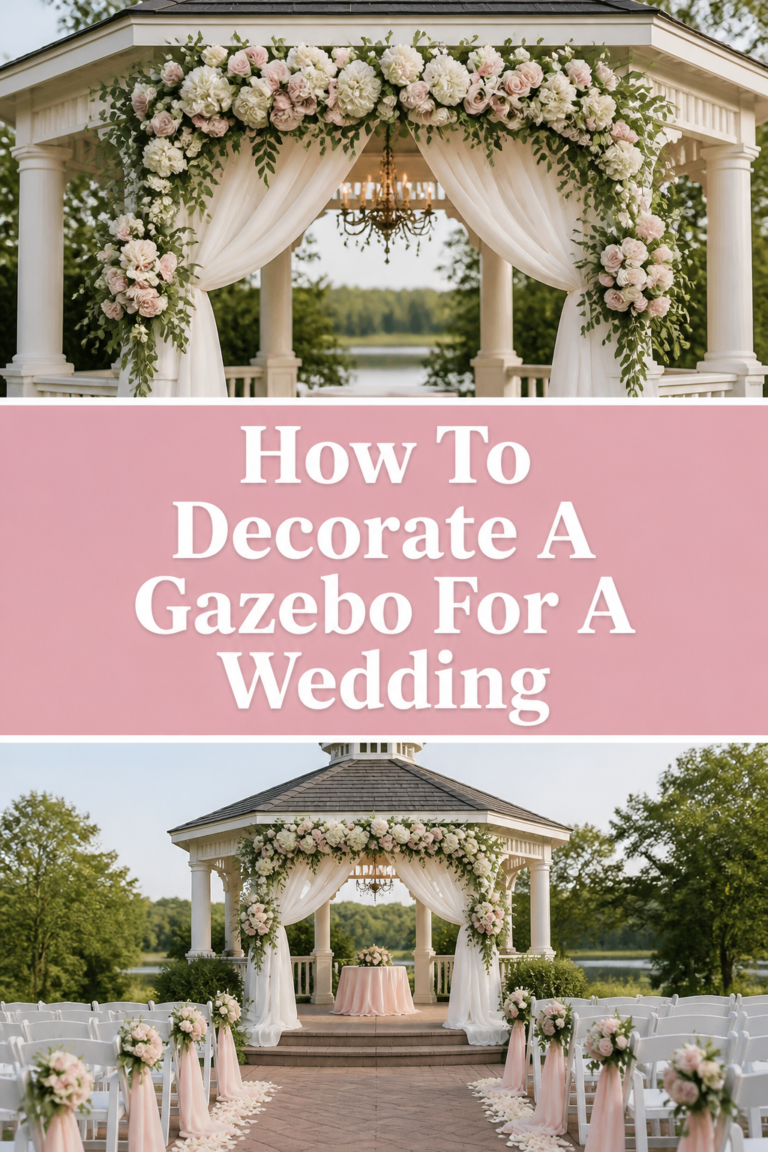
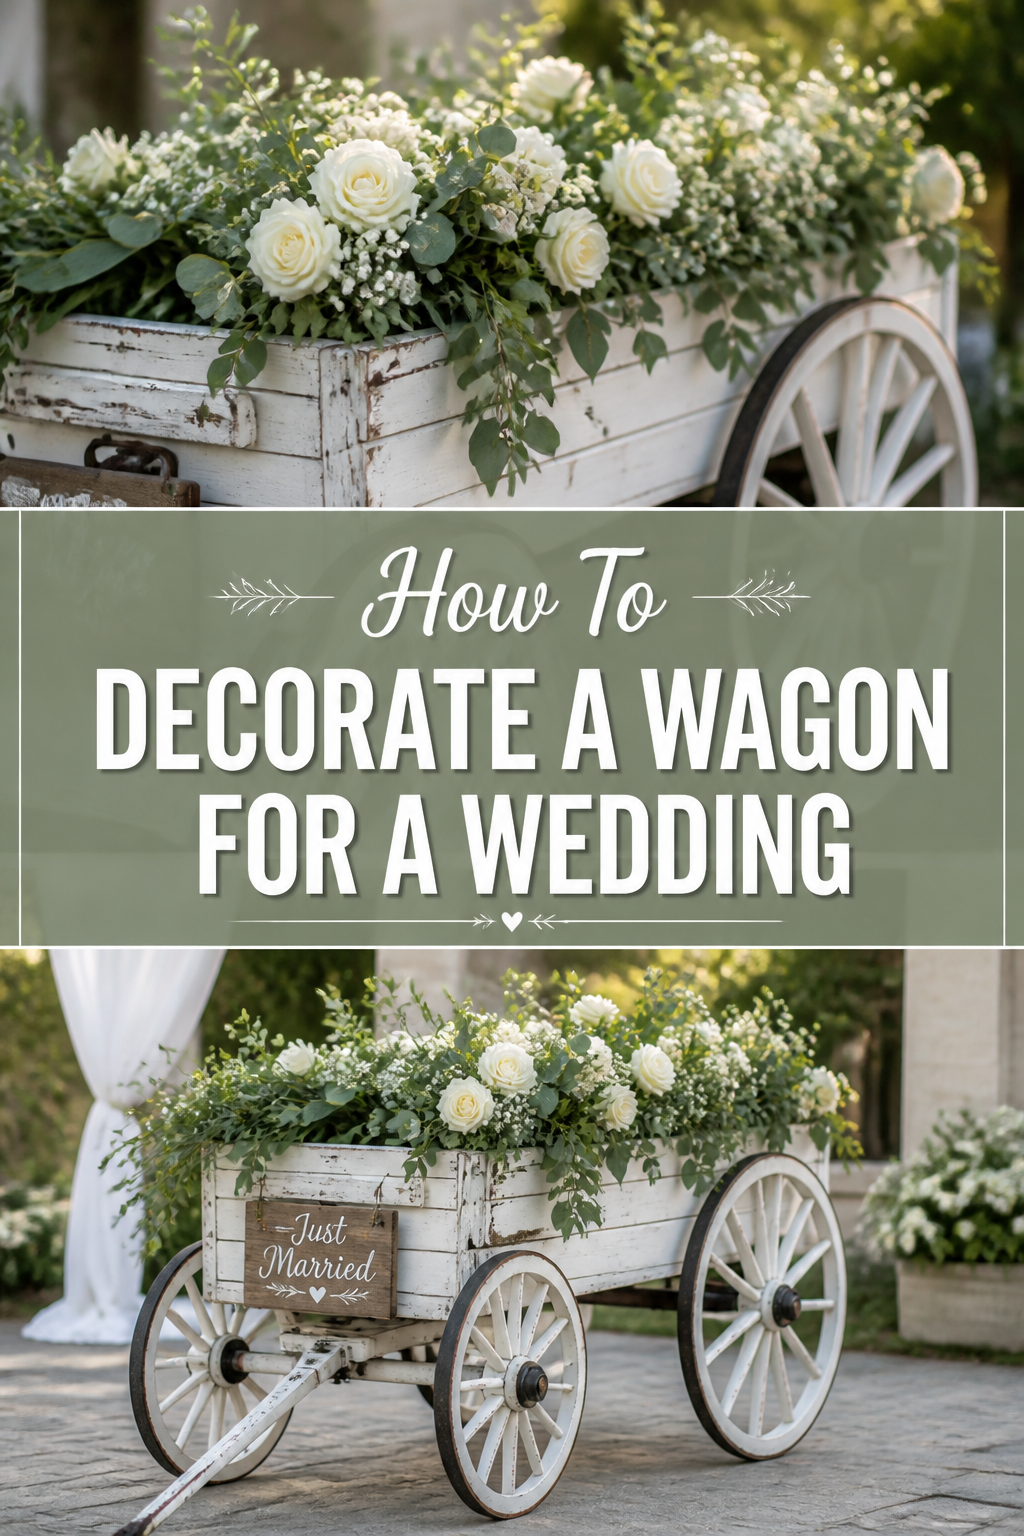
Flowers and greenery are essential for creating a romantic, wedding-appropriate look. Choose flowers that match your wedding palette and are resilient enough to last throughout the event. Fresh flowers are beautiful but require more careful handling and hydration.
Artificial flowers and greenery offer durability and cost-effectiveness. Arrange garlands of greenery along the wagon’s edges, securing them with floral wire or hot glue. Then, tuck in individual flower stems or small bouquets amongst the greenery.
Consider creating a focal point with a larger floral arrangement at the front or back of the wagon. Use floral foam to keep fresh flowers hydrated and in place. Vary the textures and sizes of your chosen botanicals for a more dynamic display.
Pro Tip: Use a mix of fresh and artificial elements. Fresh flowers can be placed in visible areas, while artificial ones fill out the base, saving money and ensuring longevity.
Step 6: Integrate Lighting and Personal Touches
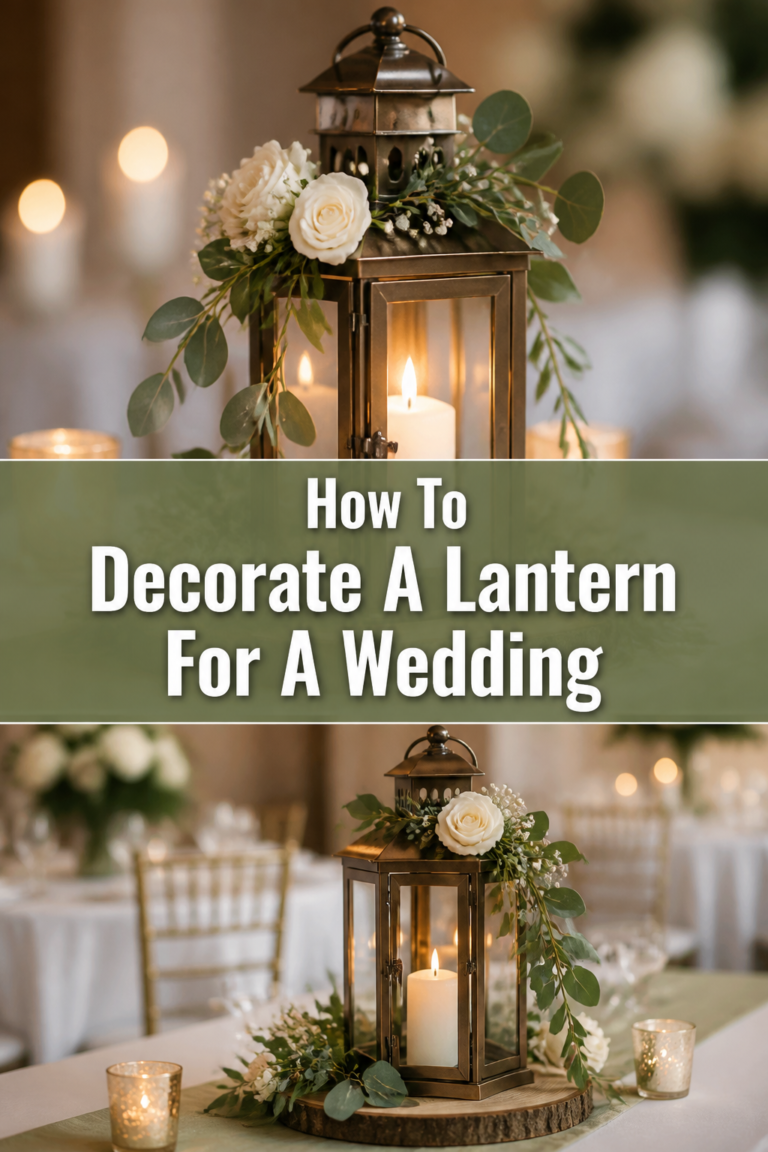
Lighting adds a magical glow, especially for evening weddings or photo opportunities. Wrap battery-operated fairy lights around the wagon’s handle, along the edges, or intertwined with the floral arrangements. Hide battery packs discreetly.
Personal touches make the wagon truly unique. Hang small signs with the couple’s initials, the wedding date, or “Here Comes the Bride.” Attach ribbons in your wedding colors to the handle or wheels, letting them flutter gently.
Consider adding small, meaningful items like a framed photo of the couple or a subtle nod to their interests. These details tell a story and make the wagon more than just a prop. Ensure all additions are securely fastened.
Step 7: Arrange Cushions and Comfort Items
If children will be riding in the wagon, comfort is key. Place soft cushions or pillows inside the wagon bed, arranged for maximum coziness. Choose fabrics that complement your wedding theme, such as velvet, linen, or satin.
Add a small, soft blanket or throw for an extra layer of comfort and warmth, especially if the weather might be cool. These items also add to the aesthetic appeal, creating a welcoming and inviting space. Ensure children have enough room to sit comfortably and safely.
The goal is to make the wagon as inviting as it is beautiful. Think about how the occupants will interact with the space and optimize it for their experience. Safety and comfort go hand in hand with aesthetics.
Step 8: Final Checks and Placement
Once your wagon is fully decorated, conduct a thorough final inspection. Check that all decorations are securely attached and won’t fall off during transport or use. Gently tug on fabric, flowers, and lights to ensure they are firm.
Test the wagon’s maneuverability. Push it around to ensure the wheels turn freely and that no decorations impede its movement. If children will be riding, have them sit in it to check for comfort and stability.
Finally, determine the perfect placement for the wagon at your venue. Consider where it will create the most impact for photos and guest viewing. Plan its route if it’s being pulled down an aisle, ensuring clear paths and easy navigation.
Common Mistakes to Avoid
Overcrowding the Wagon
It’s tempting to add every beautiful decoration you find, but an overcrowded wagon can look cluttered and lose its charm. Too many elements can also make it heavy and difficult to move. Focus on a few key decorative elements that complement each other, allowing each piece to stand out.
Ignoring Safety and Stability
When decorating, it’s easy to get caught up in aesthetics and forget practicalities. Adding too much weight, creating sharp edges with decor, or making the wagon top-heavy can be dangerous, especially if children are involved. Always prioritize stability and safety checks throughout the process.
Using Non-Weatherproof Materials
Weddings can be unpredictable, and outdoor events are subject to the elements. Using materials that can’t withstand a little wind, sun, or even a light drizzle can lead to ruined decorations. Opt for weather-resistant fabrics, artificial flowers, or secure fresh flowers properly if there’s any chance of exposure.
Forgetting the Wagon’s Function
Is the wagon for carrying flower girls, gifts, or simply as a decorative prop? Forgetting its primary function can lead to decorations that get in the way. Ensure that whatever you add doesn’t impede its movement, make it uncomfortable for occupants, or prevent it from holding its intended items.
Troubleshooting
Decorations Keep Falling Off
If your flowers or fabric keep detaching, the adhesive might not be strong enough, or the surface wasn’t clean. Re-clean the area thoroughly with rubbing alcohol if possible. Then, use a stronger adhesive, such as heavy-duty hot glue, zip ties, or floral wire, to secure items more firmly. Consider reinforcing attachment points with multiple anchors.
Wagon Feels Unstable or Tipsy
An unstable wagon is a safety concern. This often happens if heavy decorations are placed too high or unevenly. Distribute weight evenly across the wagon bed. If you have an arch or canopy, ensure it’s lightweight and securely fastened to the wagon’s frame, not just resting on the sides. Remove any overly heavy or high-placed elements.
Lights Aren’t Working or Are Too Dim
First, check the battery packs to ensure they have fresh batteries and are properly installed. If the lights are still dim, they might be old or low quality. Consider replacing them with new, brighter LED fairy lights. Ensure battery packs are easily accessible for quick changes if needed during the event.
Key Takeaways
- Plan Your Theme: Align wagon decor with your wedding’s overall aesthetic and color scheme.
- Prioritize Preparation: Clean and prepare the wagon thoroughly before decorating to ensure adhesion and safety.
- Layer Your Decor: Start with foundational fabrics, then add structural elements, and finally, embellish with florals and lights.
- Ensure Comfort and Safety: If children are riding, include soft cushions and conduct stability checks.
- Personalize Thoughtfully: Add unique touches that reflect the couple without overcrowding the design.
- Perform Final Checks: Secure all decorations and test maneuverability before the big day.
Frequently Asked Questions
What type of wagon is best for a wedding?
A classic red Radio Flyer wagon is very popular for its nostalgic charm. Wooden wagons offer a rustic or vintage feel. The best choice depends on your wedding’s theme and the overall aesthetic you’re aiming for. Ensure it’s in good condition and sturdy.
How do I make fresh flowers last on the wagon?
To keep fresh flowers vibrant, use floral foam cages that can be soaked in water and then secured to the wagon. You can also place individual flower stems in small water tubes, which are then hidden within the greenery. Keep the wagon in a cool, shaded area until just before the ceremony.
Can I use a wagon for purposes other than flower girls?
Absolutely! Wagons are incredibly versatile. They can be used to carry ring bearers, transport wedding gifts, display programs or favors, or even serve as a charming photo booth prop. Get creative with how it fits into your wedding day.
How far in advance should I decorate the wagon?
If using artificial flowers and durable materials, you can decorate the wagon a few days or even a week in advance. For fresh flowers, it’s best to add them the day before or on the morning of the wedding to ensure they look their best. Always allow paint to fully cure.
Our Top Recommended Finds
- Battery-Operated Fairy Lights: Essential for adding a warm, enchanting glow without needing an outlet. Look for waterproof options for outdoor use.
- Hot Glue Gun with High-Strength Glue Sticks: Your best friend for securing fabric, ribbons, and artificial flowers firmly and quickly.
- Assorted Floral Wire and Tape: Indispensable for creating garlands, securing fresh flowers, and attaching greenery seamlessly.
Ready to Roll Down the Aisle?
Transforming a simple wagon into a wedding showstopper is a rewarding project. It’s an opportunity to infuse your personality and style into a charming detail that guests will adore. With careful planning and these practical steps, your decorated wagon will be a cherished part of your special day.
Don’t wait until the last minute to gather your supplies. Start envisioning your perfect wagon today, and begin collecting the elements that will bring your vision to life. Your unique wedding wagon is just a few creative steps away!