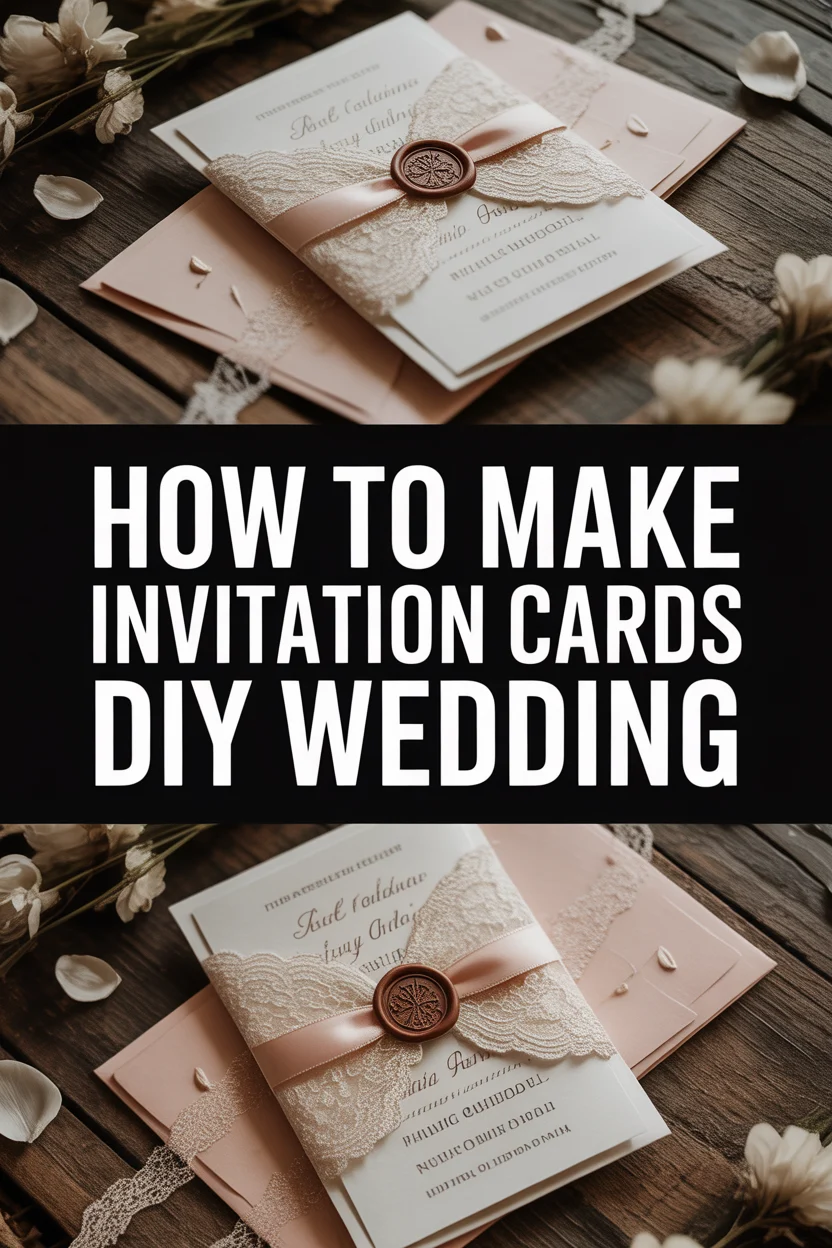
💌 How To Make Invitation Cards DIY Wedding

Wedding Planning
No fluff, no drama. Just easy weekly advice, planning shortcuts, and gentle reminders to help you actually enjoy your engagement.
Planning a wedding is an incredible journey, and every detail matters. I remember the joy and slight panic of tackling our own wedding invitations. It felt daunting at first, but with a little guidance, it became one of the most rewarding DIY projects.
This guide will walk you through creating beautiful, personalized wedding invitations that truly reflect your unique love story. You absolutely can do this, and the end result will be something you cherish forever.
Quick Overview
Crafting your own wedding invitations allows for deep personalization and can be a wonderful way to save on costs. You’ll create bespoke stationery that sets the perfect tone for your special day.
- Time needed: 20-40 hours (spread over several weeks, depending on complexity and quantity)
- Difficulty: Intermediate
- What you’ll need: Cardstock, printer, cutting tools, adhesives, decorative elements, design software/templates.
Step-by-Step Instructions
Step 1: Define Your Vision and Style
Before anything else, envision the overall theme and aesthetic of your wedding. Are you going for rustic charm, modern elegance, classic romance, or something whimsical? Your invitations should hint at this.
Gather inspiration from Pinterest, wedding blogs, and even stationery stores. Collect images, color palettes, and font styles that resonate with you and your partner. This initial brainstorming is crucial.
Pro Tip: Create a digital mood board. Pin all your favorite invitation styles, color combinations, and decorative ideas in one place. This helps you refine your vision and ensures consistency.
Step 2: Choose Your Materials
Select the right cardstock for your invitations. Consider weight (measured in GSM or pounds), texture, and color. A heavy cardstock (100lb/270gsm or more) feels luxurious and durable.
Explore different paper finishes like matte, linen, vellum, or shimmer. Order samples if possible to see and feel them firsthand. This helps you make an informed decision about quality.
Decide on other elements like envelopes, RSVP cards, enclosure cards, and belly bands. Ensure all components complement each other in style and color.
Step 3: Design Your Invitation Layout
Pick your preferred design software. Programs like Adobe Illustrator, InDesign, Canva, or even Microsoft Word can work. Canva is excellent for beginners with many templates.
Start with a template or a blank canvas. Input all the necessary wedding details: names, date, time, venue, RSVP information, and dress code. Double-check for accuracy.
Choose fonts that match your wedding style. Typically, two to three fonts work best: one for names/main headings, another for body text, and perhaps an accent font. Ensure readability.
Incorporate any decorative elements like monograms, borders, or subtle graphics. Maintain balance and avoid overcrowding the design. Less can often be more.
Step 4: Create Your Invitation Wording
Draft the exact text for your main invitation, RSVP card, and any enclosure cards. Traditional wording often includes the host’s names, couple’s names, date, time, and location.
Personalize the wording to reflect your personality. You might opt for a more informal tone if that suits your wedding style. Be clear and concise with all information.
Include RSVP details, such as a reply-by date and meal choices if applicable. For destination weddings, add accommodation and travel information on a separate enclosure card or website.
Pro Tip: Have several trusted friends or family members proofread your wording. Fresh eyes often catch typos or grammatical errors you might have missed. Read it aloud to ensure it flows well.
Step 5: Print a Test Run
Print a single copy of each invitation component on your chosen cardstock. This is a crucial step to check colors, font sizes, and overall layout.
Examine the print quality closely. Are the colors true to your design? Is the text crisp and legible? Adjust your design or printer settings as needed.
Cut out the test invitation to its final size. This helps you visualize the finished product and identify any sizing issues before mass production.
Step 6: Print All Your Invitations
Load your chosen cardstock into your printer. Ensure it’s correctly aligned to prevent skewed prints. Print in small batches to manage potential issues.
Monitor the ink levels and print quality throughout the process. Replace cartridges as necessary to maintain consistent results. Avoid printing everything at once if you’re using an inkjet printer, as ink can sometimes smudge.
Allow printed cards to dry completely before handling them further. Smudging can easily occur if ink is still wet. This waiting period is important for a professional finish.
Step 7: Cut and Assemble Your Cards
Use a paper trimmer or craft knife and cutting mat to precisely cut each invitation component. Accuracy here is key for a polished look. A metal ruler can help guide your cuts.
Sort your cards into stacks: main invitations, RSVP cards, enclosure cards. This makes the assembly process more efficient and organized.
Attach any layered elements using a strong, acid-free adhesive. A glue stick, double-sided tape, or craft glue can work. Ensure no glue seeps out the sides.
Step 8: Add Decorative Embellishments
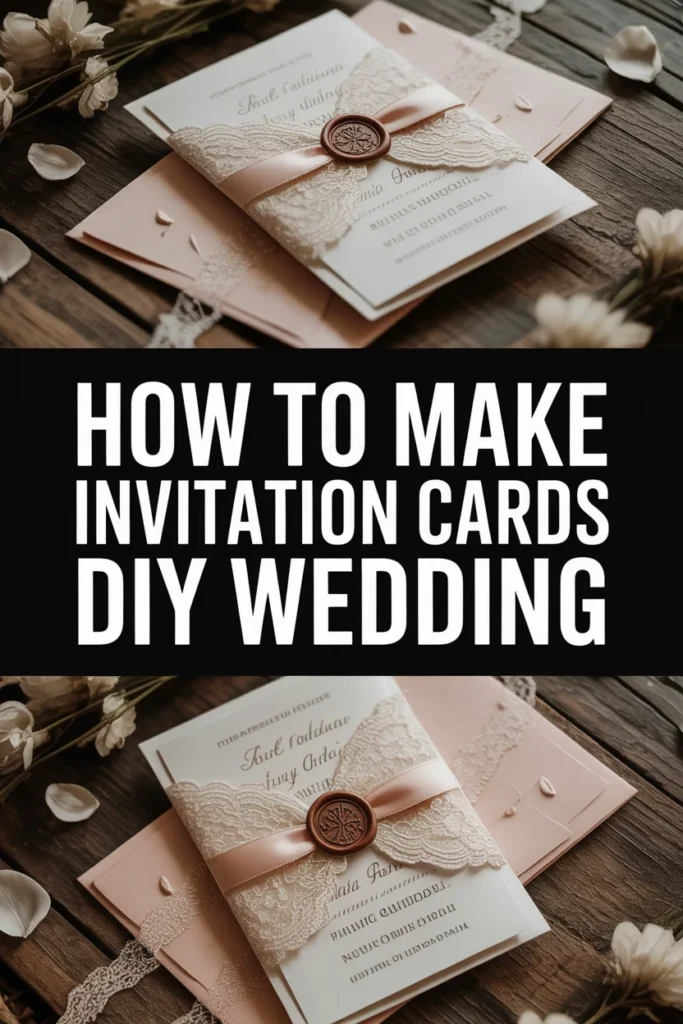
Enhance your invitations with personal touches. Consider elements like belly bands, ribbons, wax seals, glitter, or small adhesive gems. These elevate the design.
Wrap belly bands around the invitation suite to hold all components together neatly. Tie ribbons in a bow or knot for an elegant touch.
Apply wax seals for a vintage or luxurious feel. Press the seal firmly and allow it to cool completely before moving the invitation.
Pro Tip: Practice your embellishment techniques on a spare invitation first. This helps you perfect the method and ensures consistency across all your cards.
Step 9: Address and Mail Your Invitations
Address your envelopes clearly and legibly. You can handwrite them, use a calligrapher, or print labels. Ensure guest names and addresses are correct.
Assemble each invitation suite into its envelope. Place the main invitation first, followed by enclosure cards, and then the RSVP card with its pre-addressed, stamped envelope.
Weigh a completed invitation at the post office to determine the correct postage. Unique shapes or extra weight might require additional stamps. Mail them well in advance of your RSVP date.
Common Mistakes to Avoid
Overly Complex Designs
Trying to incorporate too many elements, fonts, or colors can make your invitation look cluttered and unprofessional. Stick to a coherent theme with a few key design elements. A simpler design often looks more elegant and is easier to execute consistently across all cards.
Skipping Test Prints
Failing to print a test run before mass production is a recipe for disaster. What looks perfect on screen might print differently due to color calibration or font rendering issues. Always print a single copy on your actual cardstock to catch errors early.
Incorrect Wording and Proofreading Errors
Mistakes in names, dates, times, or addresses can cause confusion for your guests. Typos and grammatical errors also detract from the professionalism of your invitations. Always proofread multiple times and have others review your text.
Underestimating Time and Cost
DIY projects often take more time and sometimes cost more than initially anticipated. Factor in research, design, printing, cutting, assembly, and potential re-dos. Purchase materials in bulk to save money, but always account for a few extra sheets in case of mistakes.
Troubleshooting
Printer Jams or Smudged Ink
If your printer is jamming, check that your cardstock is within the printer’s weight specifications. Ensure paper is loaded correctly and not bent. For smudged ink, allow more drying time between printing and handling, and consider using a quick-drying ink or a different paper finish.
Inconsistent Cuts
If your cuts are uneven, your cutting tool might be dull or improperly aligned. Replace blades regularly if using a craft knife. When using a paper trimmer, ensure the paper is firmly against the guide and you’re applying even pressure. Practice on scrap paper until your technique is consistent.
Adhesive Bleeding Through Paper
If glue is visible or causing the paper to warp, you might be using too much adhesive or the wrong type. Switch to a less-liquid glue, like a glue stick or double-sided tape designed for paper crafts. Apply adhesive sparingly and evenly, especially on thinner cardstock.
Key Takeaways
- Plan Your Vision: Start with a clear idea of your wedding theme and inspiration before designing.
- Quality Materials Matter: Invest in good quality cardstock and printing supplies for a professional finish.
- Proofread Meticulously: Always double-check all text and have multiple people review for errors.
- Test Before You Commit: Print test runs to catch design and printing issues early.
- Patience is Key: DIY invitations require time and precision, so don’t rush the process.
- Personalize and Enjoy: Embrace the opportunity to infuse your personality into every detail.
Frequently Asked Questions
Can I really save money by DIYing my wedding invitations?
Yes, absolutely! While there’s an initial investment in tools and materials, DIYing can significantly reduce costs compared to hiring a professional stationer, especially for larger guest lists. The savings often come from your labor and choosing more budget-friendly materials.
What’s the best paper weight for wedding invitations?
For the main invitation card, a weight of 100lb cover (270 gsm) to 130lb cover (350 gsm) is generally recommended. This provides a luxurious feel and durability. For enclosure cards, you can go slightly lighter, around 80lb cover (216 gsm).
How far in advance should I start making my invitations?
It’s wise to start the design and material selection process 6-8 months before your wedding date. This gives you ample time for revisions, printing, assembly, and addressing. You should aim to mail your invitations 6-8 weeks before the wedding, or 3-4 months for destination weddings.
Do I need a special printer for cardstock?
While a professional printer will offer the best quality, a good quality home inkjet or laser printer can handle most cardstock weights. Check your printer’s specifications for its maximum paper weight. Ensure you use the correct paper settings for optimal results.
Our Top Recommended Finds
- Heavy-Duty Paper Trimmer: Essential for straight, clean cuts and saving time compared to scissors. Look for one with a self-sharpening blade.
- Acid-Free Double-Sided Tape Roller: Provides a clean, strong bond without the mess or warping of liquid glues. Perfect for attaching layers.
- Good Quality Cardstock Sampler Pack: Helps you test different textures, weights, and finishes before committing to a large purchase.
Crafting Your Wedding Story
Creating your own wedding invitations is more than just a task; it’s a labor of love that adds a deeply personal touch to your celebration. Each card you craft carries a piece of your heart and sets the stage for your big day. Embrace the process, enjoy the creativity, and revel in the satisfaction of sending out something truly unique.
Why wait? Start gathering your inspiration today. Sketch out some initial ideas, or browse online templates to spark your creativity. Your beautiful DIY wedding invitations are just a few steps away!
Wedding Planning
No fluff, no drama. Just easy weekly advice, planning shortcuts, and gentle reminders to help you actually enjoy your engagement.