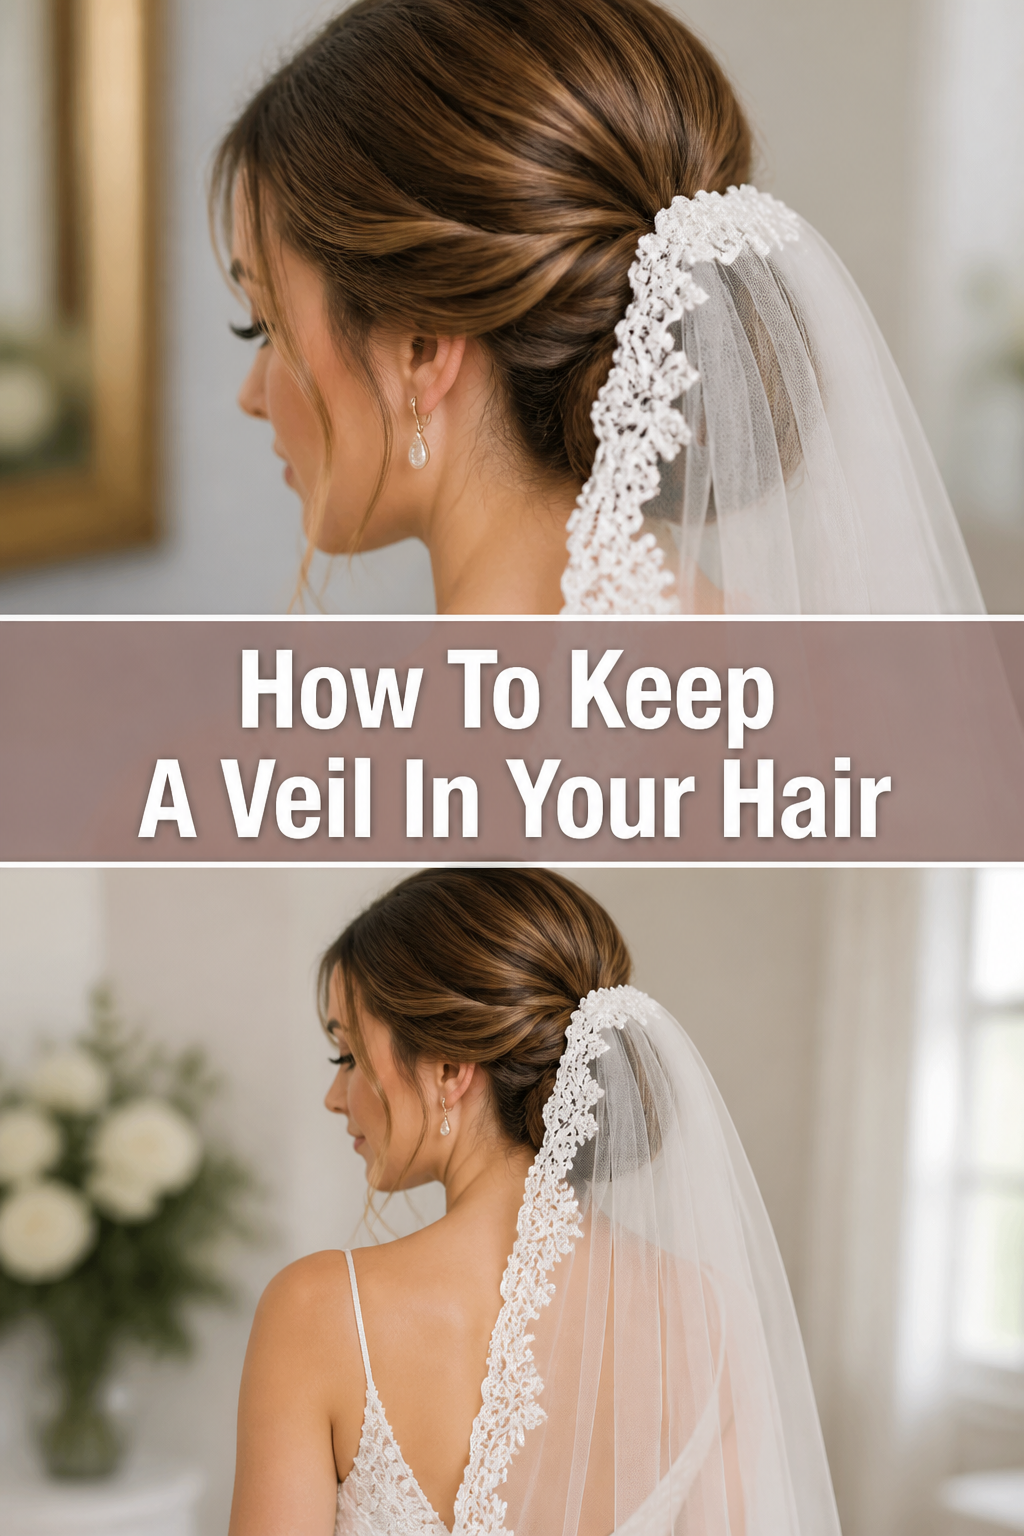
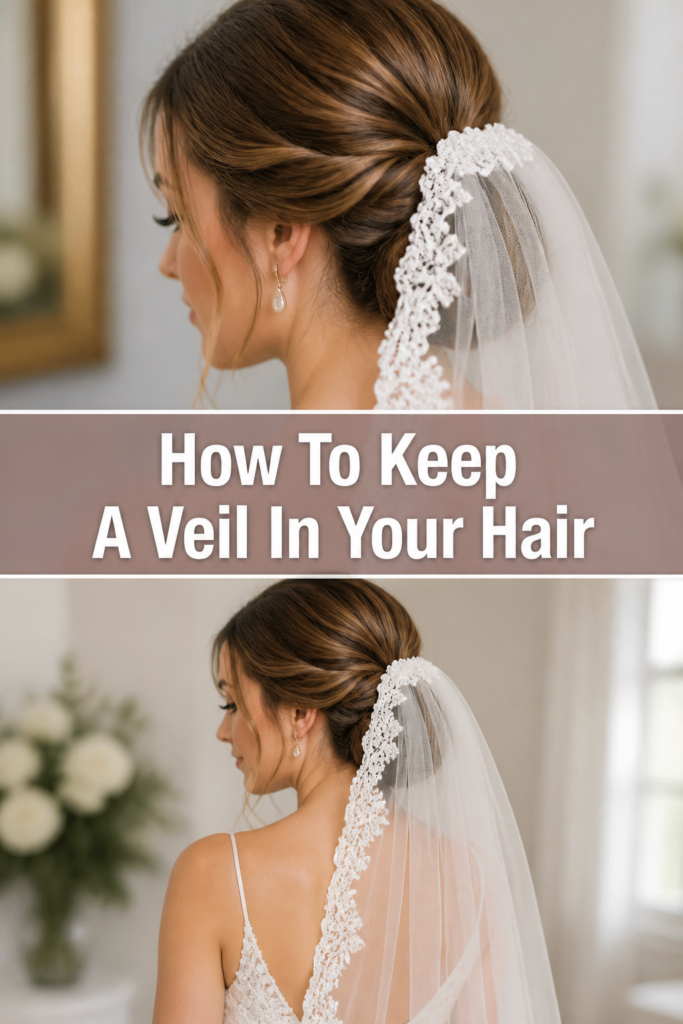
👰 How To Keep A Veil In Your Hair
I have spent countless mornings in bridal suites helping women prepare for one of the most photographed moments of their lives.
There is a specific kind of panic that sets in when a bride feels her heavy cathedral veil start to slide backward mid-ceremony.
This guide comes from years of hands-on experience securing headpieces for every hair type and wedding environment imaginable.
Quick Overview
Securing a veil is about more than just sliding a comb into your hair. It requires creating a structural foundation that can support the weight of the fabric throughout the day.
- Time needed: 15-20 minutes
- Difficulty: Intermediate
- What you’ll need: Metal or plastic hair comb (attached to veil), heavy-duty bobby pins, texturizing spray, fine-tooth comb, and clear elastic bands.
Step-by-Step Instructions
Step 1: Prep the Hair Texture
Freshly washed hair is often too slippery to hold a veil for more than an hour. You need to create “grip” so the comb has something to latch onto.
Spray a generous amount of dry shampoo or texturizing spray onto the roots where the veil will sit. This adds bulk to the hair strands and prevents the metal teeth from sliding down the hair shaft.
Massage the product into your scalp to ensure it is evenly distributed. If your hair is particularly fine, you may want to use a light dusting of hair powder for extra friction.
Pro Tip: Avoid using heavy conditioners or shine serums on the day of the event, as these products make the hair too smooth for pins to stay in place.
Step 2: Identify the Anchor Point
The placement of your veil depends entirely on your hairstyle, but every veil needs a solid anchor point. This is the specific area where the comb will rest against your scalp.
Select the spot on the crown of your head or just above your bun where the veil looks best. For down-dos, this is usually at the highest point of the head to allow the fabric to flow over the shoulders.
Section off a small horizontal piece of hair at this location. This section will serve as the “shelf” for your veil comb.
Step 3: Create a Hidden Braid or Tease
If you are wearing your hair down, the comb has nothing to “hook” into. You must create a hidden structure underneath the top layer of hair.
Backcomb a small section of hair at the anchor point using a fine-tooth comb. Tease the hair downward toward the scalp until you have a small, firm cushion of hair.
Braid a tiny, flat horizontal plait if your hair is very thick or the veil is very heavy. Secure this tiny braid with a clear elastic and pin it flat against your head to create a “ledge” for the comb.
Step 4: Build the Bobby Pin Foundation
This is the most critical step for ensuring the veil does not move. You are going to create an “X” shape with bobby pins at the anchor point.
Slide one bobby pin horizontally across the teased section or the small braid. Ensure the wavy side of the pin is facing down against your scalp for maximum grip.
Cross a second bobby pin over the first one to form an “X.” This creates a mechanical lock that prevents the pins from pulling out under the weight of the veil.
Pro Tip: Use bobby pins that match your hair color exactly so they remain invisible if the wind catches your veil.
Step 5: Insert the Veil Comb
Now that your foundation is built, it is time to attach the veil itself. Most veils come attached to a curved comb made of metal or plastic.
Flip the veil over your face so the comb is upside down. This allows you to see exactly where the teeth are going as you insert them.
Push the teeth of the comb downward into the “X” you created with the bobby pins. The teeth should slide behind the pins, effectively “hooking” the comb into the metal foundation.
Flip the veil back over your head once the comb is secure. The fabric should now hide the comb and the pins entirely.
Step 6: Lock the Comb with Vertical Pins
Even with a good foundation, a heavy veil can still “rock” back and forth. You need to lock the comb in place vertically.
Insert a bobby pin vertically through the teeth of the comb on the far left side. The pin should catch both the hair and the comb itself.
Repeat this process on the far right side of the comb. If the veil feels particularly heavy, add a third pin directly in the center of the comb.
Step 7: The Shake Test
You do not want to find out the veil is loose while walking down the aisle. A quick test will give you peace of mind.
Gently shake your head from side to side. You should feel the veil moving as a single unit with your scalp rather than sliding independently.
Tug very lightly on the bottom of the veil. If the comb shifts even a millimeter, you need to add another set of crossing bobby pins to the foundation.
Step 8: Final Smoothing and Hairspray
The process of pinning can sometimes ruffle the surrounding hair. You want the finish to look polished and intentional.
Smooth the top layer of hair over the sides of the comb using a clean mascara wand or a small smoothing brush. This hides any visible metal or plastic edges.
Mist the area with a strong-hold hairspray. This “glues” the hair fibers around the comb, providing one final layer of security against the wind.
Pro Tip: Keep a few extra bobby pins in your pocket or with a bridesmaid in case someone accidentally steps on your veil during photos.
Common Mistakes to Avoid
Using Only the Comb
Many people assume the comb is designed to hold the veil on its own. In reality, the comb is just a placeholder. Without a bobby pin foundation, the smooth teeth will eventually slide out of your hair, especially if the veil is long or the fabric is heavy.
Placing Pins Over the Fabric
It is tempting to pin the veil by pushing a bobby pin directly through the tulle fabric. This is a mistake because it can tear the delicate material or create unsightly bunches in the veil. Always pin through the comb or the ribbon wrapping the comb rather than the veil itself.
Washing Hair the Morning of the Event
“Slippery hair” is the enemy of a secure veil. If you must wash your hair on the day of the wedding, skip the conditioner entirely on the crown of your head. It is much better to wash your hair the night before to allow natural oils to provide some much-needed texture.
Ignoring the Weight Distribution
If you are wearing a cathedral-length veil, the weight pulls backward and downward. If you only secure the top of the comb, the bottom of the comb will eventually pivot away from your head. You must ensure the pins are locking the bottom edge of the comb against your scalp.
Troubleshooting
The Veil Feels Too Heavy
If the veil is pulling on your scalp and causing discomfort, your anchor point is too small. You need to distribute the weight over a larger area. Remove the veil and create a wider “X” of pins, or add a second hidden braid underneath to give the comb more surface area to grip.
Fine Hair is Slipping
If your hair is very fine and the pins are sliding out, you need more friction. Try spraying the bobby pins themselves with hairspray before sliding them into your hair. The wet hairspray will act as a temporary adhesive as it dries inside the hair structure.
Outdoor Wind Issues
For windy outdoor ceremonies, a standard comb might not be enough. Consider sewing small weights into the bottom hem of the veil to keep it from flying over your head. Additionally, use “U-shaped” hair pins in addition to bobby pins to weave the comb more deeply into your hairstyle.
Key Takeaways
- Texture is mandatory: Use dry shampoo or texturizing spray to prevent the comb from sliding.
- The “X” Marks the Spot: Always create a foundation of two crossing bobby pins for the comb to hook into.
- Tease for Tension: A small amount of backcombing creates the “shelf” necessary to support the veil’s weight.
- Pin the Comb, Not the Veil: Protect your tulle by only placing pins through the teeth of the comb or the base ribbon.
- The Vertical Lock: Use vertical pins on the edges of the comb to prevent it from rocking or tilting.
- Second-Day Hair is Best: Avoid freshly washed, conditioned hair for the most secure hold.
Frequently Asked Questions
How do I keep a veil in with short hair?
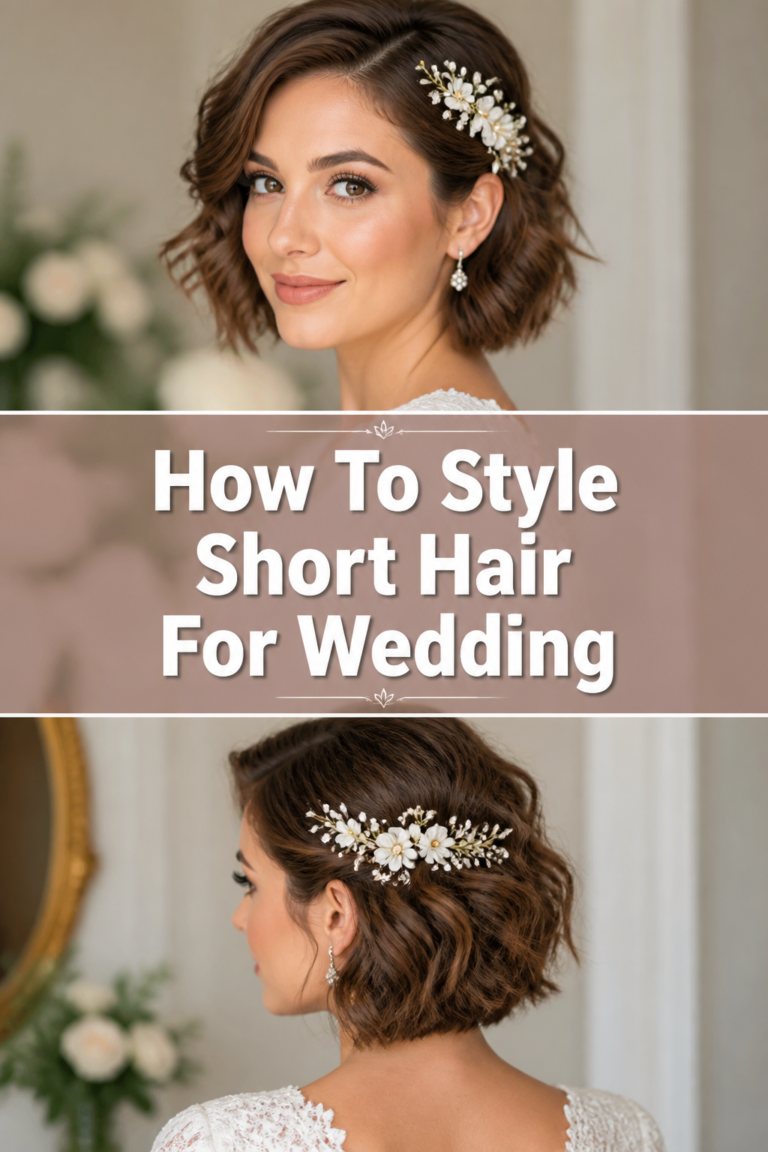
Short hair lacks the length to hide a braid, so you must rely on product and pin placement. Use a heavy-duty texturizing paste at the crown and create a “nest” of bobby pins that match your hair color. If your hair is too short for pins, consider attaching the veil to a headband that matches your hair color instead.
Can I wear a veil with my hair completely down?
Yes, but it is the most difficult style to secure. You must create a hidden anchor by taking two small sections of hair from the sides, meeting them in the middle, and securing them with a small elastic. Hide this “half-up” structure under the top layer of your hair and hook the veil comb into the elastic band.
When should I take the veil off?
Most people remove their veil after the ceremony or after the formal photographs are finished. To remove it safely, have someone hold the base of the comb while gently sliding the vertical locking pins out first. Never pull the veil directly, as this can ruin your hairstyle or cause pain.
Will a plastic comb stay in as well as a metal one?
Metal combs are generally superior because the teeth are thinner and can be bent slightly to contour to the shape of your head. Plastic combs are thicker and more prone to sliding out of fine hair. If your veil has a plastic comb, you will need to be extra diligent about creating a teased foundation and using extra bobby pins.
Our Top Recommended Finds
- Professional Grade Bobby Pins: Look for “long” or “heavy-duty” pins with a matte finish, as they provide significantly more grip than the shiny ones found at grocery stores.
- Dry Texturizing Spray: This is a must-have for creating the “grit” needed for the comb to stay in place without making the hair look greasy.
- Fine-Tooth Teasing Comb: A comb with varied tooth lengths helps create a dense, firm cushion for the veil anchor point.
Perfecting Your Wedding Day Look
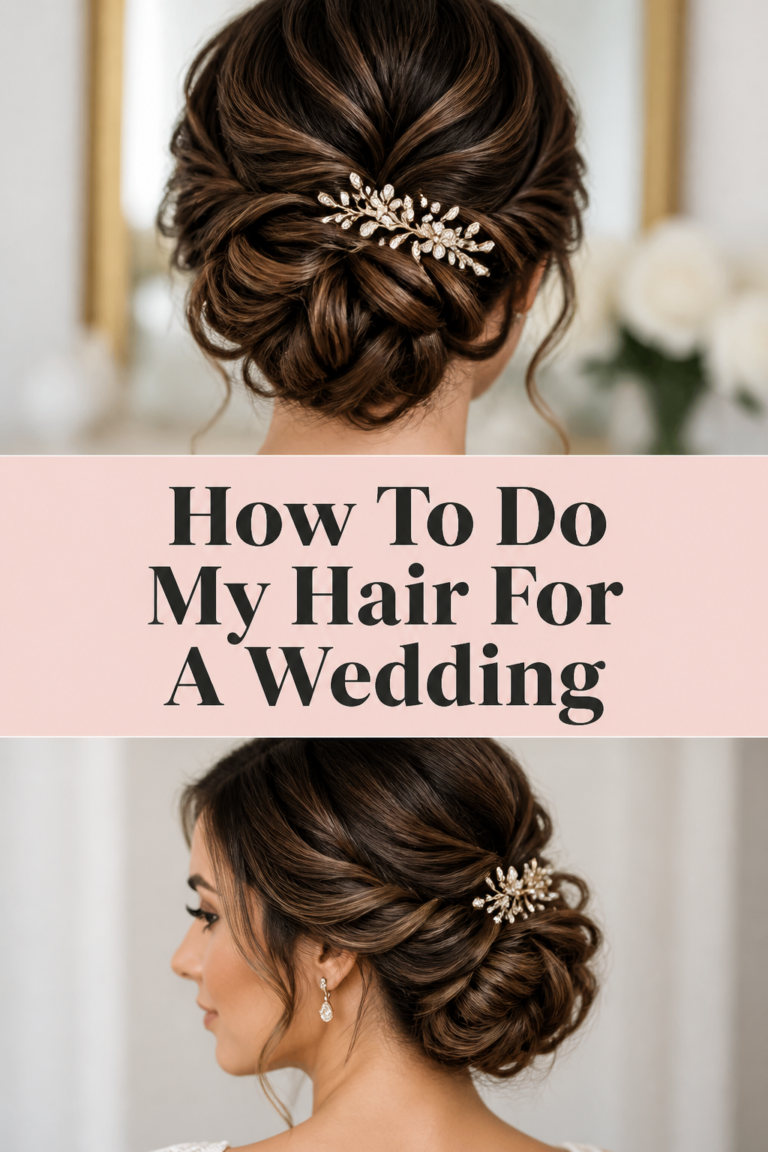
Once you have mastered the art of securing your veil, you can focus on the other details of your bridal style. You may want to explore different ways to transition your hair from a ceremony look with a veil to a reception look with a decorative hairpiece.
Practice these pinning techniques at least once before the big day to ensure you feel confident in the security of the headpiece. Taking the time to build a proper foundation will allow you to walk down the aisle with your head held high, free from the worry of a slipping veil.