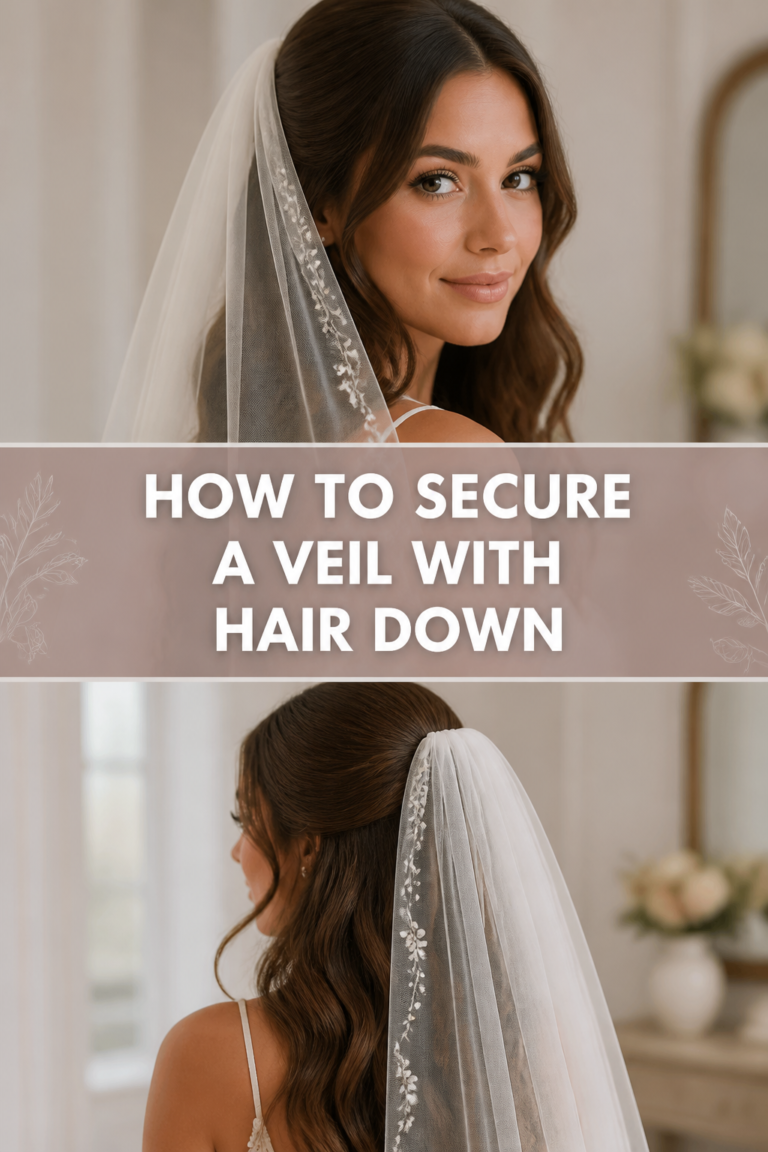
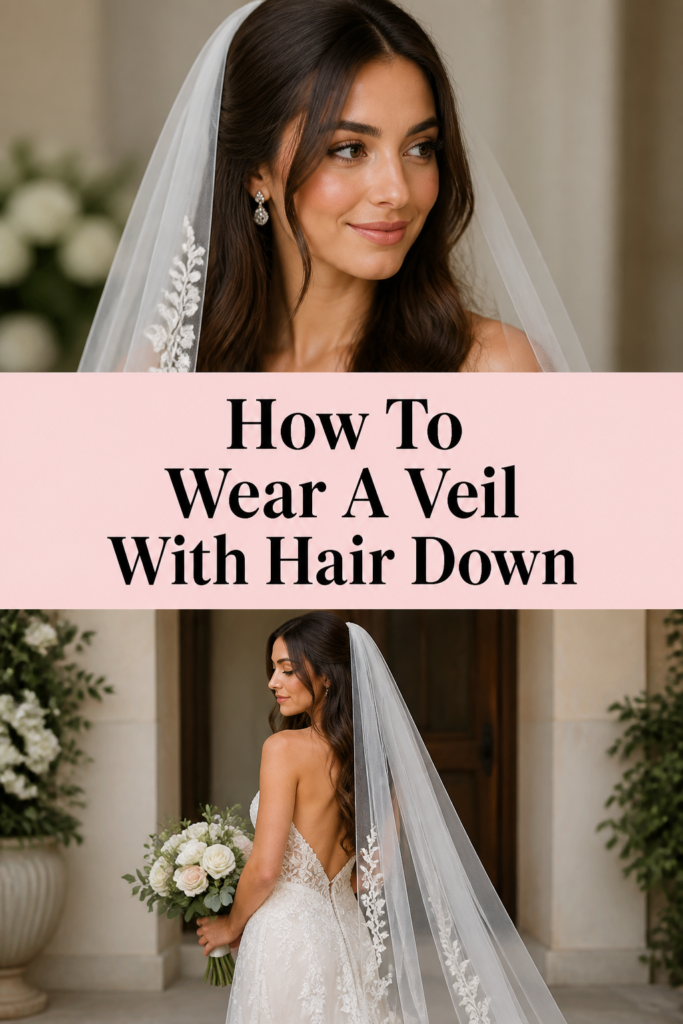
👰 How To Wear A Veil With Hair Down
Wearing your hair down on your wedding day offers a timeless, romantic aesthetic that many brides dream of achieving.
I have spent years assisting brides with their styling, and I know that the biggest concern is always whether the veil will slip out mid-aisle.
This guide provides the professional techniques needed to secure your veil firmly to loose locks, ensuring you feel confident and beautiful all day long.
Quick Overview
Before you begin the styling process, it is helpful to understand the scope of the task and what tools you should have within reach.
- Time needed: 30 to 45 minutes
- Difficulty: Intermediate
- What you’ll need: A veil with a metal comb, dry texture spray, a fine-tooth teasing comb, professional-grade bobby pins (matching your hair color), clear elastic bands, and high-hold hairspray.
Step-by-Step Instructions
Step 1: Prepare the Hair Texture
Start with hair that is not too “slippery” or freshly conditioned, as silk-smooth strands will struggle to hold the weight of a veil comb.
Apply a generous amount of dry texture spray or a volumizing powder to the crown area where you plan to place the veil.
Work the product into the roots using your fingertips to create a gritty surface that provides much-needed friction for the comb teeth.
Pro Tip: If your hair is naturally very fine, try to avoid using heavy silicone-based serums on the morning of the wedding, as these make the hair too slick for pins to stay in place.
Step 2: Define the Placement Zone
Look in the mirror and decide exactly where you want the veil to sit, whether it is at the very top of your head or further back toward the crown.
Section off the top layer of hair using a clip so you can work on the “foundation” layer underneath without it being visible later.
Ensure the placement complements your face shape and does not flatten the volume you have created with your blowout.
Step 3: Create a Hidden Anchor Point
Select two small sections of hair, about half an inch wide, exactly where the comb will be inserted into the scalp area.
Braid these two small sections into tiny, flat three-strand braids that meet in the middle, or simply cross them over each other tightly.
Secure these tiny sections with a clear elastic band to create a “shelf” or a firm anchor point that sits flush against your head.
Pro Tip: This hidden anchor is the secret to wearing a heavy cathedral-length veil with your hair down; it gives the metal comb something solid to grip besides just loose hair.
Step 4: Backcomb for Extra Security
Take your fine-tooth teasing comb and gently backcomb the hair right above the hidden anchor you just created.
Spray a light mist of high-hold hairspray onto the teased section and let it dry for about ten seconds until it feels slightly tacky.
Smooth only the very top layer of the teased section so that the “messy” part is hidden, but the internal structure remains firm.
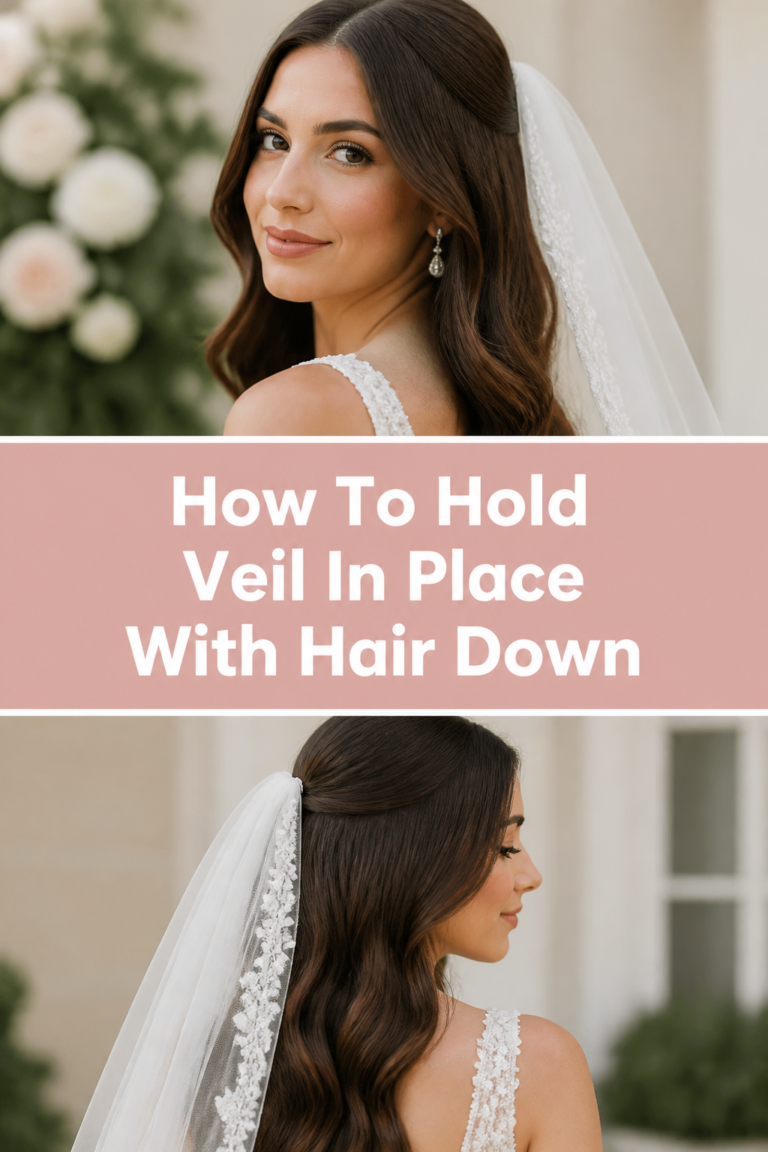
Step 5: Insert the Veil Comb
Hold the veil upside down initially if you are using a drop veil, or simply position the comb with the teeth facing forward toward your face.
Slide the teeth of the comb downward into the teased section and through the hidden anchor braid you prepared in Step 3.
Push the comb firmly until it feels snug against your scalp and does not wiggle when you move your head from side to side.
Step 6: Lock the Comb with Bobby Pins
Open a bobby pin and slide it horizontally across the teeth of the comb, catching both the metal and the hair anchor underneath.
Insert a second bobby pin from the opposite direction to create an “X” shape over the comb’s base for maximum security.
Use pins that perfectly match your hair color (blonde, brunette, or black) so they remain completely invisible even if the wind catches your hair.
Pro Tip: Always use professional bobby pins with a matte finish, as they have more “grip” than the shiny, smooth ones found in standard drugstores.
Step 7: Blend and Finalize the Look
Release the top section of hair that you clipped away earlier and let it fall naturally over the top of the veil comb.
Adjust the hair around the comb using the tail end of a comb to ensure no metal parts or pins are peeking through the strands.
Give the entire style a final misting of hairspray to set the look and prevent flyaways from sticking to the tulle of the veil.
Common Mistakes to Avoid
Using a Plastic Comb
Many budget veils come with plastic combs, which are often too thick and brittle to slide easily into a teased anchor point.
Plastic teeth tend to sit on top of the hair rather than weaving through it, making the veil feel unstable and prone to tipping over.
Always swap a plastic comb for a metal one, as the thin metal prongs can be bent slightly to contour to the shape of your head.
Placing the Veil Too Low
When hair is worn down, placing the veil too low on the back of the head can cause it to pull the hair flat and create an awkward silhouette.
This placement also increases the risk of the veil falling out because there is less “shelf” for the comb to rest on at the curve of the skull.
Aim for the crown or just slightly above it to ensure the weight of the fabric is distributed evenly across the top of your head.
Forgetting the Practice Run
Waiting until the morning of the wedding to figure out how to secure the veil is a recipe for unnecessary stress and potential styling disasters.
Hair behaves differently depending on the weather and the products used, so a trial run is essential to see how many pins you truly need.
Practice moving around, sitting down, and even dancing with the veil on to ensure your anchor point is strong enough for the full day.
Troubleshooting
The Veil Feels Too Heavy
If you have chosen a cathedral-length veil with heavy lace edging, it may feel like it is pulling your head backward throughout the day.
To fix this, create a second anchor point about an inch below the first one and use additional “U-shaped” hairpins to distribute the weight.
You can also try using a “veil weight” or a small clip on the underside to help balance the tension, though a stronger teased base is usually the best solution.
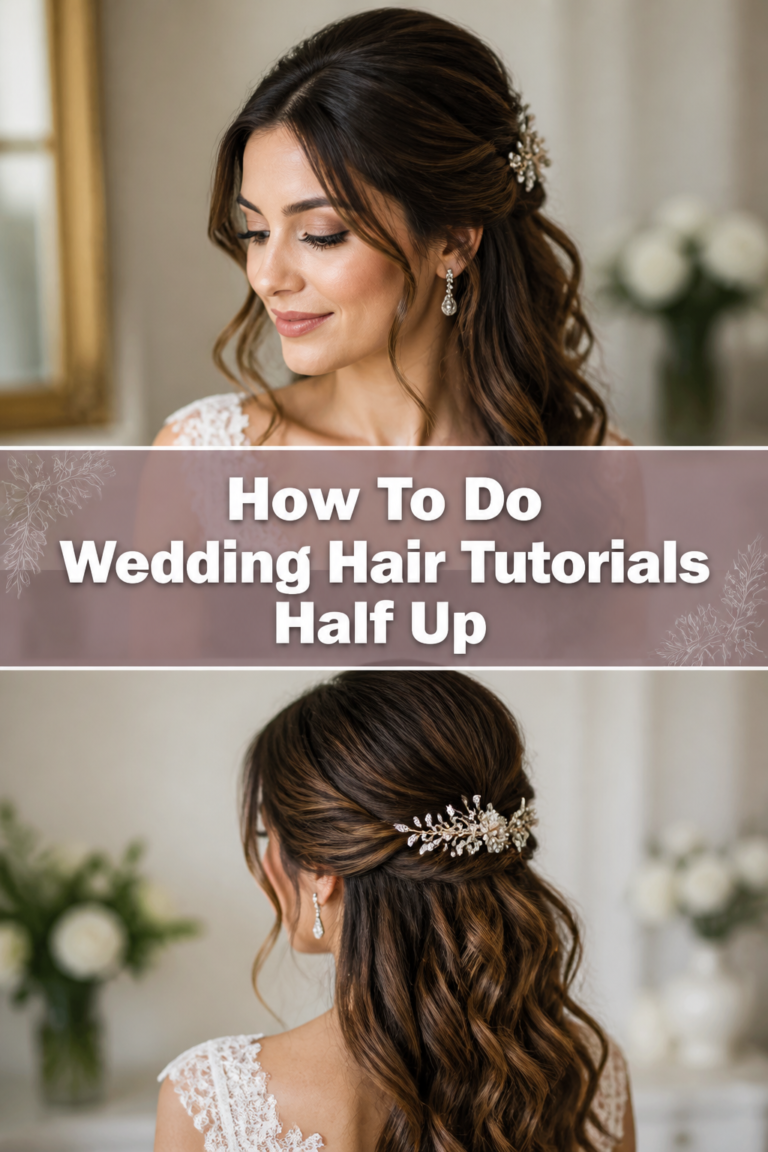
The Comb is Visible Through the Hair
This usually happens if the hair on top is too thin or if the comb was inserted at an angle that pushes the hair apart.
Try backcombing the “cover” layer of hair slightly at the roots before laying it over the comb to give it more opacity and volume.
If the comb still shows, consider adding a decorative hairpiece, like a jeweled vine or a floral comb, directly on top of the veil’s attachment point.
The Hair Looks Flat After Taking the Veil Off
Many brides remove their veil for the reception, only to find a “comb mark” or flattened hair where the veil once sat.
Keep a small travel-sized bottle of dry shampoo and a paddle brush in your bridal emergency kit to revive the roots after removal.
Gently massage your scalp with your fingertips to break up the hairspray seal and brush through the teased sections to restore softness.
Key Takeaways
- Friction is essential: Use texture spray and backcombing to prevent the comb from sliding out of smooth hair.
- Metal over plastic: Always choose a metal comb for its ability to grip hair and hide more effectively within the style.
- The “X” marks the spot: Criss-cross your bobby pins over the comb teeth to lock the veil into your hidden anchor.
- Anchor points matter: A tiny hidden braid or elastic-bound section provides the necessary foundation for the comb.
- Height provides security: Placing the veil at the crown of the head offers better balance and prevents the hair from looking flat.
- Preparation is key: Always perform a trial run with your stylist or a bridesmaid to master the technique before the big day.
Frequently Asked Questions
Can I wear a cathedral veil with my hair completely down?
Yes, you can certainly wear a long veil with your hair down, but you must be extra diligent about creating a strong anchor point. Because cathedral veils are heavier and catch the wind easily, the hidden braid technique is highly recommended to ensure the comb doesn’t pull on your scalp or fall out when you walk.
Should I put the veil on before or after my hair is styled?
The veil should always be the very last step of your hair styling process. Your stylist should complete the curls, volume, and hairspray first, then create the anchor point and insert the veil. This prevents the veil from getting caught in styling tools or being flattened by the weight of the hair products.
How do I remove the veil without ruining my curls?
To remove the veil safely, have someone help you by locating the bobby pins first and sliding them out individually. Once the pins are removed, gently lift the comb upward and out of the hair rather than pulling it backward. This minimizes the disruption to your curls and keeps the teased section from becoming a tangled knot.
What if I want to wear a hairpiece and a veil together?
If you are using both, place the veil comb into the hair first using the steps outlined above. Once the veil is secure, position the decorative hairpiece or crown directly in front of or on top of the veil comb. This helps to hide the veil’s attachment point while creating a cohesive, layered bridal look.
Our Top Recommended Finds
- Metal Veil Combs: These are much easier to secure than plastic versions and can be sewn onto any veil that didn’t come with one.
- Matte Finish Bobby Pins: Look for professional-grade pins that match your hair color; the matte coating provides superior grip compared to shiny pins.
- Dry Texture Spray: A high-quality spray will add the necessary “grit” to your hair, making it much easier for the comb and pins to stay in place.
Perfecting Your Bridal Silhouette
Mastering the art of wearing a veil with your hair down allows you to enjoy the best of both worlds: the softness of loose curls and the tradition of a bridal veil.
Now that you know how to build a solid foundation, you can walk down the aisle with total peace of mind and focus on the moment.
Consider practicing this technique with your maid of honor so she can assist you with the removal before your reception begins.
If you are still deciding on the perfect accessory, explore different veil lengths to see which one best complements your specific hair length and dress style.