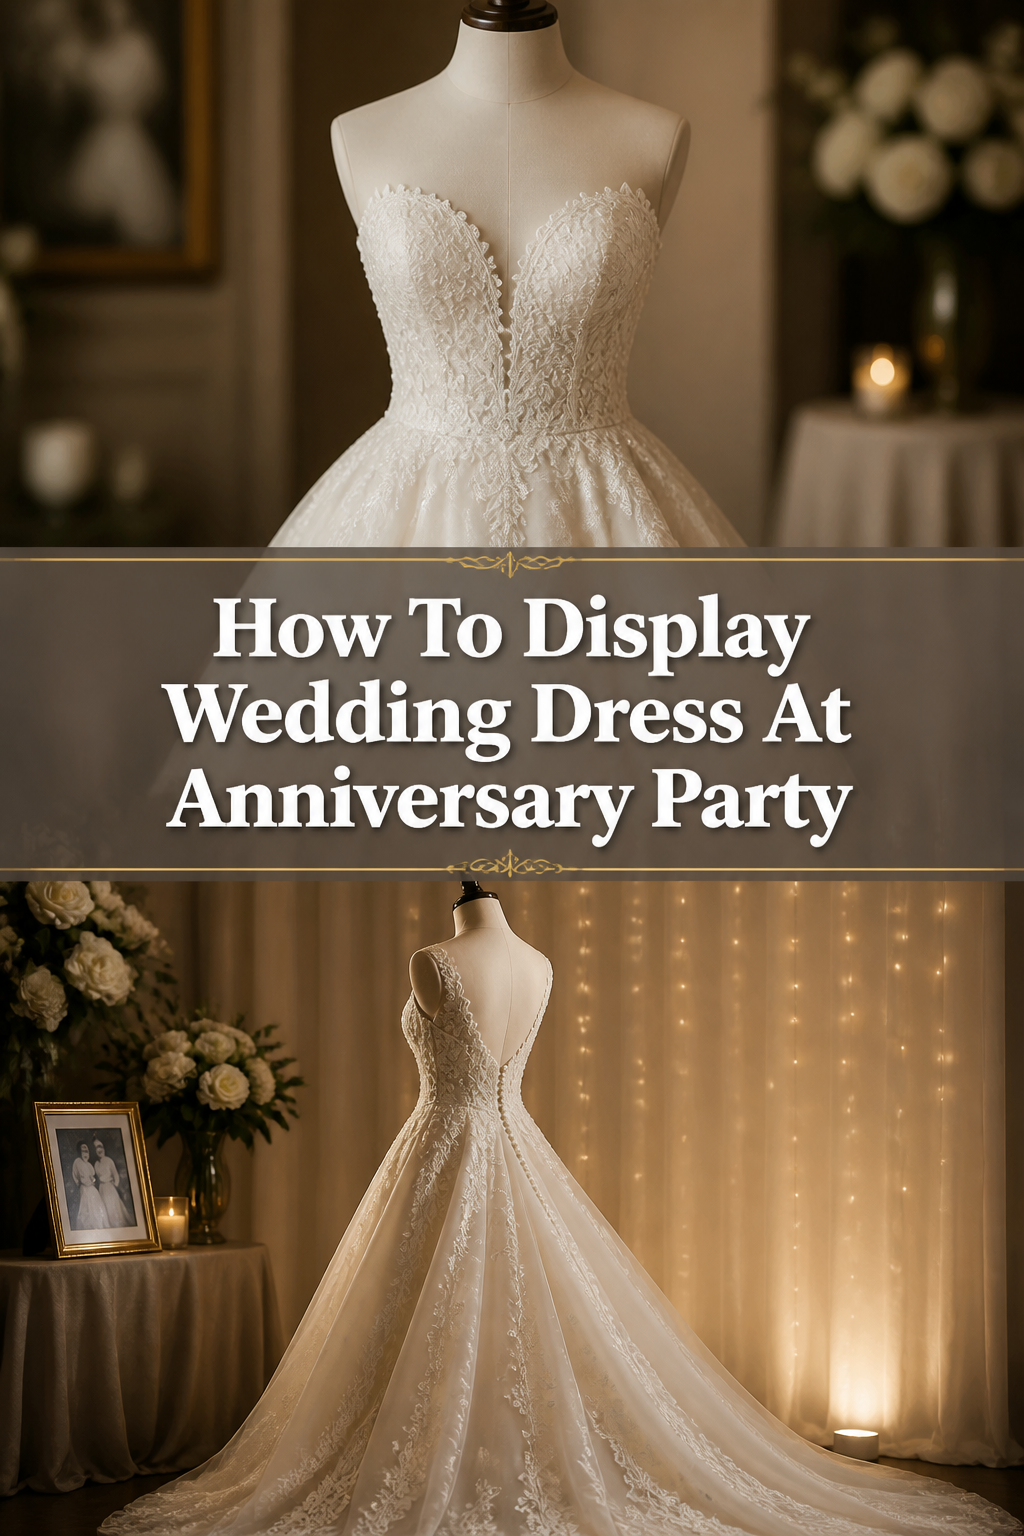
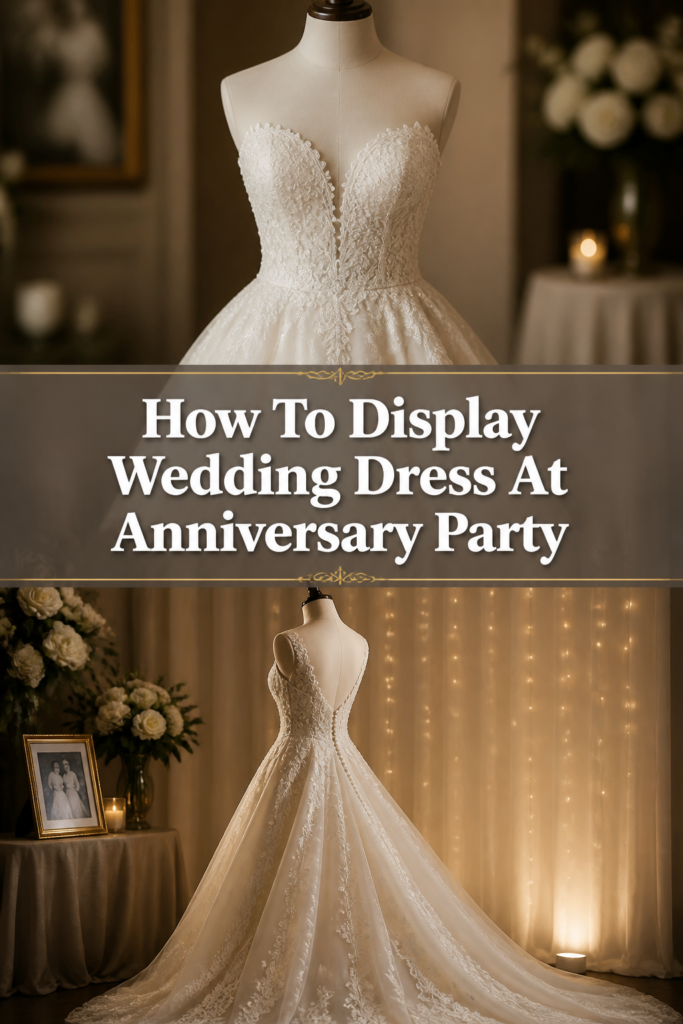
👗 How To Display Wedding Dress At Anniversary Party
Your wedding dress is more than just fabric and lace; it is a physical manifestation of the day your journey began.
I remember helping a close friend prepare for her silver wedding anniversary, and the moment we pulled her gown out of the preservation box, the room filled with a tangible sense of history.
This guide provides a professional, step-by-step approach to showcasing your gown so it becomes the breathtaking centerpiece of your celebration.
Quick Overview
Displaying a vintage or high-value garment requires a balance between aesthetic appeal and fabric preservation.
You will learn how to prepare the dress, choose the right support structure, and create an environment that protects the delicate fibers while wowing your guests.
- Time needed: 4 to 6 hours (spread over two days)
- Difficulty: Intermediate
- What you’ll need: Professional dress form, handheld steamer, archival gloves, LED spotlight, and decorative accessories.
Step-by-Step Instructions
Step 1: Inspect and Clean the Gown
Examine every inch of the dress under bright, natural light to identify any yellowing, loose threads, or hidden stains.
Sugar stains from cake or champagne can turn brown over decades, even if they were invisible on your wedding night.
Consult a professional preservationist if you notice significant discoloration, as home cleaning can often shrink delicate silks or damage intricate beadwork.
Pro Tip: Always wear white cotton archival gloves when handling the dress to prevent skin oils from transferring to the fabric.
Trim any tiny loose threads with embroidery scissors, being careful not to pull on the structural seams of the bodice.
If the dress has been boxed for years, let it “breathe” in a climate-controlled room for at least 24 hours before you attempt to style it.
Step 2: Select a High-Quality Dress Form
Avoid using cheap wire hangers or plastic mannequins that lack the proper proportions for a heavy wedding gown.
A professional-grade, fabric-covered dress form is the best choice because it allows you to pin the fabric into place without causing permanent damage.
Measure your dress’s waist and bust before purchasing or renting a form to ensure a snug, natural fit that mimics your silhouette from the wedding day.
If the dress form is too small, you can wrap it in acid-free polyester batting to “bulk out” the shape until the gown sits perfectly.
Choose a neutral color for the form, such as cream or light gray, so it does not bleed through or distract from sheer lace or thin silk panels.
Step 3: Steam the Fabric Carefully
Use a high-quality handheld steamer filled with distilled water to remove creases and restore the gown’s original volume.
Never let the steamer head touch the fabric directly; hold it a few inches away and let the steam gently relax the fibers.
Start with the innermost layers of the skirt or petticoat to test the fabric’s reaction to heat and moisture.
Work your way from the bottom hem upward, allowing the weight of the dress to help pull out the wrinkles naturally.
Pro Tip: For heavy satin or silk mikado, steam from the inside of the garment to avoid creating “water spots” on the visible exterior.
Allow the dress to dry completely before moving it, as damp fabric is much more prone to new wrinkles and stretching.
Step 4: Position the Display Strategically
Identify a low-traffic area in your venue where guests can admire the dress without accidentally bumping into it or spilling drinks.
Place the display against a solid, contrasting background—like a dark velvet curtain or a clean gallery wall—to make the white or ivory fabric pop.
Ensure the floor is perfectly level so the mannequin doesn’t lean or wobble when people walk nearby.
Think about the “sightlines” of the room; the dress should be visible from the entrance to create an immediate emotional impact.
Keep the display away from food stations, open windows, or high-heat sources like fireplaces and radiators.
Step 5: Style with Original Accessories
Drape your original veil over the head of the mannequin or pin it elegantly to the shoulders to complete the bridal look.
Place your wedding shoes at the base of the dress form, perhaps resting on a small decorative riser or a bed of silk flower petals.
Recreate a version of your original bouquet using high-quality silk flowers and place it in the mannequin’s “hand” or on a nearby side table.
Include a small framed photo of you wearing the dress on your wedding day so guests can see the beautiful “then and now” connection.
Add a piece of heirloom jewelry, like a strand of pearls or a vintage brooch, to the neckline to add a touch of sparkle.
Step 6: Master the Lighting Design
Use warm LED spotlights rather than harsh fluorescent lights to give the dress a soft, romantic glow.
Position one light at a 45-degree angle from the front to highlight the texture of the lace and the shimmer of any beadwork.
Avoid traditional incandescent bulbs, as they emit heat that can damage old fabrics and cause perspiration-like yellowing over the course of an evening.
If the party is outdoors or in a tent, ensure the lighting is shielded from the wind and won’t flicker as the sun goes down.
Pro Tip: Use a “cool white” LED if your dress is a true stark white, but stick to “warm white” for ivory, cream, or champagne tones.
Step 7: Create a Protective Perimeter
Set a subtle boundary using decorative elements like a circular rug, a ring of flower petals, or a low velvet rope.
This prevents guests from getting too close with red wine or greasy fingers while they are socializing.
Place a small “Story Card” on a nearby easel that shares a few details about the dress, such as the designer or a funny story from the wedding day.
This encourages people to stop and read rather than reach out and touch the delicate lace.
Assign a specific person, like a bridesmaid or a close family member, to keep a casual eye on the display throughout the night.
Common Mistakes to Avoid
Using a Wire Hanger for Display
Hanging a heavy wedding gown from a standard hanger for several hours can cause the shoulder seams to stretch or even tear.
The weight of the skirt pulls down on the bodice, leading to permanent “hanger bumps” that ruin the silhouette.
Always use a structured dress form or a padded hanger with wide support to distribute the weight evenly across the garment.
Placing the Dress in Direct Sunlight
UV rays are the primary enemy of vintage textiles and can cause visible fading or yellowing in just a few hours.
Even if your party is indoors, a dress placed near a large window can suffer from heat buildup and light damage.
Position your display in a shaded area of the room and rely on controlled artificial lighting to showcase the details.
Forgetting the Back of the Dress
Many wedding dresses have stunning details on the back, such as long trains, rows of silk buttons, or intricate lace cutouts.
If you place the mannequin directly against a wall, guests will miss half of the beauty you worked so hard to preserve.
Angle the dress form or place it in a corner where guests can walk around at least 270 degrees of the display.
Troubleshooting
The Dress Won’t Zip on the Mannequin
If your dress form is slightly too large for the vintage gown, do not force the zipper or buttons, as this can rip the fabric.
Leave the back partially open and use a piece of matching ribbon or lace to “lace up” the gap temporarily.
You can also drape the veil or a decorative shawl over the back to hide the fact that the dress isn’t fully fastened.
Wrinkles Appear During Transport
Moving a prepped dress to the venue often results in fresh creases in the skirt or train.
Bring a small travel steamer to the venue for a quick five-minute touch-up once the mannequin is in its final position.
Always transport the dress in a breathable cotton garment bag, never plastic, to prevent moisture from being trapped against the silk.
The Mannequin Looks Unnatural or “Lumpy”
Sometimes a dress form doesn’t fill out the bust or hips of the gown correctly, making the fabric look saggy.
Use acid-free tissue paper or polyester batting to gently stuff the areas that need more volume.
Focus on the bust, the tops of the sleeves, and the hip area to ensure the dress looks as lively as it did when you wore it.
Key Takeaways
- Prioritize fabric safety by handling the gown with archival gloves and using distilled water for steaming.
- Invest in a professional dress form to maintain the gown’s shape and prevent structural damage to the seams.
- Control the environment by keeping the dress away from direct sunlight, food, drinks, and high-traffic pathways.
- Enhance the story by including original accessories and a framed photo to provide context for your guests.
- Use LED lighting to highlight the intricate details of the lace and beadwork without risking heat damage.
- Create a “no-touch” zone using subtle decorative barriers like rugs or floral arrangements.
Frequently Asked Questions
Is it safe to display a 50-year-old wedding dress?
Yes, it is safe as long as the fabric is not brittle or shattering. If the silk feels like paper or breaks when touched, it is better to display it flat in a shadow box rather than on a vertical dress form. For most well-preserved gowns, a few hours of display on a professional form will not cause any harm.
How do I stop guests from touching the lace?
Psychological barriers work best. Placing the dress on a small raised platform or surrounding the base with large floral arrangements creates a natural distance. A polite “Please enjoy looking, but help us preserve this heirloom by not touching” note on your story card is also very effective.
Should I have the dress professionally cleaned after the party?
If the dress was exposed to dust, smoke, or accidental spills during the event, a professional cleaning is highly recommended before putting it back into long-term storage. Even if it looks clean, microscopic dust particles can settle into the fibers and cause abrasion over the next several years.
Can I display the dress if I don’t have a mannequin?
You can use a high-quality shadow box frame to display just the bodice or a section of the lace. Alternatively, you can hang the dress from a decorative vintage ladder or a custom-made padded hanger, though these methods offer less structural support than a dress form.
Our Top Recommended Finds
- Adjustable Female Dress Form: Look for a pinnable jersey-covered model that allows you to customize the height and shape to match your gown perfectly.
- Professional Garment Steamer: A model with a wide steam head and a long hose makes it much easier to reach the bottom of long trains and heavy petticoats.
- Acid-Free Archival Tissue Paper: Use this to stuff sleeves and bodices to prevent permanent creasing and provide internal support during the display.
Bring Your Love Story To Life
Displaying your wedding dress is a powerful way to honor the years of commitment and joy that have passed since your big day.
Once you have the gown perfectly positioned, consider setting up a small “guest book” station nearby where friends can write down their favorite memories of you as a couple.
Take the time to photograph the display before the guests arrive so you have a high-quality record of this beautiful tribute to your history.
Start your preparations today by checking the condition of your gown and sourcing a dress form that will do your memories justice.