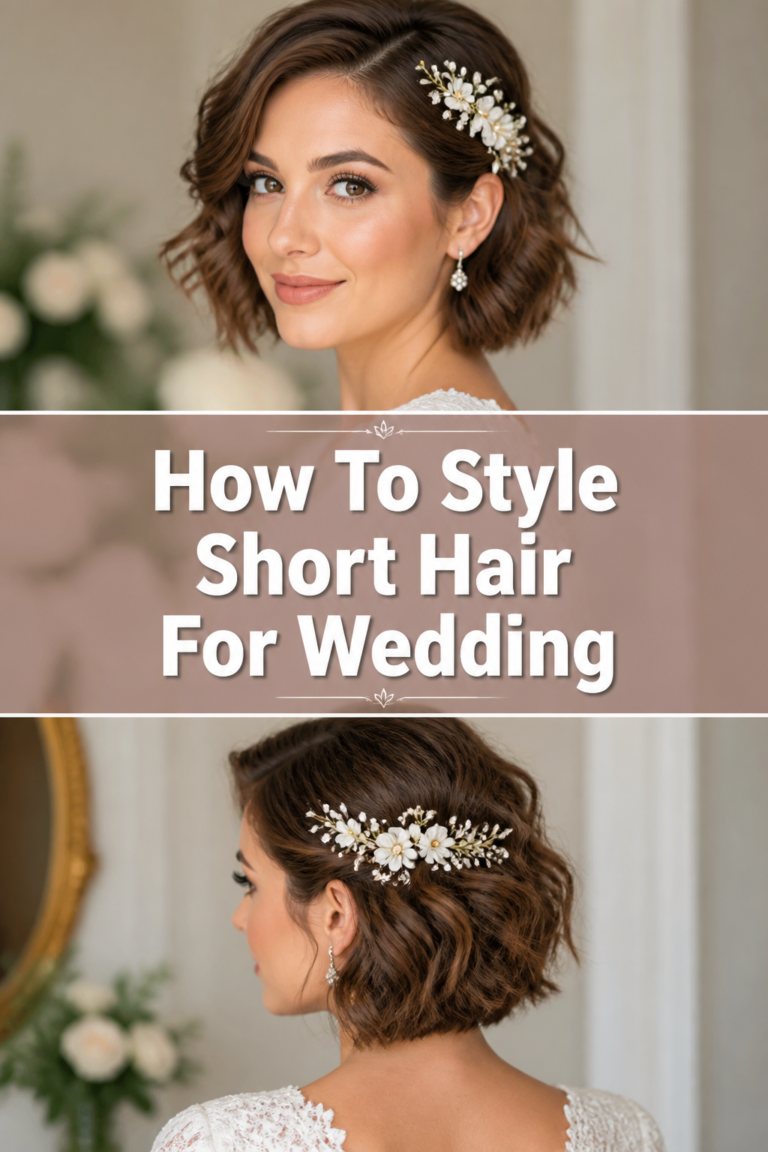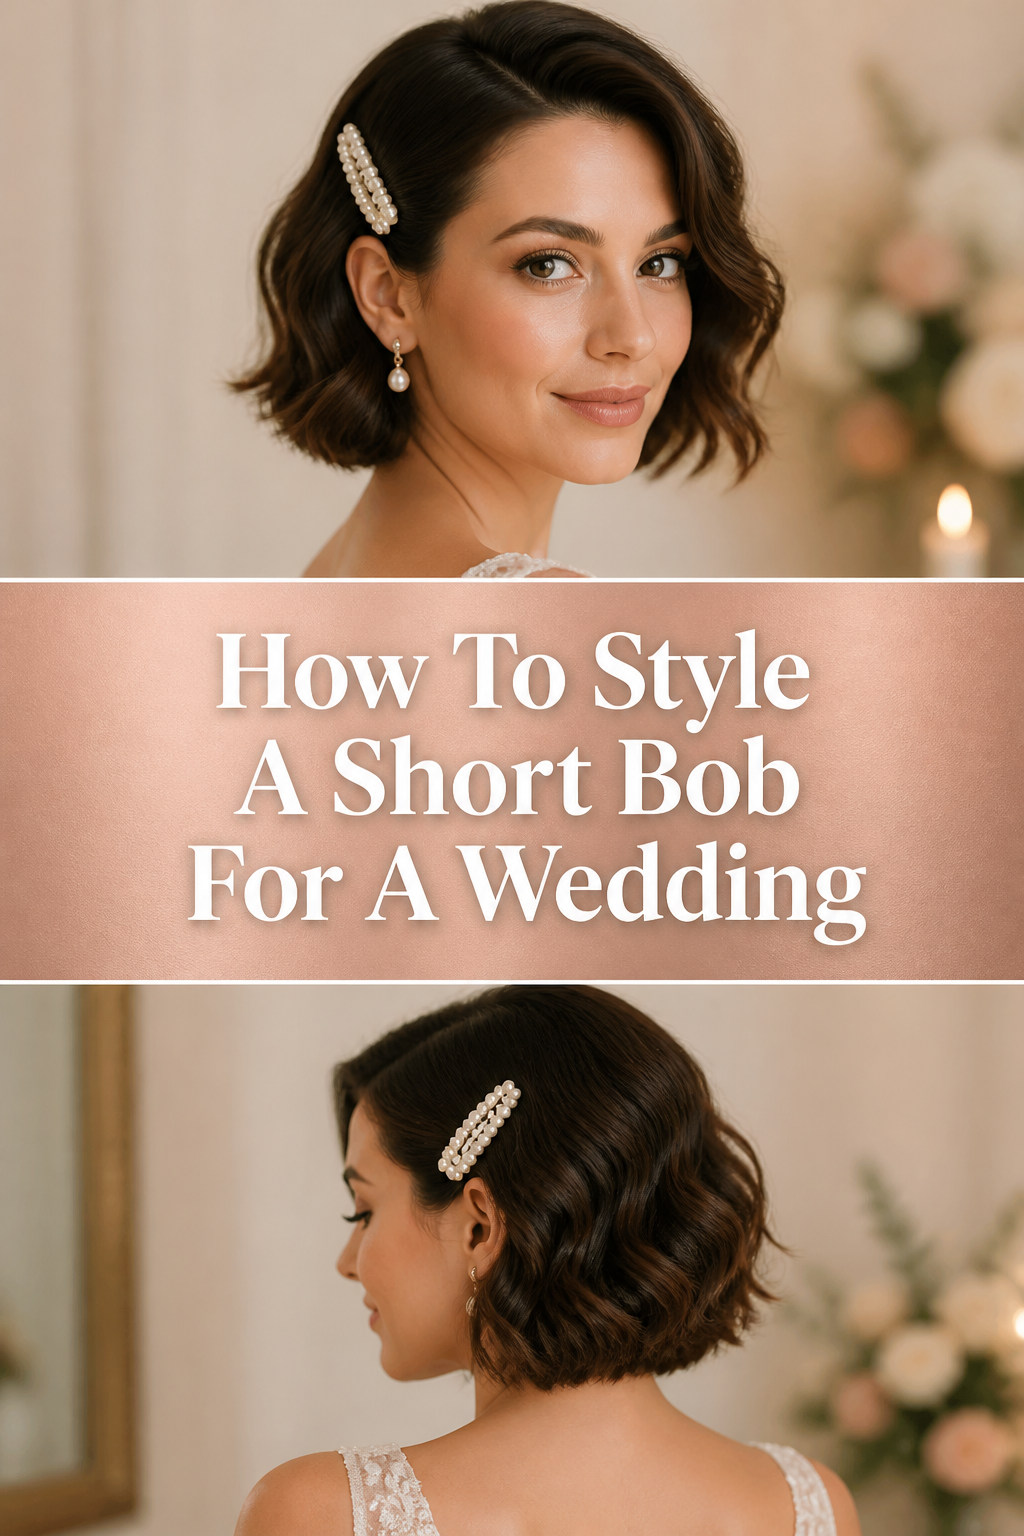
💇 How To Style A Short Bob For A Wedding
Short hair often gets a reputation for being less versatile than long flowing locks.
I spent years working as a bridal stylist and quickly learned that a short bob is one of the most chic foundations for a wedding look.
This guide draws on that professional experience to help you create a polished, high-end hairstyle that lasts from the first photo to the final dance.

Quick Overview
Transforming your bob into a wedding-ready masterpiece requires a focus on texture and volume rather than length.
- Time needed: 45 to 60 minutes
- Difficulty: Intermediate
- What you’ll need: 1-inch curling iron, heat protectant, texturizing spray, fine-tooth comb, bobby pins, and a decorative hairpiece.
Step-by-Step Instructions
Step 1: Prep the Canvas
Start with hair that is completely dry and free of heavy oils. If your hair is naturally very fine, try washing it the night before rather than the morning of the wedding.
Apply a volumizing mousse to the roots while the hair is damp, then blow-dry it upside down to encourage lift. This creates a sturdy foundation for the curls to grip onto throughout the day.
Pro Tip: Avoid using a heavy conditioner on the day you style your hair, as it can make the strands too slippery to hold a curl.
Step 2: Apply Heat Protection
Mist a high-quality heat protectant over every section of your hair. Short hair is often more prone to showing damage because the ends are closer to your face and the light hits them directly.
Comb the product through to ensure even distribution. You want to make sure the hair is shielded from the high temperatures of the curling iron to maintain that healthy, bridal shine.
Step 3: Section the Hair
Divide your bob into three horizontal layers: the bottom (nape), the middle (temple to temple), and the top (crown). Use clips to keep the top sections out of the way while you work on the bottom.
Focus on the bottom layer first, as this provides the “shelf” that supports the rest of the style. Even if your bob is very short in the back, giving these small pieces a slight bend will prevent the style from looking flat.
Pro Tip: Use small alligator clips rather than large butterfly clips to avoid leaving “dents” in your prepped sections.
Step 4: Create Soft Waves
Wrap one-inch sections of hair around a 1-inch curling iron, leaving the last half-inch of the ends out. This “straight end” technique is what gives a bob a modern, effortless look rather than a dated, round appearance.
Rotate the direction of the curls as you move around your head. Curl one section away from your face, and the next section toward your face, to keep the waves from nesting into one giant curl.
Step 5: Master the Face Frame
Direct the sections closest to your face away from your eyes. This opens up your features and ensures your makeup is the star of the show in professional photography.
Hold the iron vertically for these front pieces. A vertical hold creates a longer, more elongated wave that flatters the jawline and neck, which is especially important for a short bob.
Step 6: Allow the Hair to Cool
Resist the urge to touch or brush your curls immediately after they come off the iron. The hair is still “setting” while it is warm, and touching it too soon will cause the wave to drop and vanish.
Wait at least five to ten minutes until the hair is cool to the touch. This is a great time to apply your lipstick or check your jewelry while the style locks into place.
Pro Tip: If your hair is notoriously straight, pin each curl to your head with a silver clip while it cools for maximum longevity.
Step 7: Add Texture and Volume
Shake a bottle of dry texturizing spray and mist it through the mid-lengths and ends. This adds “grit” to the hair, making it look thicker and more lived-in.
Rake your fingers gently through the curls to break them up. Avoid using a brush, which can create frizz; your fingers are the best tool for maintaining the definition of the waves.
Step 8: Backcomb the Crown
Lift small sections of hair at the crown and use a fine-tooth comb to gently push the hair down toward the scalp. This creates “hidden” height that prevents the bob from looking flat at the back.
Smooth the very top layer of hair over the backcombed area. You want the volume to be internal so the surface remains sleek and polished for the wedding photos.
Step 9: Secure the Accessories
Slide a decorative comb or a cluster of pearl pins into one side of the hair. Placing an accessory just above the ear on your “best side” creates a beautiful focal point and adds a formal touch.
Cross two bobby pins in an “X” shape underneath the accessory if it feels loose. This hidden anchor ensures that your hairpiece won’t budge even during a high-energy reception.
Step 10: The Final Set
Spray a light-hold, flexible hairspray over the entire style from about twelve inches away. You want the hair to move naturally when you walk, not feel crunchy or stiff.
Check the back of your head with a hand mirror. Ensure the waves are balanced and that no sections were missed during the curling process.
Common Mistakes to Avoid
Using a Curling Iron That Is Too Large
Many people reach for a 1.5-inch or 2-inch barrel thinking it will create “loose” waves. On a short bob, a large barrel often results in no curl at all because the hair cannot wrap around the wand enough times. Stick to a 1-inch or even a 0.75-inch wand to ensure the hair actually takes the shape of the wave.
Overloading the Hair with Product
It is tempting to use a lot of hairspray to make the style last, but too much product can weigh down short hair. Bobs rely on lightness and movement to look modern. If you use too much, the hair will become heavy, lose its volume, and eventually look greasy under the bright lights of a wedding venue.
Forgetting the Nape of the Neck
The very bottom layer of a bob is often the most difficult to style, but it is also the most visible when you turn your head. If these pieces are left straight while the rest of the hair is wavy, it creates a disconnected look. Take the time to use a small flat iron or a slim curling wand to give those bottom layers a slight bend.
Troubleshooting
The Curls Are Dropping Too Fast
If your waves are disappearing before you even leave the house, your hair might be too “clean.” Next time, use a sea salt spray or a volumizing primer on damp hair before blow-drying. This creates a rougher texture that gives the curling iron something to grab onto, ensuring the shape stays locked in for hours.
The Hair Looks Frizzy Instead of Wavy
Frizz usually happens when you brush the hair too much while it is still warm or if the humidity is high. To fix this, apply a tiny drop of hair oil or shine serum to your palms and lightly glaze it over the surface of the hair. This will smooth down the cuticles and add a reflective bridal glow without ruining the wave pattern.
One Side Looks Longer Than the Other
This is a common issue with bobs when the curl pattern isn’t symmetrical. Check if you curled one side toward your face and the other away. To fix the balance, re-curl the “longer” looking side with a slightly tighter wrap, or tuck the longer side behind your ear and secure it with a beautiful jeweled clip.
Key Takeaways
- Prep is everything: Use volumizing products on damp hair to create a sturdy base for the style.
- Size matters: A 1-inch curling iron is the gold standard for creating waves in a short bob.
- Leave the ends out: Keeping the last half-inch of hair straight prevents the style from looking too round or “pageboy” style.
- Cooling is crucial: Let every curl cool completely before you touch it to ensure the style lasts all night.
- Balance the volume: Backcomb the crown slightly to give the bob a professional, red-carpet silhouette.
- Accessorize strategically: Use pins or combs to add a bridal touch and secure any shorter layers that might fall forward.
Frequently Asked Questions
Should I get my hair trimmed right before the wedding?
It is best to get a trim about two weeks before the big day. This gives the hair time to “settle” and allows any blunt edges to soften slightly. A fresh trim ensures your ends look healthy and crisp, which is vital for a short bob where the ends are very prominent.
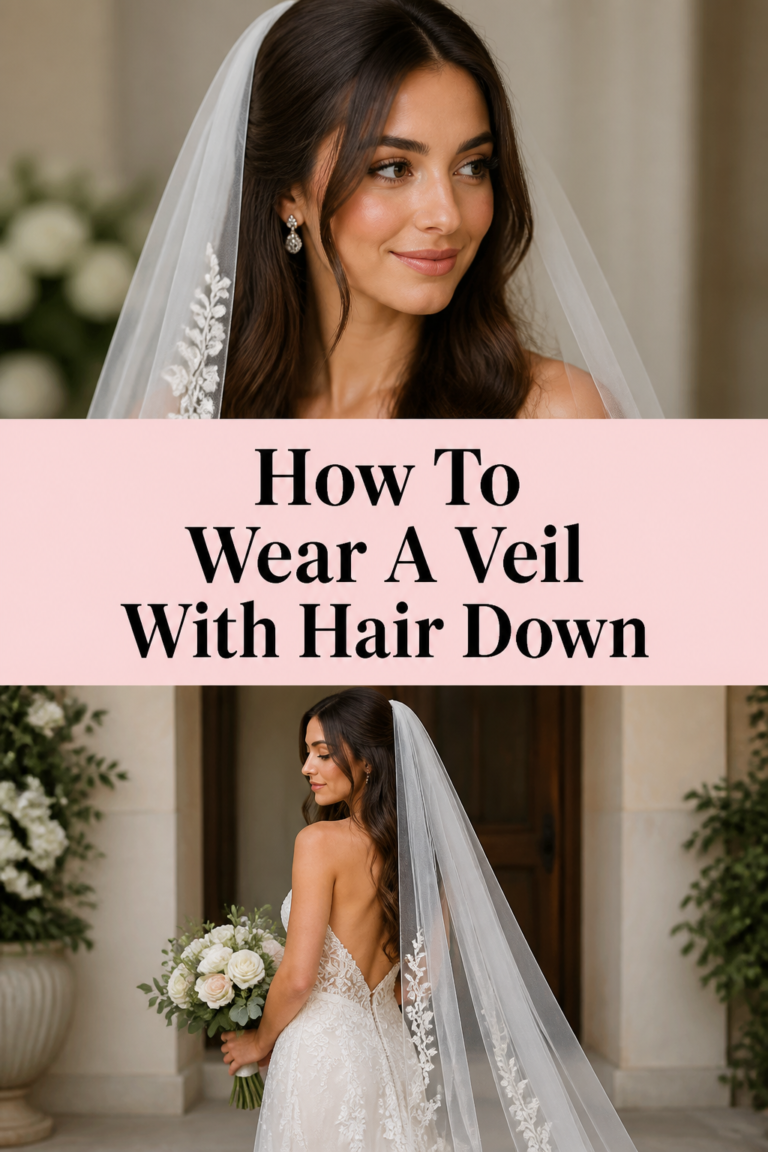
How do I wear a veil with a short bob?
Veils can be tricky with short hair because there is less hair to anchor the comb. The best method is to create a small “anchor” by crossing two bobby pins horizontally at the spot where you want the veil to sit. Slide the veil comb into the “X” created by the pins for a secure fit that won’t slide out.
Can I achieve this look with a flat iron?
Yes, a flat iron can create beautiful “S” waves on a bob. Instead of wrapping the hair around the iron, you use a “push and pull” motion to create bends in the hair. This often results in a flatter, more editorial look that works beautifully for modern, minimalist weddings.
What if my bob is too short to curl?
If your hair is more of a “pixie-bob” length, focus on texture rather than curls. Use a small amount of pomade to create a sleek, side-parted look or use a flat iron to flick the ends out slightly. A beautiful headband or a floral crown can also elevate a very short bob without needing any heat styling at all.
Our Top Recommended Finds
- Ceramic 1-Inch Curling Wand: Ceramic barrels distribute heat evenly, which is gentler on the delicate ends of a short bob.
- Dry Texturizing Spray: This is the secret weapon for short hair; it provides volume and “grip” without the stickiness of traditional hairspray.
- Silk Hair Ribbon: For a romantic, soft wedding look, tying a silk ribbon around a half-up section of your bob adds instant elegance.
Your Signature Wedding Glow
Styling a short bob for a wedding is all about embracing the unique architecture of your haircut.
By focusing on texture, volume, and the right accessories, you can create a look that feels both timeless and modern.
If you want to take your styling skills further, consider experimenting with different partings or looking into “half-up” tutorials specifically designed for shorter lengths.
Take a moment today to practice one of these steps in front of the mirror; the more familiar you are with the movements, the more relaxed you will feel on the wedding morning.