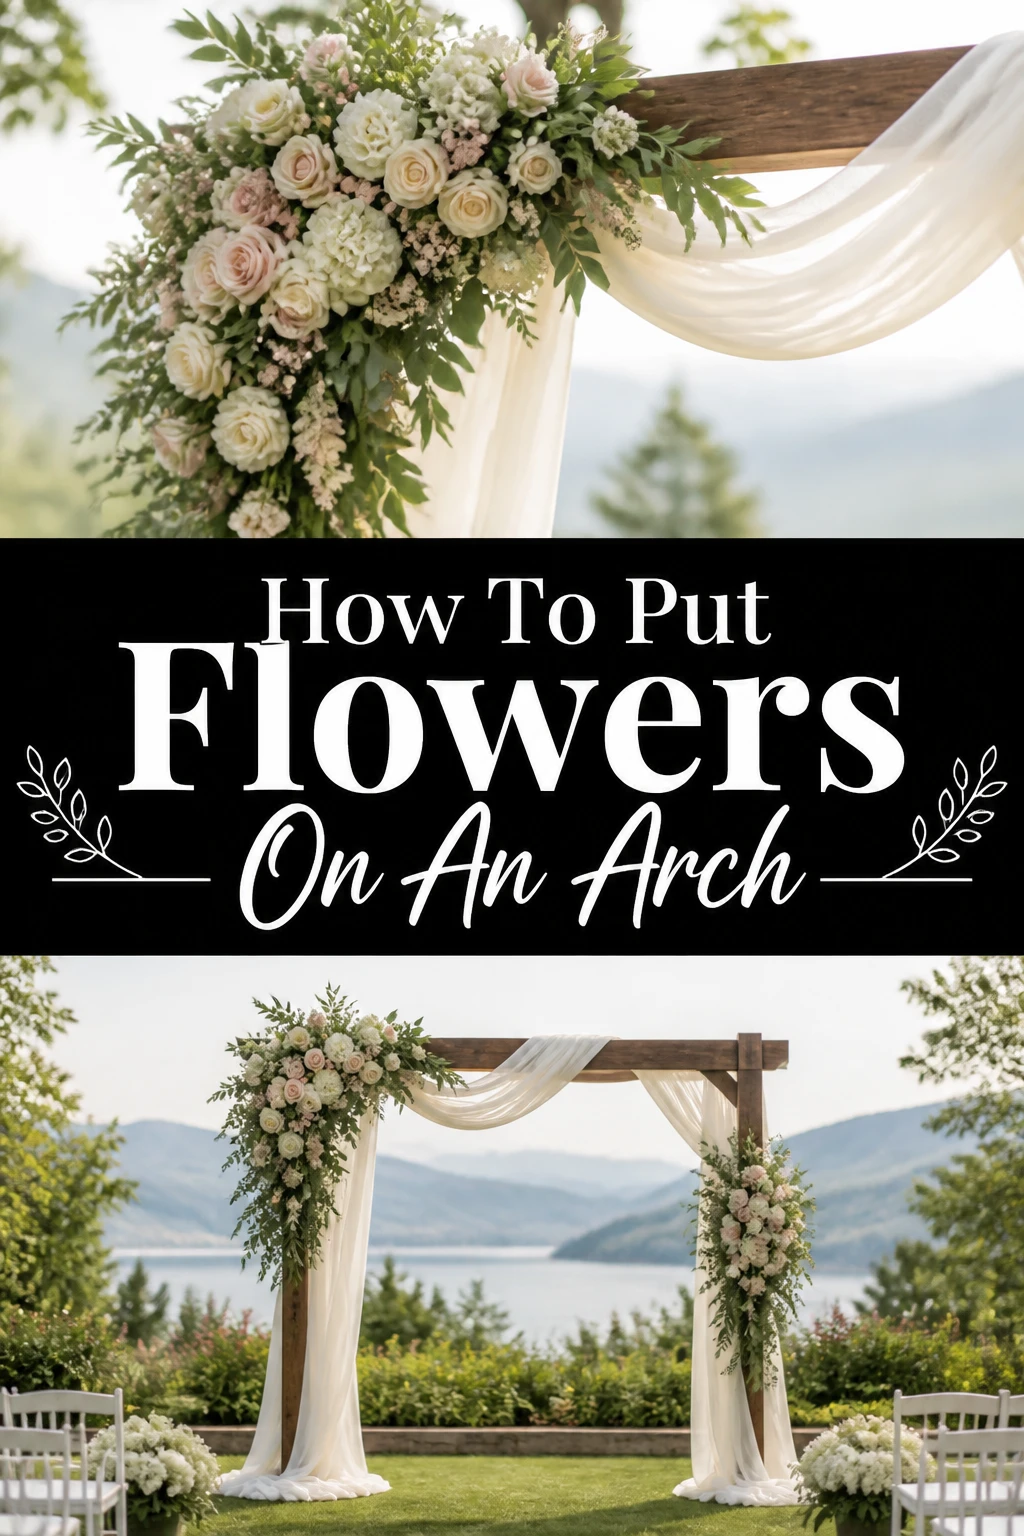
🌸 How To Put Flowers On An Arch

Wedding Planning
No fluff, no drama. Just easy weekly advice, planning shortcuts, and gentle reminders to help you actually enjoy your engagement.
I remember the first time I tried to decorate an arch for a friend’s wedding. It looked much easier in the pictures, but I was determined to make it beautiful. Through trial and error, and many happy events, I’ve refined the process into simple, repeatable steps.
This guide will share exactly how to create a stunning floral arch, even if you’re a complete beginner. You’ll gain the confidence and practical skills to transform any arch into a breathtaking focal point. Let’s get started on bringing your floral vision to life.
Quick Overview
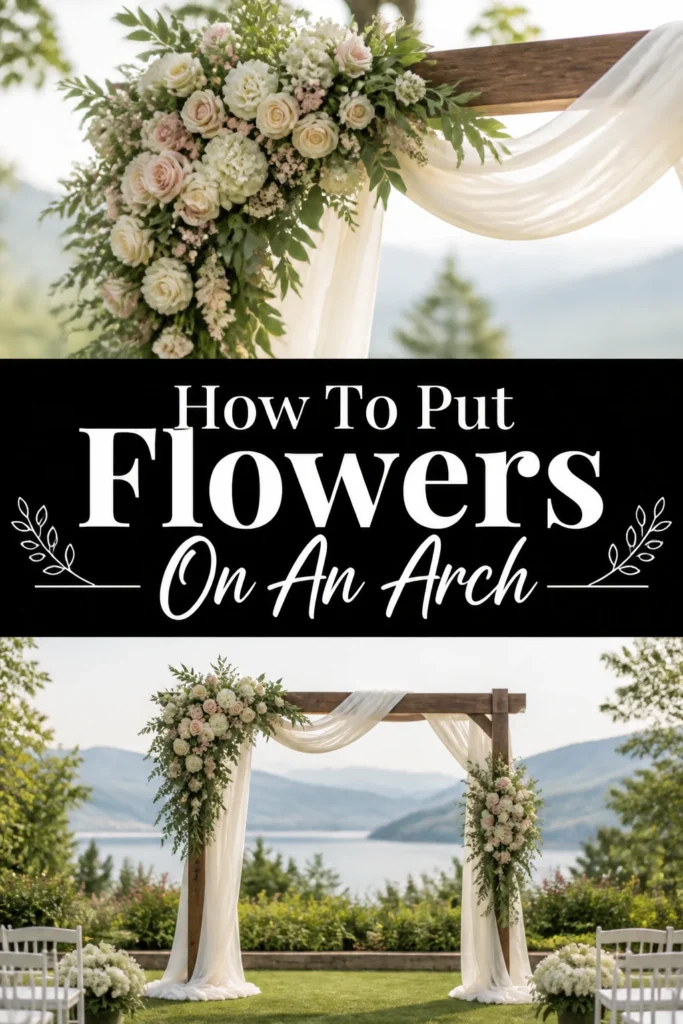
This guide will walk you through transforming a bare arch into a lush, floral masterpiece. You’ll learn how to select, prepare, and securely attach flowers and greenery for a truly memorable display.
- Time needed: 3-5 hours (depending on complexity and experience)
- Difficulty: Intermediate
- What you’ll need: Arch frame, fresh flowers, greenery, floral foam/cages, zip ties, floral wire, sharp clippers, a ladder, water source.
Step-by-Step Instructions
Step 1: Choose Your Arch and Vision
Before you even touch a flower, think about your arch. Consider its material, size, and where it will be placed. A sturdy arch is crucial for supporting the weight of your decorations.
Next, decide on your desired aesthetic. Are you aiming for a bohemian, classic, modern, or rustic look? This vision will guide your flower and greenery choices.
Step 2: Gather Your Materials and Flowers
Make a comprehensive list of everything you’ll need. This includes your chosen fresh flowers and various types of greenery. Don’t forget the essential tools like floral foam, zip ties, and wire.
Ensure you source the freshest flowers available, ideally from a local grower or reputable florist. Have all your tools laid out and ready before you begin the creative process.
Pro Tip: Hydrate your flowers immediately upon arrival. Re-cut their stems at an angle and place them in buckets of fresh, cool water for several hours, or even overnight, to maximize their lifespan.
Step 3: Prepare Your Arch Structure
Start by setting up your arch in its final location, if possible. Ensure it is absolutely stable and secure, as it will bear significant weight. Clean any dust or debris from the arch frame.
If your arch has specific attachment points, familiarize yourself with them. For arches without built-in attachment areas, identify places where you can securely fasten floral cages or wire.
Step 4: Create Your Greenery Base
Begin by establishing the overall shape and bulk of your arrangement using your chosen greenery. Think about the natural flow and drape of the branches. Start with the largest, most structural pieces.
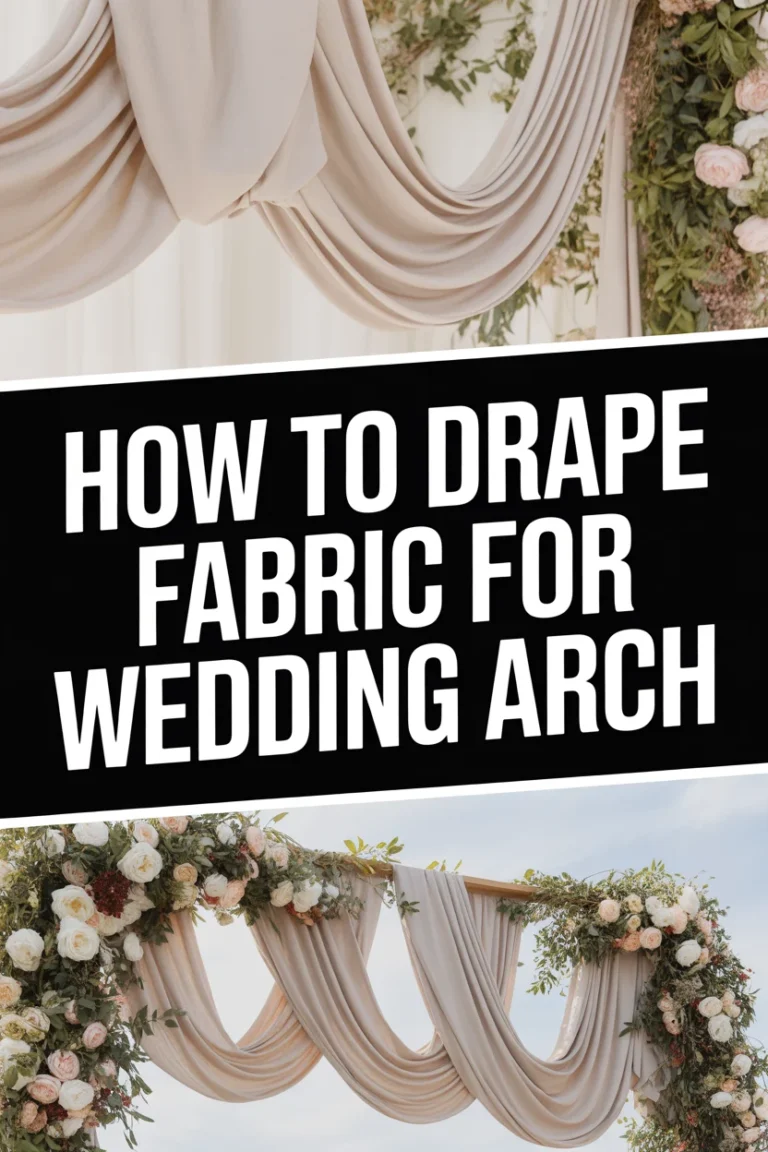
Use zip ties or strong floral wire to securely attach the greenery to the arch frame. Overlap pieces to create a continuous, lush foundation. This base is essential for supporting your flowers and defining the arch’s new silhouette.
Pro Tip: Don’t be afraid to use plenty of greenery. A generous base creates a full, organic look and provides a stable canvas for your flowers. Vary the types of greenery for added texture.
Step 5: Attach Floral Foam Cages
Once your greenery base is in place, strategically attach your pre-soaked floral foam cages. These will be the water source for your fresh flowers. Secure them firmly to the arch frame using heavy-duty zip ties or strong floral wire.
Position the cages where you envision your main floral clusters. Ensure they are well-hidden by the greenery. You might need several cages depending on the size and design of your arch.
Step 6: Add Your Focal Flowers
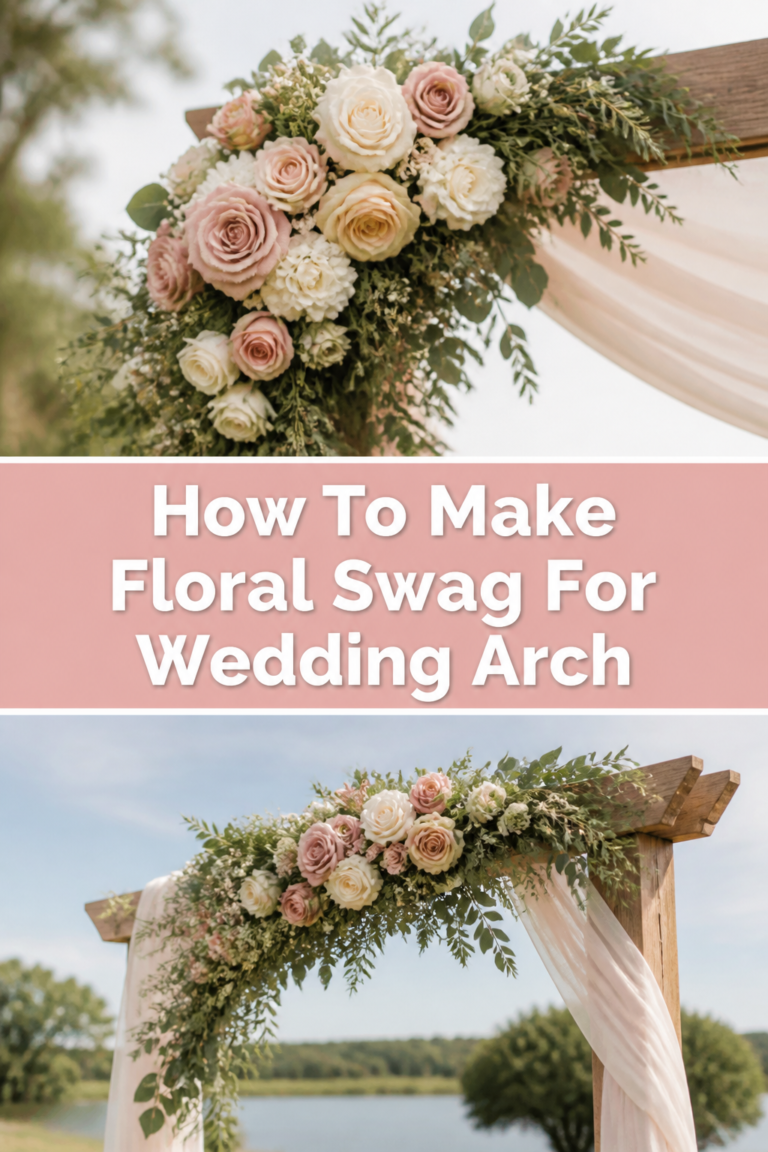
Now it’s time for the stars of the show – your focal flowers. These are typically your largest, most impactful blooms like roses, peonies, or hydrangeas. Start by placing them in the floral foam cages.
Create distinct clusters, varying their placement for visual interest. Cut stems to appropriate lengths, ensuring they reach into the soaked foam. Step back frequently to assess balance and distribution.
Pro Tip: Don’t just stick flowers in a straight line. Create depth by positioning some blooms closer to the arch and others extending slightly outwards. This gives a more dynamic and professional appearance.
Step 7: Fill In with Accent Flowers and Textural Elements
With your focal flowers in place, begin filling in around them with accent flowers. These are often smaller blooms that complement your main flowers, adding color and detail. Think about spray roses, carnations, or smaller filler flowers.
Integrate textural elements like berries, seed pods, or unique foliage. These additions break up the uniformity and add visual intrigue. Continue to build layers, ensuring a lush, full, and cohesive design.
Step 8: Refine and Secure All Elements
Take a moment to step back and examine your entire arch. Look for any sparse areas, visible gaps, or sections that seem unbalanced. Add more greenery or filler flowers as needed to create a seamless look.
Check that all flowers and greenery are securely attached. Reinforce any loose stems with floral wire or additional zip ties. Ensure no floral foam or mechanics are visible.
Step 9: Hydrate and Maintain
Once the arch is complete, give it a good misting with water, especially if it’s a warm day. This helps keep the flowers fresh. Avoid spraying delicate blooms directly if they might bruise.
If the arch won’t be displayed immediately, keep it in a cool, shaded area. You can also discreetly add water to the floral foam cages if they start to dry out.
Common Mistakes to Avoid
Overlooking Arch Stability
A common pitfall is not ensuring the arch itself is perfectly stable before adding decorations. A wobbly or unstable arch is not only unsafe but can also cause your beautiful floral arrangements to shift or even collapse. Always double-check the base and secure it firmly to the ground or a heavy stand.
Ignoring Flower Hydration
Many DIY decorators skip or rush the crucial step of properly hydrating their flowers. Flowers that aren’t fully hydrated before use will wilt quickly, even in floral foam, ruining your display prematurely. Always give your blooms ample time to drink water after cutting their stems.
Creating a Flat Appearance
It’s easy to place all your flowers at the same depth, resulting in a flat, two-dimensional look. This lacks visual interest and can make the arrangement appear less professional. Instead, strive for depth by pushing some flowers further into the arrangement and letting others extend outwards.
Underestimating Material Needs
Running out of flowers, greenery, or essential supplies midway through your project is incredibly frustrating. This often leads to rushing or compromising your design. Always purchase more than you think you’ll need, especially with flowers and zip ties, as it’s better to have a little extra than not enough.
Troubleshooting
Flowers Wilting Too Soon
If your flowers start to droop shortly after placement, it’s often a sign of insufficient hydration. The stems might not be reaching the water in the floral foam, or the foam itself could be drying out. Re-cut the affected stems at an angle, ensure they are deep in the soaked foam, and mist the flowers generously.
Arrangement Looks Sparse
Finding that your arch looks thin or has too many gaps is a common concern. This usually means you haven’t used enough base greenery or filler flowers. Go back and add more structural greenery to create a fuller foundation, then strategically insert smaller, complementary blooms to fill any remaining voids.
Flowers Falling Off the Arch
Loose stems or entire floral clusters detaching from the arch can be disheartening. This typically happens when attachments aren’t secure enough. Reinforce all connections using additional zip ties, stronger floral wire, or even a dab of floral adhesive for individual stems. Ensure all floral foam cages are cinched tightly to the arch frame.
Key Takeaways
- Planning your arch design and gathering all materials beforehand saves time and stress.
- A strong, lush greenery base is fundamental for both structure and aesthetic appeal.
- Layering flowers of different sizes and textures creates depth and visual interest.
- Proper hydration of all flowers is non-negotiable for a long-lasting, fresh display.
- Securely attach every element to the arch using reliable methods like zip ties and floral wire.
- Step back frequently to assess your work and make adjustments for balance and coverage.
Frequently Asked Questions
How far in advance can I decorate an arch?
Ideally, you should aim to decorate your arch within 24 hours of the event. While some non-perishable elements like artificial flowers or fabric can be added earlier, fresh flowers need to be placed closer to the display time to ensure maximum freshness and vibrancy.
What’s the best way to attach floral foam to an arch?
The most effective method is using floral foam cages or blocks encased in chicken wire. Secure these directly to the arch frame using heavy-duty zip ties or strong floral wire. Ensure they are tightly fastened and can withstand the weight of the flowers and water.
Can I mix fresh and artificial flowers?
Yes, absolutely! Mixing fresh and artificial flowers is a popular and practical approach. Artificial flowers can provide structure, fill, and a base, especially for areas that are hard to reach or for elements you want to prepare far in advance. Fresh flowers then add natural beauty, fragrance, and a touch of organic elegance.
How do I make the flowers last longer outdoors?
To extend the life of your outdoor arch flowers, choose hardy varieties that tolerate heat and sun well. Keep the arch in a shaded area as much as possible, and mist the flowers regularly with water. Using floral hydration solutions in the foam and a floral sealant spray on the blooms can also significantly help.
Our Top Recommended Finds
- Floral Foam Cages: These structured cages hold pre-soaked floral foam, providing a stable, water-filled base for your flower stems directly on the arch.
- Heavy-Duty Zip Ties: Invaluable for securely attaching greenery, floral foam cages, and other structural elements to the arch frame, ensuring everything stays put.
- Professional Floral Clippers: Sharp, ergonomic clippers make clean cuts through stems, which is vital for proper water absorption and preventing damage to your beautiful blooms.
Your Arch Awaits: Crafting Unforgettable Moments
Creating a floral arch is a rewarding project that adds immense beauty to any occasion. It’s a chance to express your creativity and leave a lasting impression. Don’t be intimidated by the process; with these steps, you have all the knowledge to succeed.
Perhaps you could try a small-scale version first, decorating a doorway or a smaller frame to build your confidence. The most important thing is to enjoy the process and let your personal style shine through. Start planning your dream arch today and transform your vision into a stunning reality.
Wedding Planning
No fluff, no drama. Just easy weekly advice, planning shortcuts, and gentle reminders to help you actually enjoy your engagement.