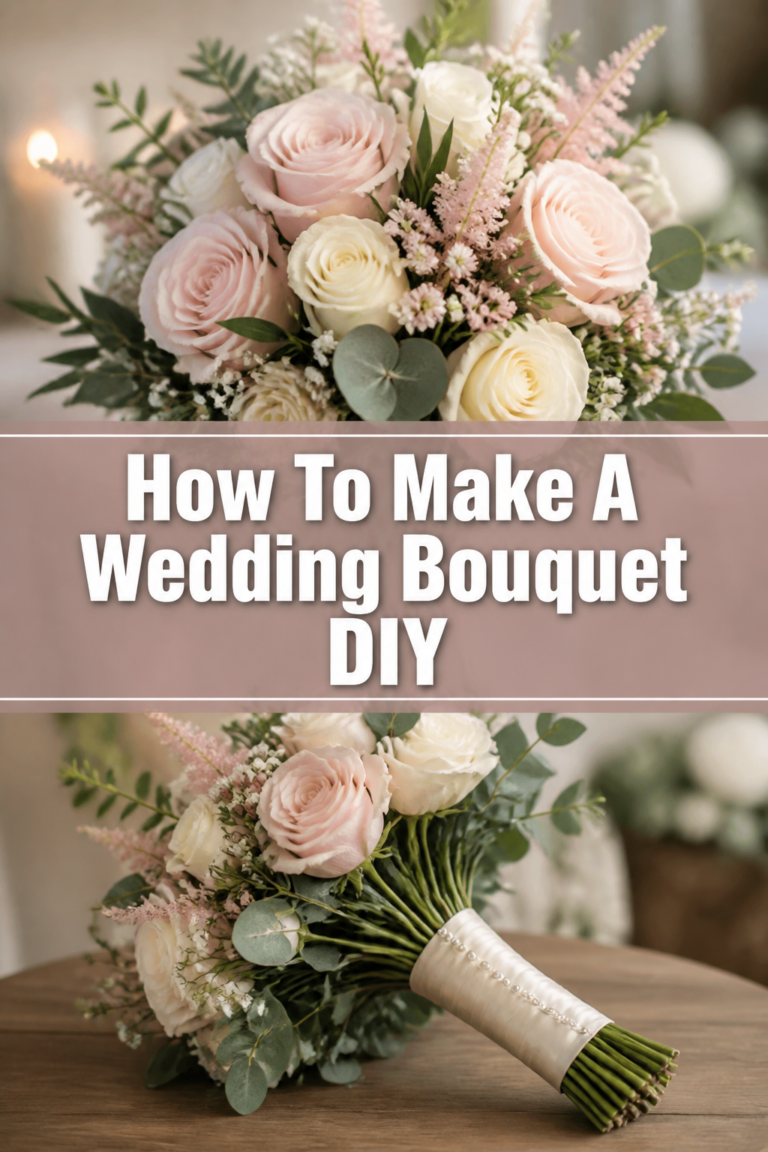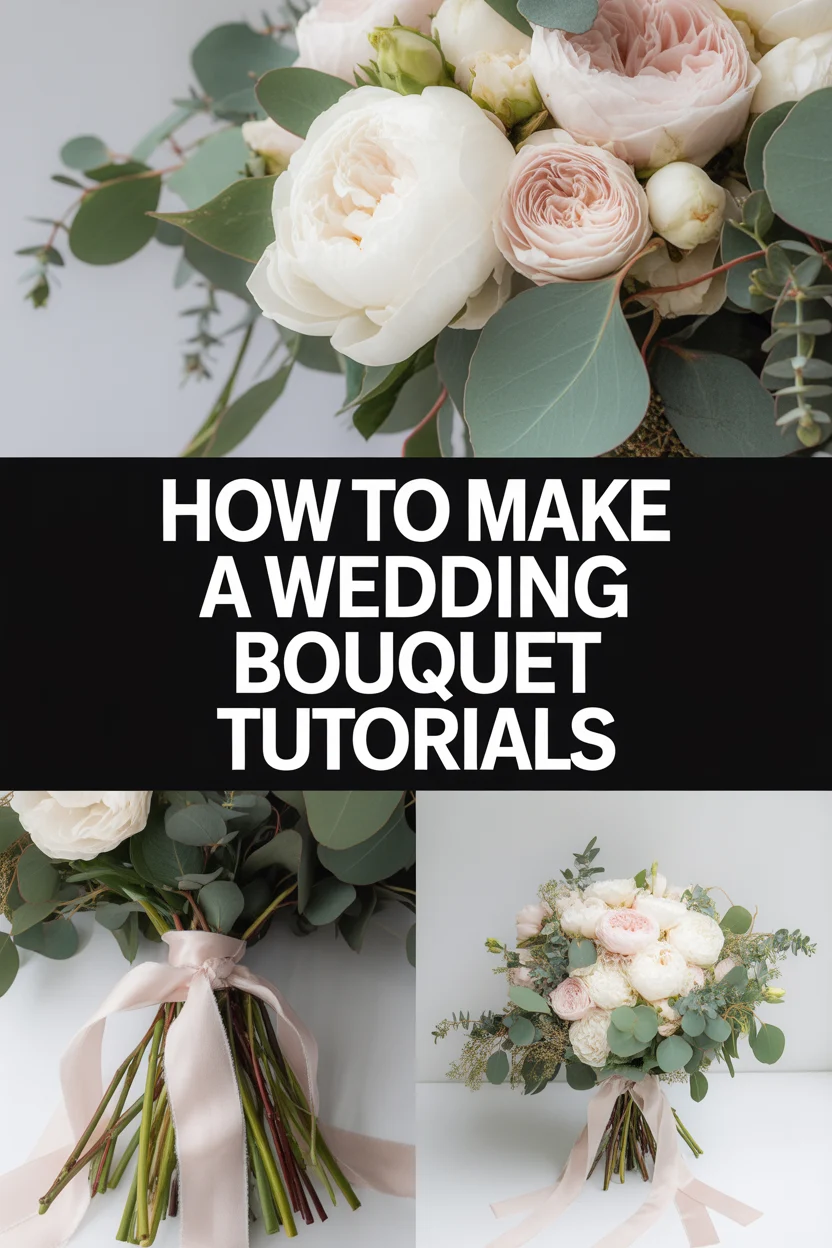
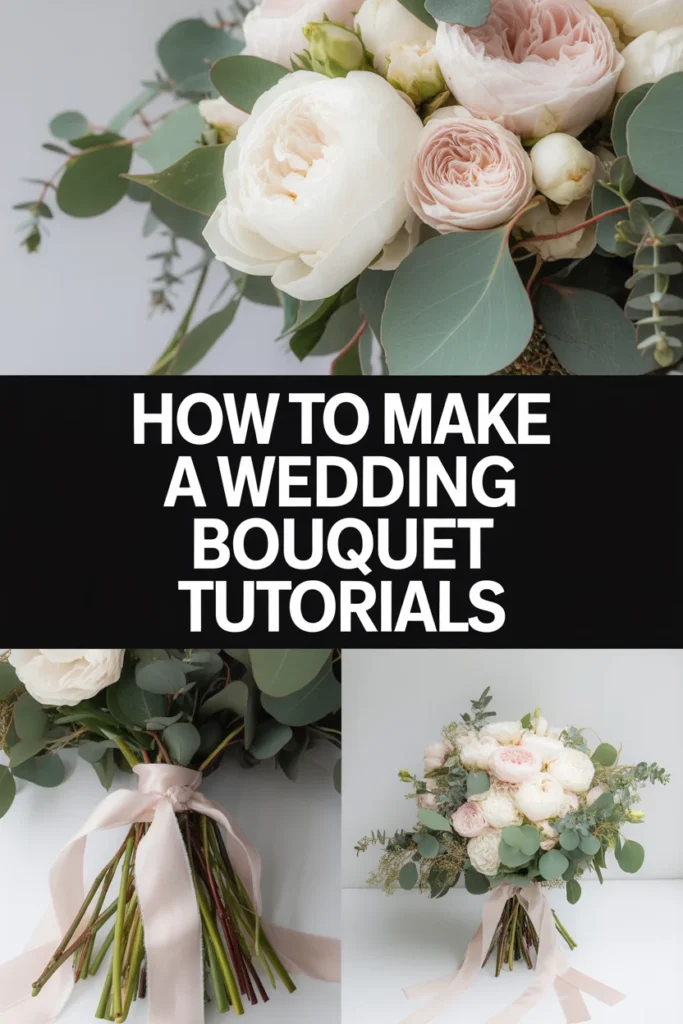
💐 How To Make A Wedding Bouquet Tutorials

Wedding Planning
No fluff, no drama. Just easy weekly advice, planning shortcuts, and gentle reminders to help you actually enjoy your engagement.
Creating a wedding bouquet can feel like a daunting task. It’s a centerpiece of the big day, reflecting so much personal style. Yet, with the right guidance, it’s a deeply rewarding project. I once helped a dear friend craft her entire floral setup, and the joy of seeing her carry a bouquet we made together was truly unforgettable.
This guide will walk you through every essential step. You’ll gain the confidence and practical skills needed to design a stunning, personalized wedding bouquet. You absolutely can do this.
Quick Overview
You’re about to embark on a beautiful journey. By the end, you’ll have a gorgeous, handmade wedding bouquet.
- Time needed: 3-5 hours (includes prep and assembly)
- Difficulty: Intermediate
- What you’ll need: Fresh flowers, varied foliage, floral tape, floral wire (20-24 gauge), sharp floral shears/scissors, wire cutters, ribbon, pearl-headed pins.
Step-by-Step Instructions
Step 1: Gather Your Supplies and Select Your Blooms
The success of your bouquet starts with excellent planning. Begin by sourcing all your tools and materials before the flowers arrive. This ensures a smooth and stress-free process.
Choose a mix of focal flowers, filler flowers, and diverse foliage. Focal flowers are your showstoppers, like roses or peonies. Filler flowers, such as spray roses or ranunculus, add texture and volume.
Foliage, like eucalyptus or ruscus, provides structure and greenery. Aim for flowers that are fresh, firm, and free of blemishes. Order your flowers to arrive 2-3 days before the wedding day itself, allowing time for hydration.
Pro Tip: Select flowers in varying stages of bloom. Some tightly closed buds will open beautifully over the next few days, adding dynamic interest to your bouquet.
Step 2: Prepare Your Blooms and Foliage
Proper preparation is crucial for flower longevity. Unpack your flowers carefully and remove any outer guard petals that look bruised or discolored. Strip all leaves and thorns from the lower two-thirds of each stem.
This prevents leaves from sitting in water, which can cause bacterial growth and shorten the life of your flowers. Using sharp floral shears, cut all stems at a 45-degree angle. This increases the surface area for water absorption.
Immediately place your prepared flowers into clean buckets filled with fresh water and floral food. Allow them to hydrate for at least 3-4 hours, or ideally overnight, in a cool, dark place. This step is non-negotiable for vibrant, long-lasting blooms.
Step 3: Create Your Bouquet’s Foundation
Start building your bouquet with a central cluster of focal flowers and a few pieces of foliage. Hold these stems firmly in your non-dominant hand. This core will dictate the overall size and shape.
Select 3-5 of your most beautiful focal flowers for the very center. Surround them with a few pieces of complementary foliage to create a soft base. Ensure the stems are crossing each other in a clean, organized way.
This initial grouping sets the tone for the entire design. Keep your grip firm but not crushing, allowing for adjustments.
Step 4: Build the Bouquet Using the Spiral Technique
The spiral technique is key to a well-structured bouquet that stands on its own. Hold your initial foundation firmly. Now, begin adding flowers and foliage around this central core.
Each new stem should be placed at an angle, spiraling in the same direction around the previous stems. Imagine building a spiral staircase with your flower stems. This method creates a rounded, balanced shape.
Rotate the bouquet as you add each flower, ensuring even distribution of colors and textures. Step back frequently to assess the shape and balance. Add focal flowers, then fillers, then foliage, repeating the pattern.
Pro Tip: Don’t be afraid to gently bend or manipulate stems slightly to fit your desired shape. Work from the outside in, or in layers, to maintain control over the overall form.
Step 5: Secure the Stems with Floral Tape
Once you are happy with the size and shape of your bouquet, it’s time to secure it. Hold the bouquet firmly, making sure all stems are still in their spiral arrangement. Take a length of floral tape.
Start wrapping the floral tape tightly around the stems, about 3-4 inches below where the flower heads meet. Begin at the top of your grip point and work your way down the stems for about 3-4 inches. Overlap the tape as you go.
Floral tape is sticky when stretched, so pull it taut as you wrap. This creates a strong, stable binding that will hold your bouquet together. Ensure the tape is secure and covers all the stems in your grip area.
Step 6: Trim and Finish the Stems
After securing with floral tape, it’s time to give your bouquet a clean, even base. Using sharp floral shears, trim all the stems to a uniform length. A good length is typically 6-8 inches from the bottom of the flower heads.
Ensure the cut is clean and straight across the bottom. This makes the bouquet comfortable to hold and stand upright. Remove any stray leaves or floral tape bits from the trimmed stems.
This step creates a polished and professional look. It also makes the bouquet easier to handle and store.
Step 7: Add the Decorative Ribbon Wrap
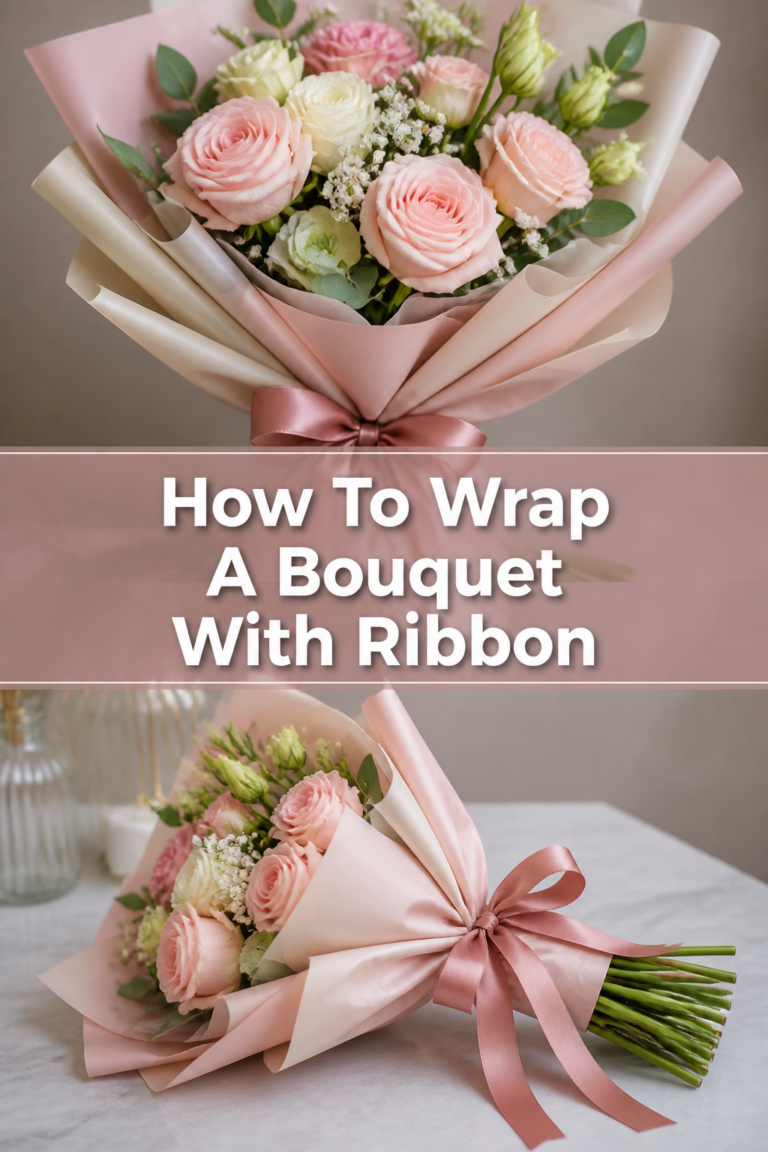
The ribbon wrap is the final decorative touch that completes your bouquet. Choose a ribbon that complements your wedding colors and style. Cut a generous length, typically 1.5 to 2 yards, depending on the desired thickness.
Start by securing one end of the ribbon to the top of the floral tape with a pearl-headed pin. Begin wrapping the ribbon downwards, overlapping slightly, covering all the floral tape completely. Ensure the wrap is smooth and tight.
Once you reach the desired length, wrap the ribbon back up the stems if you want a thicker handle. Secure the end with another pearl-headed pin, tucking it neatly into the ribbon folds. You can leave the ends long for a flowing look or trim them.
Pro Tip: For extra security and a professional finish, apply a tiny dot of hot glue under the first and last wrap of ribbon before securing with pins. This prevents slippage.
Step 8: Final Checks and Storage
With your bouquet complete, give it a final inspection. Gently shake it to ensure no flowers are loose. Check the overall shape and make any minor adjustments by gently nudging stems. Mist the entire bouquet lightly with water.
Store your finished bouquet in a cool, dark place until it’s needed. A refrigerator (away from fruits that emit ethylene gas, which can cause wilting) or a cool room is ideal. Place the stems in a shallow vase with a little water if possible, but avoid submerging the ribbon-wrapped handle.
The goal is to keep it fresh and vibrant. Avoid direct sunlight or warm environments. Your beautiful, handmade bouquet is now ready for its grand debut.
Common Mistakes to Avoid
Over-stuffing the Bouquet
A common mistake is trying to fit too many flowers into one bouquet. This can make it look dense, heavy, and shapeless, losing the individual beauty of each bloom. Instead, aim for a balanced arrangement that allows each flower to breathe and contribute to the overall design without fighting for space. Less can often be more, allowing for elegance and fluidity.
Not Spiraling Stems Correctly
Failing to use the spiral technique results in a bouquet that is difficult to hold, lacks structure, and won’t sit flat. Stems will crisscross haphazardly, making it unstable. Always ensure each new stem is added at an angle, spiraling in the same direction, creating a neat and strong base that holds its form beautifully. This technique is fundamental for a professional-looking bouquet.
Forgetting to Hydrate Flowers
Neglecting to properly hydrate your flowers before assembly is a recipe for disaster. Flowers will wilt quickly, looking tired and droopy on the wedding day. Always trim stems and place them in water with floral food for several hours or overnight. This crucial step ensures your blooms are turgid and vibrant, ready to withstand the day’s events.
Using the Wrong Type of Ribbon
The ribbon choice can significantly impact the bouquet’s aesthetic. Using a ribbon that is too narrow, too stiff, or made of an unsuitable material can look cheap or be difficult to wrap smoothly. Opt for a high-quality, pliable ribbon (like satin, silk, or velvet) that complements your wedding theme. Ensure it’s wide enough to cover the floral tape neatly and provides a comfortable grip.
Troubleshooting
Bouquet Feels Loose or Unstable
If your bouquet feels wobbly or like it might fall apart, the stems likely weren’t secured tightly enough with floral tape. Go back and re-wrap the taped section, pulling the floral tape taut as you go. You might need a second layer of tape to create a firmer bind. Ensure the spiral technique was consistently applied, as this also contributes to stability.
Flowers Wilting Too Quickly
Rapid wilting usually points to insufficient hydration or exposure to heat. First, ensure you cut stems at an angle and hydrated flowers thoroughly before assembly. If wilting occurs after assembly, mist the bouquet frequently and store it in the coolest possible environment, ideally a refrigerator. Avoid direct sunlight or warm rooms at all costs.
Stems Are Too Short or Uneven
If you accidentally cut stems too short, it can make the bouquet awkward to hold. Unfortunately, you cannot add length back. The best solution is to adjust the design by slightly reducing the overall size of the bouquet to make the remaining stem length more proportionate. For uneven stems, simply re-trim them cleanly with sharp shears to a uniform length after taping.
Key Takeaways
- Plan and Prepare Meticulously: Gather all tools and condition flowers well in advance for optimal freshness.
- Master the Spiral Technique: This is fundamental for a well-structured, balanced, and elegant bouquet.
- Hydration is Non-Negotiable: Always cut stems at an angle and allow flowers ample time to drink water.
- Secure Firmly: Use floral tape to create a strong, stable grip point for your bouquet.
- Personalize with Ribbon: Choose high-quality ribbon that complements your wedding theme for a polished finish.
- Store Properly: Keep your finished bouquet in a cool, dark place to maintain its vibrancy until the big moment.
Frequently Asked Questions
How far in advance can I make my wedding bouquet?
It’s best to assemble your fresh flower wedding bouquet no more than one day before the event. Ideally, you should aim to make it the evening before. This timeframe ensures the flowers are at their peak freshness and beauty for the wedding day.
What flowers last best in a bouquet?
Many flowers hold up well, including roses, carnations, ranunculus, peonies (in season), eucalyptus, and certain varieties of lilies. Opt for sturdy blooms with firm petals and stems. Avoid delicate flowers that bruise easily or have a short vase life.
How do I keep the bouquet fresh until the wedding?
After assembly, mist your bouquet lightly with water. Store it in a cool, dark place, such as a refrigerator (away from ripening fruits). You can also place the cut stems in a shallow vase with a small amount of water, ensuring the ribbon-wrapped handle doesn’t get wet.
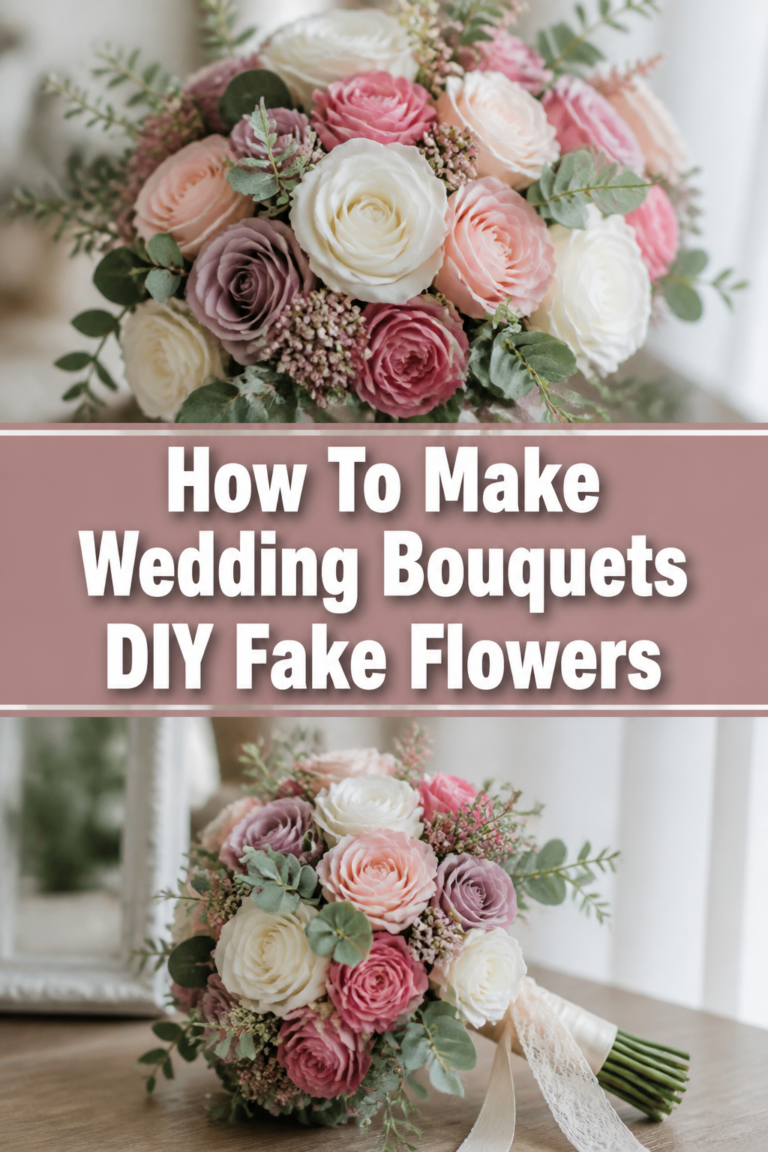
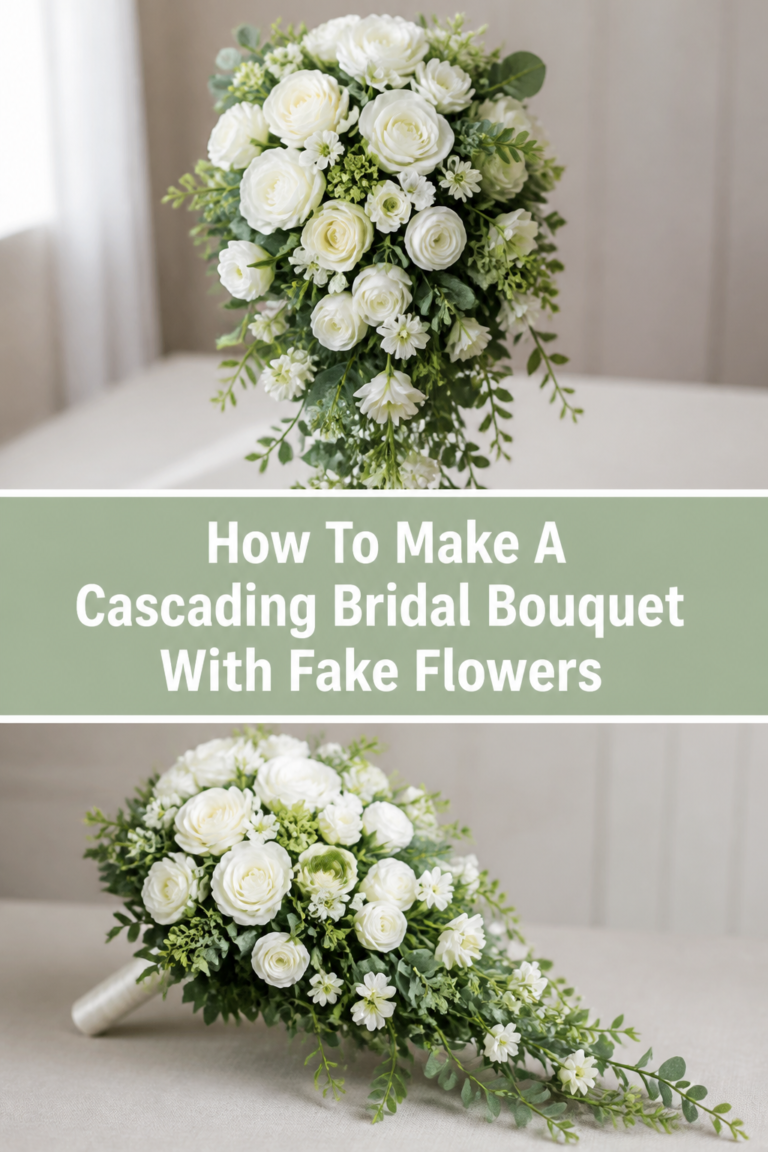
Can I use artificial flowers for a DIY bouquet?
Absolutely, you can use high-quality artificial flowers. This allows you to prepare the bouquet far in advance and eliminates worries about wilting. The assembly steps are largely similar, though you won’t need to hydrate or worry about spoilage.
Our Top Recommended Finds
- Professional Floral Shears: Essential for clean cuts that prolong flower life and make trimming easy.
- Waterproof Floral Tape: Provides a strong, moisture-resistant hold for your bouquet stems.
- High-Quality Satin Ribbon: Elevates the final look, offering a luxurious and comfortable grip.
Your Beautiful Creation Awaits
You now possess the knowledge and detailed steps to create a truly personal wedding bouquet. Imagine the pride of carrying something you crafted yourself, a beautiful reflection of your love story. Don’t hesitate to start planning your floral choices today.
Practice with a few inexpensive bunches of flowers to get a feel for the spiral technique. The more you practice, the more confident you’ll become. Soon, you’ll be ready to design and assemble the perfect bouquet for your special day.
Wedding Planning
No fluff, no drama. Just easy weekly advice, planning shortcuts, and gentle reminders to help you actually enjoy your engagement.