📝 How To Make Seating Chart For Wedding

Wedding Planning
No fluff, no drama. Just easy weekly advice, planning shortcuts, and gentle reminders to help you actually enjoy your engagement.
Creating a wedding seating chart can feel like a daunting puzzle. You want everyone to feel comfortable, happy, and ready to celebrate.
I remember staring at my own guest list, feeling overwhelmed by the sheer number of combinations. This guide comes from navigating that very challenge.
It’s completely achievable with a structured approach. You can craft a beautiful and functional seating plan that enhances your special day.
Quick Overview
This guide will walk you through organizing your guest list into a thoughtful seating arrangement. You will learn strategies to make the process smooth and stress-free.
- Time needed: 4-8 hours (spread over several sessions)
- Difficulty: Intermediate
- What you’ll need: Your final guest list, venue floor plan, pen and paper or a digital seating chart tool, patience, and a sense of humor.
Step-by-Step Instructions
Step 1: Gather Your Guest List and Venue Layout
You need an accurate guest list with all confirmed RSVPs. This includes full names and any known relationships.
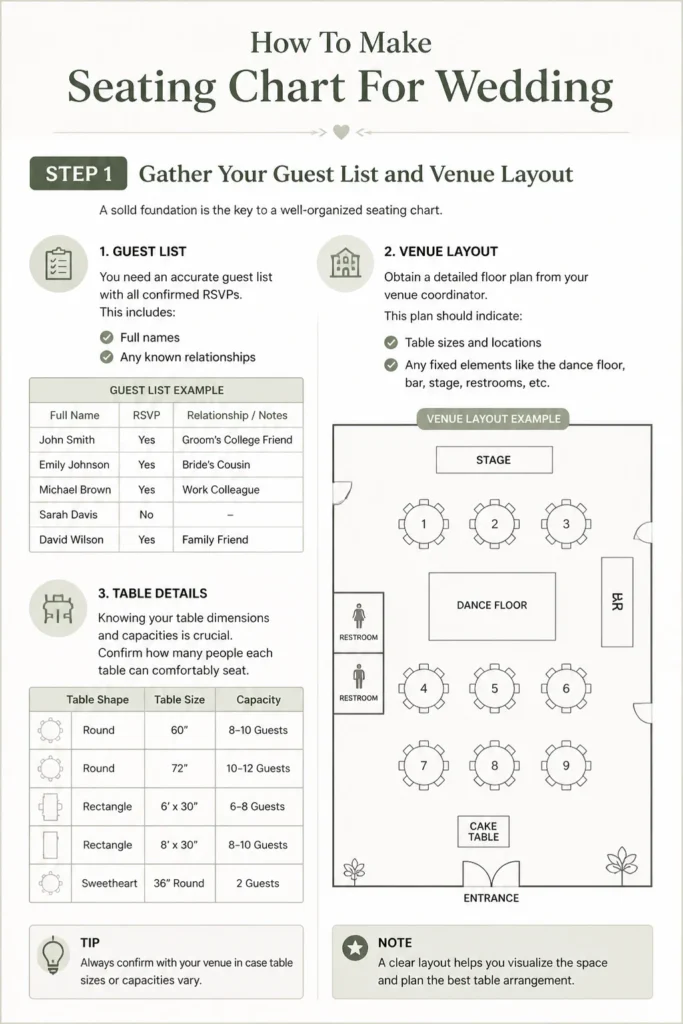
Obtain a detailed floor plan from your venue coordinator. This plan should indicate table sizes, locations, and any fixed elements like the dance floor or bar.
Knowing your table dimensions and capacities is crucial. Confirm how many people each table can comfortably seat.
Step 2: Determine Your Table Types and Sizes
Decide on the style of tables you want. Common options are round tables, rectangular tables, or a mix of both.
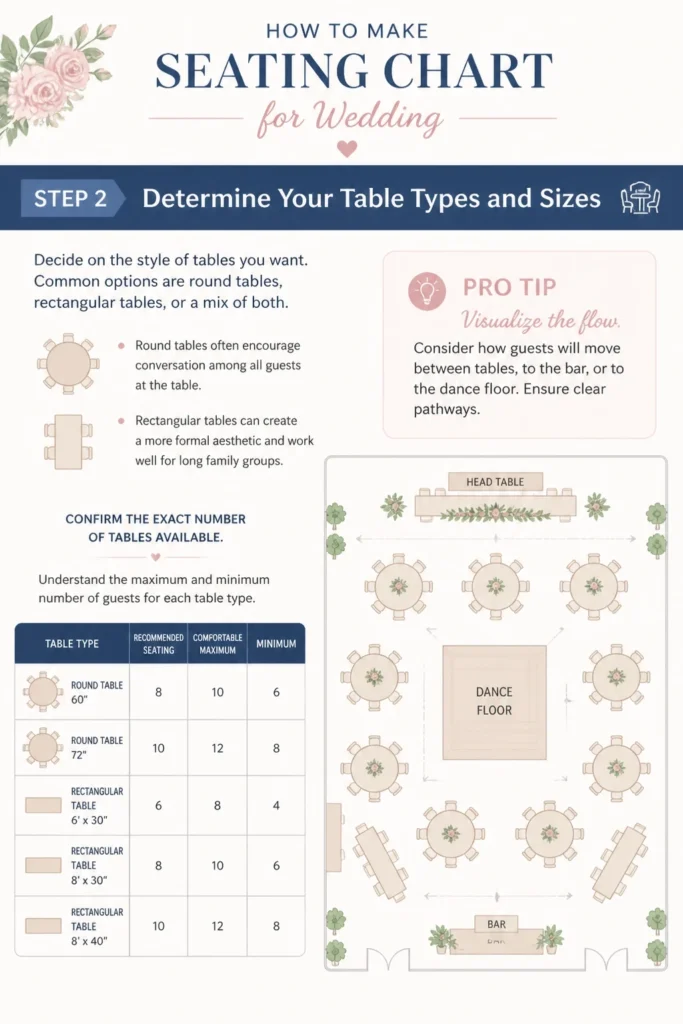
Round tables often encourage conversation among all guests at the table. Rectangular tables can create a more formal aesthetic and work well for long family groups.
Confirm the exact number of tables available. Understand the maximum and minimum number of guests for each table type.
Pro Tip: Visualize the flow. Consider how guests will move between tables, to the bar, or to the dance floor. Ensure clear pathways.
Step 3: Categorize Your Guests
Group your guests into broad categories first. This makes the initial sorting much simpler.
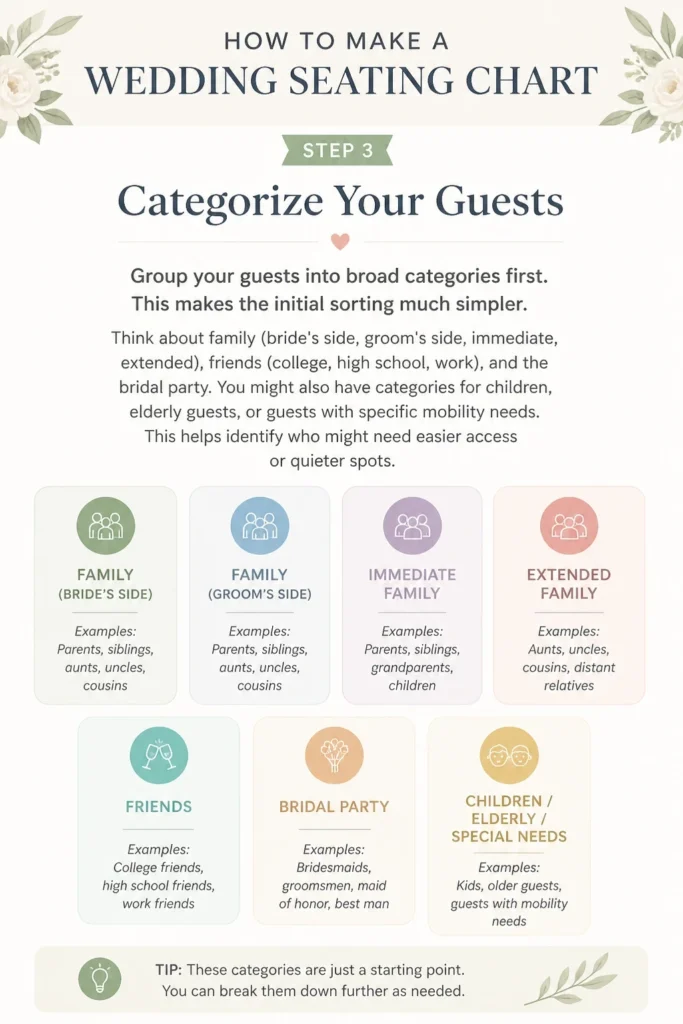
Think about family (bride’s side, groom’s side, immediate, extended), friends (college, high school, work), and the bridal party.
You might also have categories for children, elderly guests, or guests with specific mobility needs. This helps identify who might need easier access or quieter spots.
Step 4: Place the “VIPs” First
Start by seating your bridal party and immediate family. This includes parents, siblings, and grandparents.
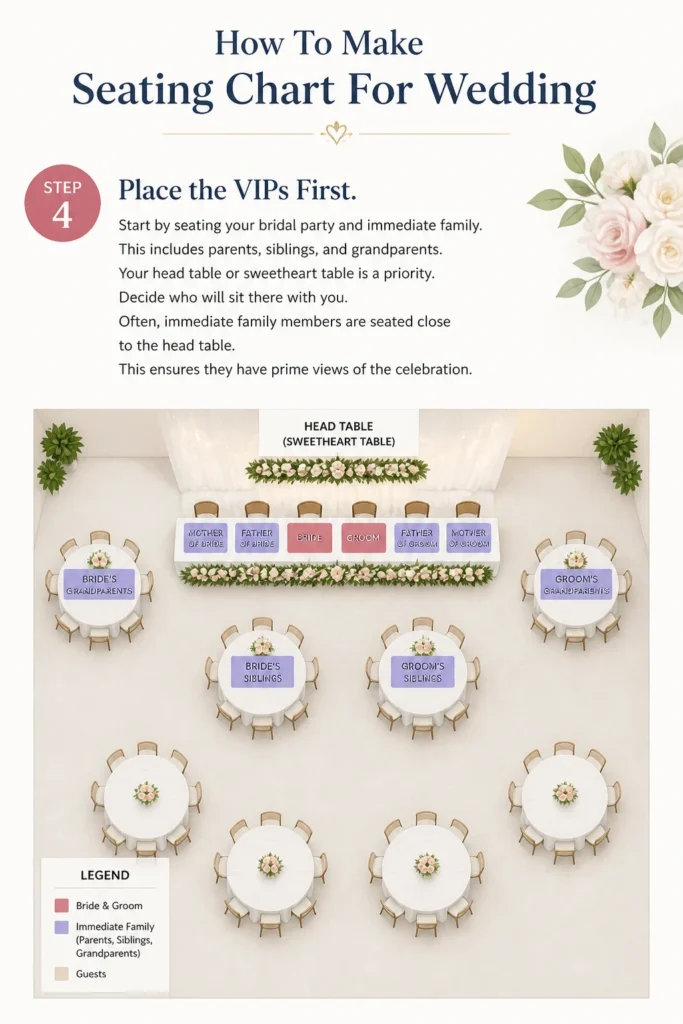
Your head table or sweetheart table is a priority. Decide who will sit there with you.
Often, immediate family members are seated close to the head table. This ensures they have prime views of the celebration.
Step 5: Group Guests by Relationship and Comfort
Begin placing guests who naturally know each other. Friends from the same circle should sit together.
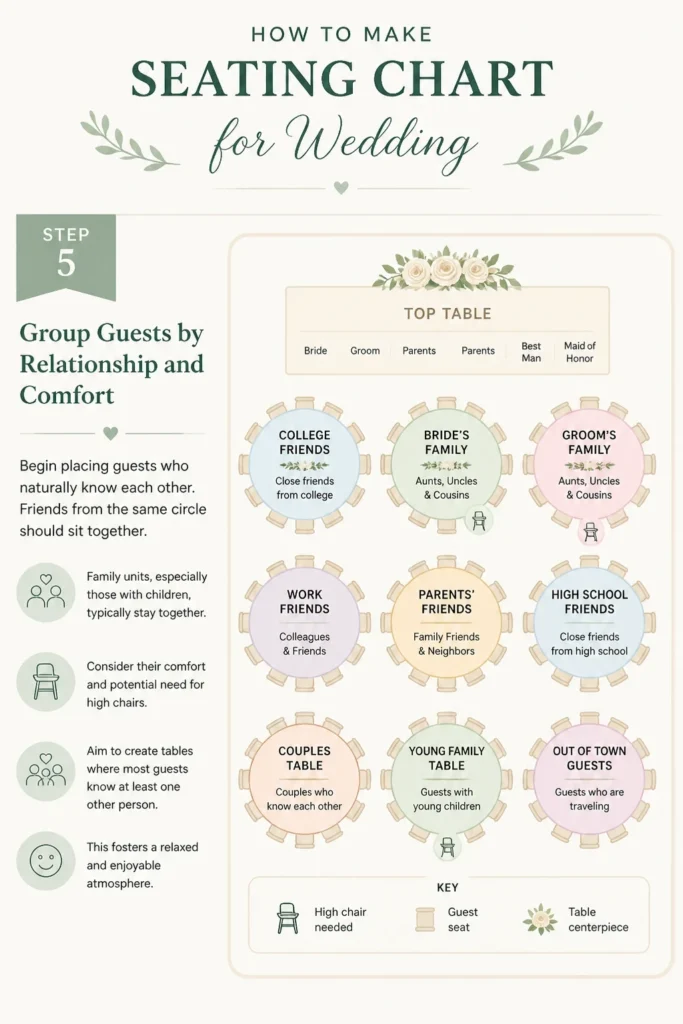
Family units, especially those with children, typically stay together. Consider their comfort and potential need for high chairs.
Aim to create tables where most guests know at least one other person. This fosters a relaxed and enjoyable atmosphere.
Step 6: Balance Tables for Flow and Conversation
Mix groups where appropriate to encourage new connections. Avoid isolating any single guest or couple.
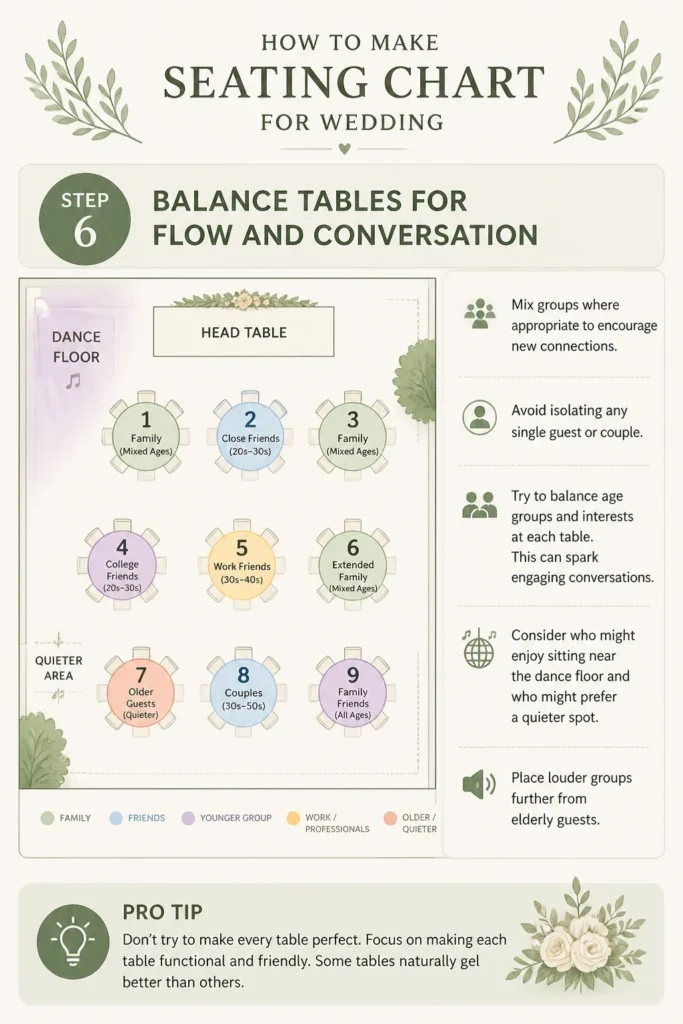
Try to balance age groups and interests at each table. This can spark engaging conversations.
Consider who might enjoy sitting near the dance floor and who might prefer a quieter spot. Place louder groups further from elderly guests.
Pro Tip: Don’t try to make every table perfect. Focus on making each table functional and friendly. Some tables naturally gel better than others.
Step 7: Consider Special Needs and Dynamics
Note any guests with dietary restrictions or mobility requirements. Ensure their seating accommodates these needs.
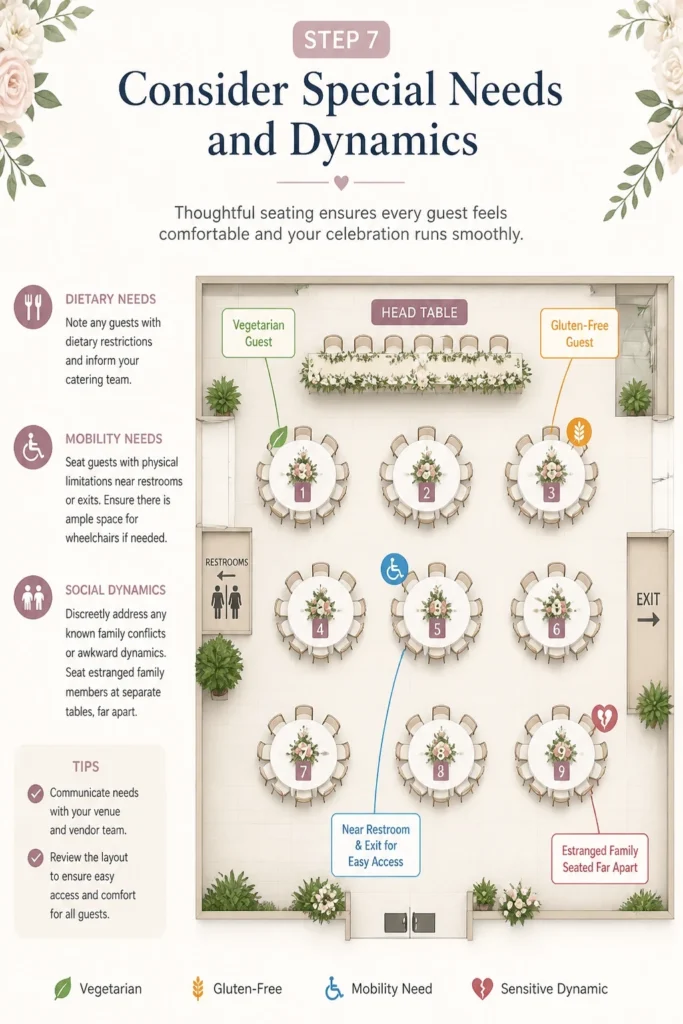
Place guests with physical limitations near restrooms or exits. Make sure there is ample space for wheelchairs if needed.
Discreetly address any known family conflicts or awkward social dynamics. Seat estranged family members at separate tables, far apart.
Step 8: Review, Refine, and Finalize
Once you have an initial draft, take a break. Come back with fresh eyes to review your work.
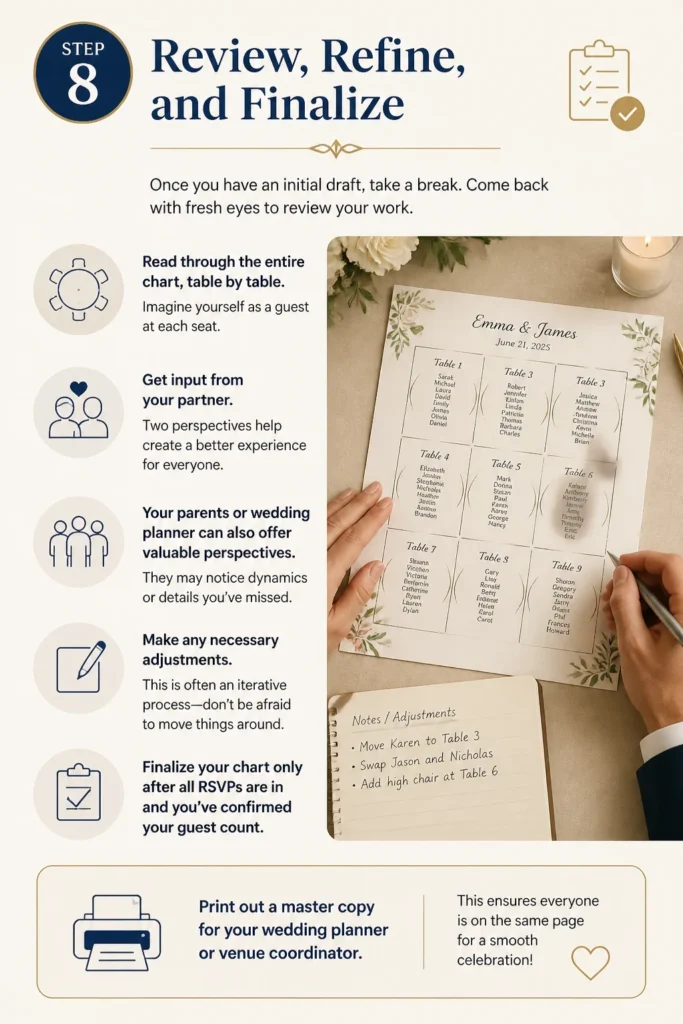
Read through the entire chart, table by table. Imagine yourself as a guest at each seat.
Get input from your partner. Your parents or wedding planner can also offer valuable perspectives.
Make any necessary adjustments. This is often an iterative process.
Finalize your chart only after all RSVPs are in and you’ve confirmed your guest count. Print out a master copy for your wedding planner or venue coordinator.
Common Mistakes to Avoid
Ignoring the Venue Layout
Many couples create a seating chart without a precise understanding of the venue’s physical space. This can lead to tables placed in awkward spots, blocking pathways, or being too close to the band. Always work with an accurate floor plan provided by your venue.
Waiting Until the Last Minute
Creating a seating chart is time-consuming and often requires several revisions. Postponing this task until the week of the wedding adds unnecessary stress. Start working on a draft as soon as your RSVPs begin to arrive, and finalize it a week or two before the event.
Forgetting About Plus-Ones and Children
It’s easy to overlook guests who are attending with a “plus-one” you don’t know well, or to miscount children. Ensure every single person, including small children and unknown dates, has a designated seat. Confirm high chair availability with your venue.
Trying to Please Everyone
You cannot make every single guest 100% happy with their seating assignment. Focus on creating logical, comfortable groupings for the majority. Trying to cater to every minor preference will lead to endless frustration and an impossible task. Trust your judgment.
Troubleshooting
Guests Who Don’t Fit Anywhere
Sometimes you end up with a few individuals or couples who don’t easily fit into existing groups. Consider creating a “mixed” table with other similar guests. Often, people are happy to meet new people at weddings.
Try to find a common thread, even a small one, like being from the same general area or having a similar age range. Place them with friendly, outgoing people who are good at conversation.
Too Many People at One Table
If a table becomes overcrowded, you need to make tough decisions. Identify the natural breaking points within that group.
Perhaps a couple or a small family unit can be moved to an adjacent table. Prioritize comfort and adherence to fire safety regulations for table capacity.
Disagreements with Partners/Parents
Seating charts can become a point of contention. If you and your partner disagree, sit down calmly and review your priorities. Is it about family politics, comfort, or logistics?
For parental input, listen to their suggestions but maintain final say. Explain your reasoning clearly. Remind them the goal is a harmonious event for everyone.
Key Takeaways
- Start early, ideally a few weeks before the wedding, as RSVPs come in.
- Categorize guests into logical groups to simplify the initial placement.
- Prioritize VIPs and close family members first, then build out from there.
- Balance tables by mixing different groups and considering conversation flow.
- Always refer to your venue’s floor plan and table capacities for accuracy.
- Be prepared to make revisions; it’s an iterative process.
- Trust your judgment and aim for overall guest comfort, not perfection.
Frequently Asked Questions
When should I start making my wedding seating chart?
Begin a preliminary draft as soon as your RSVPs start rolling in, roughly 4-6 weeks before the wedding. You can finalize it about one week before the big day, once all RSVPs are confirmed. This allows time for changes.
Should I use a digital tool or paper for my seating chart?
Both methods have benefits. Digital tools like AllSeated or Zola’s planner offer drag-and-drop functionality and easy revisions. Paper methods, using a large whiteboard or poster board with sticky notes, provide a tactile, visual approach that some find easier. Choose what feels most comfortable for you.
What if a guest RSVPs late or doesn’t show up?
Late RSVPs are common. Leave a small buffer, perhaps one or two empty seats across all tables, if your guest count allows. If someone is a no-show on the day, your venue coordinator can often make minor adjustments. Always have a finalized list for them.
Is a seating chart always necessary for a wedding?
For larger weddings (typically over 50-75 guests), a seating chart is highly recommended. It prevents chaos, ensures everyone has a place, and helps with meal service. For very small, casual weddings, open seating might work, but it still carries risks of awkward empty spots.
Our Top Recommended Finds
- Digital Seating Chart Software: Tools like AllSeated or WeddingWire’s planner offer intuitive interfaces for planning. They allow easy drag-and-drop guest placement.
- Large Whiteboard and Sticky Notes: A classic, hands-on approach. Write guest names on sticky notes and move them around on a whiteboard representing your tables.
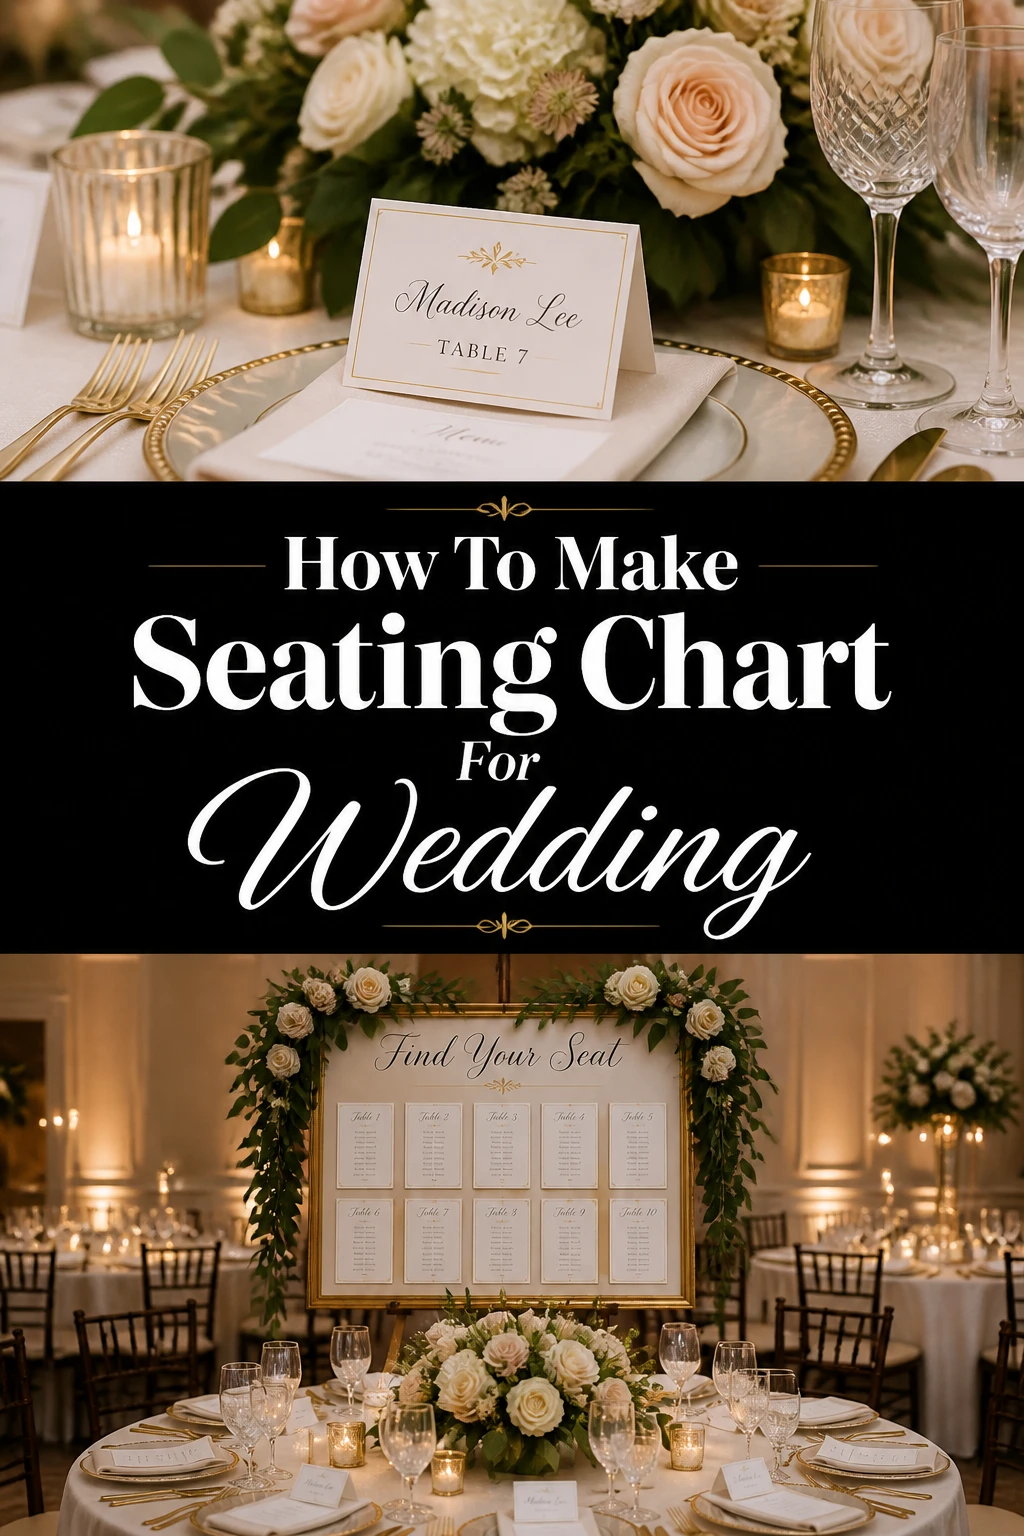
- High-Quality Printer: For printing your final seating chart for display at the reception and for your wedding coordinator’s reference.
Crafting Your Perfect Reception Experience
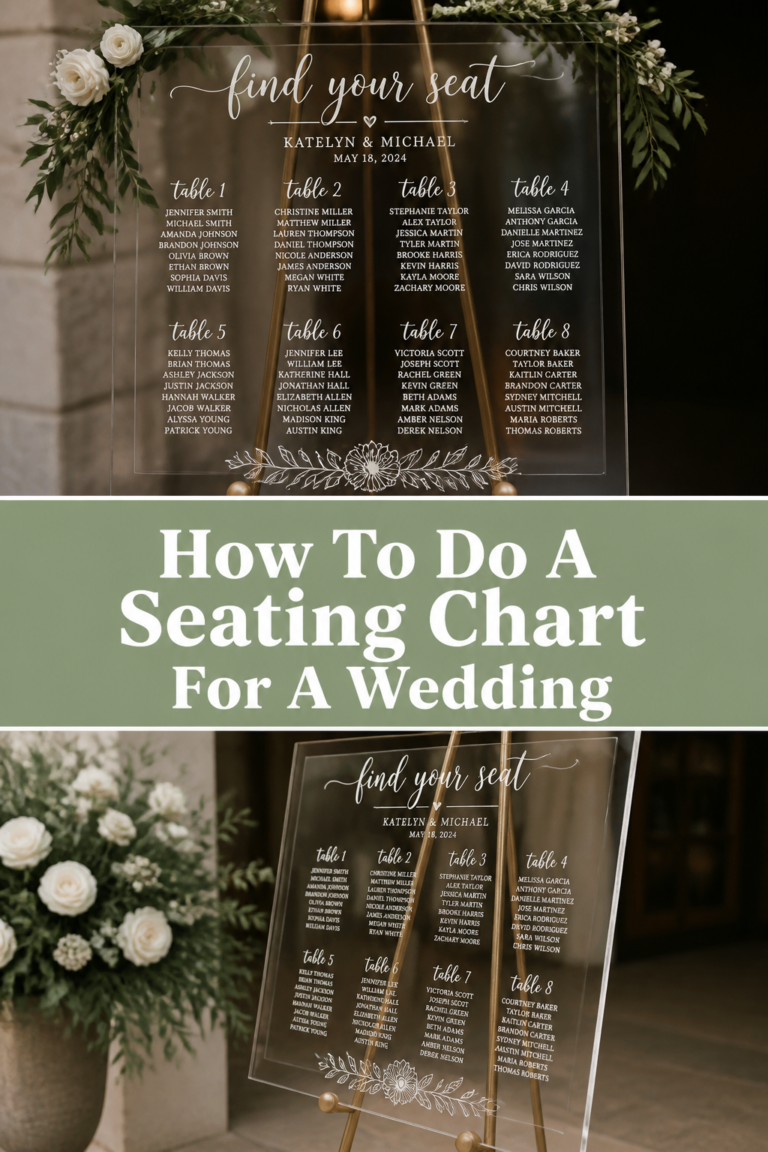
Creating a wedding seating chart might seem like a complex task, but it’s a vital step in ensuring your reception runs smoothly. A well-planned chart helps your guests relax and enjoy the celebration.
It shows you’ve thought about their comfort and experience. This thoughtful detail contributes significantly to the overall joy of your special day.
Take these steps, breathe, and trust the process. You’re building the framework for unforgettable memories. Start planning your guest arrangements today and watch your vision come to life.
Wedding Planning
No fluff, no drama. Just easy weekly advice, planning shortcuts, and gentle reminders to help you actually enjoy your engagement.