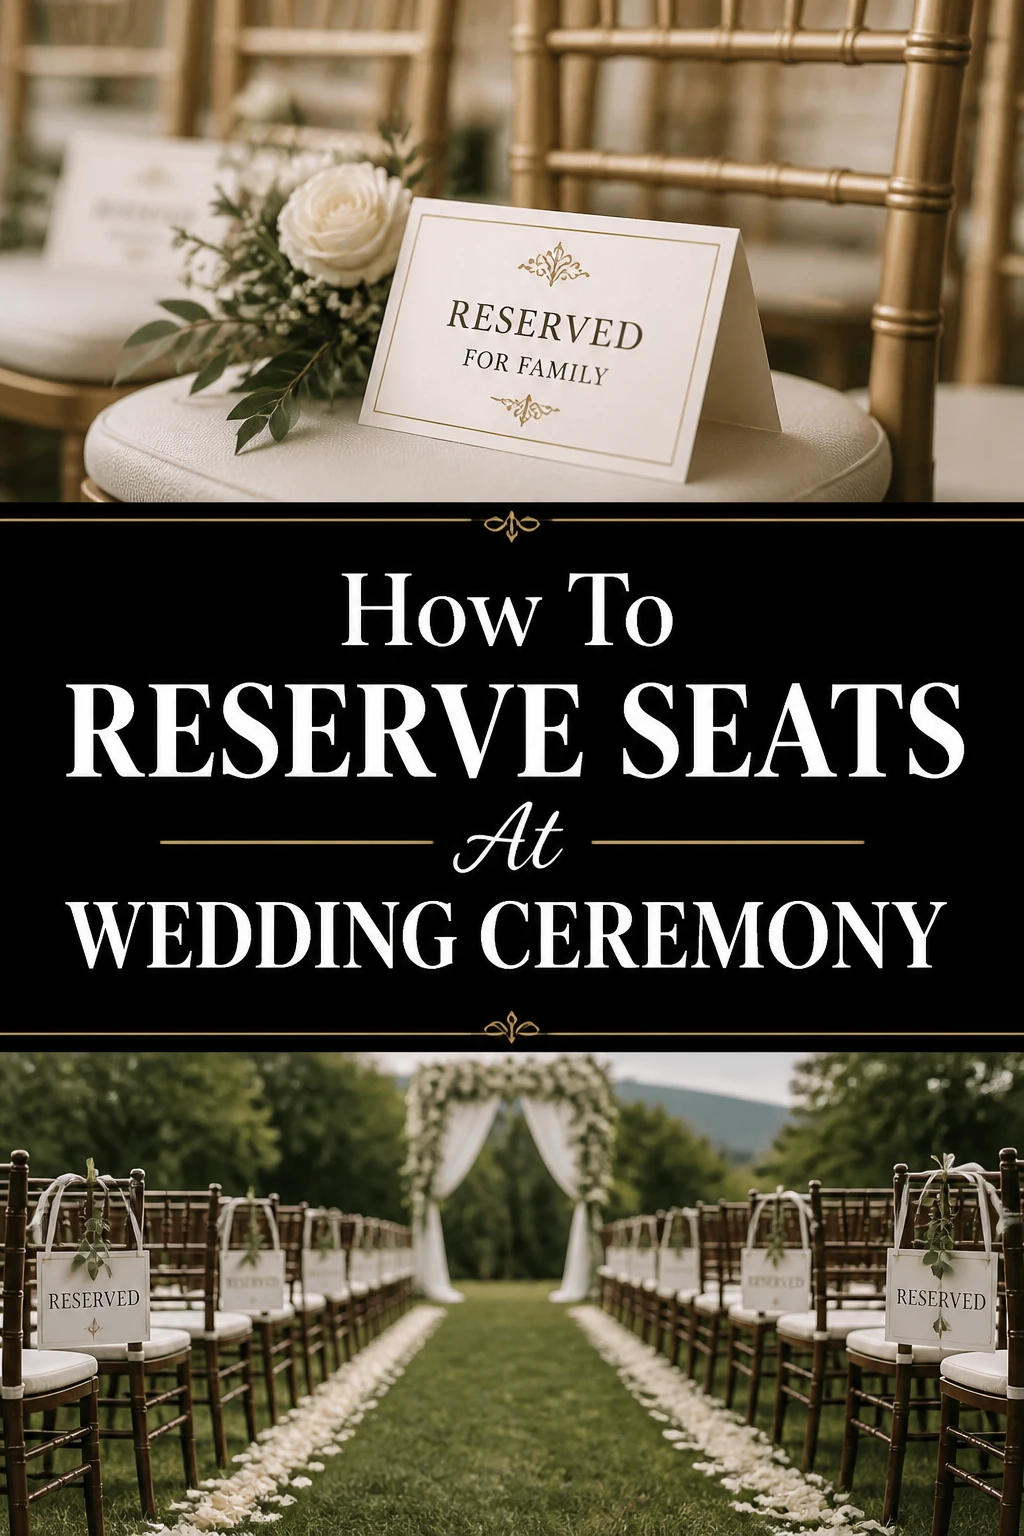
💍 How To Reserve Seats At Wedding Ceremony

Wedding Planning
No fluff, no drama. Just easy weekly advice, planning shortcuts, and gentle reminders to help you actually enjoy your engagement.
I remember the chaos at my cousin’s wedding. Guests awkwardly milled about, unsure where to sit, leading to delays and a bit of frustration. Proper seating arrangements could have easily prevented that stress.
This guide will help you create a smooth, organized ceremony experience for everyone involved.
Quick Overview
This guide will walk you through the process of thoughtfully reserving seats for your wedding ceremony, ensuring comfort and order. You will learn to identify key considerations, plan effectively, and communicate your arrangements clearly.
- Time needed: Approximately 4-8 hours spread over several weeks
- Difficulty: Intermediate
- What you’ll need: Guest list, venue layout, communication tools, reserved signs
Step-by-Step Instructions
Step 1: Understand the “Why” Behind Reserved Seating
Reserved seating at a wedding ceremony isn’t about formality; it’s about comfort and logistics. It ensures immediate family and VIPs have prime viewing spots. This also prevents awkward scrambling or delays just before the ceremony begins.
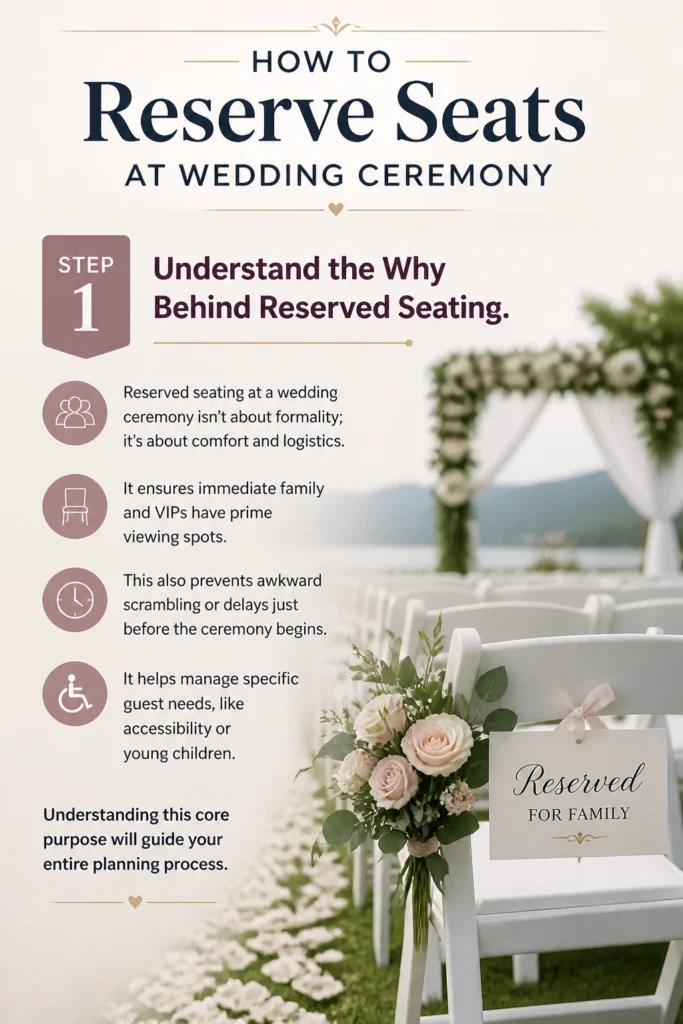
It helps manage specific guest needs, like accessibility or young children. Understanding this core purpose will guide your entire planning process.
Step 2: Gather Your Essential Information
Begin by compiling a complete guest list, noting any special relationships or needs. Obtain a detailed layout of your ceremony venue, including aisle location, alter/stage, and entrance points. Know the total number of seats available and any fixed elements like columns or permanent fixtures.
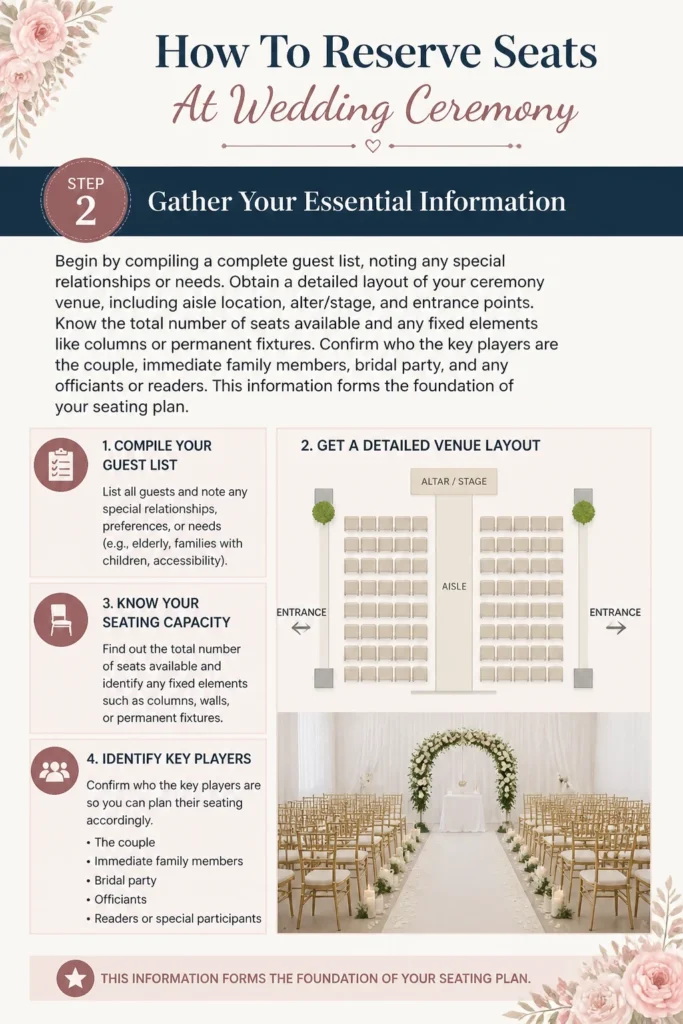
Confirm who the key players are: the couple, immediate family members, bridal party, and any officiants or readers. This information forms the foundation of your seating plan.
Step 3: Define Your Seating Priorities and Goals
Start by identifying who absolutely needs a reserved seat. This typically includes the couple’s parents, grandparents, siblings, and the bridal party not standing at the altar. Consider any elderly guests or those with mobility issues who might benefit from an aisle seat or closer proximity.
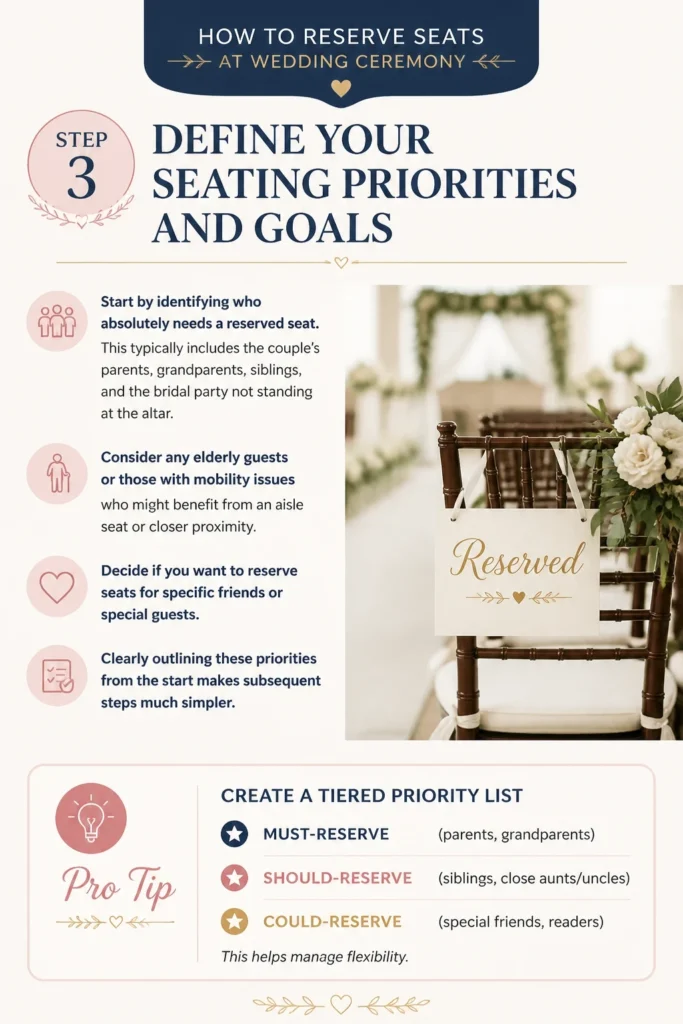
Decide if you want to reserve seats for specific friends or special guests. Clearly outlining these priorities from the start makes subsequent steps much simpler.
Pro Tip: Create a tiered priority list: Must-reserve (parents, grandparents), Should-reserve (siblings, close aunts/uncles), and Could-reserve (special friends, readers). This helps manage flexibility.
Step 4: Sketch Initial Layouts and Possibilities
Using your venue map, start sketching out potential seating arrangements. Begin by placing the highest priority guests in the front rows. Visualize the flow of guests entering and exiting the seating area.
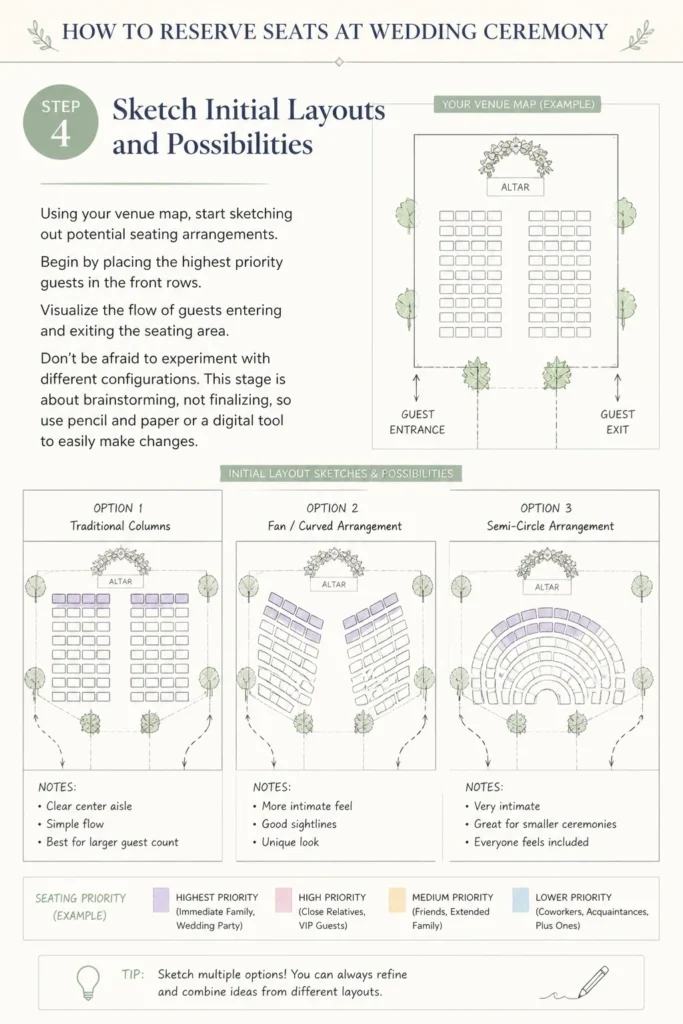
Don’t be afraid to experiment with different configurations. This stage is about brainstorming, not finalizing, so use pencil and paper or a digital tool to easily make changes.
Step 5: Consider Ceremony Flow and Logistics
Think about how the bridal party will enter and exit the ceremony space. Ensure reserved seating doesn’t block crucial pathways or photography angles. Account for the specific traditions of your ceremony, such as unity candles or sand ceremonies, and ensure designated seating doesn’t interfere.
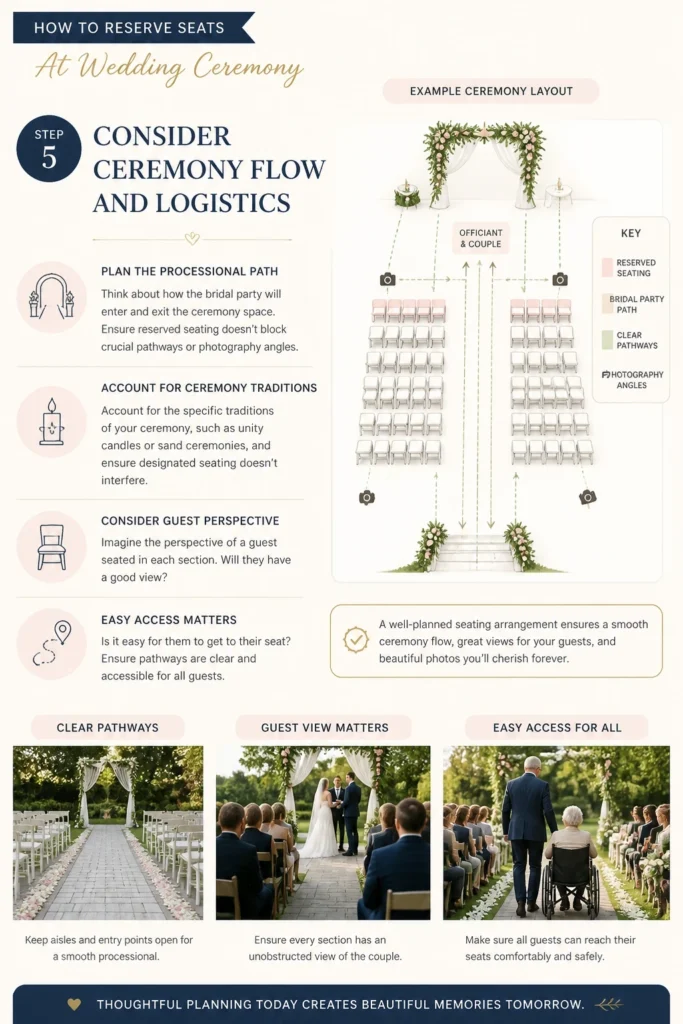
Imagine the perspective of a guest seated in each section. Will they have a good view? Is it easy for them to get to their seat?
Step 6: Consult with Key Individuals
Once you have a preliminary plan, share it with the couple, wedding planner, and potentially immediate family members. Their input is invaluable, as they might recall important family dynamics or forgotten guests. Discuss any potential conflicts or sensitivities that might arise from your proposed arrangements.
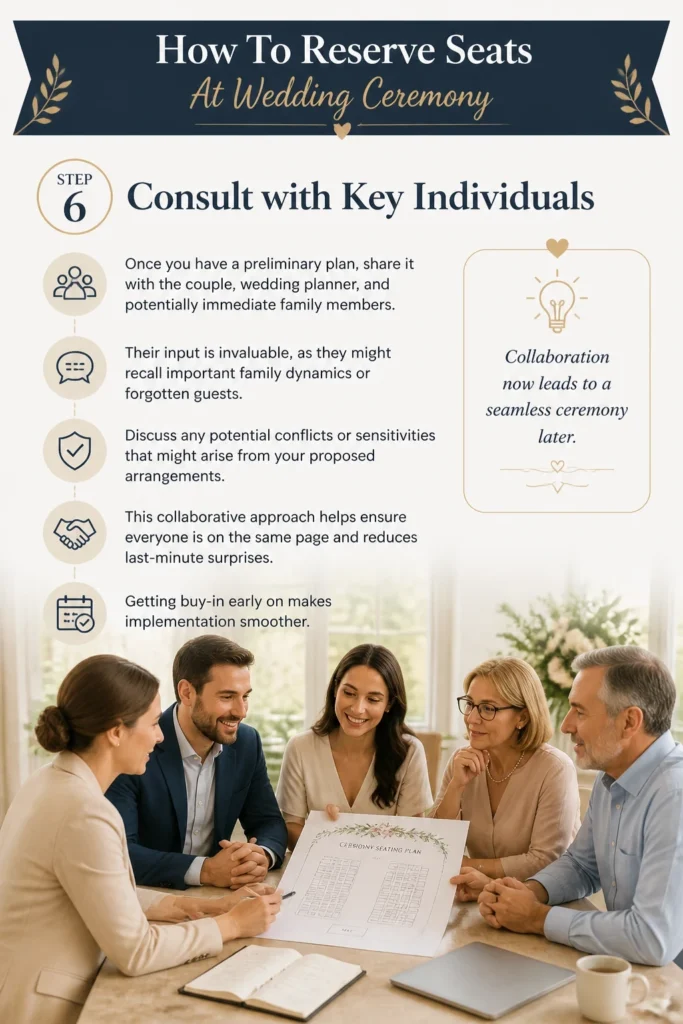
This collaborative approach helps ensure everyone is on the same page and reduces last-minute surprises. Getting buy-in early on makes implementation smoother.
Step 7: Create Clear and Elegant Reserved Markers
Design or purchase “Reserved” signs that complement your wedding’s aesthetic. These can range from simple printed cards to more elaborate wooden or acrylic signs. Ensure the signs are clearly visible and easy to understand.
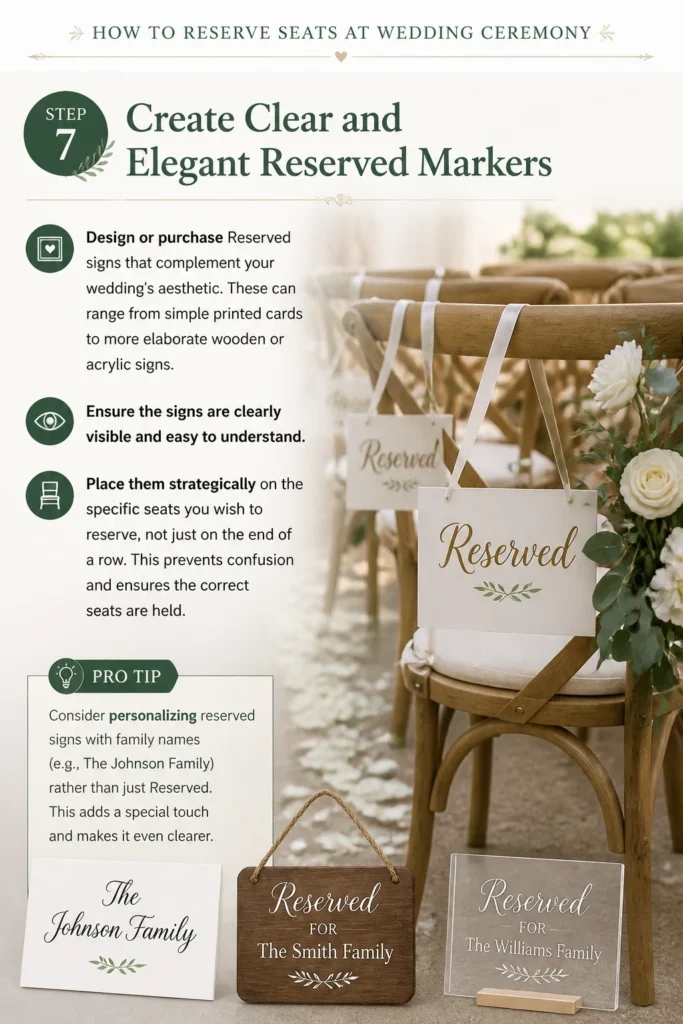
Place them strategically on the specific seats you wish to reserve, not just on the end of a row. This prevents confusion and ensures the correct seats are held.
Pro Tip: Consider personalizing reserved signs with family names (e.g., “The Johnson Family”) rather than just “Reserved.” This adds a special touch and makes it even clearer.
Step 8: Communicate Your Seating Plan Clearly
Inform your ushers or designated attendants about the reserved seating plan well in advance. Provide them with a diagram and a list of who is expected to sit where. They are your frontline for guiding guests and managing any confusion.
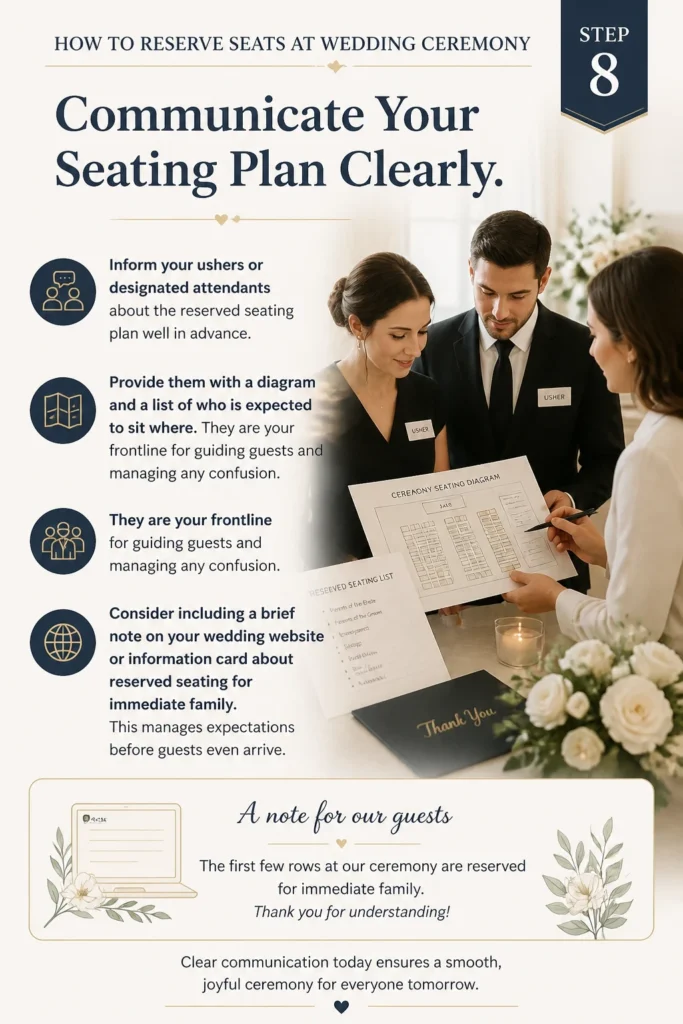
Consider including a brief note on your wedding website or information card about reserved seating for immediate family. This manages expectations before guests even arrive.
Step 9: Brief Your Ushers and Attendants
Hold a quick meeting or send detailed instructions to your ushers. Explain the “why” behind the reserved seating and point out specific rows or seats. Emphasize their role in politely guiding guests and answering questions.
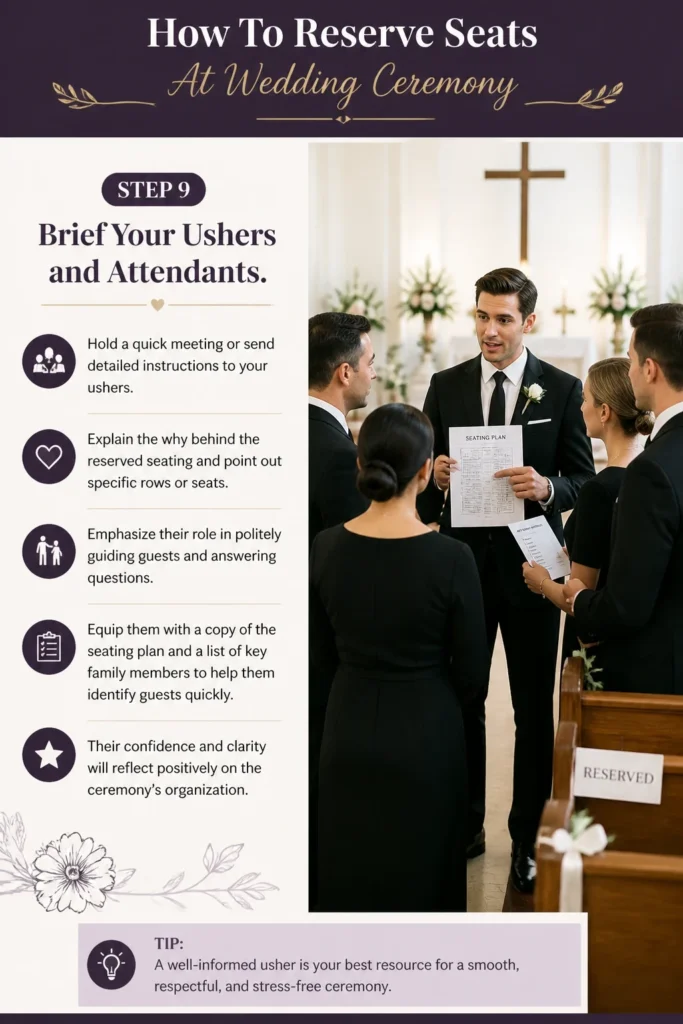
Equip them with a copy of the seating plan and a list of key family members to help them identify guests quickly. Their confidence and clarity will reflect positively on the ceremony’s organization.
Step 10: Conduct a Final Walk-Through
Before guests arrive, do a complete walk-through of the ceremony space. Check that all reserved signs are in place and clearly visible. Confirm that all pathways are clear and that the seating aligns with your vision.
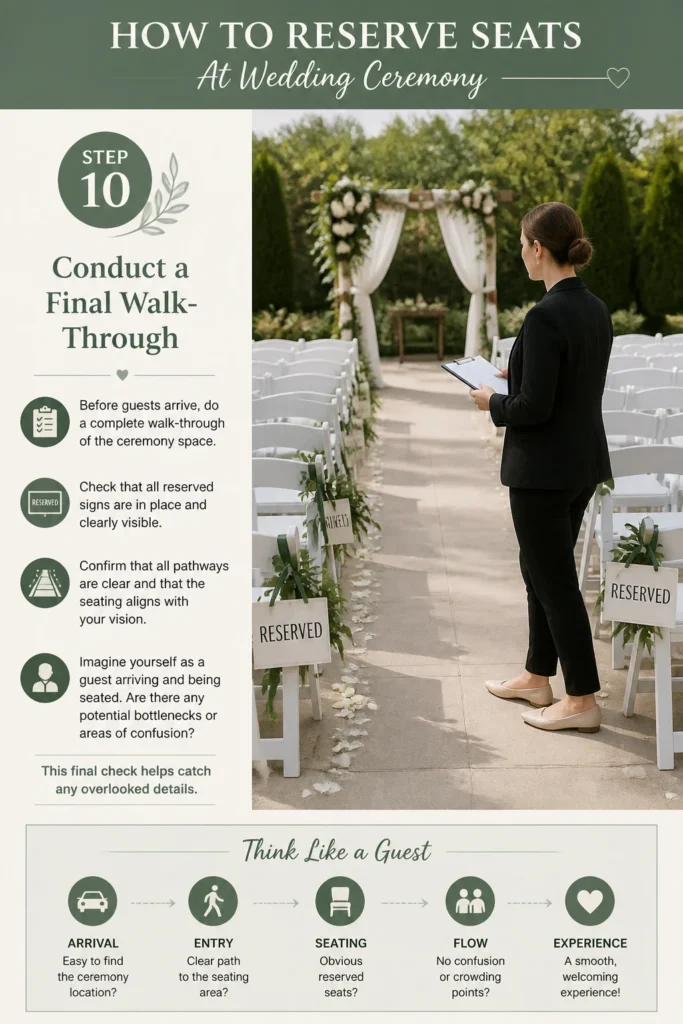
Imagine yourself as a guest arriving and being seated. Are there any potential bottlenecks or areas of confusion? This final check helps catch any overlooked details.
Common Mistakes to Avoid
Over-Reserving Seats
Reserving too many seats can lead to large empty sections, making the ceremony feel less intimate and potentially causing confusion for other guests. Only reserve seats for those who genuinely need them for proximity or special considerations. Instead, focus on key individuals and allow other guests to fill in naturally.
Forgetting Accessibility Needs
Overlooking guests with mobility challenges, hearing impairments, or visual needs can create discomfort. Ensure there are easily accessible seats, perhaps on an aisle or closer to the front, and consider space for wheelchairs. Always ask guests about specific needs when sending invitations.
Not Communicating with Ushers
Your ushers are your most valuable asset in managing seating, but only if they are fully informed. Failing to brief them on the reserved seating plan, who sits where, and how to politely guide guests will lead to disorganization. Provide them with a clear diagram and instructions.
Ignoring Family Dynamics
Weddings can sometimes bring underlying family tensions to the surface. Be mindful of any known family rifts or sensitivities when planning seating. Avoid placing individuals who are not on good terms in adjacent reserved seats. A little foresight here can prevent significant discomfort.
Troubleshooting
Unexpected No-Shows for Reserved Seats
Sometimes, even priority guests might unexpectedly not attend, leaving reserved seats empty. Instruct your ushers to assess the situation during guest arrival. If a reserved section remains mostly empty just before the ceremony, they can discreetly remove the signs or allow other guests to fill those seats, ensuring the space looks full and welcoming.
Confused Guests About Seating
Guests might be unsure if a seat is reserved or where they should sit. Ensure your reserved signs are very clear and strategically placed. Empower your ushers to approach confused guests proactively, offer guidance, and politely direct them to appropriate seating. A friendly usher can quickly resolve most seating questions.
Last-Minute VIP Additions or Changes
Occasionally, an important guest might be added at the last minute or a priority guest’s needs change. Have a contingency plan. This might involve an usher quickly relocating a “reserved” sign to an available seat or discreetly asking another guest to shift if absolutely necessary. Flexibility and clear communication with ushers are key.
Key Takeaways
- Reserved seating is primarily for VIPs, immediate family, and guests with special needs.
- Start planning early by gathering guest lists and venue layouts.
- Prioritize who needs reserved seating to avoid over-reserving.
- Communicate your plan clearly with ushers and the wedding party.
- Use clear, aesthetically pleasing reserved signs.
- Always conduct a final walk-through before the ceremony begins.
Frequently Asked Questions
Who typically gets reserved seats at a wedding ceremony?
Typically, reserved seats are for the immediate family of the couple, including parents, stepparents, grandparents, and siblings. The bridal party not standing at the altar, the officiant’s family, and any special guests like readers or godparents often receive reserved seating too. It ensures they have prime viewing and feel honored.
When should I finalize the reserved seating plan?
It’s best to finalize your reserved seating plan about 1-2 weeks before the wedding. This allows enough time to create and place signs, brief your ushers, and account for any last-minute RSVP changes. Earlier planning gives you flexibility, but final confirmation should wait until you have a clear guest count.
What about children in reserved seating areas?
Children who are part of the immediate family or bridal party should be included in the reserved seating plan with their parents. For other children, it’s generally best to allow parents to choose seating that suits their family’s needs, often near an aisle for easy exits. Clearly communicate this to avoid confusion.
Can guests move reserved signs if they want to sit elsewhere?
Guests should be discouraged from moving reserved signs. These signs are placed for a specific reason and often for specific individuals. Ushers should politely intervene if they see guests attempting to move signs, explaining the purpose of the reserved seating and guiding them to open, unreserved seats.
Our Top Recommended Finds
- Elegant Wooden “Reserved” Signs: These add a sophisticated touch and are durable for multiple uses. They clearly communicate the seating designation.
- Digital Guest List Manager App: An app helps track RSVPs, dietary restrictions, and seating preferences efficiently. This streamlines the entire planning process.
- Wedding Planning Checklist & Organizer: A comprehensive planner ensures you don’t miss any critical steps. It keeps all your details in one convenient place.
Crafting Your Perfect Ceremony Experience
Planning wedding ceremony seating might seem like a small detail, but it profoundly impacts the flow and atmosphere of your special day. A well-organized seating arrangement ensures comfort for your most cherished guests and a smooth, joyful start to your celebration.
Don’t let seating logistics become a source of stress. Take these steps today to create a thoughtful and seamless experience for everyone attending your wedding. Start sketching your layout and briefing your team; your future self will thank you for it.
Wedding Planning
No fluff, no drama. Just easy weekly advice, planning shortcuts, and gentle reminders to help you actually enjoy your engagement.