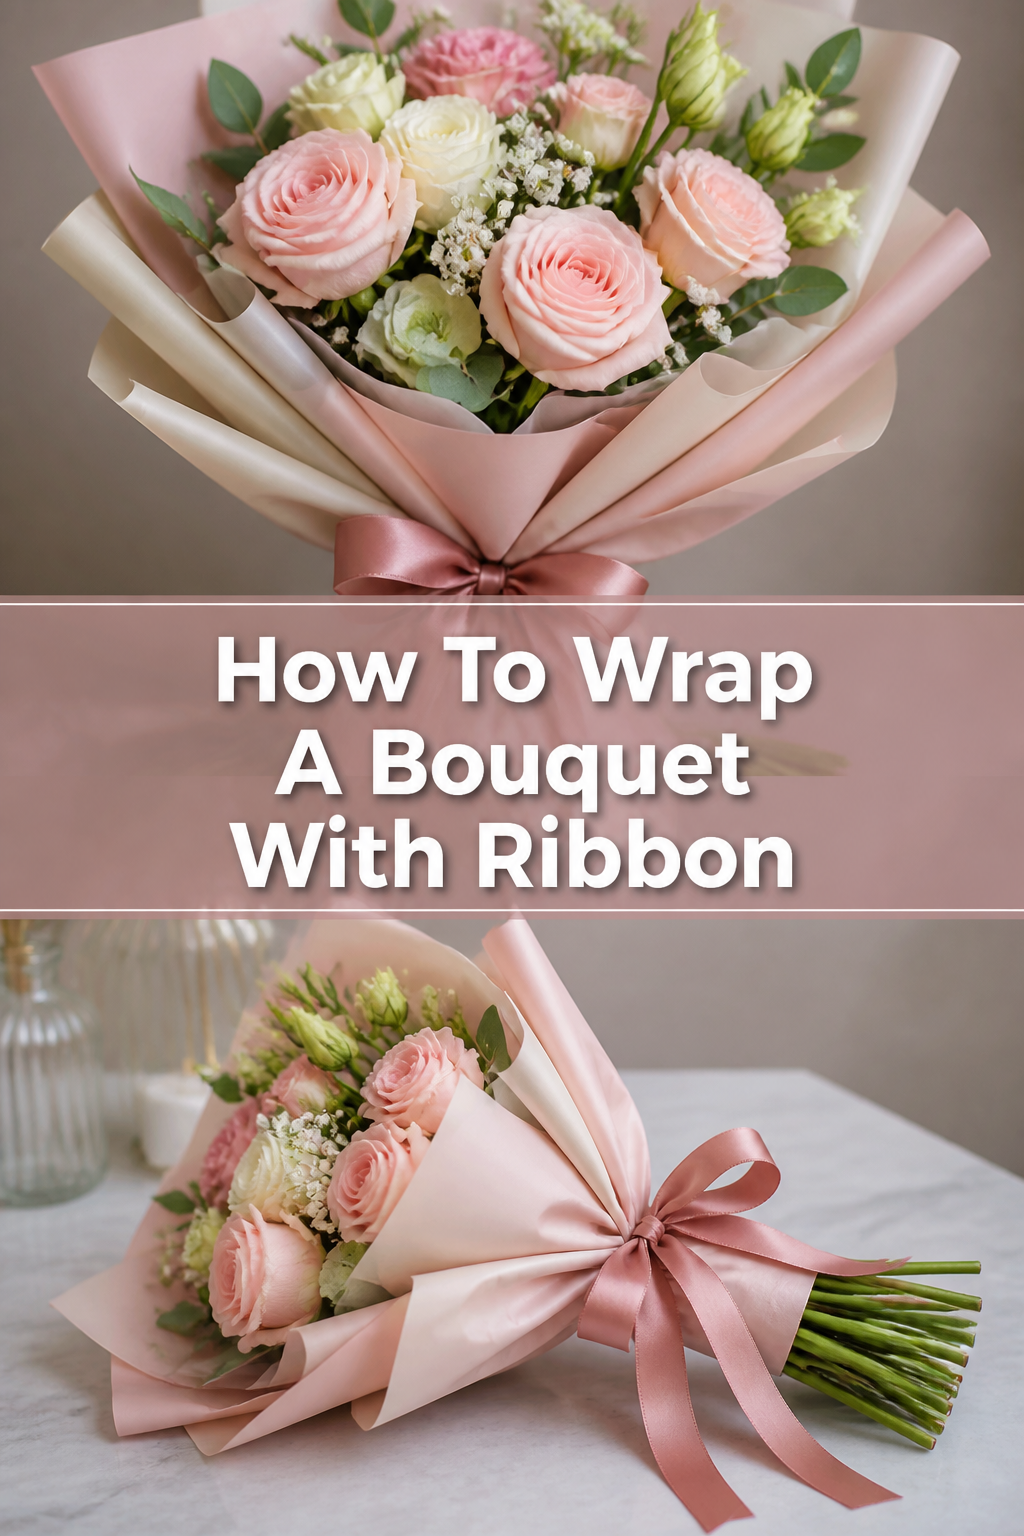
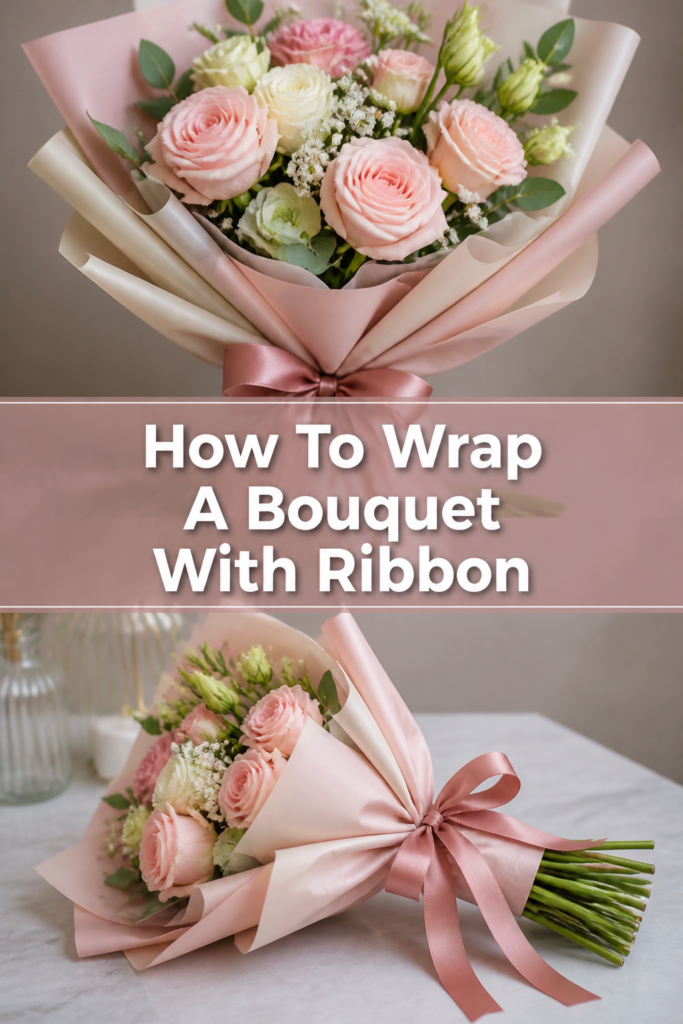
💐 How To Wrap A Bouquet With Ribbon
A beautiful bouquet is only half-finished until the stems are properly dressed.
I remember the first wedding bouquet I ever made where I forgot to secure the ribbon tightly; it slipped right off during the photos.
Since then, I have perfected the art of the ribbon wrap to ensure every arrangement looks professional and stays secure from the ceremony to the reception.
Quick Overview
Wrapping a bouquet is a fundamental skill that elevates a bundle of flowers into a polished floral arrangement.
- Time needed: 10 to 15 minutes
- Difficulty: Beginner
- What you’ll need: 1.5-inch wide ribbon, floral tape, pearl-headed pins, sharp fabric scissors, and your prepared bouquet.
Step-by-Step Instructions
Step 1: Prepare the Stems
Strip all the foliage and thorns from the bottom 6 to 8 inches of the flower stems.
Ensure the stems are completely dry before you begin the wrapping process.
Trim the ends of the stems so they are all the same length, creating a neat, flat base for the bouquet to stand or be held.
Pro Tip: Use a paper towel to wipe down each individual stem to remove any lingering sap or water that might stain your ribbon.
Step 2: Create a Secure Foundation
Wrap the stems with a layer of green floral tape starting about two inches below the flower heads.
Stretch the tape as you wrap it downward to activate the adhesive properties of the floral tape.
Stop wrapping about two inches above the bottom of the stems to allow the flowers to drink water if they are placed in a vase later.
Smooth the tape down with your fingers to ensure there are no lumps or bumps that will show through the ribbon.
Step 3: Measure and Cut Your Ribbon
Determine how much ribbon you need by multiplying the length of the handle by three.
Cut the ribbon at a sharp 45-degree angle to prevent fraying while you are working with it.
Choose a ribbon width that complements the size of the bouquet; 1.5 inches is standard, but larger bouquets may require 2-inch ribbon.
Step 4: Anchor the Ribbon at the Top
Place the end of the ribbon at the top of the handle, just below the flower heads.
Fold a small half-inch tab of the ribbon over itself to create a clean, finished edge.
Secure this starting point with a single pearl-headed pin pushed directly into the center of the stems at a downward angle.
Hold the ribbon firmly with your thumb as you prepare to make the first full rotation around the stems.
Step 5: Execute the Downward Spiral
Wrap the ribbon around the stems in a downward motion, overlapping the previous layer by about half the width of the ribbon.
Maintain constant tension on the ribbon so it stays taut and does not slip or gather.
Check the spacing frequently to ensure the “seams” of the ribbon are even all the way down the handle.
Pro Tip: Keep your non-dominant hand near the top of the bouquet to rotate the flowers while your dominant hand guides the ribbon.
Step 6: Return to the Top
Reach the bottom of your taped section and then begin wrapping the ribbon back up toward the flower heads.
Apply this second layer to provide a more cushioned feel and to hide any shadows from the green floral tape underneath.
Ensure the ribbon lies flat against the first layer without creating bulk or uneven thickness.
Step 7: Secure the Final Edge
Fold the end of the ribbon under itself when you reach the top of the handle again.
Insert three to five pearl-headed pins in a straight vertical line to secure the ribbon end.
Push the pins in at an upward angle toward the center of the bouquet to ensure they don’t poke out the other side.
Space the pins evenly to create a decorative “button” look that adds a touch of elegance to the handle.
Step 8: Add the Decorative Bow
Tie a separate piece of ribbon around the handle if you want a classic bow finish.
Loop the ribbon into a bow and pull the tails downward so they frame the stems beautifully.
Trim the tails of the bow at an angle or into a “V” shape for a professional boutique appearance.
Common Mistakes to Avoid
Leaving Stems Damp
If the stems are even slightly wet, the moisture will eventually soak through the ribbon.
This creates unsightly dark spots on satin or silk and can cause the ribbon to lose its grip and slide down the handle.
Always double-check the “neck” of the bouquet where water often hides between the stems.
Wrapping Too Loosely
A loose wrap will inevitably shift as the person holding the bouquet moves their hand.
This creates gaps where the floral tape or raw stems become visible to the camera or guests.
Pull the ribbon tight enough that it feels like a solid handle rather than a fabric sleeve.
Using the Wrong Pin Angle
Many beginners push pins straight through the stems, which can result in sharp points sticking out the other side.
This is a safety hazard for the person carrying the flowers and can snag delicate dress fabrics.
Always angle your pins upward or downward into the densest part of the stem cluster.
Ignoring the Ribbon Grain
Some ribbons, like grosgrain or certain satins, have a specific “right” and “wrong” side.
If you twist the ribbon while wrapping, you may accidentally show the dull side of the fabric.
Keep the ribbon flat and check that the shiny or patterned side is always facing outward.
Troubleshooting
The Ribbon is Slipping Down
This usually happens because the foundation of floral tape wasn’t sticky enough or was omitted entirely.
If the ribbon starts to slide, remove it and add a fresh layer of floral tape, making sure to stretch the tape to release the wax adhesive.
You can also use a small piece of double-sided adhesive tape on the stems before you start the ribbon wrap.
The Pins Won’t Stay In
If your pins are falling out, the stems inside the wrap might be too soft or too thin.
Try to aim the pins for the thickest stems in the center of the bundle rather than the outer edges.
If the stems are very soft, you may need to wrap a small piece of cardboard or a wooden dowel inside the floral tape to provide a solid core.
The Ribbon Looks Lumpy
Lumpiness is often caused by the stems not being bundled tightly enough before wrapping.
Use a rubber band or a cable tie to pull the stems into a perfect cylinder before applying your floral tape.
Ensure all leaf nodes and bumps have been shaved off the stems with a floral knife for a smooth surface.
Key Takeaways
- Clean stems are the most important part of a professional-looking ribbon wrap.
- Floral tape provides the necessary friction to keep the ribbon from sliding during use.
- Constant tension ensures the ribbon stays smooth and secure throughout the day.
- Double-layering the ribbon creates a high-end, opaque finish that feels comfortable in the hand.
- Proper pin placement is essential for both the aesthetic look and the safety of the holder.
- Angled cuts on the ribbon ends prevent fraying and give the bouquet a polished look.
Frequently Asked Questions
What type of ribbon is best for bouquets?
Satin ribbon is the most popular choice because of its classic shine and smooth texture. However, grosgrain ribbon is more durable and offers better grip, while velvet ribbon is excellent for winter weddings or a vintage aesthetic.
How many pins should I use to secure the ribbon?
Generally, three to five pins are sufficient for a standard bouquet handle. Using an odd number of pins often looks more visually appealing, and they should be spaced about half an inch apart in a straight vertical line.
Can I use hot glue instead of pins?
While hot glue can be used, it is not recommended for fresh flowers because the heat can damage the delicate stems. Pins are the traditional and safest method, but if you must use glue, a cold-melt glue gun is a better alternative.
How far down the stems should I wrap?
Most florists wrap the ribbon about 4 to 6 inches down the handle, leaving the bottom 1 to 2 inches of the stems exposed. This allows the bouquet to be placed in a shallow tray of water to stay fresh without getting the ribbon wet.
Our Top Recommended Finds
- Double-Faced Satin Ribbon: This type of ribbon is shiny on both sides, which makes it much easier to wrap without worrying about which side is facing out.
- Pearl-Headed Floral Pins: These are longer than standard sewing pins and have decorative heads that add a jewelry-like finish to your bouquet handle.
- Self-Sealing Floral Tape: Look for a high-quality brand that becomes very tacky when stretched, as this provides the best foundation for your ribbon.
Master the Art of the Perfect Finish
Wrapping a bouquet with ribbon is a satisfying final touch that turns a simple DIY project into a work of art.
Once you have mastered the basic wrap, you can begin experimenting with more advanced techniques like the French braid or adding lace overlays.
Try practicing on a small bundle of grocery store flowers today to build your confidence before your next big event.
The more you practice your tension and pin placement, the more natural the process will become.
Take a moment to look at your finished wrap and see how the color of the ribbon enhances the natural beauty of the blooms.