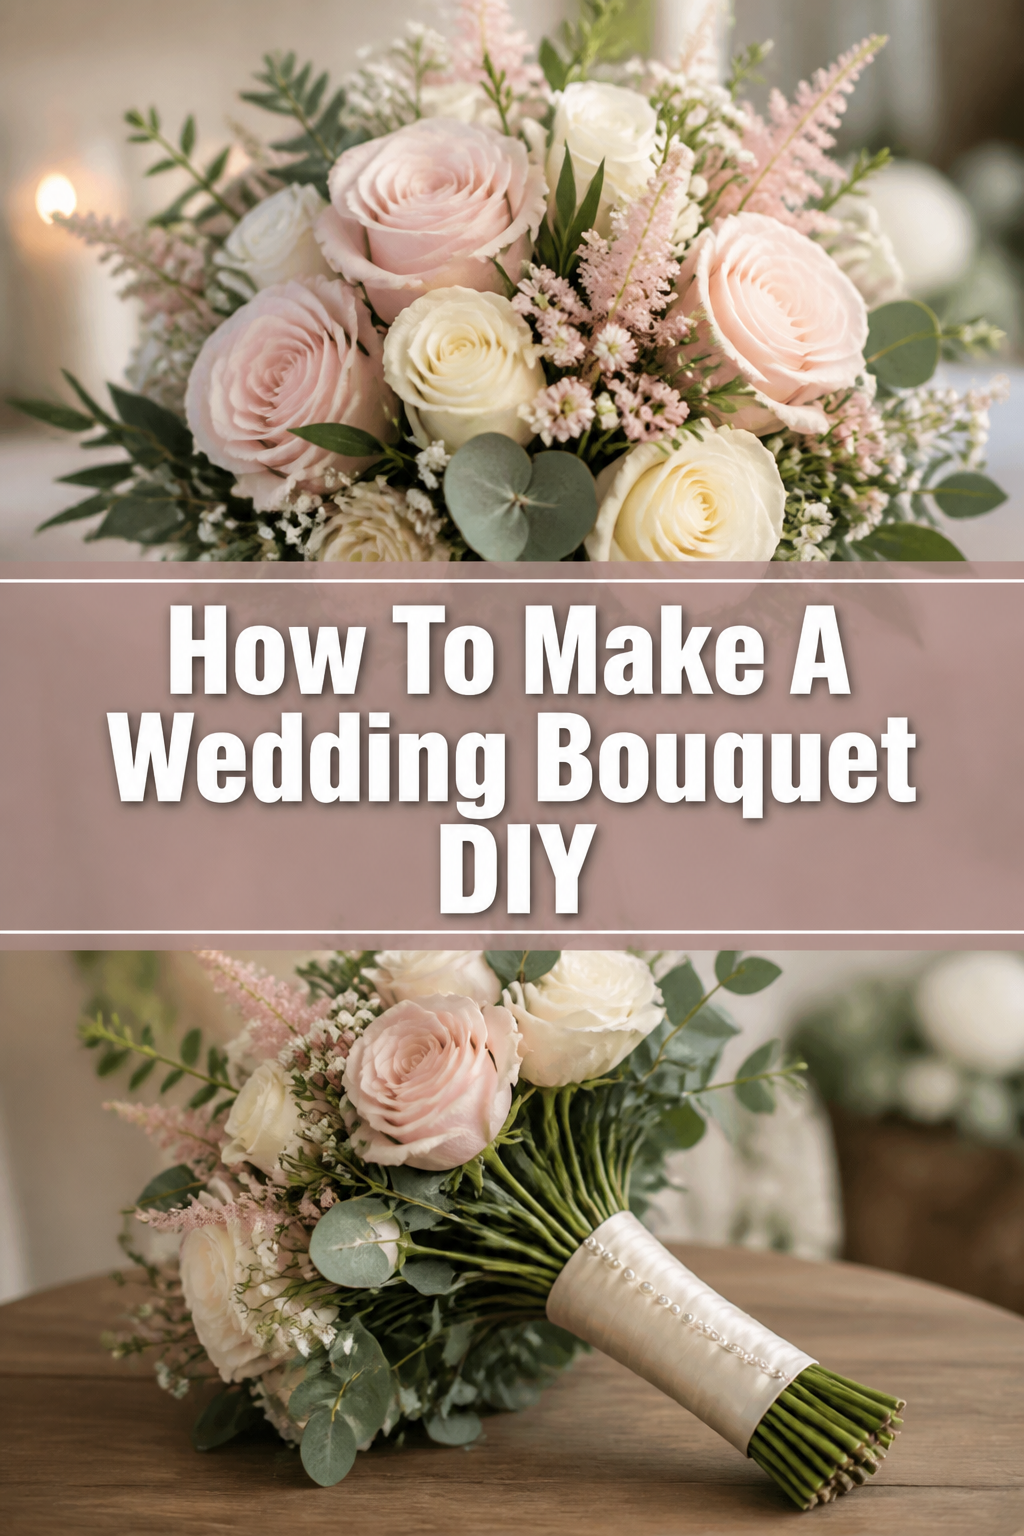
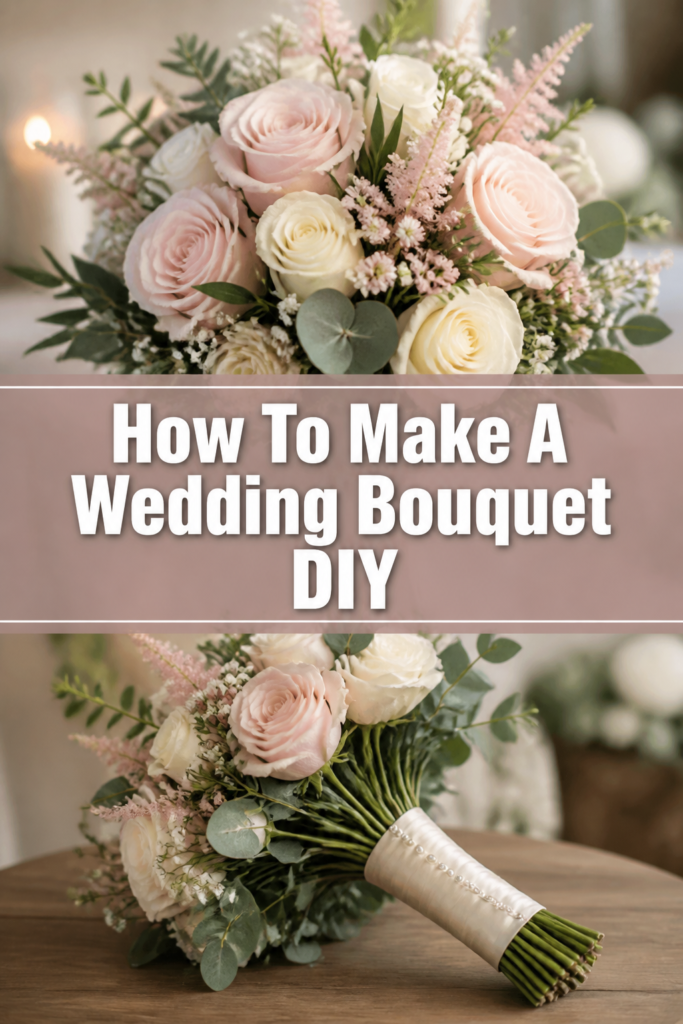
💐 How To Make A Wedding Bouquet DIY
Creating your own wedding flowers is one of the most rewarding ways to add a personal touch to your celebration.
I remember the quiet stillness of the morning before my sister’s wedding, sitting with a pile of fresh eucalyptus and roses, feeling the cool water on my hands as I tucked each stem into place.
This guide draws on years of floral design experience to help you navigate the process with confidence and professional results.
Quick Overview
Designing your own bouquet is a manageable task that requires more patience than artistic genius.
With the right preparation and a few trade secrets, you can create a centerpiece-worthy arrangement that looks like it came straight from a high-end boutique.
- Time needed: 45 to 90 minutes (plus overnight hydration)
- Difficulty: Intermediate
- What you’ll need: Fresh flowers, floral shears, floral tape, ribbon, pins, and a clean bucket of water.
Step-by-Step Instructions
Step 1: Source and Hydrate Your Blooms
Order your flowers to arrive two to three days before the wedding ceremony to ensure they have time to open fully.
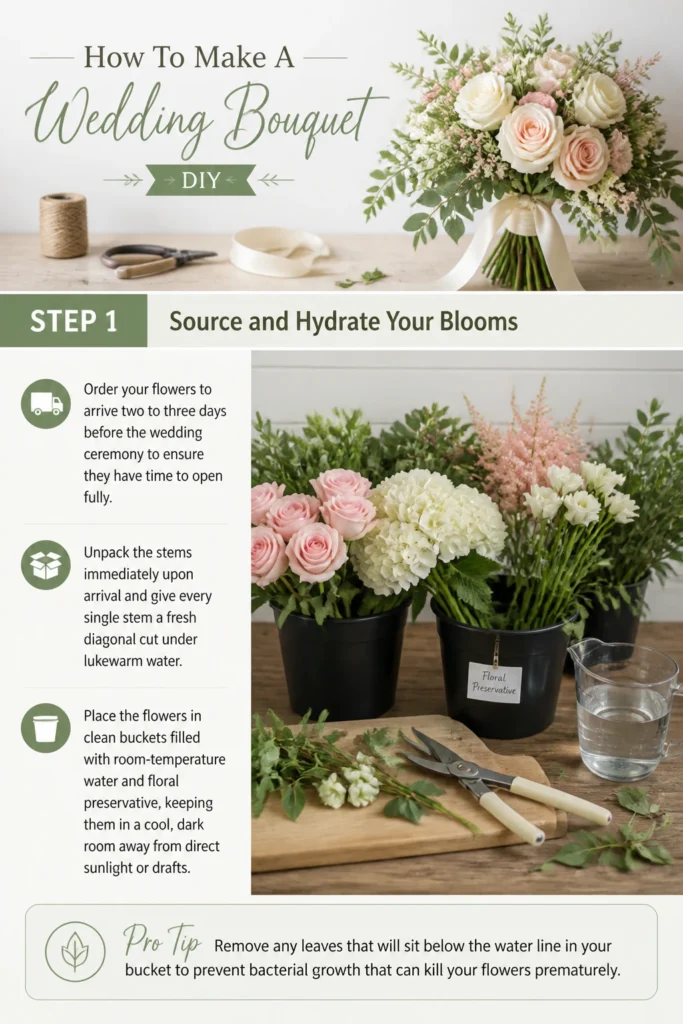
Unpack the stems immediately upon arrival and give every single stem a fresh diagonal cut under lukewarm water.
Place the flowers in clean buckets filled with room-temperature water and floral preservative, keeping them in a cool, dark room away from direct sunlight or drafts.
Pro Tip: Remove any leaves that will sit below the water line in your bucket to prevent bacterial growth that can kill your flowers prematurely.
Step 2: Clean and Prep the Stems
Strip all the foliage from the bottom two-thirds of every stem so you have a clean “handle” to work with later.
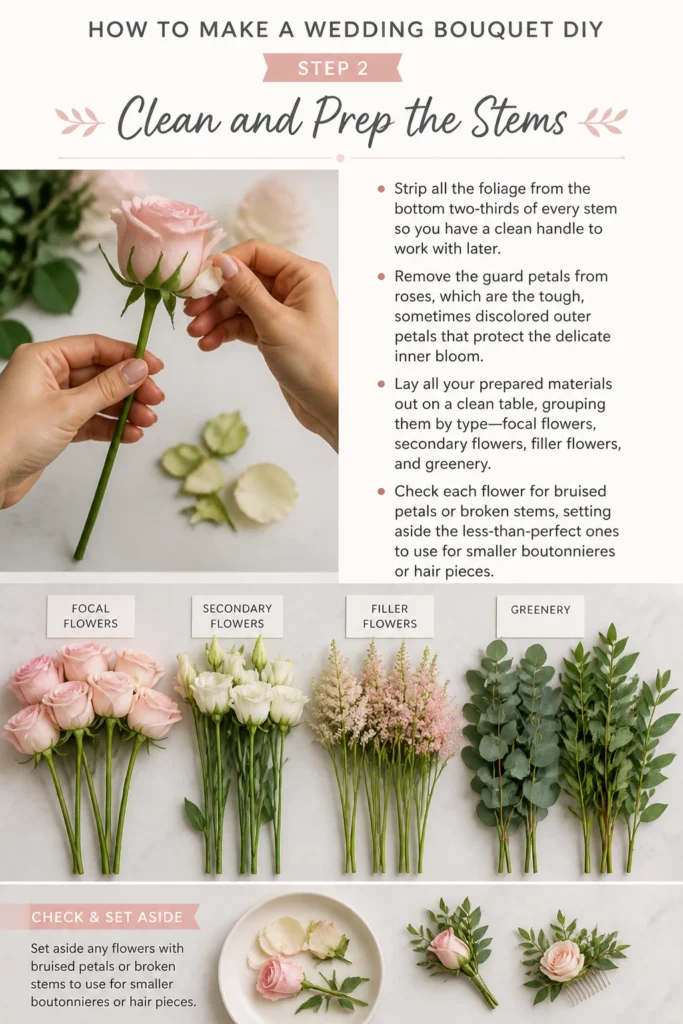
Remove the “guard petals” from roses, which are the tough, sometimes discolored outer petals that protect the delicate inner bloom.
Lay all your prepared materials out on a clean table, grouping them by type: focal flowers, secondary flowers, filler flowers, and greenery.
Check each flower for bruised petals or broken stems, setting aside the less-than-perfect ones to use for smaller boutonnieres or hair pieces.
Step 3: Create the Foundation with Focal Flowers
Select three to five of your largest, most beautiful blooms to serve as the “heart” of the bouquet.
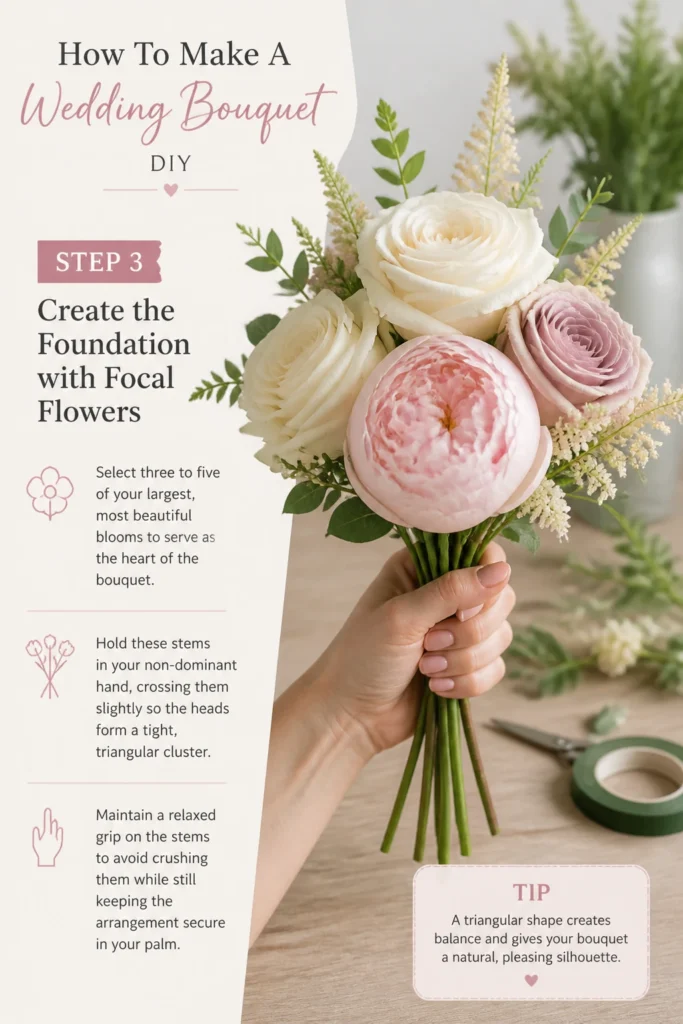
Hold these stems in your non-dominant hand, crossing them slightly so the heads form a tight, triangular cluster.
Maintain a relaxed grip on the stems to avoid crushing them while still keeping the arrangement secure in your palm.
Step 4: Integrate Secondary Flowers
Add your secondary flowers around the focal blooms, placing them at slightly different heights to create depth and visual interest.
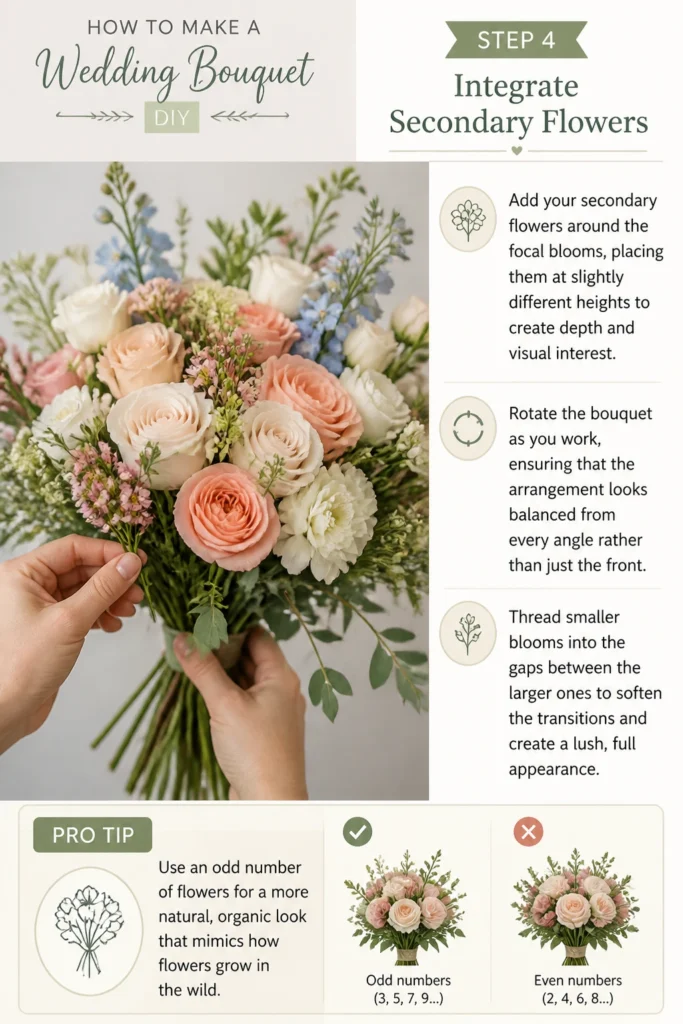
Rotate the bouquet as you work, ensuring that the arrangement looks balanced from every angle rather than just the front.
Thread smaller blooms into the gaps between the larger ones to soften the transitions and create a lush, full appearance.
Pro Tip: Use an odd number of flowers for a more natural, organic look that mimics how flowers grow in the wild.
Step 5: Master the Spiral Technique
Place each new stem into your hand at an angle, always pointing the bottom of the stem in the same circular direction.
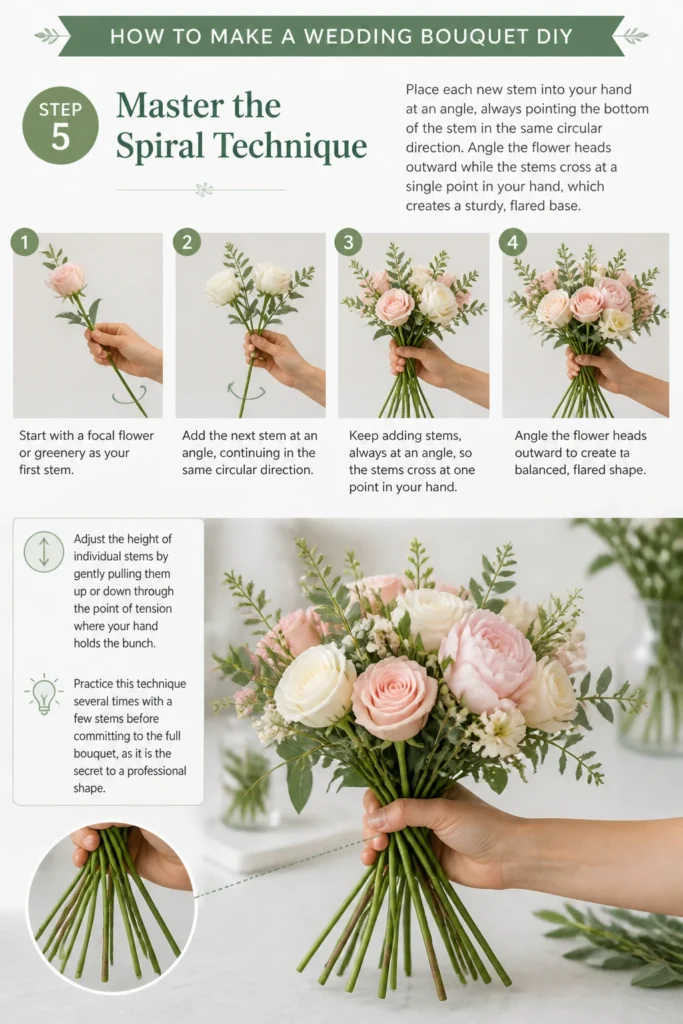
Angle the flower heads outward while the stems cross at a single point in your hand, which creates a sturdy, flared base.
Adjust the height of individual stems by gently pulling them up or down through the “point of tension” where your hand holds the bunch.
Practice this technique several times with a few stems before committing to the full bouquet, as it is the secret to a professional shape.
Step 6: Add Filler and Greenery
Tuck bits of filler flower, like baby’s breath or waxflower, into the small “holes” where you can see down into the center of the bouquet.
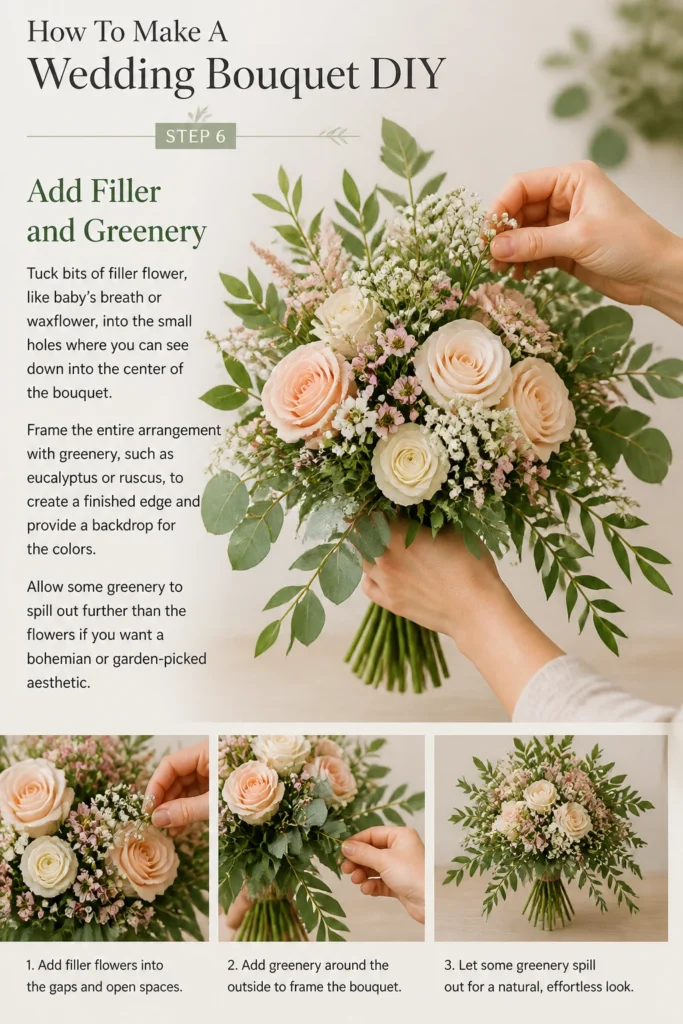
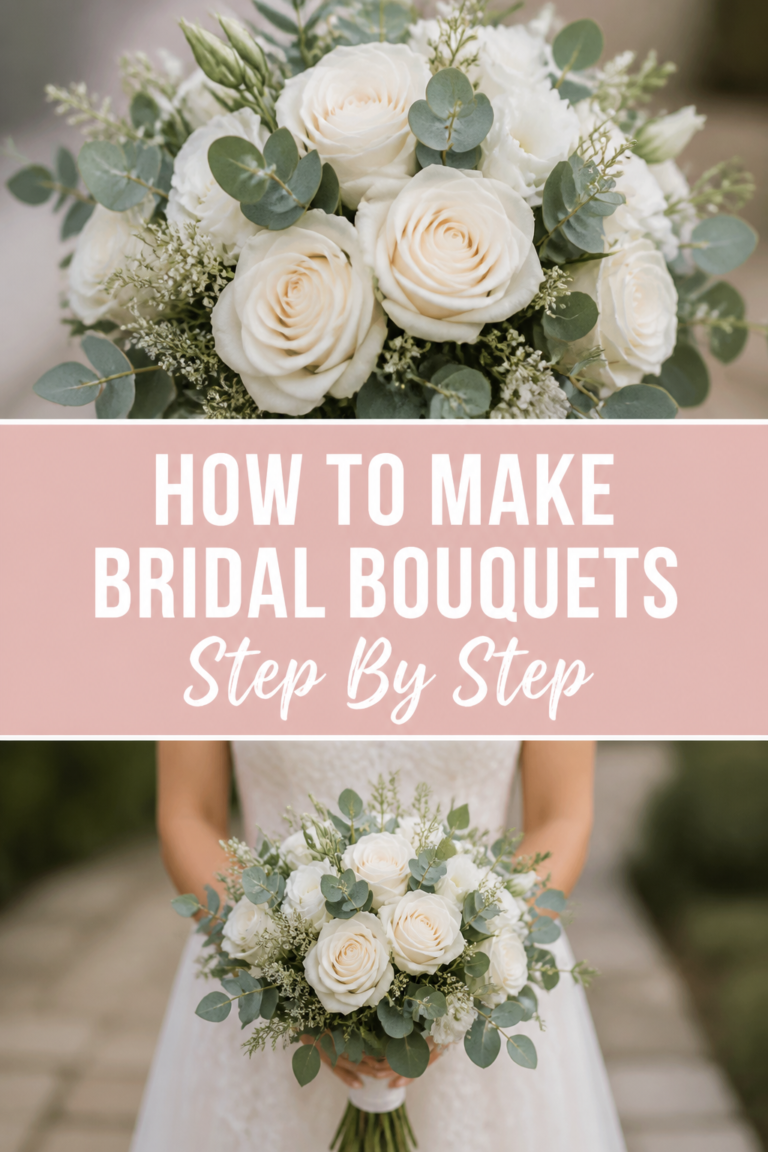
Frame the entire arrangement with greenery, such as eucalyptus or ruscus, to create a finished edge and provide a backdrop for the colors.
Allow some greenery to spill out further than the flowers if you want a bohemian or “garden-picked” aesthetic.
Step 7: Secure the Stems with Floral Tape
Wrap floral tape tightly around the stems starting about an inch below the flower heads.
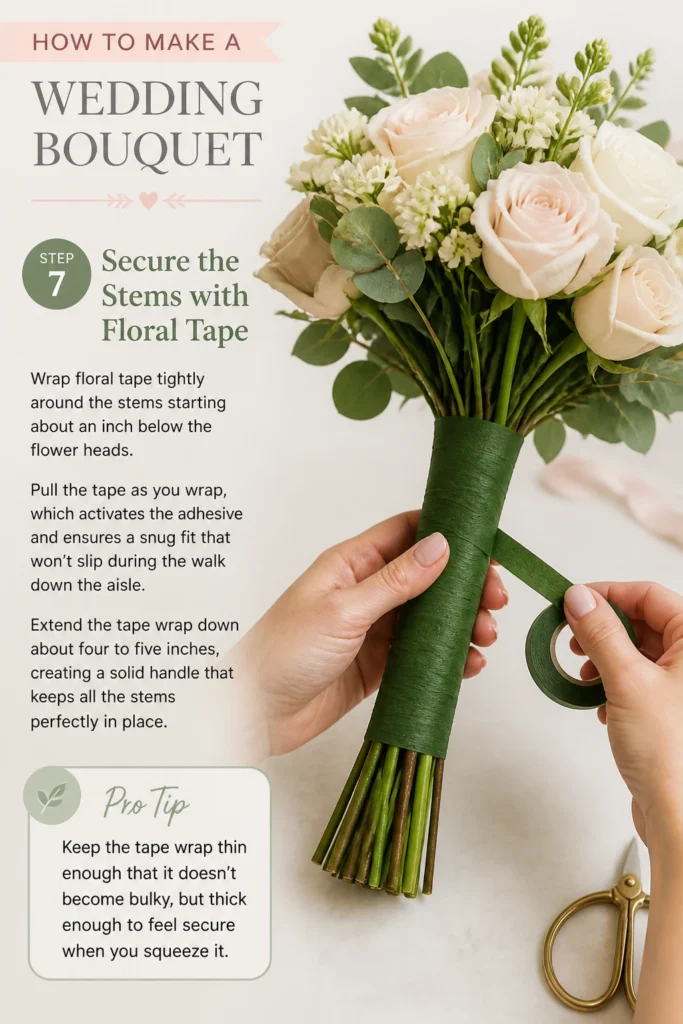
Pull the tape as you wrap, which activates the adhesive and ensures a snug fit that won’t slip during the walk down the aisle.
Extend the tape wrap down about four to five inches, creating a solid handle that keeps all the stems perfectly in place.
Pro Tip: Keep the tape wrap thin enough that it doesn’t become bulky, but thick enough to feel secure when you squeeze it.
Step 8: Trim the Handle
Cut the bottom of the stems so they are all the same length, usually about six to eight inches from the bottom of the flower heads.
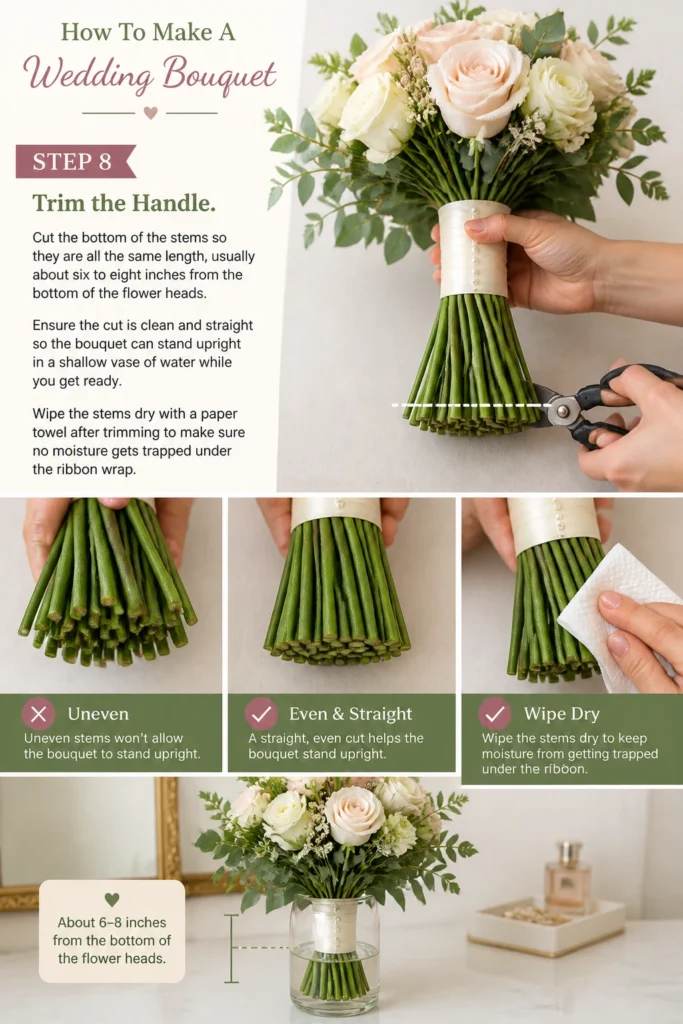
Ensure the cut is clean and straight so the bouquet can stand upright in a shallow vase of water while you get ready.
Wipe the stems dry with a paper towel after trimming to make sure no moisture gets trapped under the ribbon wrap.
Step 9: Apply the Decorative Ribbon
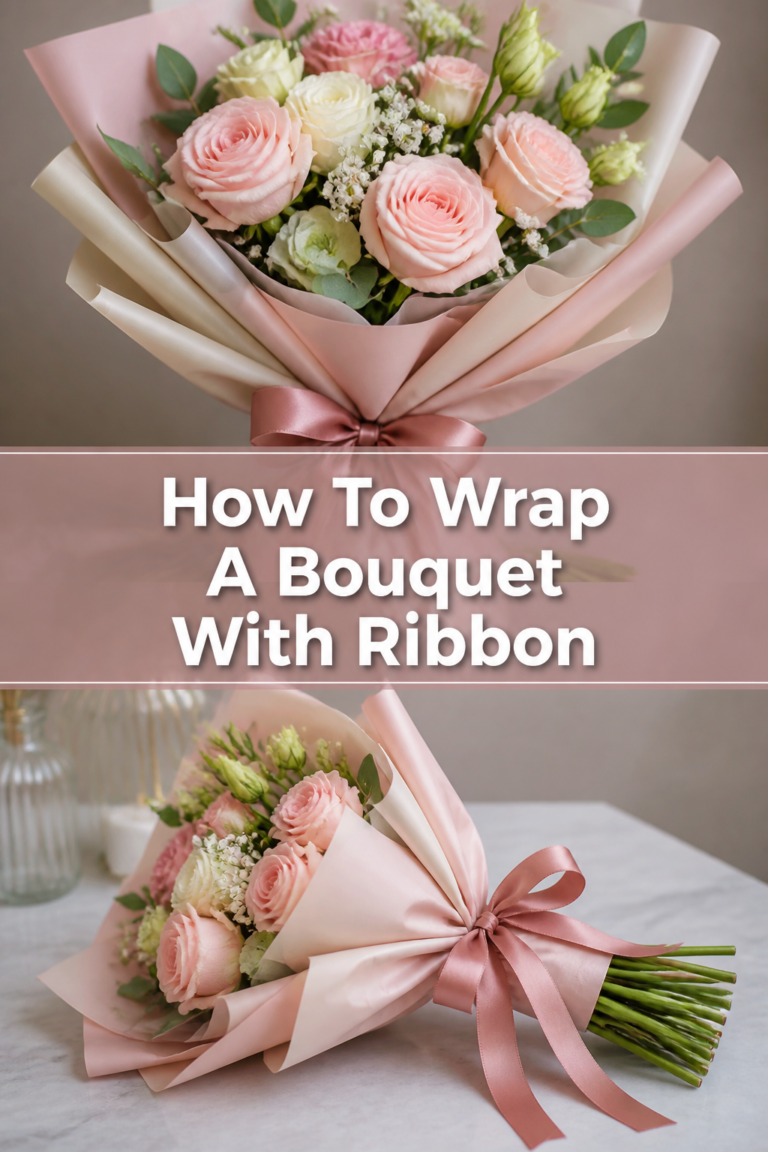
Pin the end of your ribbon to the top of the floral tape, just below the flower heads, using a pearl-headed corsage pin.
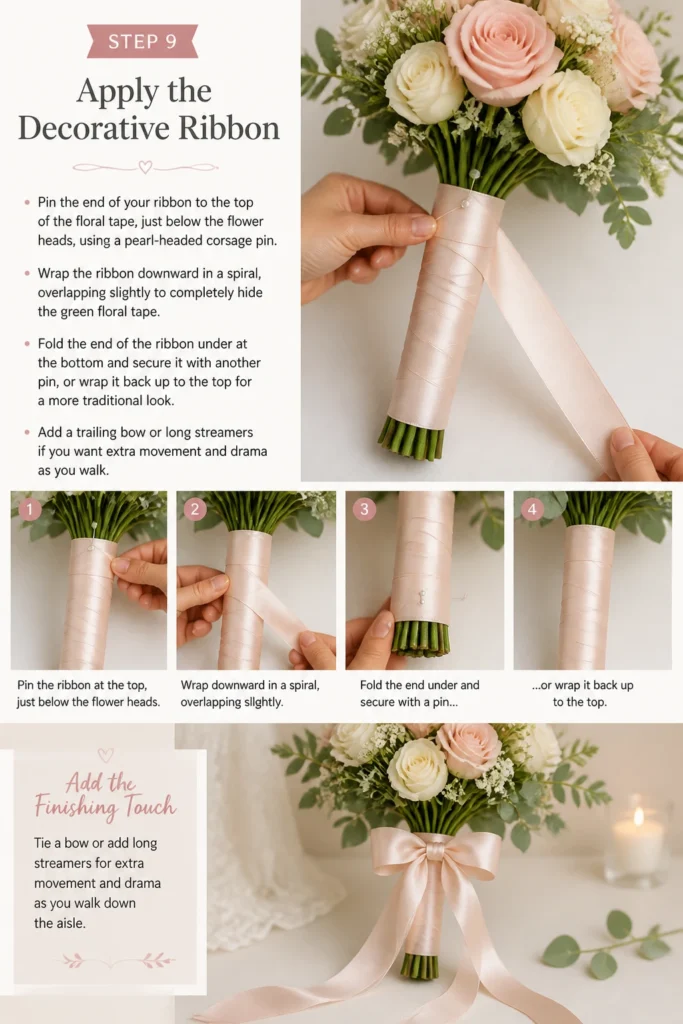
Wrap the ribbon downward in a spiral, overlapping slightly to completely hide the green floral tape.
Fold the end of the ribbon under at the bottom and secure it with another pin, or wrap it back up to the top for a more traditional look.
Add a trailing bow or long streamers if you want extra movement and drama as you walk.
Step 10: Final Hydration and Storage
Place the finished bouquet in a vase with only an inch or two of water, being careful not to let the ribbon get wet.
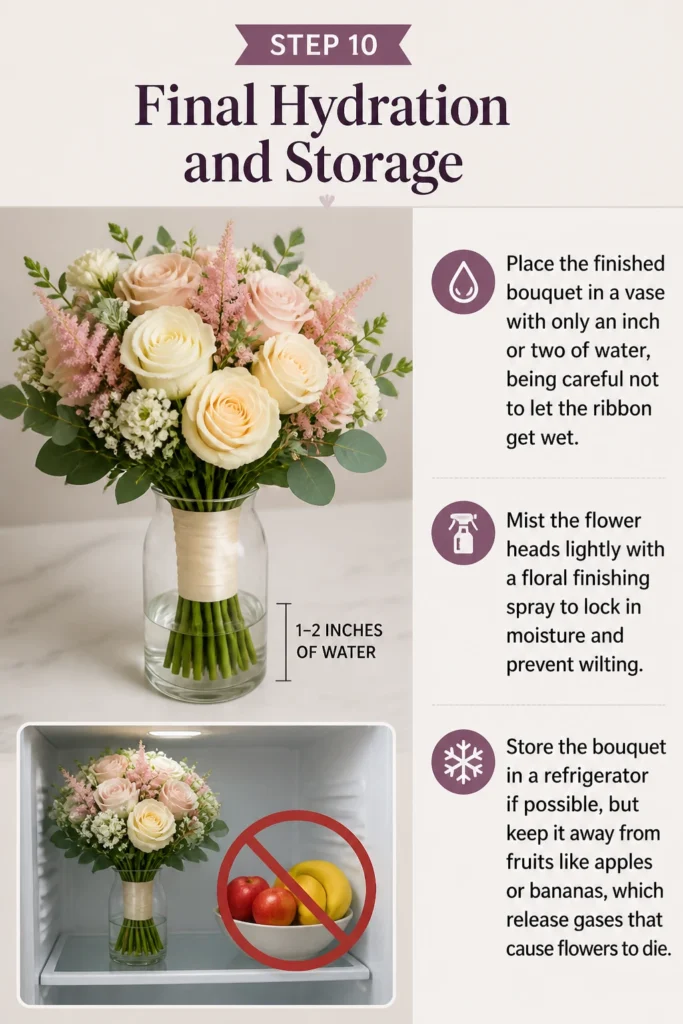
Mist the flower heads lightly with a floral finishing spray to lock in moisture and prevent wilting.
Store the bouquet in a refrigerator if possible, but keep it away from fruits like apples or bananas, which release gases that cause flowers to die.
Common Mistakes to Avoid
Using Only Open Blooms
Many beginners choose flowers that are already fully blown open because they look the most impressive at the store. This is a mistake because those flowers have the shortest remaining lifespan and may begin to brown before the reception ends. Select a mix of tight buds and partially open flowers to ensure the bouquet looks fresh for the entire day.
Ignoring the Weight of the Bouquet
It is easy to get carried away and keep adding more flowers until the bouquet is massive and beautiful. However, a heavy bouquet can become a burden to carry for photos and the ceremony, causing your arm to tire and your posture to slump. Hold the bouquet for several minutes during the assembly process to make sure it feels comfortable and balanced in your hand.
Wrapping the Ribbon Too High
If you wrap the ribbon all the way up to the base of the flower heads, you leave no room for the flowers to “breathe” or move naturally. This can result in a stiff, choked appearance that looks artificial. Leave a small gap of about half an inch between the top of the ribbon and the lowest blooms to give the arrangement a more graceful silhouette.
Troubleshooting
The Flower Heads Are Drooping
If your flowers look sad and bent, they are likely dehydrated or the stems are too weak to support the heavy heads. You can “splint” a weak stem by inserting a thin floral wire up through the center of the stem or wrapping it alongside the stem with tape. For dehydration, give the stem a fresh cut and place it in very warm (not boiling) water for thirty minutes to jumpstart the hydration process.
The Bouquet Feels Loose and Wobbly
A wobbly bouquet usually means the floral tape isn’t tight enough or the stems weren’t crossed correctly in the spiral. Do not be afraid to undo the tape and try again; it is better to fix it now than have a flower fall out during the vows. Ensure you are pulling the tape taut as you wrap, as the tension is what provides the structural integrity.
The Colors Look Muddy or Dull
Sometimes a color palette that looks good in your head doesn’t translate well in person once the stems are bunched together. If the colors look flat, try adding a “pop” of a contrasting color or a brighter white to create highlights. Even a few stems of a lighter greenery can break up dark colors and make the individual flowers stand out more clearly.
Key Takeaways
- Preparation is everything: Clean and hydrate your stems at least 24 hours before you start designing.
- Master the spiral: This technique creates the flared, professional shape that sets DIY bouquets apart from amateur ones.
- Secure tightly: Use high-quality floral tape and pull it taut to ensure the bouquet holds its shape through hours of handling.
- Balance the weight: Test the comfort of the bouquet frequently so it doesn’t become too heavy to carry comfortably.
- Protect your work: Use finishing spray and proper refrigeration to keep the blooms looking vibrant until the final dance.
Frequently Asked Questions
When should I make my DIY wedding bouquet?
The best time to assemble your bouquet is the day before the wedding. This allows the flowers to be at their peak freshness while giving you enough time to troubleshoot any issues without the stress of the wedding morning timeline. Store the finished product in a cool place or a refrigerator overnight to keep the petals crisp.
How many flowers do I need for a standard bridal bouquet?
A standard medium-sized bouquet typically requires between 20 and 30 stems total. This usually includes about 10 focal flowers, 5 to 7 secondary flowers, and several stems of filler and greenery. It is always wise to order 10% to 20% more than you think you need to account for broken stems or unexpected wilting.
Can I use silk flowers instead of fresh ones?
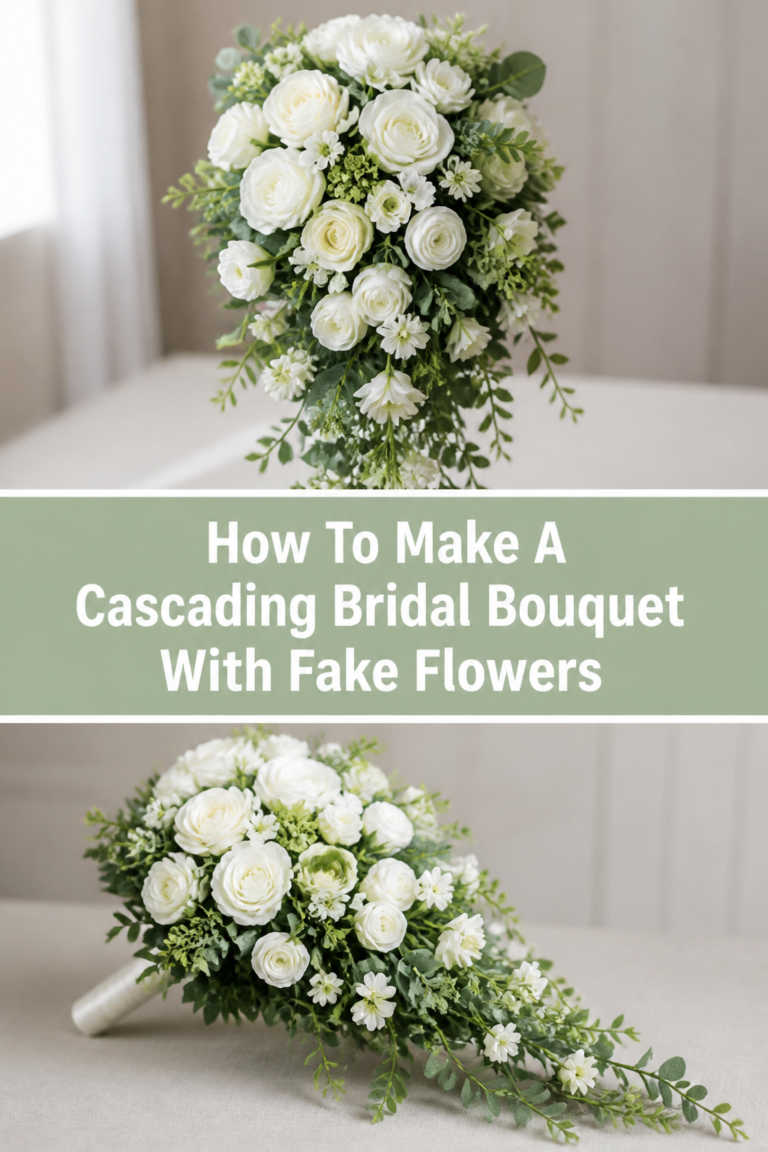
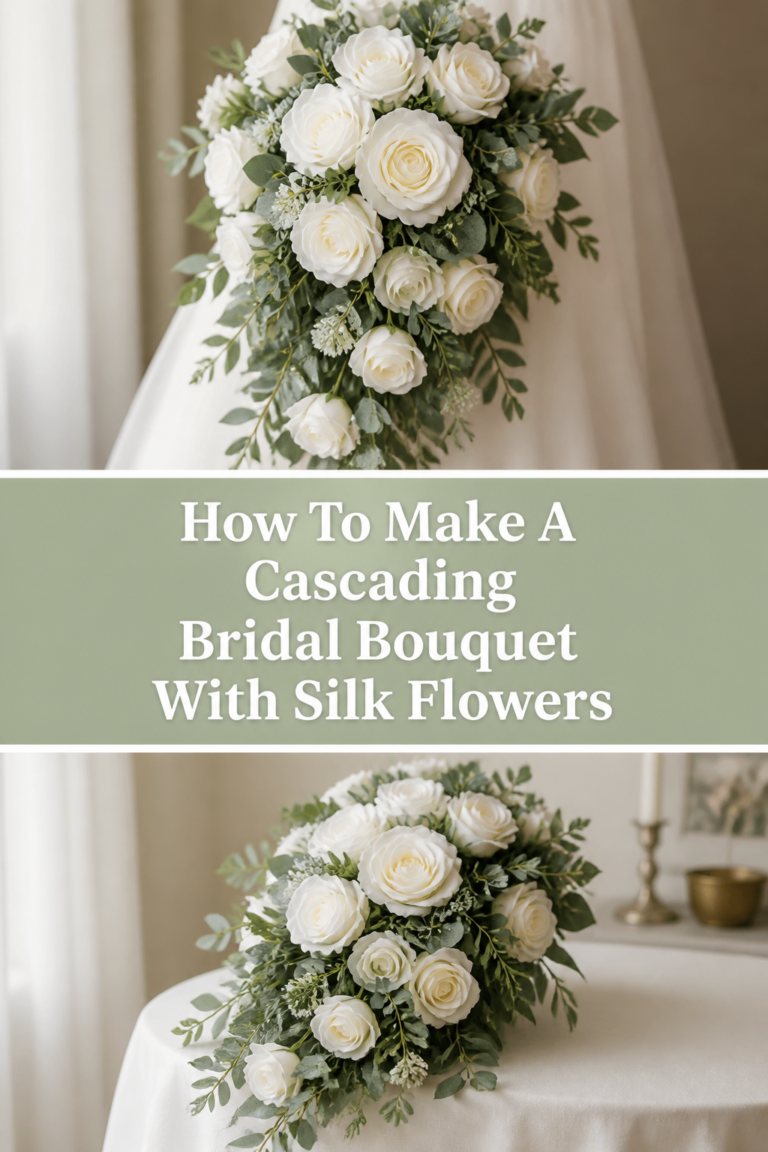
Yes, the construction techniques for silk flowers are very similar to those for fresh flowers. The main difference is that you won’t need to worry about hydration or wilting, and you can finish the bouquet weeks in advance. However, you may need wire cutters instead of floral shears to trim the plastic-coated wire stems.
How do I keep the bouquet fresh during a summer wedding?
Keep the bouquet in a vase of water whenever you aren’t actively using it for photos or the ceremony. Ask a bridesmaid to be in charge of a “hydration station” where you can safely set the flowers down in the shade. You can also choose heat-tolerant varieties like orchids, lilies, or succulents if you know the weather will be particularly hot.
Our Top Recommended Finds
- Ergonomic Floral Shears: A sharp pair of shears makes clean cuts that allow flowers to drink more water, preventing premature wilting.
- Self-Sealing Floral Tape: This tape is essential for securing stems without adding bulk, and it becomes sticky only when stretched.
- Pearl-Headed Corsage Pins: These add a touch of elegance to the ribbon wrap while keeping everything securely fastened.
Bringing Your Floral Vision To Life
Now that you have the skills to build a stunning bouquet, you can begin thinking about how to coordinate these techniques for your bridesmaids or table centerpieces.
Floral design is a tactile art form that rewards experimentation, so don’t be afraid to play with different textures and heights until the arrangement feels right to you.
Gather your supplies today and do a “practice run” with a supermarket bundle to build your confidence before the big day arrives.