🧊 How To Keep Drinks Cold At A Wedding
I once coordinated an outdoor wedding in the middle of a record-breaking July heatwave.
Without a rigorous cooling plan, the expensive champagne would have turned into lukewarm tea within minutes of being poured.
This guide relies on years of high-pressure event experience to ensure every sip your guests take is perfectly chilled.
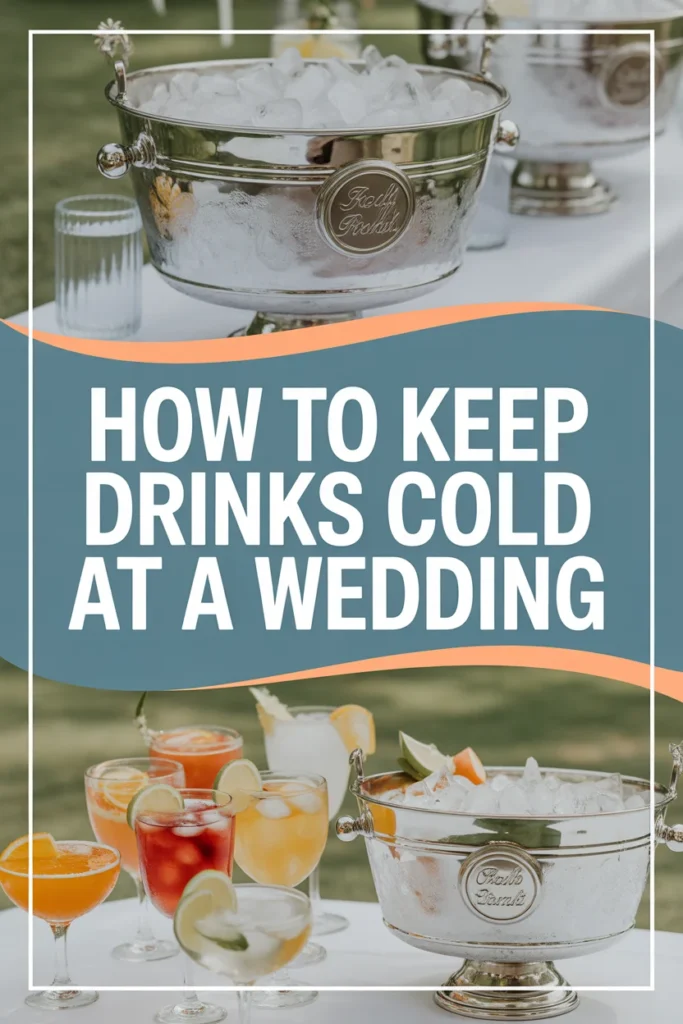
Quick Overview
Keeping drinks cold requires a mix of thermodynamics, logistics, and timing.
- Time needed: 24 to 48 hours of preparation
- Difficulty: Intermediate
- What you’ll need: Insulated coolers, decorative tubs, salt, thermometers, and a massive supply of ice
Step-by-Step Instructions
Step 1: Calculate Your Ice Requirements
Estimate the total amount of ice needed by using the “two-pound rule.”
You need one pound of ice per guest for the drinks themselves and another pound per guest for the cooling tubs.
Increase this estimate by fifty percent if your wedding is outdoors or in a region with high humidity.
Purchase a mix of cubed ice for tubs and clear, slow-melting craft ice for premium cocktails.
Pro Tip: Always order twenty percent more ice than your highest estimate to account for “shrinkage” during transport and setup.
Step 2: Select the Right Cooling Vessels
Identify which containers will be guest-facing and which will remain in the “back of house” storage area.
Use high-performance insulated coolers for long-term storage to keep ice frozen for several days.
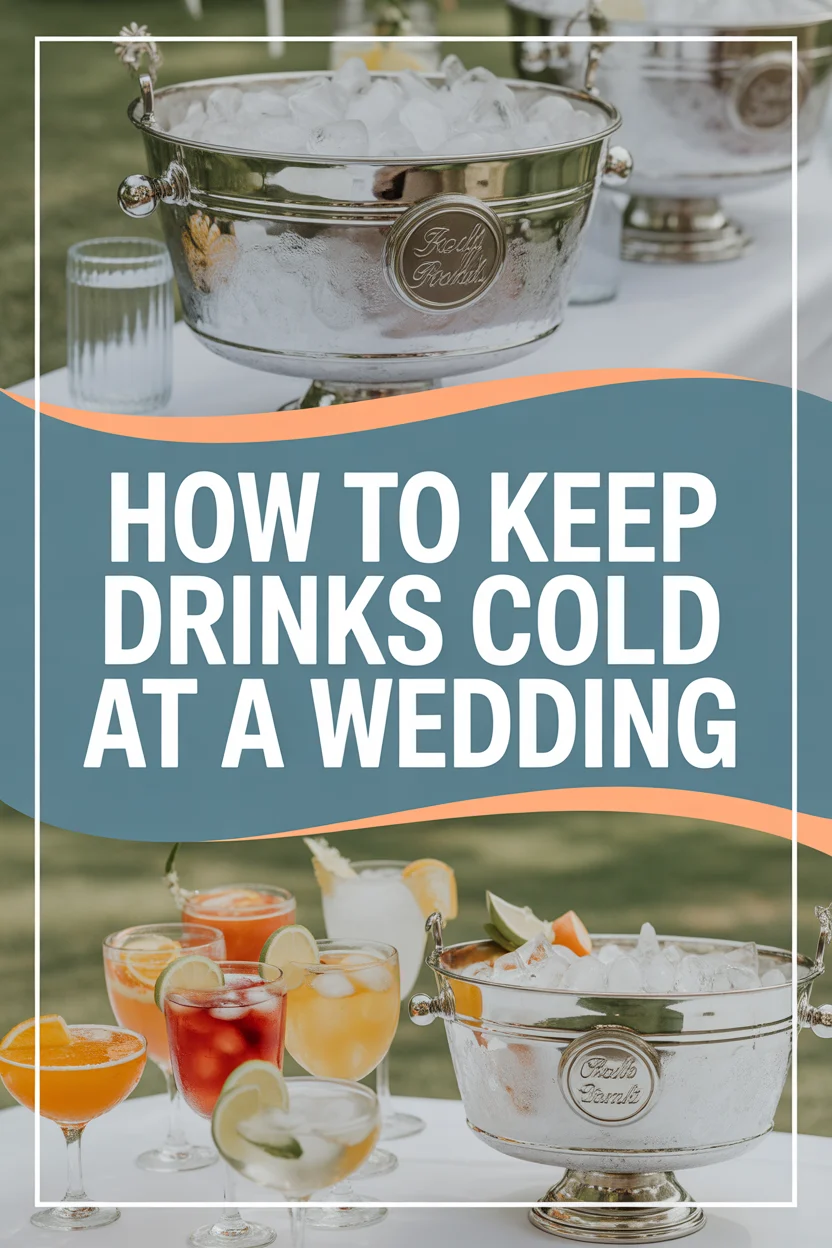
Choose double-walled galvanized tubs for the service area to minimize condensation and slow down the melting process.
Avoid thin plastic bins, as they offer no insulation and will cause the ice to vanish in under an hour.
Step 3: Pre-Chill Your Entire Inventory
Start chilling your beer, wine, and soda at least twenty-four hours before the ceremony begins.
Store the beverages in a commercial refrigerator or a dedicated cold room if your venue provides one.
Pack the drinks into coolers with ice the night before if you do not have access to refrigeration.
Ensure the beverages are already at 38 degrees Fahrenheit before they ever touch the service tubs.
Pro Tip: Putting warm bottles into a tub of ice is a recipe for failure, as the ice will melt instantly trying to lower the liquid’s temperature.
Step 4: Master the Salt and Water Slurry
Create a “slurry” by filling your tubs with one-third water and two-thirds ice.
Add a generous amount of rock salt or kosher salt to the mixture to lower the freezing point of the water.
Submerge the bottles fully so the icy water makes contact with the entire surface area of the glass.
Stir the mixture occasionally to prevent “warm spots” from forming around the bottles.
Step 5: Optimize Station Placement
Position your drink stations in the deepest shade available at the venue.
Track the movement of the sun throughout the day to ensure the bar won’t end up in direct sunlight during the reception.
Set up the bar in a location with good airflow, but avoid “wind tunnels” that can strip away the cold air layer.
Place a heavy-duty rug or rubber mat under the tubs to insulate them from the hot ground or pavement.
Step 6: Implement a Rotation System
Designate a specific person to monitor the temperature of the tubs every thirty minutes.
Move fresh, pre-chilled bottles from the storage coolers to the service tubs as soon as space opens up.
Remove excess water from the tubs periodically, but never drain it all, as the cold water is more effective than air.
Top off the tubs with fresh ice frequently to maintain a thick layer over the bottles.
Step 7: Use Dry Ice for Bulk Storage
Handle dry ice with extreme caution using thick gloves and tongs to avoid skin burns.
Layer dry ice at the very bottom of your storage coolers, covered by a piece of cardboard or a heavy towel.
Place your regular ice bags on top of this layer to keep them rock-solid for the entire weekend.
Ensure the dry ice never comes into direct contact with glass bottles, as the extreme cold can cause them to shatter.
Pro Tip: Dry ice sublimates into carbon dioxide, so never use it in a small, unventilated vehicle or room.
Step 8: Protect the Aesthetics
Wipe down the exterior of the tubs regularly to prevent puddles from forming on the bar top.
Use waterproof labels or a clear coat of spray on custom bottle labels to prevent them from peeling off in the slurry.
Decorate the ice with edible flowers or frozen fruit slices to make the cooling station look intentional and elegant.
Hide the unsightly “backstock” coolers behind a decorative screen or under a draped table.
Step 9: Manage the Glassware
Store your beer and wine glasses in a cool, shaded area rather than leaving them out on a hot table.
Consider using a glass chiller or “mister” if you are serving high-end cocktails that require a frosty finish.
Avoid pouring cold liquids into glasses that have been sitting in the sun, as the thermal shock can affect the taste.
Step 10: Plan for the Late-Night Transition
Consolidate the remaining drinks into fewer tubs as the guest count thins out toward the end of the night.
Transfer any leftover beverages back into insulated coolers to keep them cold for the post-wedding brunch.
Drain the service tubs completely before the cleanup crew arrives to prevent heavy lifting of water-filled bins.
Common Mistakes to Avoid
The “Dry Ice” Contact Error
Many people think placing dry ice directly against beer bottles will cool them faster. In reality, this often leads to the liquid freezing and the glass exploding. Always use a buffer layer like cardboard or a thick towel between dry ice and your beverages.
Draining All the Meltwater
It is a common instinct to pull the plug on a cooler as soon as the ice starts to melt. However, cold water provides more surface contact with the bottles than air does. Keep the water in the tub as long as there is still some ice floating in it.
Overcrowding the Tubs
Packing bottles too tightly prevents the ice and water from circulating around each container. This results in the bottles in the center staying warm while the ones on the outside get cold. Leave enough “breathing room” so the slurry can touch every side of every bottle.
Ignoring the “Bottom-Up” Rule
Heat rises, and the air at the top of a tub is always warmer than the bottom. People often grab bottles from the top layer, which are the warmest. Encourage your staff to rotate the bottles from the bottom to the top throughout the event.
Troubleshooting
The Ice is Melting Faster Than Expected
If the ambient temperature is higher than predicted, you need to act fast. Wrap the cooling tubs in thick moving blankets or towels to provide an extra layer of insulation. If possible, move the entire station indoors or into a more sheltered area with better shade.
Labels are Sliding Off the Bottles
Custom wedding labels often lose their adhesive when submerged in a wet slurry. To fix this, you can transition to a “dry cooling” method by using frozen gel packs instead of loose ice. Alternatively, use a small amount of clear packing tape over the labels before they go into the water.
The Drinks are Cold but the Ice is Dirty
Sometimes dust or debris from an outdoor venue can make your ice tubs look unappealing. Use a fine-mesh skimmer to remove any leaves or dirt from the water. If the water becomes too cloudy, do a partial drain and refill it with clean ice and fresh water.
Key Takeaways
- Calculate your ice needs using the two-pound-per-guest rule to ensure you never run out.
- Pre-chill all beverages for 24 hours before the wedding to maintain thermal momentum.
- Utilize a salt-water slurry to reach temperatures lower than ice alone can provide.
- Prioritize shade and insulation for all drink stations to combat environmental heat.
- Assign a dedicated person to manage the ice rotation and drainage throughout the night.
- Protect the presentation by managing condensation and using waterproof labeling techniques.
Frequently Asked Questions
How long does it take to chill a room-temperature bottle in ice?
A standard glass bottle will take approximately 20 to 30 minutes to reach an ideal serving temperature in a salt-water slurry. If you use dry ice or just plain ice without water, the process can take twice as long. Always plan to have your first round of drinks in the ice at least an hour before guests arrive.
Can I use a refrigerated truck for a wedding?
Renting a “reefer” truck or a mobile cooling trailer is an excellent idea for large weddings with over 150 guests. These units allow you to keep your entire inventory at a precise temperature without worrying about ice melt. You can then use smaller tubs for service while keeping the bulk of the stock in the truck.
What is the best type of ice for a wedding bar?
You should use large, solid cubes for the cooling tubs because they have less surface area and melt slower than crushed ice. For the drinks themselves, clear ice blocks or “pebble ice” are popular choices depending on the cocktail menu. Avoid using “snow” or shaved ice for cooling bottles, as it turns into water almost instantly.
How do I keep kegs cold without a bulky trash can?
Look for insulated keg jackets or neoprene sleeves that are designed to fit snugly around the barrel. These are much more attractive than plastic tubs and provide excellent thermal protection. You can also find decorative wooden barrels that are lined with insulation specifically for wedding service.
Our Top Recommended Finds
- Rotomolded Insulated Coolers: These professional-grade coolers can keep ice frozen for up to five days, making them perfect for outdoor wedding storage.
- Double-Walled Steel Party Tubs: These provide the classic wedding look while preventing the “sweating” and puddling associated with single-wall tubs.
- Infrared Thermometer Gun: A quick and easy tool for your bar staff to check the temperature of the drinks without touching the ice.
Master Your Wedding Bar Logistics
Keeping drinks cold is a small detail that makes a massive impact on the guest experience.
Now that you have a plan for the beverages, you can turn your attention to other logistics like lighting or transportation.
Start by reaching out to a local ice purveyor today to secure your delivery window for the big day.