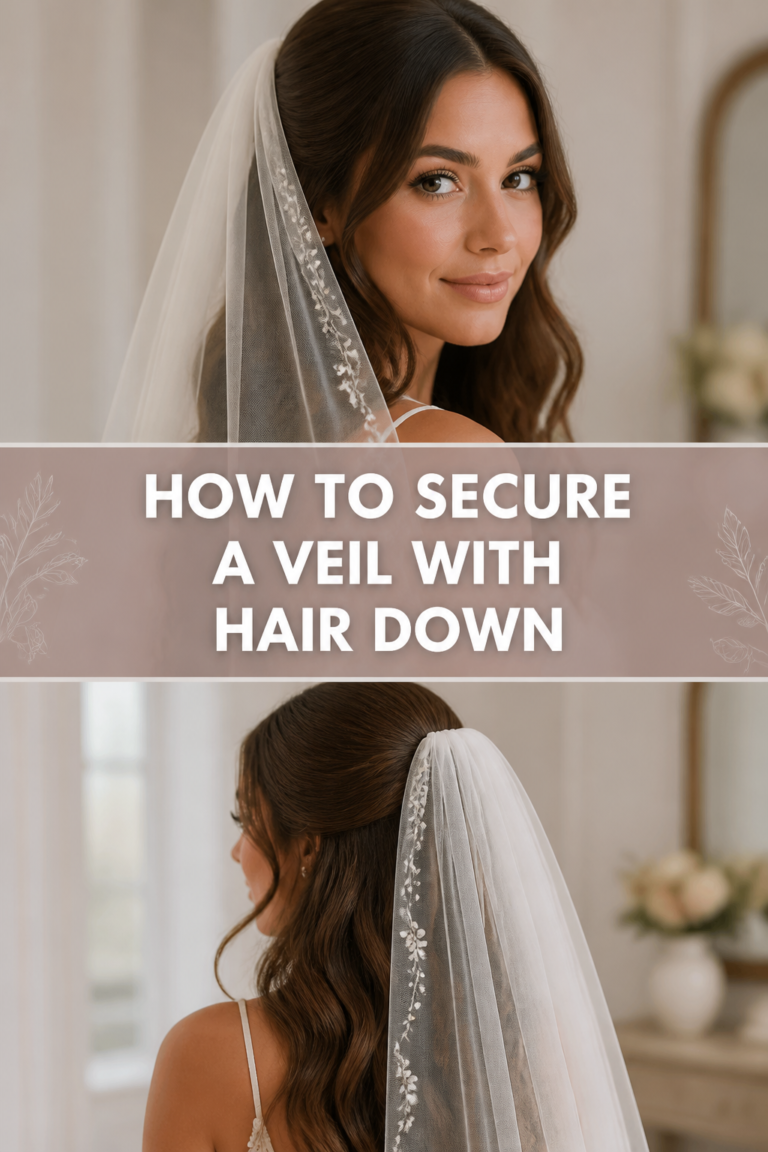
👰 How To Hold Veil In Place With Hair Down
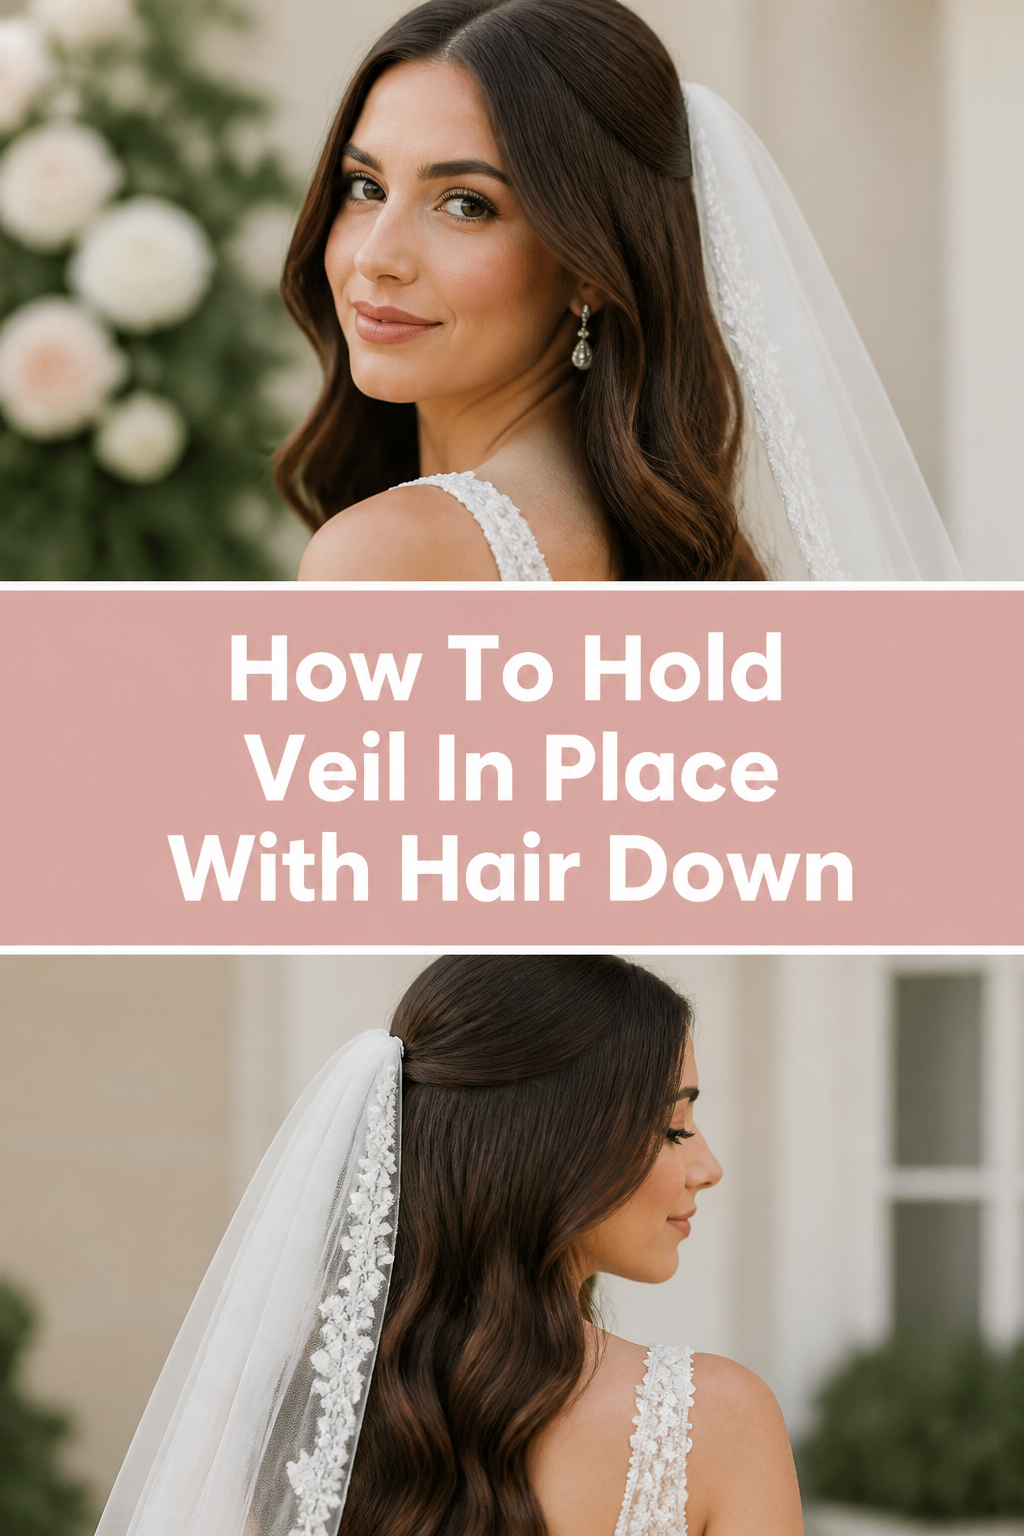
Wearing your hair down on your wedding day creates a timeless, romantic look that feels effortless and soft.
However, securing a heavy piece of tulle to loose locks can feel like a recipe for a mid-aisle disaster without the right foundation.
As a former bridal stylist, I have spent years perfecting the “invisible anchor” technique to keep veils steady through every vow and photo session.

Quick Overview
This guide will show you how to create a hidden support system within your loose hair so your veil stays put without a single stray hair out of place.
- Time needed: 15-20 minutes
- Difficulty: Beginner
- What you’ll need: Professional bobby pins, texturizing spray, a metal-tooth veil comb, and a hand mirror.
Step-by-Step Instructions
Step 1: Build Texture and Grip
Silky, freshly washed hair is the enemy of a secure veil because the metal or plastic comb will simply slide down the hair shaft.
Spray a generous amount of dry shampoo or sea salt spray at the crown of your head where you plan to place the veil.
Massage the product into your roots to create a slightly “gritty” texture that provides the friction necessary for pins to hold.
Pro Tip: Avoid using heavy shine serums or oils on the crown area until after the veil is securely attached to prevent slippage.
Step 2: Identify the Placement Zone
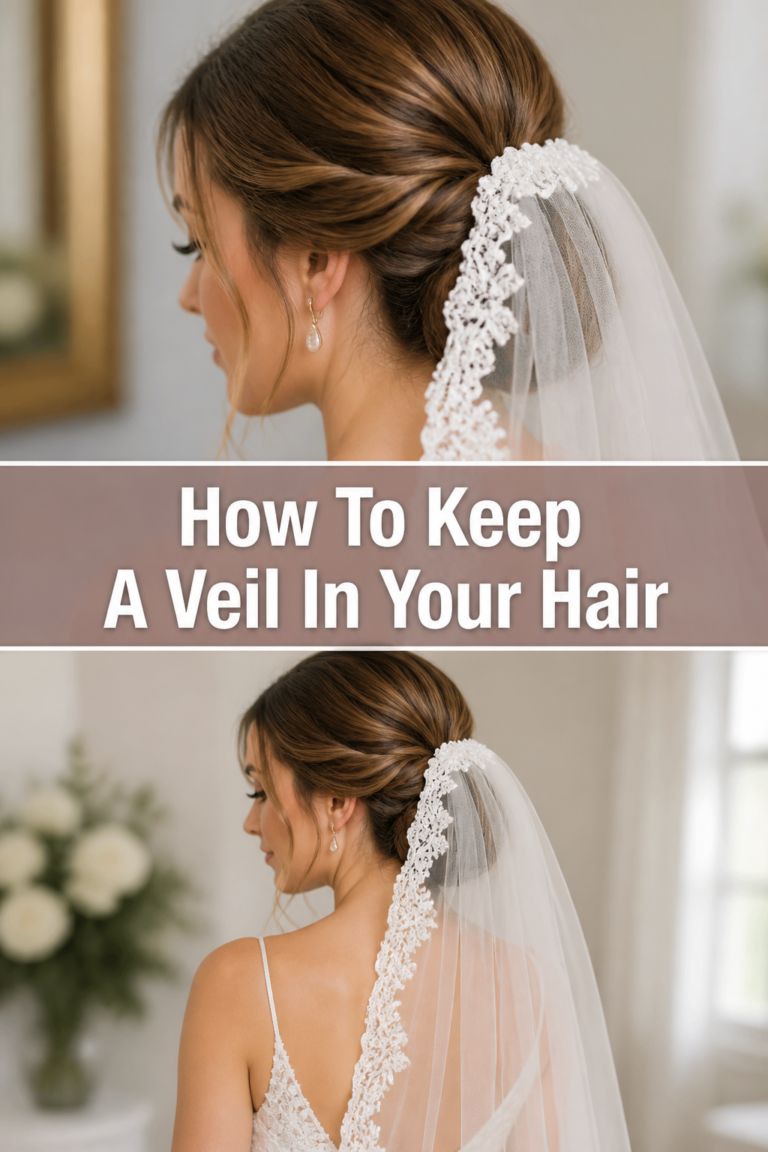
The placement of your veil changes your entire silhouette, so you must decide if you want it at the top of your head or further back.
Use a tail comb to create a small, horizontal section of hair about two inches wide at your chosen spot.
Lift this top layer of hair and clip it out of the way so you can work on the hair directly underneath it.
Step 3: Create the Invisible Anchor
This is the most important part of the process because it provides a solid base for the veil comb to hook into.
Take two high-quality bobby pins that match your hair color and slide them into the hair horizontally.
Cross the pins over each other to form a tight “X” shape against your scalp.
Ensure the ridged side of the bobby pin is facing down toward your scalp for maximum grip and stability.
Pro Tip: If your hair is exceptionally fine, spray the bobby pins themselves with hairspray before sliding them into the “X” formation.
Step 4: Backcomb the Anchor Site
To further hide the pins and add more security, you need a tiny bit of volume right above the “X” you just created.
Hold a small section of hair just above the pins and gently tease it toward the scalp with a fine-tooth comb.
Smooth the very top layer of the teased hair so the “nest” is hidden but the structure remains underneath.
Step 5: Prepare the Veil Comb
Not all veil combs are created equal, and the way you hold it during insertion matters for the final look.
Check that your veil comb is slightly curved to fit the shape of your head comfortably.
Hold the comb so the teeth are pointing toward your face before you begin the insertion process.
Step 6: Insert the Comb with the Flip Technique
This professional secret ensures the veil won’t budge even if someone accidentally steps on the train.
Push the teeth of the comb into the hair just above your bobby pin anchor, pointing them away from the final direction.
Flip the comb over and slide the teeth downward, directly behind the “X” made by your bobby pins.
Feel for the resistance as the comb teeth interlock with the crossed pins and the backcombed hair.
Step 7: Secure with U-Pins
Standard bobby pins can sometimes be too tight and flatten the hair, so U-shaped hair pins are better for the final lock.
Weave a U-pin through the teeth of the comb and into the hair anchor at an angle.
Repeat this on both the left and right sides of the comb to prevent it from tilting or wobbling during movement.
Pro Tip: Use a hand mirror to check the back of your head and make sure no metal pins are visible through the hair.
Step 8: Perform the Shake Test
You need to know the veil is secure before you start walking down the aisle or dancing at the reception.
Gently shake your head from side to side to see if you feel any shifting or pulling on your scalp.
Tug very lightly on the bottom of the veil to ensure the “X” anchor is holding the weight of the fabric.
Step 9: Final Smoothing and Setting
Once the veil is locked in, you can focus on making the rest of your hair look polished and perfect.
Brush the loose lengths of your hair to integrate any stray hairs that were moved during the pinning process.
Mist the entire style with a firm-hold hairspray, focusing on the area around the comb to seal everything in place.
Common Mistakes to Avoid
Using Plastic Combs for Heavy Veils
Plastic combs are often thicker and more brittle, making them difficult to slide into a tight bobby pin anchor.
They also tend to sit higher off the head, creating an awkward gap between the veil and your hair.
Opt for a metal wire comb which is flexible, thin, and can be easily pinned through for extra security.
Placing the Anchor Too Low
If you place your anchor at the nape of your neck while wearing your hair down, the weight of the veil will pull your hair flat.
This often results in the veil looking like it is falling off throughout the day.
Always aim for the crown or the “flat” part of the back of the head to distribute the weight evenly across your scalp.
Relying Only on Hairspray
Many brides think that a lot of hairspray will act like glue to hold a comb in loose hair.
In reality, hairspray only coats the surface and does nothing to support the weight of the fabric.
Without the mechanical support of crossed bobby pins, the comb will eventually slide out regardless of how much spray you use.
Over-Teasing the Hair
While a little backcombing is necessary for grip, creating a large “bump” can look dated and messy.
If you tease too much, the comb might sit on top of the hair rather than inside it.
The goal is a dense foundation, not a visible mountain of tangled hair under the veil.
Troubleshooting
The Veil Feels Too Heavy and Pulls Back
This usually happens with cathedral-length veils that have a lot of lace or beadwork on the edges.
To fix this, create a second “X” anchor about an inch below the first one for double the support.
You can also sew a small piece of elastic to the comb and pin the elastic into your hair for a more flexible hold.
The Comb Teeth Are Visible
If the teeth of the comb are poking through the top layer of your hair, the anchor was likely placed too shallowly.
Remove the comb and ensure you are tucking it deeply behind the crossed pins and under a thicker section of hair.
You can also use a decorative hair vine or clip to cover the top of the comb and hide the mechanics.
Hair Is Frizzing Around the Attachment Point
The friction of inserting and removing the comb can sometimes cause flyaways in the top layer of hair.
Apply a tiny amount of clear hair wax or a styling stick to your fingertips and smooth it over the area.
Avoid using water to fix frizz, as this can cause the hair to lose its “grip” and make the pins slide.
Key Takeaways
- Foundation is everything: Never skip the crossed bobby pin “X” anchor when wearing hair down.
- Texture helps: Use dry shampoo or texturizing spray to give the hair enough “bite” to hold metal.
- Metal over plastic: Choose a metal wire comb for a more seamless and secure fit against the scalp.
- The Flip Technique: Inserting the comb backwards and then flipping it forward creates a natural lock.
- Test early: Always perform a movement test to ensure the weight of the veil doesn’t pull on your hair.
Frequently Asked Questions
Can I wear a cathedral veil with my hair completely down?
Yes, but you must be extra diligent about the anchor. A cathedral veil is much heavier than a fingertip veil, so you may need to create a slightly larger teased section to accommodate more bobby pins for support.
Will the bobby pins hurt my head during the day?
If the pins are placed correctly, you should feel a slight snugness but no sharp pain. If a pin is poking you, it is likely hitting your scalp at a vertical angle; try to keep them as horizontal and flat against the head as possible.
How do I remove the veil for the reception without ruining my hair?
Have a bridesmaid hold the base of your hair firmly against your head while you gently unhook the U-pins. Slowly slide the comb up and out in the opposite direction it was inserted to keep your waves intact.
What if my hair is too short to create an anchor?
For very short hair or bobs worn down, you can use a small “snap” clip or a tiny clear elastic to create a small ponytail under the top layer of hair. This creates a “bump” that the comb can grab onto without needing long hair for a teased anchor.
Our Top Recommended Finds
- Professional Grade Bobby Pins: Look for pins with a matte finish as they have significantly more grip than shiny ones.
- Metal Wire Veil Comb: These are much easier to manipulate and pin through than standard plastic versions.
- Dry Texturizing Spray: A high-quality spray provides the necessary “grit” without making the hair look dirty or greasy.
Mastering Your Bridal Silhouette
Securing your veil is the final touch that transforms your look from a beautiful dress to a complete bridal ensemble.
Once you have mastered the invisible anchor, you can walk with confidence knowing your veil will behave exactly as it should.
If you are planning to transition your look later in the evening, consider practicing the removal process with a friend to keep your hair looking flawless.
Take some time today to gather your tools and try a dry run of the “X” anchor technique so you are a pro by the big day.