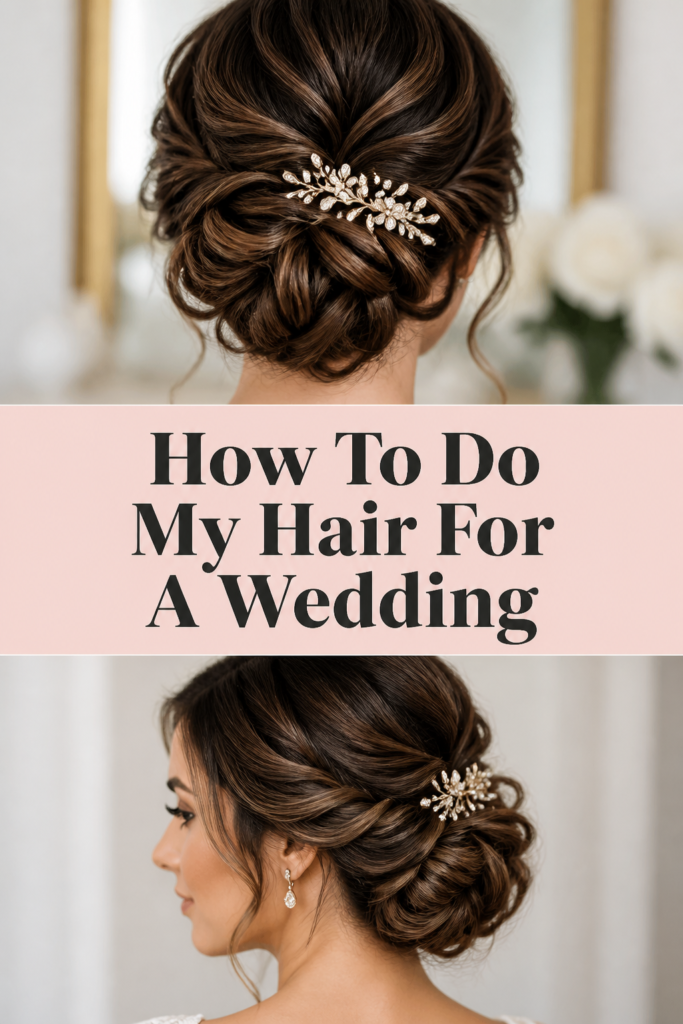
How To Do My Hair For A Wedding
The excitement of a wedding day is truly special. Every detail matters, especially your hair.
I remember the panic before my cousin’s wedding, trying to get my hair just right. It felt overwhelming, but with a bit of planning and the right techniques, I learned it doesn’t have to be.
This guide shares practical steps and insights, based on real experience, to help you achieve a beautiful, lasting wedding hairstyle. You can absolutely do this yourself.
Quick Overview
This guide will walk you through creating an elegant, secure hairstyle perfect for a wedding, from preparation to the final touch. You’ll learn how to build volume, secure your style, and make it last all day and night.
- Time needed: 60-90 minutes (plus practice)
- Difficulty: Intermediate
- What you’ll need: Hair ties, bobby pins, curling iron/wand, hairspray, heat protectant, dry shampoo/texturizing spray, comb/brush, optional accessories.
Step-by-Step Instructions
Step 1: Prepare Your Hair
Begin with hair that isn’t freshly washed. Day-old hair holds style much better than squeaky-clean strands. This is a crucial foundation.
If your hair is very clean, use a dry shampoo at the roots. This adds grip and absorbs any excess oil.
Apply a heat protectant spray generously throughout your hair. This shields your strands from damage during styling. Focus on the mid-lengths and ends.
Brush through your hair gently to remove any tangles. Ensure it’s smooth and ready for the next step.
Pro Tip: For extra texture and hold, mist a texturizing spray lightly through your hair before curling. This gives fine hair a significant boost.
Step 2: Add Waves and Volume
Divide your hair into manageable sections. Start with the bottom layers, clipping the rest of your hair up and out of the way.
Using a curling iron or wand, curl one-inch sections of your hair. Alternate the direction of the curls (towards and away from your face) for a more natural, voluminous look.
For an updo, you don’t need perfect ringlets. Focus on creating a soft wave and bend in the hair. This texture is what the pins will grip onto.
Pin each freshly curled section to your scalp while it cools. This helps set the curl and ensures maximum longevity. Let them cool completely before releasing.
Step 3: Create Your Base and Volume
Once all curls are cool and released, gently run your fingers through them to break them up. Avoid brushing, as this can flatten the waves.
Backcomb the crown section of your hair lightly. Lift a section, spray with hairspray, and gently tease the roots underneath. This creates a soft, lifted base.
Smooth the top layer of the backcombed section with a brush. You want volume, not a messy nest.
Gather the top section of your hair, from ear to ear, and secure it with a small elastic band at the back of your head. This forms a half-up base for your updo.
Step 4: Begin Pinning Sections
Take a two-inch section of hair from one side, just below your secured half-up section. Gently twist it slightly.
Bring this twisted section back towards the center of your head. Pin it securely into the elastic band you created in Step 3. Use bobby pins in a criss-cross pattern for extra hold.
Repeat this process on the other side. Take a similar section, twist it, and pin it into the same elastic base. This creates a neat, pulled-back effect.
Continue working with small sections, twisting and pinning them into the central base. You can create soft loops or braids if you prefer.
Step 5: Form the Updo Shape
Gather the remaining hair at the nape of your neck. You have several options here: a low bun, a twisted chignon, or a series of pinned loops.
For a classic low bun, twist the remaining hair into a loose rope. Coil it around your fingers to form a bun shape against your head.
Secure the bun with plenty of bobby pins. Insert pins from different directions, catching hair from the bun and anchoring it to your scalp. Feel for firmness.
Alternatively, take individual sections from the remaining hair. Gently twist or loop them, then pin them organically around the base you’ve already established. This creates a softer, more romantic look.
Pro Tip: Use U-shaped pins (hairpins) for securing larger sections or buns. They are excellent for holding volume without flattening the style.
Step 6: Refine and Accessorize
Gently pull out a few face-framing pieces around your temples and ears. Curl them slightly if needed for a soft, romantic feel.
Check your updo from all angles using a mirror. Look for any loose strands or areas that need more volume or security.
Use bobby pins to tuck away any stray hairs or to tighten sections that feel loose. Remember to hide the pins within the style.
Now is the time to add any hair accessories. A delicate comb, a floral spray, or sparkling pins can elevate your look. Secure them firmly into the existing structure.
Step 7: Set the Style for Longevity
Once you are happy with the overall look, generously mist your entire hairstyle with a strong-hold hairspray. Hold the can about 10-12 inches away from your head.
Don’t be afraid to use enough spray. A wedding day is long, and you want your style to last through photos, dancing, and celebrations.
Allow the hairspray to dry completely before moving or touching your hair. This helps lock everything in place.
Do a final check in the mirror. Give your head a gentle shake to ensure everything feels secure.
Common Mistakes to Avoid
Over-Washing Hair
Starting with freshly washed hair is a common pitfall. Clean hair is often too soft and slippery, making it difficult for pins to grip and styles to hold. It tends to fall flat quickly.
The solution is to wash your hair the day before the event. This allows natural oils to develop, providing better texture and grip. If your hair gets oily quickly, use a dry shampoo on the morning of the wedding, rather than washing it.
Using Too Much Product at Once
Applying too much mousse, gel, or serum can weigh your hair down. It can make your hair look greasy or stiff, rather than soft and elegant. Over-product application can also make your hair difficult to work with.
Always start with a small amount of product. You can always add more if needed. Focus on specific areas like roots for volume or ends for smoothness, rather than saturating your entire head.
Rushing the Process
Doing your hair for a wedding takes time and patience. Rushing can lead to a messy, uneven style and increased stress. You might miss crucial steps or not secure pins properly, causing your hair to fall apart later.
Allocate ample time for styling. Plan for at least 1.5 hours, especially if you’re doing a more intricate style. Breaking the process into smaller, manageable steps helps avoid feeling rushed.
Ignoring Hair Type and Texture
Not adapting your style to your specific hair type can lead to disappointment. Fine hair needs more texturizing products and backcombing, while thick hair needs more pins and stronger hold. Trying to force a style not suited for your hair can be frustrating.
Understand your hair’s natural tendencies. If you have fine hair, embrace volume-boosting techniques. If your hair is very thick, focus on strong anchoring points. Choose styles that complement your hair’s natural characteristics.
Troubleshooting
Style Falling Flat
If your carefully crafted updo starts to lose volume or sag, it’s often due to insufficient preparation or weak pinning. The foundation wasn’t strong enough.
To fix this, gently lift the drooping section. Re-tease the roots if possible and spray with a strong-hold hairspray. Insert more bobby pins, ensuring they catch hair from the updo and anchor securely to the hair closer to your scalp. Use U-shaped pins for extra support.
Flyaways and Frizz
Those pesky little hairs that escape the style can make an otherwise elegant look appear unkempt. Humidity or static are often the culprits.
Smooth flyaways by spraying a small amount of hairspray onto a clean toothbrush or a fine-tooth comb. Gently brush down the stray hairs. For frizz, a tiny dab of anti-frizz serum or a light mist of hairspray on your palms, then patted over the affected areas, can work wonders.
Pins Showing
Visible bobby pins can detract from the elegance of your hairstyle. They should be hidden within the sections of hair.
When inserting pins, always try to push them into the base of the section you’re securing, parallel to the scalp. For extra concealment, slide the pin under a small section of hair, then push it back through, catching hair from both the updo and your head. This creates an invisible anchor.
Key Takeaways
- Always start with day-old hair for optimal grip and hold.
- Heat protectant and texturizing spray are essential for preparation.
- Curl hair in sections and let cool to set waves and volume.
- Build a secure base with an elastic band before pinning the main updo.
- Use bobby pins strategically, crossing them for extra security and hiding them.
- Generously use strong-hold hairspray to ensure longevity.
Frequently Asked Questions
When should I wash my hair before the wedding?
It’s best to wash your hair one day before the wedding. This allows natural oils to build up slightly, giving your hair the texture and grip it needs to hold a style beautifully. Freshly washed hair can be too soft and slippery.
Can I use hair extensions for a wedding hairstyle?
Absolutely, clip-in hair extensions can add significant length, volume, and thickness, making more elaborate styles achievable. Make sure to curl and blend them with your natural hair before you start building your updo. Practice with them beforehand.
Should I do a trial run of my wedding hairstyle?
Yes, a trial run is highly recommended, especially if you’re doing your own hair. This allows you to practice the steps, refine the look, and identify any challenges. It also helps you estimate the time needed and gather all necessary products and tools.
What if the weather is humid or rainy on the wedding day?
Humid or rainy weather can be a challenge. Combat this by using extra strong-hold hairspray and anti-frizz products during styling. Consider a style that is more secured and less reliant on loose curls. A light umbrella can also protect your hair when moving outdoors.
Our Top Recommended Finds
- Strong Hold Hairspray: Essential for locking your style in place all day and night. Look for formulas that offer flexibility without crunch.
- Bobby Pin Variety Pack: Different sizes and colors (to match your hair) are invaluable for securing various sections and ensuring an invisible finish.
- Heat Protectant Spray: Non-negotiable for shielding your hair from damage when using curling irons or wands.
Your Perfect Wedding Hair Awaits
Creating your own wedding hair is a rewarding experience. It gives you control and a sense of accomplishment on a truly memorable day. With these steps, you’re well-equipped to achieve a stunning, lasting look.
Don’t wait until the last minute. Start practicing now. Experiment with different twists and pins. You’ll gain confidence with each attempt, ensuring your hair is one less thing to worry about on the big day. Embrace the process and enjoy the beautiful result.