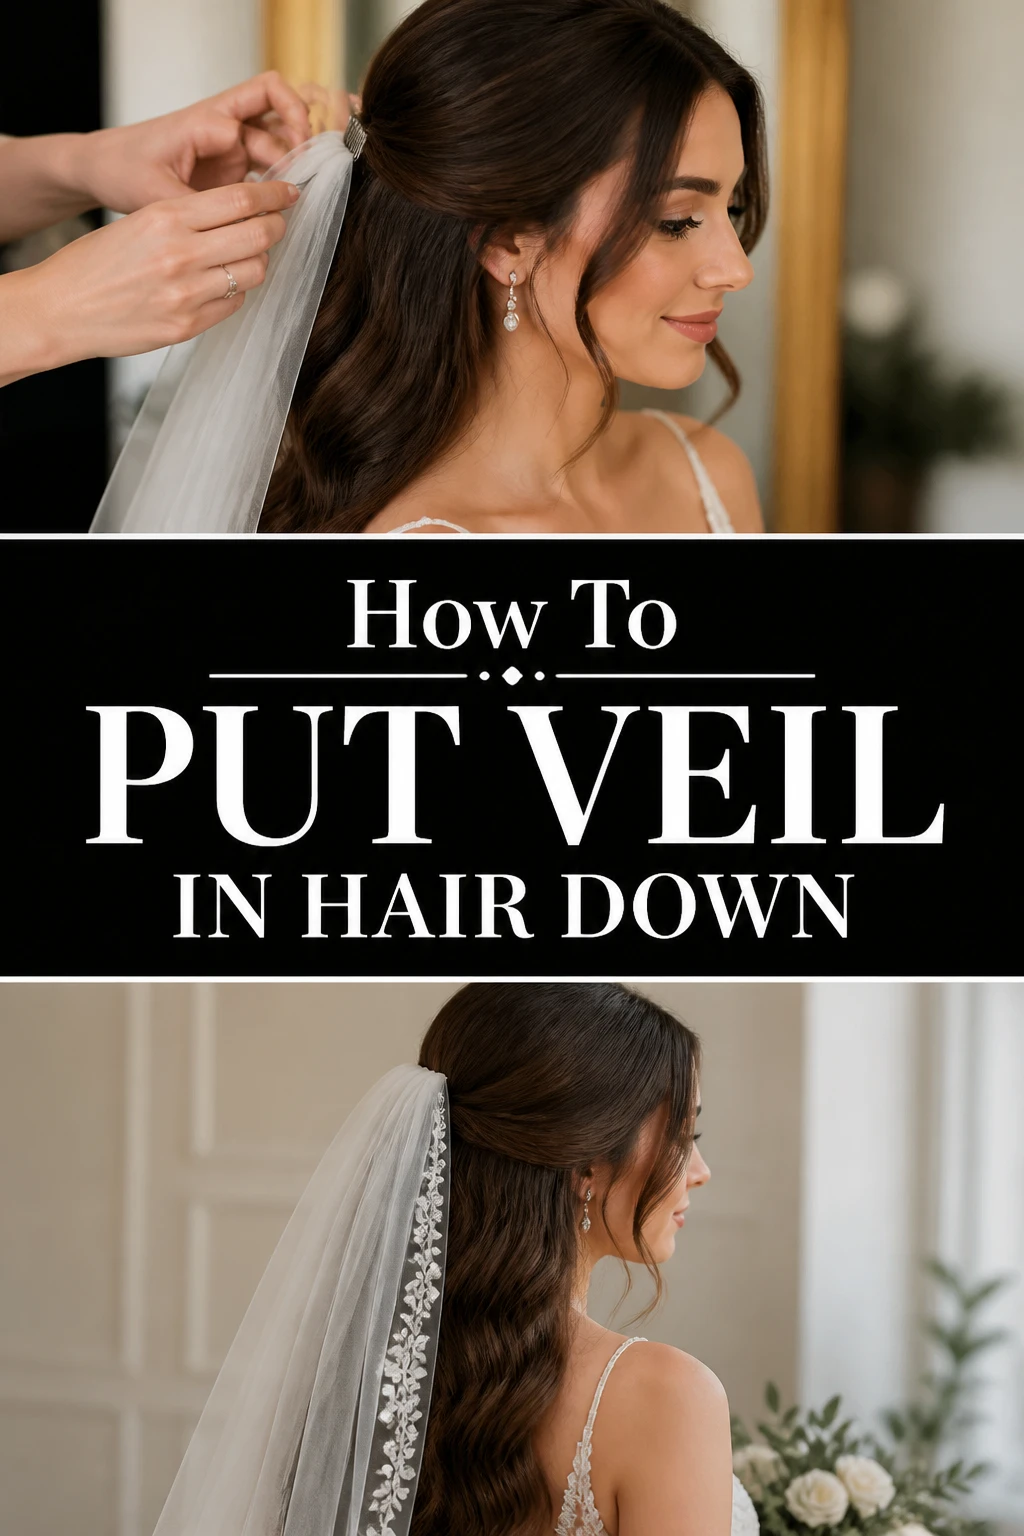
👰 How To Put Veil In Hair Down

Wedding Planning
No fluff, no drama. Just easy weekly advice, planning shortcuts, and gentle reminders to help you actually enjoy your engagement.
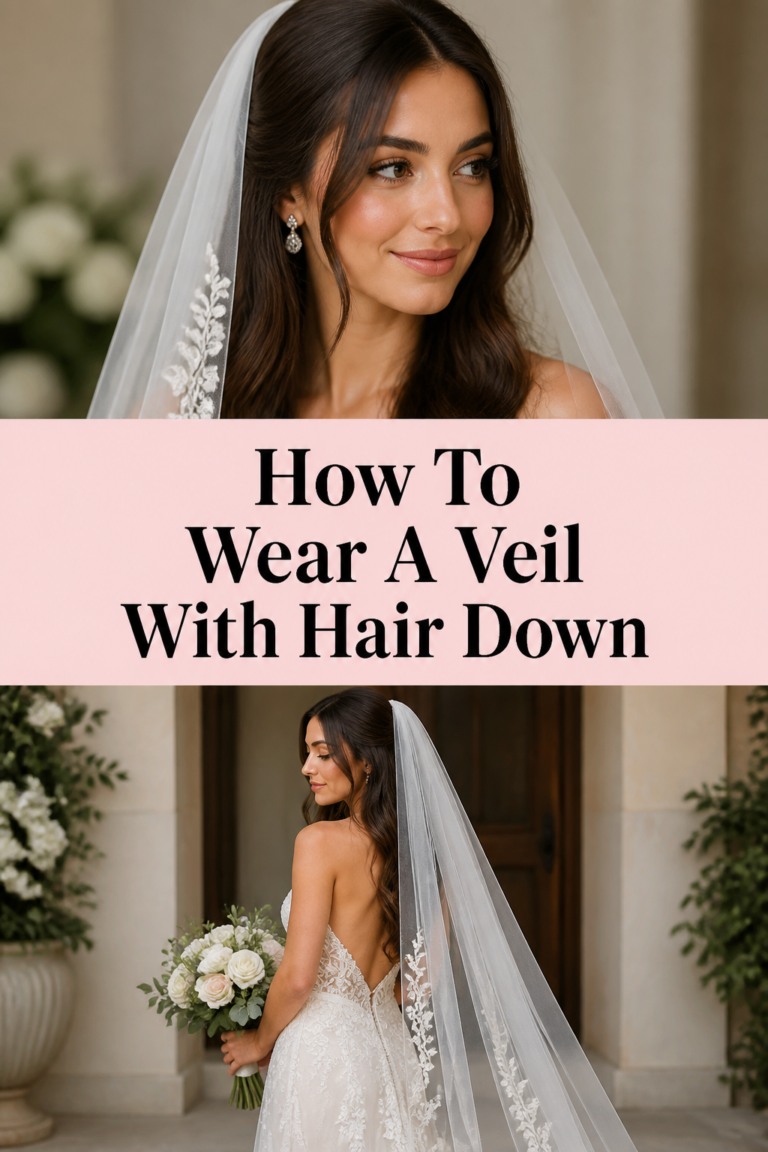
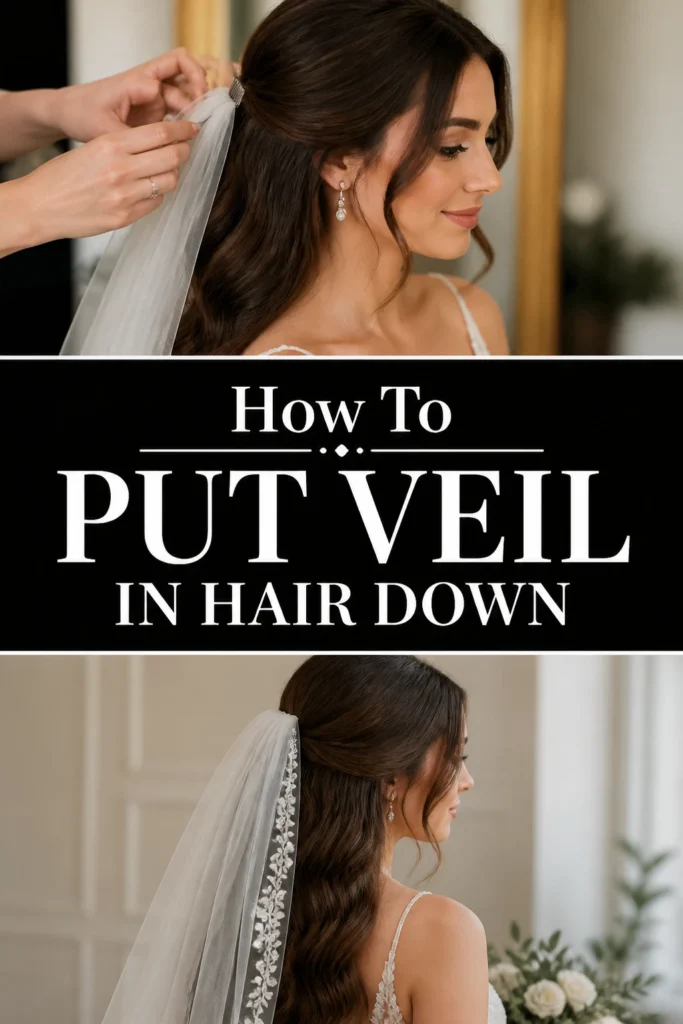
Placing a veil in hair that’s styled down offers a romantic and ethereal look.
It’s a beautiful choice for brides seeking a softer, more natural aesthetic for their special day.
Through countless styling sessions, I’ve refined the techniques to ensure your veil stays perfectly in place, creating a timeless image.
Quick Overview
This guide will walk you through securing your veil flawlessly in hair worn down, ensuring comfort and stability.
- Time needed: 15-30 minutes (after hair is styled)
- Difficulty: Intermediate
- What you’ll need: Veil, bobby pins, hairspray, rat-tail comb, small elastic bands (optional)
Step-by-Step Instructions
Step 1: Prepare Your Hair
Begin with your hair fully styled and dry. Whether it’s loose waves, straight, or gently curled, ensure it’s exactly how you want it to look.
Any adjustments to your hairstyle should be completed before the veil is introduced.
This ensures the veil won’t disrupt your carefully crafted look.
Step 2: Determine Veil Placement
Hold your veil up to your head and experiment with different positions. Consider where you want the comb to sit.
Common placements include the crown of the head, just behind it, or slightly lower at the back.
The ideal spot depends on your veil’s length, your hairstyle, and your desired overall effect.
Pro Tip: Take photos of yourself with the veil in different positions. This helps you visualize how it will look from all angles and make the best decision.
Step 3: Create a Strong Anchor Point
A secure base is crucial for keeping your veil in place all day. Identify the exact spot where the veil comb will rest.
You need to create texture and grip in this section of hair.
- Isolate a small, horizontal section of hair about 1-2 inches wide, precisely where the veil comb will sit.
- Tease the roots of this section thoroughly using a rat-tail comb. Backcomb gently towards the scalp to build volume and a dense cushion.
- Spray the teased section generously with a strong-hold hairspray. Allow it to dry completely for maximum grip.
This teased and sprayed base acts like Velcro, giving the veil comb something substantial to hold onto.
Step 4: Reinforce with a Small Braid or Elastic (Optional, but Recommended for Fine Hair)
For extra security, especially if you have fine or silky hair, add a hidden reinforcement.
This step provides an unyielding anchor for the veil comb.
- Take the teased section of hair and gently smooth the top layer.
- Braid a small, flat, horizontal section of hair within this area, securing the ends with a tiny clear elastic band.
- Pin the mini-braid flat against your head using two small bobby pins, crisscrossing them for extra hold.
This creates a robust, invisible anchor that the veil comb can hook into.
Step 5: Insert the Veil Comb
Carefully take your veil and position the comb directly over your prepared anchor point.
Ensure the comb is oriented correctly, usually with the teeth pointing downwards.
- Push the veil comb into the teased section, or gently hook it into the small braid/elastic if you created one.
- Angle the comb slightly downwards as you insert it, then push it upwards towards your scalp. This “scooping” motion helps to gather more hair into the comb for a tighter hold.
- Feel for a secure connection. The comb should feel firmly embedded, not loose or wobbly.
Proper insertion is key to the veil’s stability throughout the day.
Step 6: Secure with Bobby Pins
Even with a strong anchor, bobby pins are your best friends for ultimate security.
These pins will lock the veil comb into place.
- Gather a small section of hair from above the veil comb’s teeth and a small section from below the comb.
- Slide a bobby pin through these two sections, catching a tooth of the veil comb in the middle.
- Repeat this process on both sides of the veil comb, using 2-4 bobby pins depending on the comb’s width and your hair density.
- Crisscross the bobby pins for maximum hold, creating an ‘X’ shape where possible.
Ensure the bobby pins are discreetly hidden beneath the surrounding hair or within the veil’s fabric.
Step 7: Check for Stability and Comfort
Once pinned, gently tug on the veil to test its security. It should feel firmly attached and not shift easily.
Walk around, turn your head, and even do a little dance to simulate real-life movement.
Also, make sure the veil comb and pins aren’t digging into your scalp, causing discomfort.
Pro Tip: Have a trusted friend or stylist give the veil a gentle tug test. A second pair of eyes can confirm it’s truly secure and sitting perfectly.
Step 8: Final Finishing Touches
Once the veil is secure, make any final adjustments to your hair around it.
Gently smooth down any flyaways or stray hairs.
- Apply a final mist of hairspray over the entire hairstyle, including the area where the veil is attached, for added longevity.
- Ensure the veil fabric drapes beautifully and isn’t caught or wrinkled.
Step back and admire your beautifully completed look.
Common Mistakes to Avoid
Not Preparing the Anchor Point
Many people try to simply push the veil comb into smooth, unteased hair. This is a recipe for disaster, as the comb will have nothing to grip onto.
Always take the time to tease the hair at the insertion point and use hairspray. This creates the necessary friction and volume for the comb to hold securely.
Incorrect Veil Comb Insertion
Just pushing the comb straight in can result in a loose fit. The “scooping” motion is often overlooked.
Angle the comb downwards as you insert it, then push it upwards towards your scalp. This gathers more hair into the comb’s teeth, ensuring a much firmer attachment.
Insufficient Bobby Pin Use
Relying solely on the veil comb to hold everything can lead to slippage. Bobby pins are essential reinforcements.
Always use at least two bobby pins, crisscrossed if possible, to secure the comb to the prepared hair. This locks the comb in place and prevents movement.
Forgetting the Comfort Check
In the excitement, it’s easy to overlook how the veil feels. Pins that are too tight or digging in will become very uncomfortable over time.
After securing, gently feel around the comb and pins. Adjust any that feel sharp or too tight to ensure you can wear your veil comfortably for hours.
Troubleshooting
Veil Feels Loose or Wobbles
If your veil doesn’t feel completely stable, the anchor point might not be strong enough or the comb wasn’t inserted correctly.
Carefully remove the veil. Re-tease the section of hair more vigorously, adding extra hairspray. When re-inserting the comb, ensure you use the “scooping” motion to catch more hair and secure it with additional, well-placed bobby pins.
Veil is Pulling on Hair or Causing Discomfort
This often happens if the bobby pins are too tight or catching too much scalp, or if the veil itself is very heavy.
Gently adjust the bobby pins, loosening them slightly or repositioning them so they don’t pull. If the veil is heavy, consider a stronger anchor, like the small braid method, to distribute the weight more evenly.
Veil Slides Down Over Time
A veil that gradually slips indicates a lack of sufficient grip in the hair or inadequate pinning.
Ensure your hair at the anchor point has enough texture (teasing, hairspray). Use more bobby pins, ensuring they catch both the hair and the veil comb teeth. For very heavy veils, consider an additional small braid or backcombed puff of hair to provide even more purchase.
Key Takeaways
- Always prepare a strong, textured anchor point for the veil comb using teasing and hairspray.
- Properly insert the veil comb with a “scooping” motion to gather maximum hair.
- Reinforce the veil comb with at least 2-4 crisscrossed bobby pins for ultimate security.
- Test the veil’s stability and comfort before finalizing your look.
- Consider a small, hidden braid or elastic for extra grip, especially with fine hair.
- Final hairspray application helps to set the entire style and prevent flyaways.
Frequently Asked Questions
Can I put a veil in very fine hair down?
Yes, absolutely! The key is to create a robust anchor. Focus on extensive teasing, liberal hairspray, and definitely use the small hidden braid or elastic band technique. This provides the necessary foundation for the comb to grip securely.
What if my veil is very heavy?
For heavy veils, the anchor point needs to be exceptionally strong. Consider creating a larger teased section or incorporating two small braids side-by-side. Use more bobby pins, ensuring they are strategically placed to distribute the weight and prevent pulling. A professional stylist might also use a small, clear hair elastic wrapped around the base of the comb for extra grip.
Should I use a hairspray before or after the veil?
You should use hairspray both before and after. Apply a strong-hold hairspray to the teased section of hair that will act as your anchor point. This gives the comb something to grip. After the veil is secured and pinned, a final light mist over your entire hairstyle will help set the look and tame any flyaways.
How do I hide the bobby pins?
To hide bobby pins, choose pins that match your hair color. Insert them underneath the top layer of hair or within the folds of the veil fabric. Crisscrossing them also helps to keep them flat and less visible. If your hair is styled with curls, tuck them within the curves of the curls.
Your Veil, Your Vision: Embrace the Beauty
Putting your veil in hair worn down is a truly elegant choice, offering a soft and romantic frame for your face.
With these practical steps, you have the knowledge and confidence to achieve a secure and beautiful veil placement.
Don’t be afraid to practice a few times before the big day, allowing you to perfect your technique and ease any nerves.
Now, go forth and create that unforgettable, picture-perfect moment!
Wedding Planning
No fluff, no drama. Just easy weekly advice, planning shortcuts, and gentle reminders to help you actually enjoy your engagement.