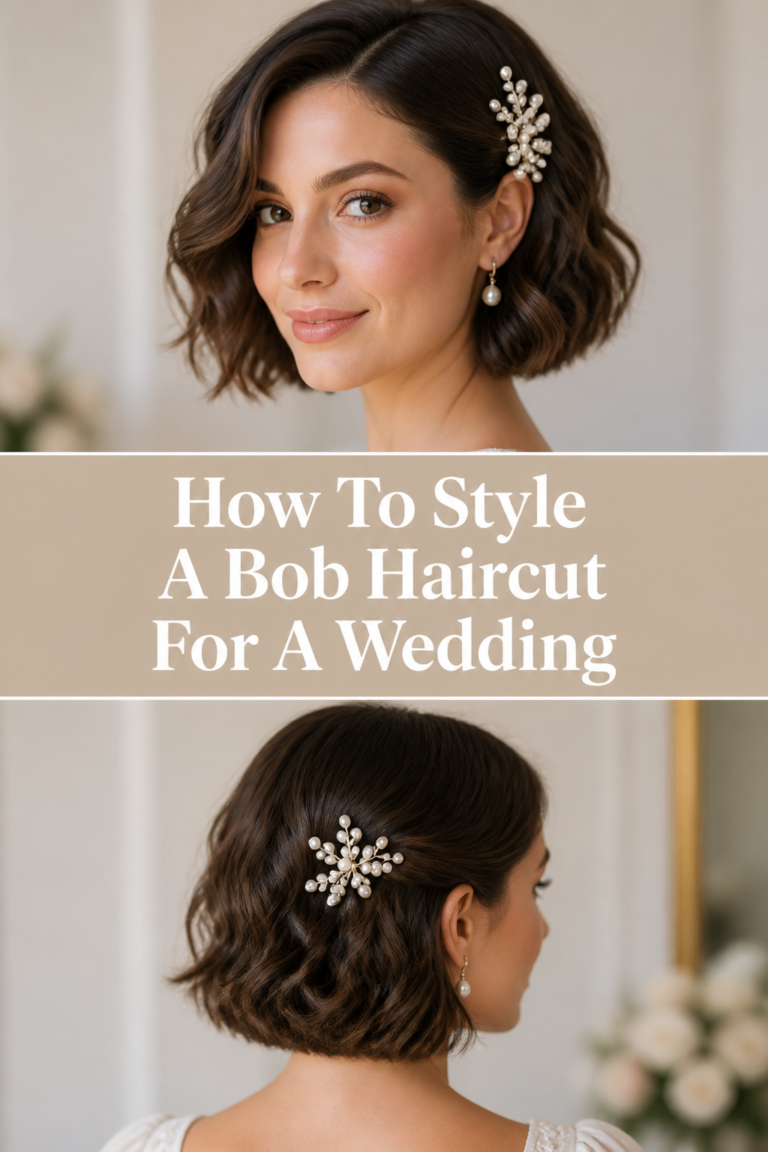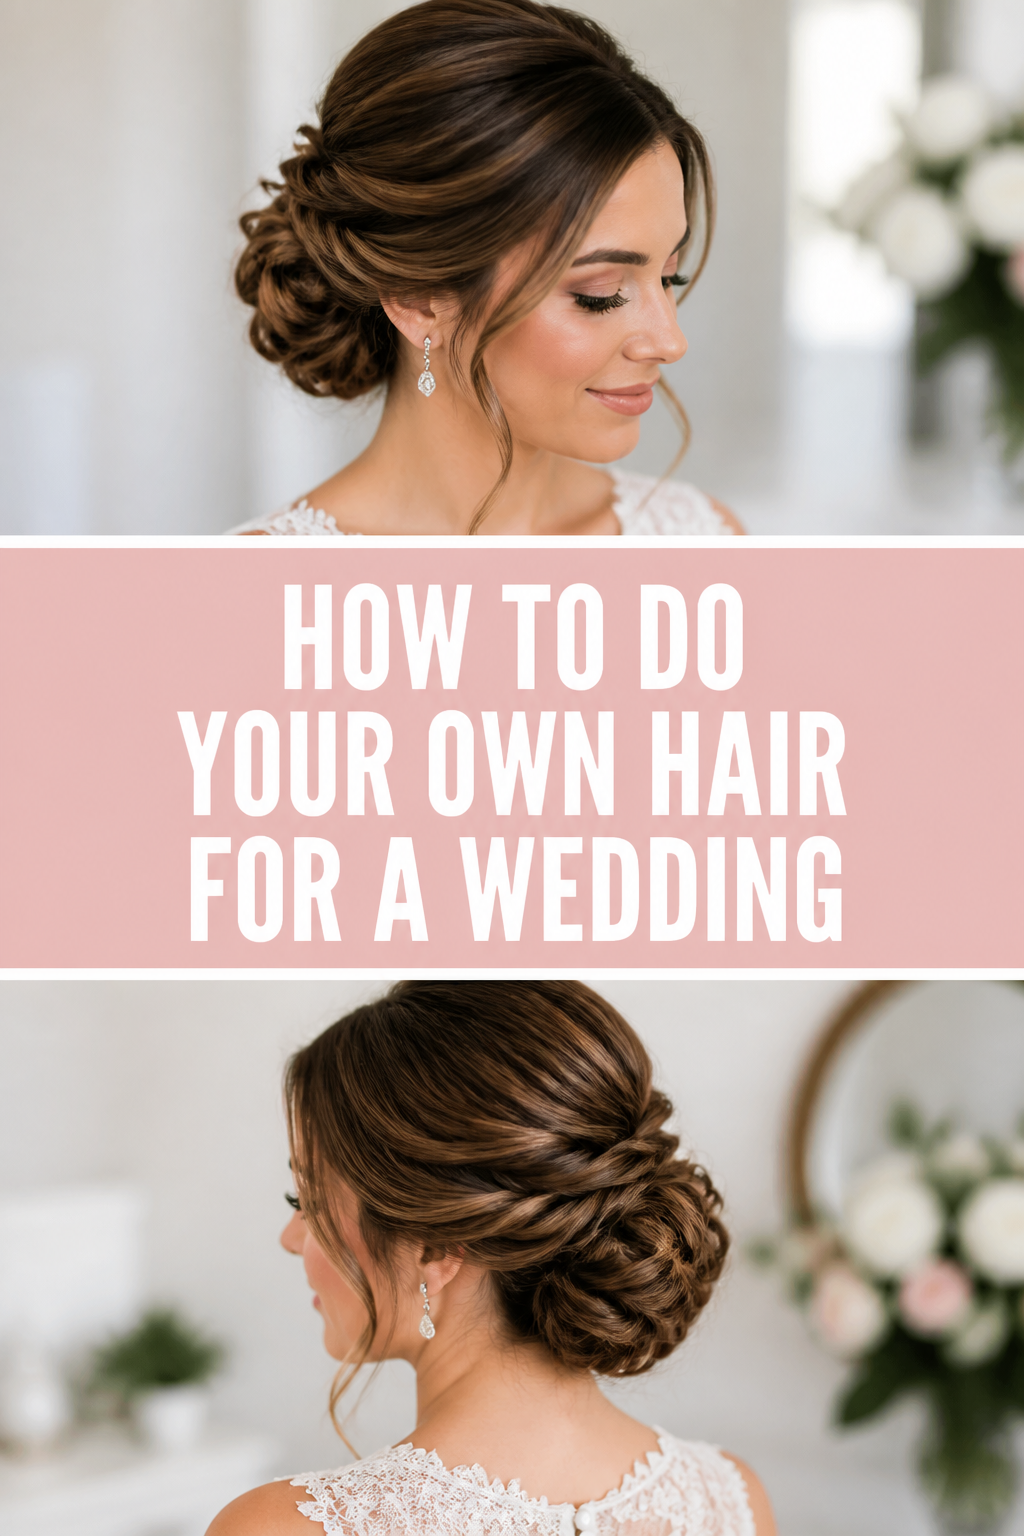
How To Do Your Own Hair For A Wedding
The thought of doing your own hair for a wedding might seem daunting at first. Yet, it offers a wonderful sense of personal accomplishment and significant savings. I once styled my sister’s hair for her best friend’s wedding, and the compliments she received made all the practice worthwhile. This guide will help you achieve a stunning, professional-looking hairstyle right from home.

Quick Overview
This guide will empower you to create a beautiful, lasting wedding hairstyle for yourself or a loved one. You’ll gain practical skills and confidence to style intricate looks.
- Time needed: 1.5 – 3 hours (including prep and practice)
- Difficulty: Intermediate (requires patience and a few practice runs)
- What you’ll need: Quality hair products, styling tools, hairpins, and a good mirror
Step-by-Step Instructions
Step 1: Plan Your Vision and Practice
Choose a hairstyle that complements your dress, the wedding’s formality, and your hair type. Consider styles you’ve admired or found online.
Look for tutorials that demonstrate your chosen style. Watch them multiple times to understand each movement.
Practice your chosen hairstyle several times before the actual wedding day. This is crucial for building confidence and refining your technique.
Pro Tip: Start practicing at least 2-3 weeks before the wedding. This gives you ample time to troubleshoot and perfect the look. Try it on a day when you have no other commitments.
Step 2: Prepare Your Hair Properly
Wash your hair the day before the wedding, not on the wedding day itself. Freshly washed hair can be too soft and slippery to hold a style.
Condition your hair, focusing on the ends, but rinse thoroughly to avoid residue. This ensures your hair is smooth and manageable.
Apply a leave-in conditioner or a light hair oil if your hair tends to be dry. This adds moisture and helps with detangling.
Step 3: Apply Heat Protectant and Blow Dry
Spritz a generous amount of heat protectant evenly through your damp hair. This shields your strands from damage caused by styling tools.
Blow dry your hair completely until it is 100% dry. Use a round brush to smooth out sections and add volume at the roots.
Ensure your hair is entirely dry before moving on. Any dampness can cause frizz and prevent your style from holding.
Pro Tip: For extra volume, flip your head upside down while blow-drying the roots. This lifts the hair away from the scalp.
Step 4: Section Your Hair for Styling
Divide your hair into manageable sections using clips or hair ties. This makes styling much easier and more organized.
Create a horizontal part from ear to ear, separating the top half from the bottom. Clip the top section away.
Make smaller vertical sections within the bottom half. This ensures each piece gets proper attention and heat.
Step 5: Curl or Wave Your Hair
Select your styling tool, whether it’s a curling iron, wand, or straightener for waves. The barrel size will dictate the curl’s tightness.
Take a small section of hair, about 1 inch wide. Apply your curling technique, holding the hair around the barrel for a few seconds.
Release the curl carefully into your hand and allow it to cool completely before dropping it. This helps set the curl.
Pin each cooled curl to your scalp with a clip if you want a longer-lasting, bouncier curl. This allows them to set fully.
Pro Tip: Alternate the direction of your curls (towards and away from your face) for a more natural, voluminous look. Leave the very ends out for a softer finish.
Step 6: Create Your Chosen Hairstyle
Unpin your curls once they are completely cool. Gently run your fingers through them to break them up and soften the look.
Begin building your chosen style. For a half-up look, gather the top sections and secure them with pins.
Twist, braid, or sweep sections of hair as per your desired style. Use bobby pins that match your hair color for discreet hold.
Focus on creating a secure foundation for your style. Use plenty of pins, crossing them in an ‘X’ shape for extra grip.
Step 7: Secure and Set Your Style
Apply a flexible hold hairspray evenly over your entire hairstyle. This locks in your hard work without making your hair stiff.
Check your style from all angles using a handheld mirror and your main mirror. Look for any loose strands or areas needing more hold.
Add more bobby pins where necessary, ensuring they are hidden within the hair. Don’t be afraid to use a few extra.
Pro Tip: For extra hold without stiffness, spray hairspray onto your bobby pins before inserting them. This gives them a better grip.
Step 8: Add Accessories and Finishing Touches
Place any hair accessories you plan to wear, such as a veil, fascinator, or decorative pins. Position them carefully so they don’t disrupt your style.
Gently smooth down any flyaways with a light touch of hairspray on your fingertips or a clean toothbrush. This creates a polished finish.
Spritz a shine spray or serum lightly over your finished look. This adds a beautiful luster to your wedding day hair.
Step 9: Final Check and Emergency Kit
Take one last look at your hairstyle in different lighting. Ensure it looks balanced and secure from all angles.
Pack a small emergency kit for touch-ups throughout the day. Include a travel-size hairspray, a few bobby pins, and a small comb.
Remember to breathe and enjoy the moment. You’ve created a beautiful look all by yourself.
Common Mistakes to Avoid
Not Practicing Enough
Many people underestimate the importance of practice runs. Trying a complex style for the first time on your wedding day leads to stress and potential disappointment. Practice helps you identify tricky sections, perfect techniques, and estimate timing.
Over-Product Usage
Using too much product, especially heavy serums or mousses, can weigh down your hair. This makes it difficult for curls to hold and can leave your hair looking greasy. Use products sparingly and layer them appropriately.
Washing Hair on the Day Of
Freshly washed hair is often too soft and slippery to hold a style well. It lacks the natural grip needed for updos and curls. Styling hair that was washed the day before (and is therefore slightly “dirtier”) provides better texture and longevity.
Skipping Heat Protectant
Neglecting to use heat protectant can severely damage your hair, especially when using hot tools for an extended period. This can lead to breakage, dryness, and a dull appearance, which is certainly not ideal for your wedding day. Always apply it generously.
Troubleshooting
My Style Falls Flat Quickly
This often happens if your hair is too clean, lacks proper product, or if curls aren’t set correctly. Ensure you wash your hair the day before. Use a volumizing mousse at the roots when blow-drying. Let curls cool completely before disturbing them, or pin them up to set. A stronger hold hairspray might also be needed.
Frizz Appears Throughout the Day
Frizz can be caused by humidity, over-brushing, or dry hair. Combat this by using an anti-frizz serum or spray after styling. Avoid excessive touching of your hair. Ensure your hair is well-hydrated before styling with a good conditioner and leave-in treatment.
Bobby Pins Are Visible or Don’t Hold
Visible pins detract from a polished look. Choose pins that match your hair color. For better hold, insert pins by catching a small section of hair, pushing the pin against your scalp, then rotating it and pushing it into the style. Cross two pins in an ‘X’ shape for maximum grip. Spraying pins with hairspray before inserting also helps.
Key Takeaways
- Practice Makes Perfect: Dedicate several sessions to perfecting your chosen style.
- Preparation is Key: Wash your hair the day before and use heat protectant.
- Sectioning Simplifies: Divide your hair into manageable parts for easier styling.
- Cool Curls Set: Allow curls to cool completely before styling them further.
- Secure with Confidence: Use plenty of bobby pins and a good hairspray for lasting hold.
- Accessorize Thoughtfully: Integrate hair accessories carefully to complete your look.
Frequently Asked Questions
How far in advance should I practice my wedding hairstyle?
Start practicing your wedding hairstyle at least 2-3 weeks before the event. This allows you to try different variations, identify any challenges, and refine your technique. It also helps you estimate the time needed for the actual day.
What if my hair doesn’t hold a curl well?
If your hair struggles to hold a curl, consider using a stronger mousse or volumizing spray before blow-drying. Ensure your hair is completely dry before curling. After curling each section, pin the warm curl to your scalp and let it cool completely before releasing. A strong hold hairspray is also essential.
Should I wash my hair on the day of the wedding?
It’s generally recommended to wash your hair the day before the wedding. Hair that is one day old has more texture and grip, making it easier to style and helping updos and curls hold much better. Freshly washed hair can be too soft and slippery.
What’s the best way to choose a wedding hairstyle?
Consider your dress neckline, the wedding’s formality, your hair length and texture, and your comfort level. Browse inspiration photos online, save styles you like, and then experiment with a few options during your practice sessions to see what truly suits you.
Our Top Recommended Finds
- Heat Protectant Spray: A good quality spray shields your hair from styling tool damage, ensuring its health and shine.
- Strong Hold Hairspray: Look for one that offers flexible yet firm hold, keeping your style in place without stiffness.
- Curling Iron/Wand: Investing in a reliable tool with temperature control ensures consistent, long-lasting curls or waves.
Your Perfect Wedding Day Hair Awaits
Taking charge of your wedding day hair is a rewarding experience. It’s an opportunity to infuse your personal style and create a look you genuinely love. With careful planning, diligent practice, and the right tools, you can achieve a stunning hairstyle that lasts from the ceremony to the last dance.
Feel empowered to experiment with different looks during your practice runs. Don’t be afraid to adjust and personalize the steps to suit your unique hair. Now, go forth and create the beautiful wedding hair you’ve always dreamed of!