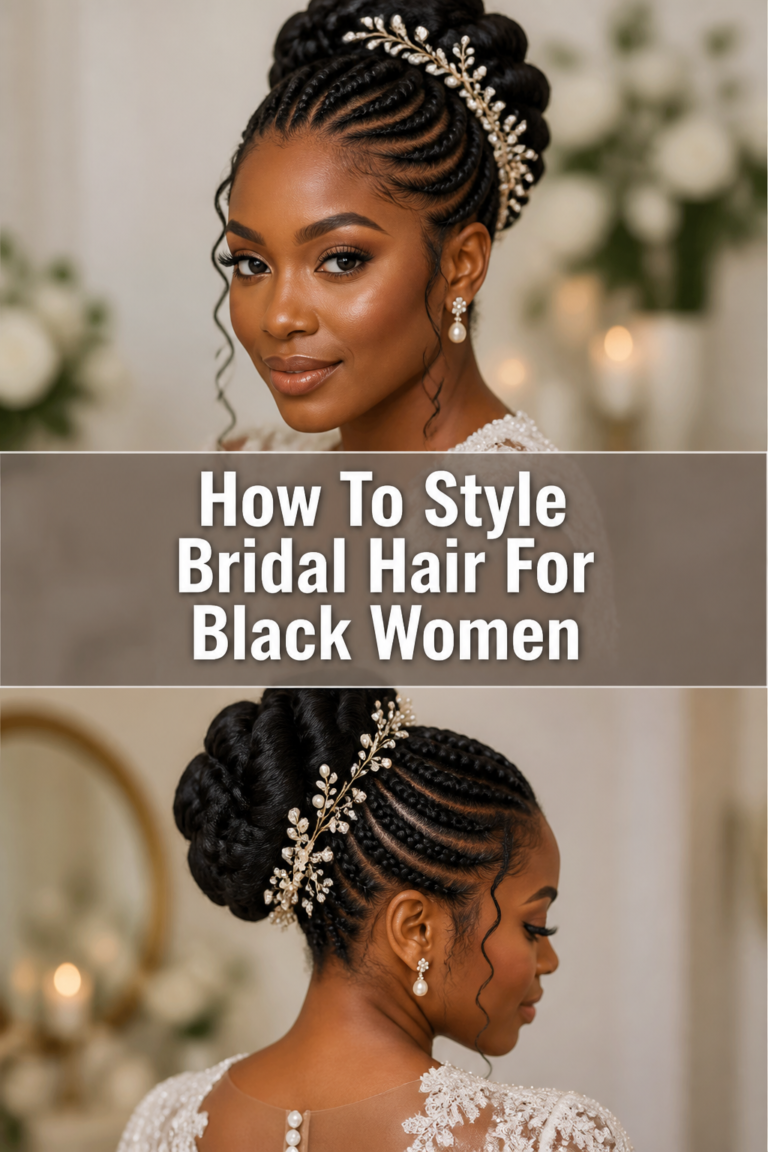
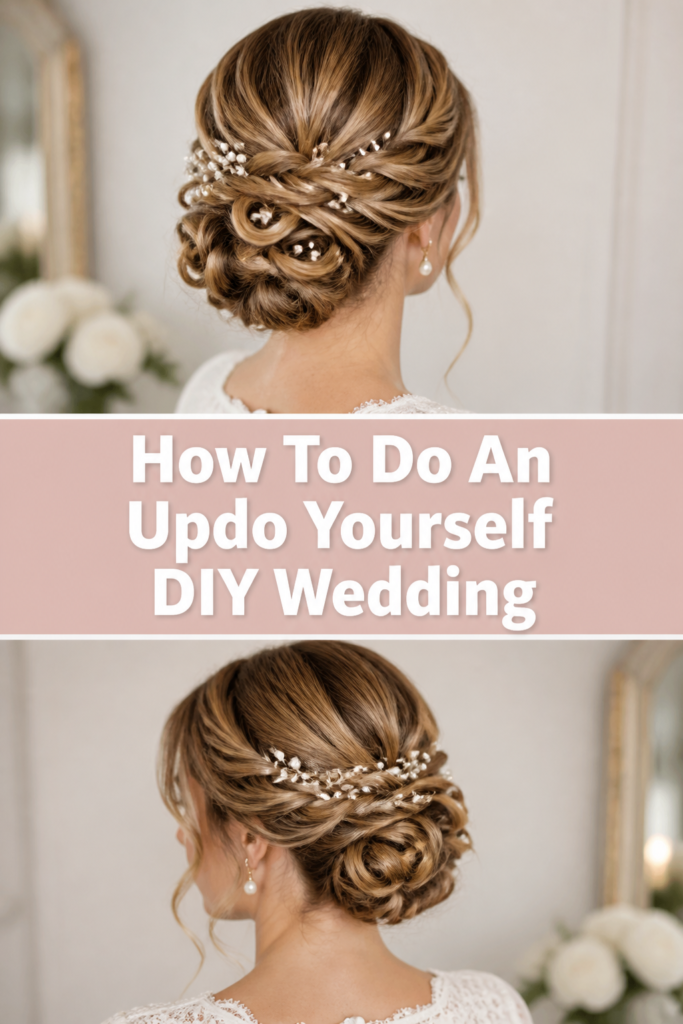
💍 How To Do An Updo Yourself DIY Wedding
Taking control of your bridal beauty can feel like a daunting task on such a high-stakes day.
I have spent over a decade helping brides navigate the stress of wedding mornings and discovered that a DIY updo is often the most empowering choice a woman can make.
This guide provides the professional techniques and structural secrets you need to create a red-carpet-worthy look that stays secure from the first photo to the final dance.
Quick Overview
Creating a professional-looking updo at home requires a balance of proper preparation and the right mechanical support.
- Time needed: 60 to 90 minutes (including prep and styling)
- Difficulty: Intermediate
- What you’ll need: Texture spray, boar bristle brush, clear elastics, professional-grade bobby pins, a handheld mirror, and a medium-hold hairspray.
Step-by-Step Instructions
Step 1: Prepare the Canvas
Start with hair that was washed and dried the day before rather than the morning of the wedding.
Freshly washed hair is often too slippery and “silky” to hold the grip needed for a complex updo.
Apply a generous amount of dry shampoo or a dedicated texture spray from the roots to the mid-shafts of your hair.
This creates the “grit” necessary for your bobby pins to grab onto something and stay in place throughout the day.
Pro Tip: If your hair is naturally very fine, use a crimping iron on the bottom layers near the scalp to create hidden volume and a non-slip foundation.
Step 2: Section for Success
Divide your hair into three main sections to make the process manageable and organized.
Use the tip of a rat-tail comb to create a line from behind one ear, over the crown, to the back of the other ear.
Clip the two front side sections away, leaving the entire back portion of your hair free for the initial base construction.
This separation ensures that you can focus on the structural integrity of the back before adding the decorative face-framing pieces.
Step 3: Build the Structural Base
Gather the back section into a low ponytail at the nape of your neck using a clear, high-quality elastic.
The position of this ponytail determines where the bulk of your updo will sit, so ensure it is centered and secure.
Pull at the hair on the crown gently to create a bit of lift and “poof” before you move to the next stage.
A flat crown can make an updo look dated, so small adjustments here provide a modern, romantic silhouette.
Pro Tip: Use two elastics instead of one for extra security, especially if you have thick or heavy hair that tends to slide down.
Step 4: Create the Chignon Core
Twist the ponytail loosely and wrap it around the base of the elastic to form a soft, circular bun.
Do not pull it too tight; you want the bun to look full and airy rather than like a small, hard knot.
Secure the edges of the bun by sliding bobby pins inward toward the center of the ponytail base.
Feel for the resistance of the elastic with your pin to ensure the bun is anchored to the strongest part of the style.
Step 5: Incorporate the Side Sections
Release one of the front side sections and brush it back toward the bun you just created.
You can choose to braid this section, twist it, or leave it smooth depending on the specific aesthetic you want to achieve.
Drape the end of this section over the top of the bun and pin the ends underneath so they are hidden from view.
Repeat this exact process with the other side, ensuring the tension is even on both sides of your face.
Step 6: Refine and Detail
Use your handheld mirror to check the profile and the back of the updo for any visible pins or gaps.
If you see a pin showing, do not pull it out; simply use the tip of a comb to tuck it deeper into the hair.
Pull out a few small tendrils around the ears and temples to soften the look and create a romantic, “undone” feel.
These small details are what separate a professional bridal style from a standard gym bun.
Pro Tip: Lightly mist your fingertips with hairspray before touching the tendrils to define them without making them look crunchy.
Step 7: Final Locking and Veil Placement
Spray the entire head with a fine mist of finishing spray from about twelve inches away.
Avoid holding the can too close, as the moisture can cause the hair to collapse or become overly wet.
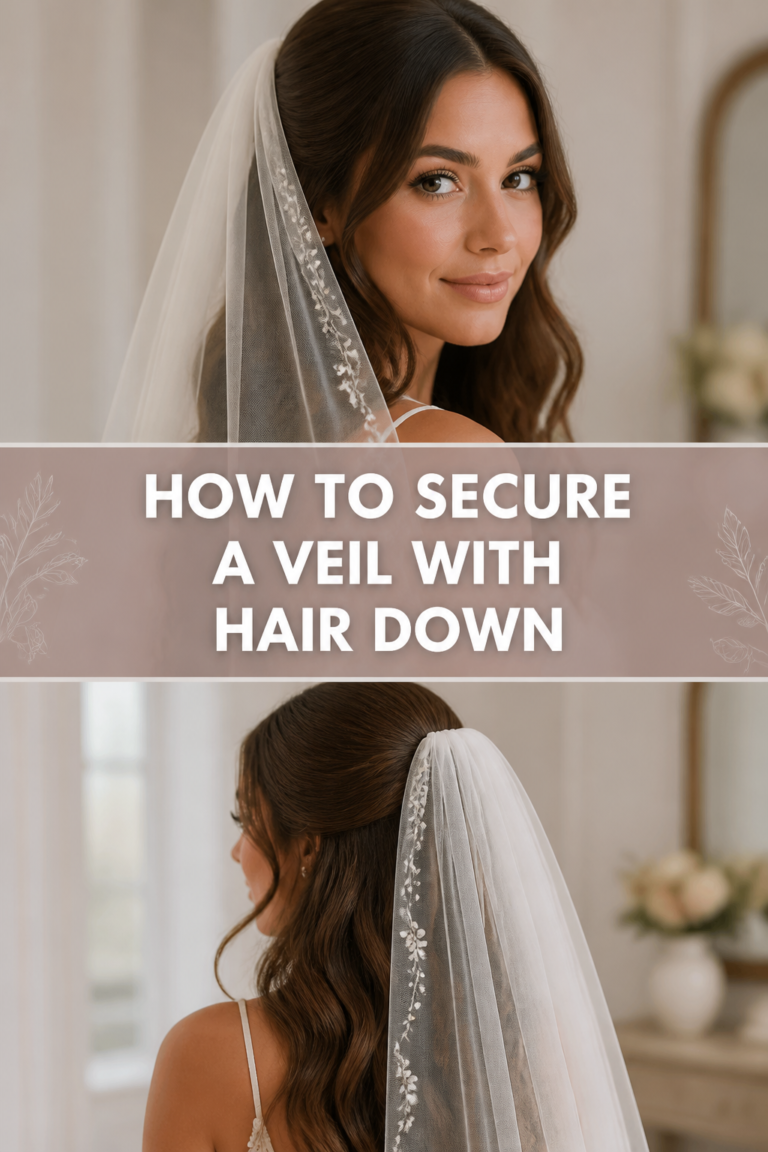
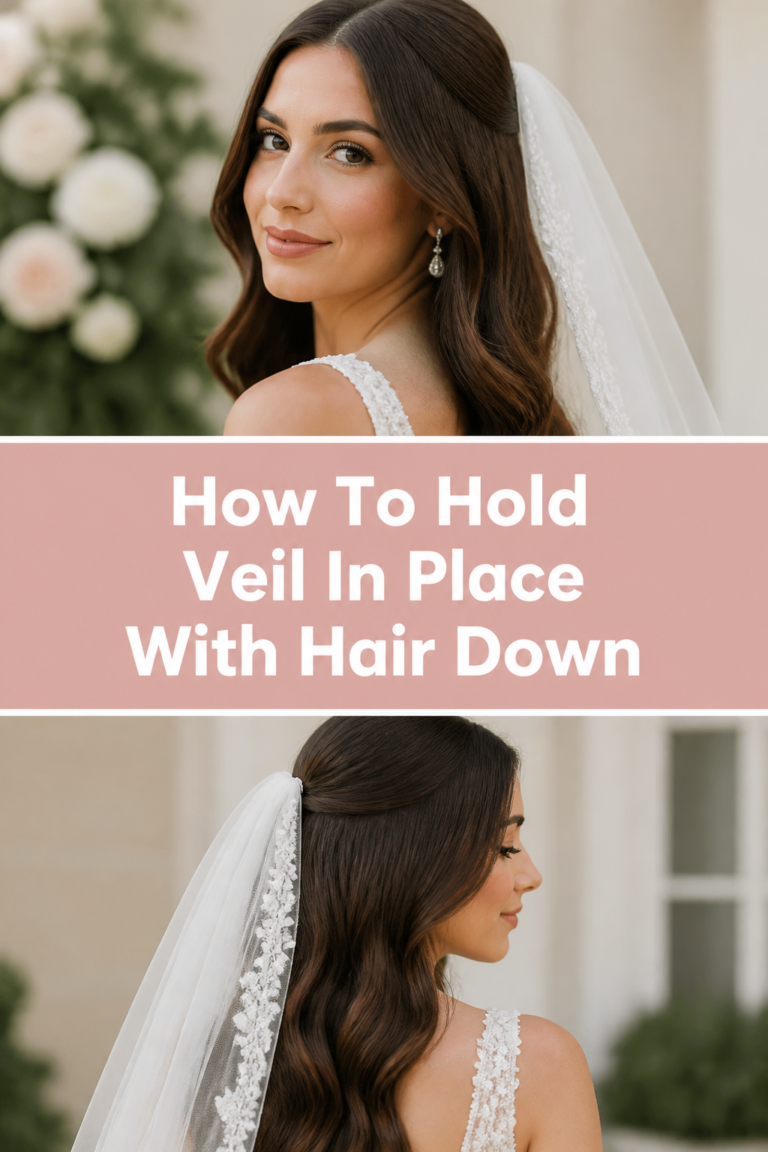
Insert your veil comb directly above the bun, ensuring the teeth of the comb catch the elastic or the bobby pins for maximum grip.
Give your head a gentle shake to make sure nothing feels loose or heavy before you consider the job finished.
Common Mistakes to Avoid
Using the Wrong Bobby Pins
Many DIYers buy cheap, shiny bobby pins from the grocery store that have no “memory” and slide out instantly.
Professional pins are matte, have a stronger spring, and are designed to stay exactly where you put them.
Always choose pins that match your hair color closely to prevent them from distracting from the style.
Over-Handling the Hair
The more you touch, brush, and re-do sections, the more frizz you will create through static and oils from your hands.
Try to commit to your movements and only manipulate the hair when necessary to keep the look clean.
If a section isn’t perfect, sometimes a little hairspray and a pin can fix it better than starting the whole section over.
Skipping the Trial Run
Attempting a DIY updo for the first time on your actual wedding morning is a recipe for high stress and potential disaster.
Perform at least three full practice runs in the weeks leading up to the event to build muscle memory.
Time yourself during these trials so you know exactly how much space to leave in your wedding day schedule.
Troubleshooting
The Style Feels Heavy or Sagging
If the back of your hair feels like it is pulling downward, you likely haven’t anchored the pins into the base elastic.
Take a large bobby pin, catch a small amount of hair from the sagging area, and hook it directly into the hair tie at the nape.
This redirects the weight of the hair to the strongest anchor point and immediately relieves the pulling sensation.
Frizz and Flyaways in Humidity
Humidity can cause small hairs to stand up around the crown, making the updo look messy in high-definition photos.
Spray a clean toothbrush with hairspray and gently comb it over the surface of the hair to lay down flyaways without flattening the volume.
This precise application targets the problem areas without saturating the rest of the style.
The Bun Looks Too Small
If your hair is thin, the resulting bun might look underwhelming or out of proportion with your dress.
Use a “hair donut” or a small piece of mesh padding that matches your hair color to bulk up the center of the bun.
Wrap your natural hair over the padding to create the illusion of thick, luxurious tresses.
Key Takeaways
- Preparation is everything: Use texture spray and day-old hair to provide the necessary grip for pins.
- Anchor to elastics: Always secure your bobby pins into the hair tie to prevent the style from sliding down.
- Mirror checks are vital: Use a secondary mirror to ensure the back and sides are balanced and symmetrical.
- Practice makes perfect: Complete multiple trial runs to ensure you can execute the look under pressure.
- Less is more: Avoid using too much product early on; you can always add more, but you can’t easily remove it.
- Match your hardware: Use matte bobby pins that match your hair color for a seamless, professional finish.
Frequently Asked Questions
Should I wash my hair on my wedding day?
Generally, no. Most stylists recommend washing your hair 24 hours before the event so the natural oils can provide some “stick.” If you have an exceptionally oily scalp, you can wash it the morning of, but you must use extra volumizing mousse and texture spray to compensate for the lack of natural grip.
How many bobby pins do I really need?
The goal is to use as few as possible while maintaining total security. A well-constructed updo usually requires between 10 and 20 professional-grade pins. If you find yourself using 50 pins, the style is likely poorly anchored and may feel uncomfortable or “crunchy” throughout the night.
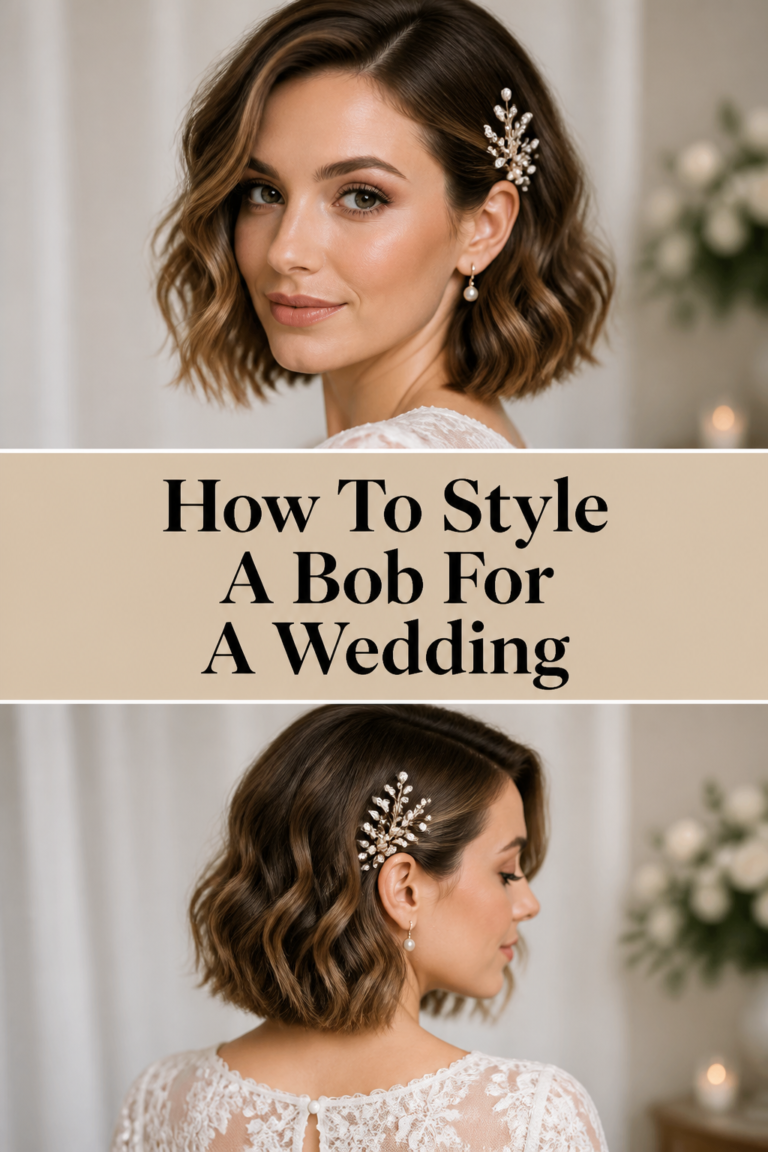
Can I do an updo if I have short hair?
Yes, but you may need to rely more on “pinning and tucking” rather than a central ponytail. Use small sections and twist them toward the back, securing them with mini bobby pins. You can also incorporate clip-in extensions to add the bulk needed for a traditional bun or chignon.
How do I make sure my veil doesn’t pull my hair down?
The secret is to create a “shelf” for the veil comb to sit on. Cross two bobby pins in an “X” shape exactly where the comb will be inserted. This “X” provides a hard anchor point that the comb can slide into, preventing the weight of the fabric from tugging on your actual hairstyle.
Our Top Recommended Finds
- Professional Matte Bobby Pins: These offer superior grip compared to standard retail versions and won’t reflect camera flashes in your photos.
- Dry Texture Spray: A high-quality spray provides the volume and “tooth” needed to keep sections from slipping out of place.
- Long-Tail Rat Tail Comb: This tool is essential for creating clean sections and gently lifting the crown for a flattering silhouette.
Walking To The Altar With Style
Mastering your own wedding hair is a skill that pays dividends in both confidence and budget flexibility.
By focusing on a strong foundation and taking your time with the finishing details, you can achieve a look that rivals any salon appointment.
Start your first practice session today by gathering your tools and testing the “grip” of your favorite texture products.
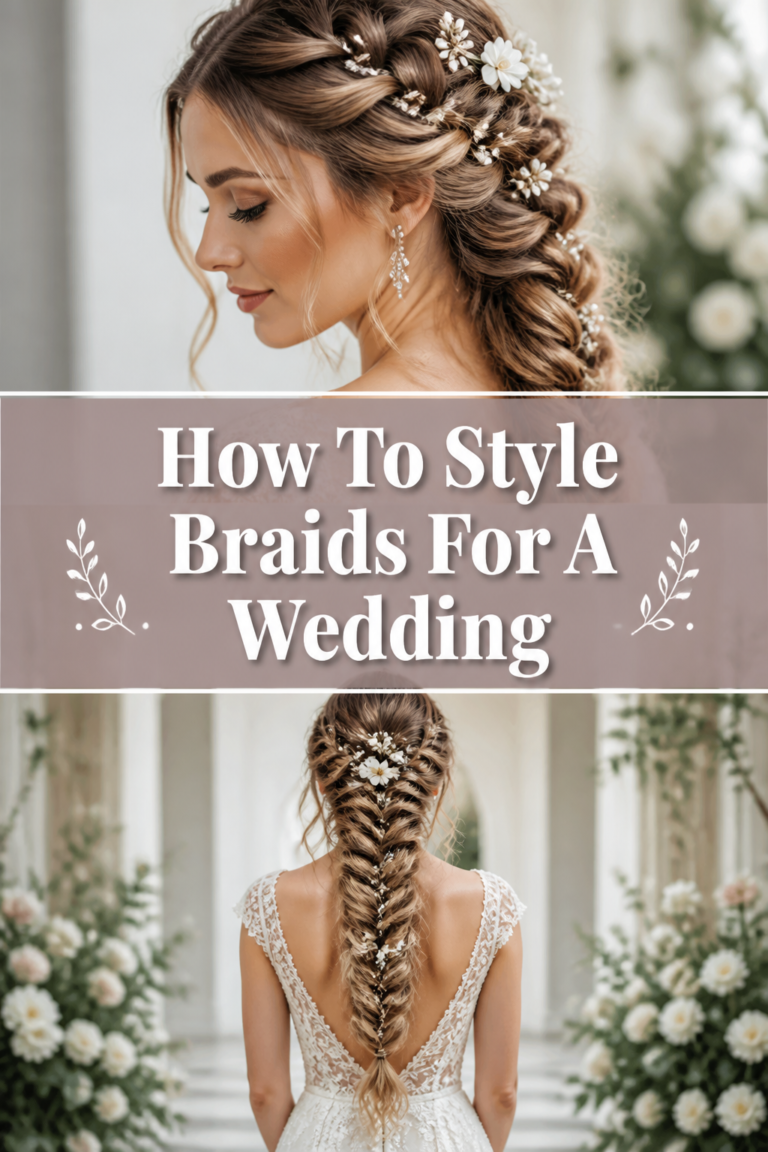
Once you feel comfortable with the basic mechanics of the chignon, you can experiment with different braids or accessories to truly personalize your bridal look.